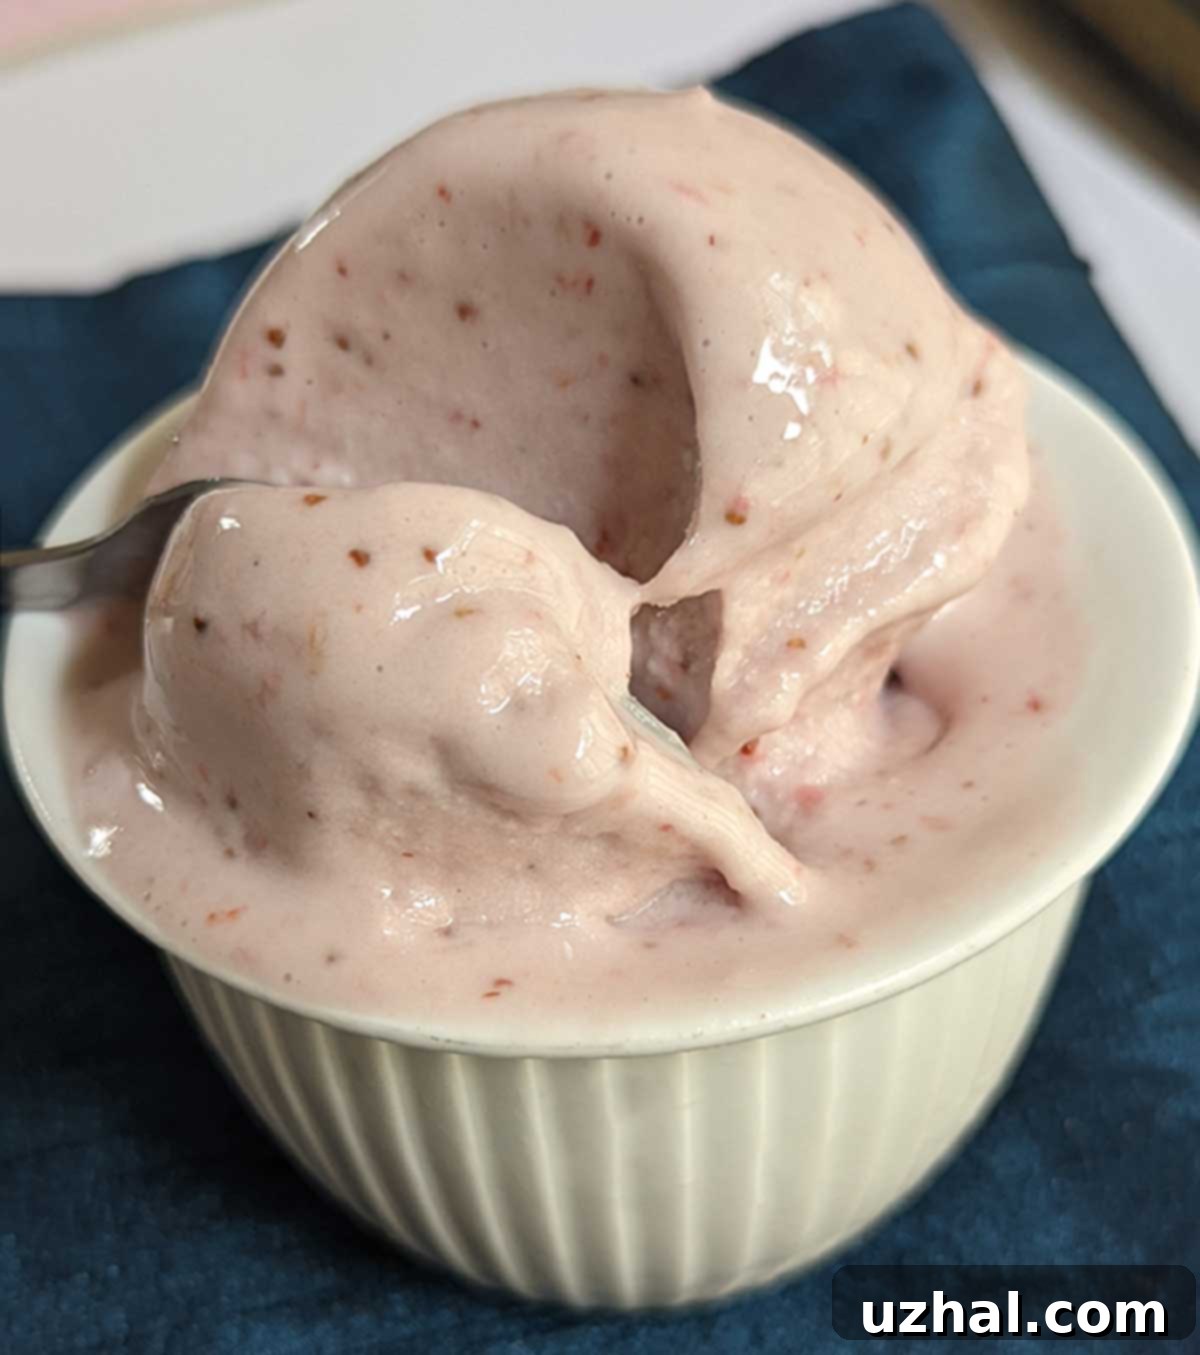
Homemade Roasted Strawberry Coconut Milk Ice Cream: A Creamy Dairy-Free Delight
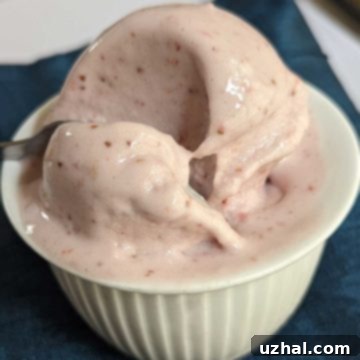
There’s nothing quite like the dream of a creamy, luscious ice cream on a warm day. My recent craving led me down a delicious path, initially inspired by the famous Jeni’s Roasted Strawberry Ice Cream. However, facing an empty fridge for dairy essentials like milk and cream cheese, I decided to pivot. What I did have in abundance were fresh, ripe strawberries and versatile coconut milk. This happy accident led to the creation of a spectacular strawberry-flavored, non-dairy coconut milk “ice cream” – and I use the term loosely, as technically it’s not dairy, but the resulting texture is incredibly rich, smooth, and utterly satisfying. Prepare your taste buds for a truly memorable frozen treat that delivers on flavor and creamy texture, all without a drop of dairy. Here’s a peek at its melt-in-your-mouth goodness:
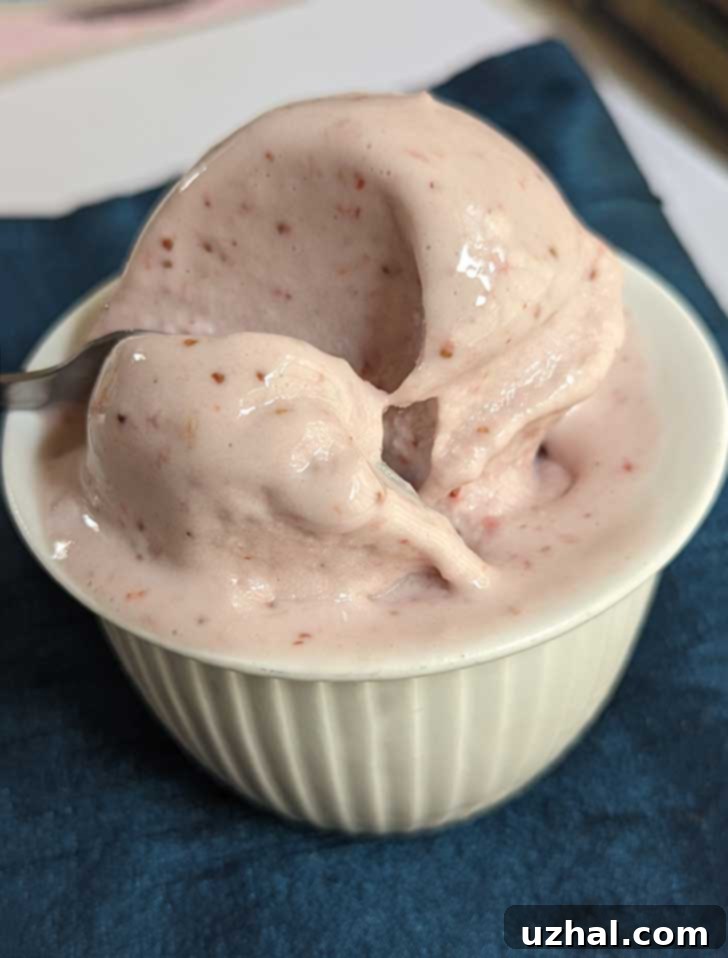
The Magic of Roasting Strawberries for Enhanced Flavor
To be entirely honest, strawberry ice cream typically isn’t the first flavor my family reaches for. While we enjoy it, chocolate or vanilla often win the popularity contest. However, on this particular day, a strong desire for something strawberry-infused struck, and I was keen to experiment with roasting the berries. This simple step, I quickly discovered, is a game-changer. The process is remarkably straightforward: simply trim and slice your fresh strawberries, spread them in a baking pan, toss them gently with a bit of sugar, and bake for just about 10 minutes.
Roasting strawberries does more than just intensify their natural sweetness and concentrate their vibrant flavor; it performs a crucial function beneficial for ice cream texture. As the strawberries bake, they release their juices, mingling with the sugar to create a beautiful, rich syrup. This natural syrup acts similarly to corn syrup, maple syrup, or agave – all popular sweeteners in homemade ice cream recipes – by inhibiting the formation of large, crunchy ice crystals. In theory, this should help keep the ice cream wonderfully soft and scoopable. Indeed, this roasted strawberry coconut milk “ice cream” does maintain a fairly soft texture when freshly frozen, typically for the first day or so. After about 24 hours in the freezer, it tends to firm up considerably, becoming quite hard. A quick rest on the counter for a few minutes before serving will bring it back to that perfect, creamy consistency.
Beyond the practical benefits, the flavor transformation is truly remarkable. Roasting caramelizes the natural sugars in the strawberries, deepening their taste from bright and fresh to a more complex, jammy, and intensely fruity profile. This concentrated flavor ensures that every spoonful of ice cream bursts with authentic strawberry essence, elevating it far beyond what raw berries could achieve. It’s a simple step that yields profound results, making this dairy-free dessert truly special.
Choosing Your Coconut Milk & Understanding Stabilizers
When venturing into the world of coconut milk ice cream, you likely already have a preferred brand in mind. Consistency and quality can vary significantly between brands, impacting the final texture of your frozen treat. For my experiments, I often reach for Wegmans organic coconut milk, which includes guar gum in its ingredients list. Guar gum is a natural thickener and stabilizer that can significantly improve the creaminess and prevent ice crystal formation in dairy-free desserts. I’ve also extensively tested with Goya coconut milk, which, notably, does not contain guar gum but instead uses potassium metabisulfite as a preservative.
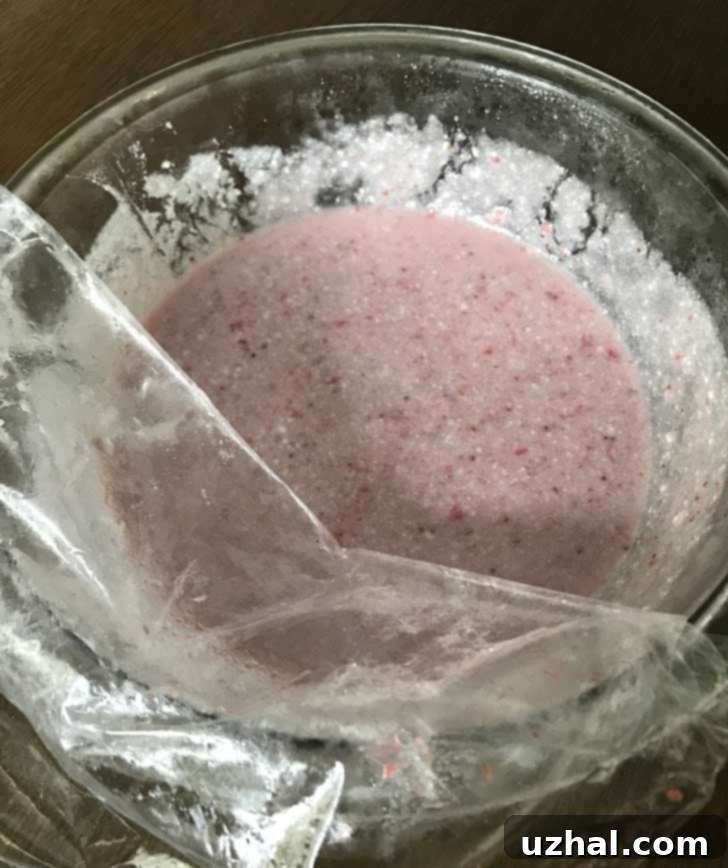
My experience has shown that coconut milk containing guar gum tends to produce a slightly smoother custard base from the outset, as the guar gum immediately begins to act as an emulsifier and thickener. In contrast, when using the Goya brand (without guar gum), the custard mixture appeared quite curdled and chunky before churning (as seen in the image below). This sight can be alarming for any home cook, but I urge you not to despair! Despite its initial appearance, once this mixture was churned in the ice cream maker and subsequently frozen, it transformed into a beautifully creamy and smooth dessert. The cornstarch (or tapioca starch) included in the recipe also plays a vital role in this transformation, contributing to the overall thickness and stability, ensuring a delightful final product regardless of your coconut milk brand’s stabilizer content.
When selecting your coconut milk, always opt for full-fat varieties packaged in cans, not the cartons typically found in the refrigerated section (which are often diluted for drinking). The high-fat content is crucial for achieving that desired richness and creamy mouthfeel that mimics traditional dairy ice cream. Some brands may separate in the can, with a thick layer of coconut cream at the top and water below. This is perfectly normal; simply stir it well to combine before use. I plan to test this recipe with other popular brands like Trader Joe’s and Whole Foods 365 coconut milk and will update this post with my findings to provide even more guidance. Ultimately, while initial appearances may differ, a good quality full-fat coconut milk, combined with the roasting process and starch, will deliver a fantastic dairy-free ice cream.
Embracing the Coconut Milk Flavor in Your Ice Cream
One of the inherent characteristics of using coconut milk as a base for ice cream is, understandably, the presence of its distinct flavor. It’s a flavor profile that some adore and others find takes a little getting used to in a dessert traditionally associated with dairy. In my testing, I observed that certain brands of coconut milk carry a more pronounced coconut flavor than others. For instance, the Goya brand, while producing a creamy texture, imparted a more noticeable coconut taste to the finished ice cream compared to the version made with Wegmans organic coconut milk.
This isn’t to say that one is superior to the other; rather, it’s a matter of preference and an aspect to be aware of when choosing your ingredients. The coconut flavor, especially when paired with the deep, caramelized notes of roasted strawberries, creates a wonderfully exotic and refreshing dessert that stands proudly on its own. It’s a unique twist on classic strawberry ice cream, offering a tropical undertone that many find delightful. My family, surprisingly, absolutely adores this combination! They enjoyed it so much that I was inspired to create a chocolate version next, which I’m excited to share in a future post.
The beauty of this recipe lies in how the roasted strawberries and vanilla complement and balance the coconut flavor, creating a harmonious blend that isn’t overpowering but rather adds a layer of complexity. If you’re new to dairy-free ice cream, I encourage you to embrace this unique taste. It offers a refreshing alternative and expands your dessert repertoire. I’m eager to explore how other brands like Trader Joe’s or Whole Foods 365 coconut milk perform in terms of flavor intensity and will certainly update this guide once I’ve had the chance to test them.
Batch Sizes and Ice Cream Maker Tips
The full recipe provided below is designed to yield a generous amount – a little over 2 ½ pints of delicious roasted strawberry coconut milk ice cream. However, if you’re cooking for a smaller household, wish to experiment, or simply prefer to have just a pint or so of ice cream on hand, you can easily halve the recipe. This is a common practice for me, especially when trying out new flavors or wanting a fresh batch more frequently.
My personal ice cream maker is a larger Cuisinart model, specifically designed to make up to 2 quarts. This capacity makes it perfectly suitable for handling smaller batches without any issues, as the chilling bowl still gets adequately cold and the churn paddle operates efficiently. If you happen to own the slightly smaller 1 ½ quart Cuisinart model, a half batch might even work out better, as it would fill the bowl more completely, potentially leading to faster churning and a creamier result. Modern ice cream makers come in a vast array of models and sizes these days, but rest assured, this recipe is quite forgiving and should perform beautifully with most standard home ice cream makers, particularly those with a freezer bowl.
For those who don’t possess an ice cream maker, don’t fret! You can still enjoy a version of this delightful treat using a no-churn method. Simply prepare the mixture as instructed, then pour it into a loaf pan or a similar freezer-safe container, cover it tightly, and freeze until solid. While I’ve seen this done successfully and it offers a convenient alternative, it’s worth noting that the texture may not be quite as smooth and airy as an ice cream maker can achieve. Churning incorporates air, which contributes significantly to the light and creamy texture of ice cream, reducing the likelihood of a hard, icy result. However, a no-churn version will still be incredibly flavorful and satisfying. Remember to allow it a little extra time to soften at room temperature before scooping if using the no-churn method.
Streamlined: The Blender Method (No Cook, No Cornstarch)
My recent acquisition of a powerful new blender sparked an idea: could I simplify this recipe even further, eliminating the stovetop cooking step? The answer, delightfully, is yes! I’ve updated the recipe card with a second, quicker technique that bypasses the need for a saucepan entirely. This method is perfect for those busy days when you crave homemade ice cream but are short on time, or simply prefer a more hands-off approach.
Here’s how it works: you’ll start by adding the full-fat canned coconut milk directly into your blender. It’s crucial here that the coconut milk is well-emulsified. If your coconut milk has separated in the can (a common occurrence where the thick cream sits atop the liquid), you might need to warm it gently in a saucepan or microwave first, then blend it on high speed until it’s smooth and homogenous. This step is vital to ensure the fat and liquid are fully combined before churning, which contributes to a rich, uniform texture in the final ice cream.
Once your coconut milk is ready, add the prepared roasted strawberries (along with all their flavorful syrup) and the sugar to the blender. Here’s an optional but highly recommended trick for an even smoother, more stable result: if you have some xanthan gum on hand, add about ⅛ teaspoon. Xanthan gum is a potent natural thickener and stabilizer that can work wonders in dairy-free recipes, helping to create a creamy texture without the need for cooking or cornstarch. Blend the mixture thoroughly for a full two minutes. This high-speed blending not only ensures all ingredients are perfectly combined but also helps to emulsify the coconut fat, mimicking some of the texture benefits of cooking.
After blending, the mixture is ready to go directly into your ice cream maker for churning. Alternatively, you can chill it in the refrigerator until you’re ready to churn. This blender method drastically cuts down on active prep time, making homemade dairy-free ice cream more accessible than ever, all while delivering a wonderfully creamy and flavorful result.
Exciting Flavor Variations to Try
While the Roasted Strawberry Coconut Milk Ice Cream is absolutely delicious on its own, it also serves as a fantastic base for creative flavor variations. Don’t be afraid to experiment and customize your batch to suit your personal tastes or what you have available in your pantry.
One delightful variation to consider is **Roasted Strawberry Malt Coconut Milk Ice Cream**. To achieve this, simply add two tablespoons of malted milk powder to your coconut milk mixture before churning. Be aware that traditional malted milk powder contains dairy, so if you’re strictly avoiding dairy, this particular variation wouldn’t be suitable. However, for those who enjoy the nostalgic, rich, and slightly savory notes of malt, it adds an incredible depth of flavor that complements the roasted strawberries beautifully.
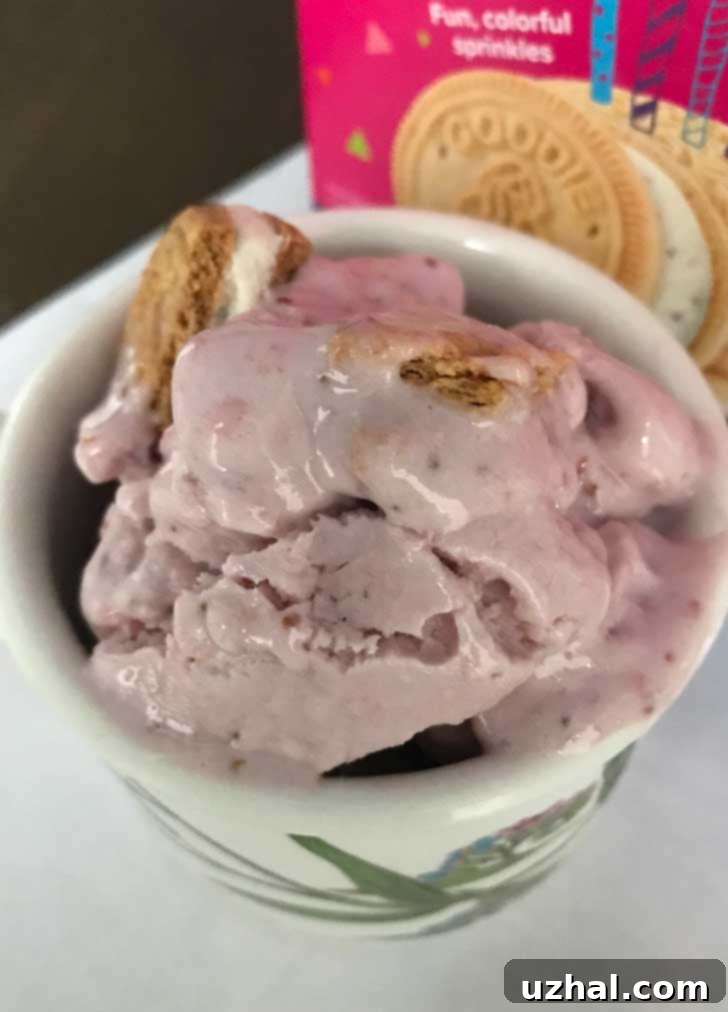
Another fun and festive option is **Roasted Strawberry Birthday Cake Cookies and Cream**. This variation introduces a playful texture and flavor dimension by folding in broken pieces of birthday cake-flavored sandwich cookies. For a gluten-free and dairy-free option, I highly recommend using Goodie Girl cookies. These cookies offer a delightful crunch and a familiar “birthday cake” taste without compromising on dietary needs. If dairy is not a concern, traditional Birthday Cake Oreos would also work wonderfully, adding vibrant sprinkles and that classic chocolate-and-cream cookie flavor. I initially had some reservations about how the texture of gluten-free sandwich cookies would hold up in the ice cream, but my family gave it a resounding thumbs-up, proving that this variation is a definite crowd-pleaser.
Beyond these specific suggestions, feel free to unleash your creativity! Consider adding a swirl of dairy-free chocolate fudge, a handful of toasted pecans or walnuts for crunch, or even a different type of roasted fruit. Imagine roasted peaches or blueberries for a summer twist! The robust flavor of the roasted strawberries provides a strong foundation that can handle a variety of mix-ins and complementary flavors, making this recipe incredibly versatile. Enjoy experimenting and discovering your next favorite dairy-free ice cream combination!
More Delicious Dairy-Free & Strawberry-Inspired Recipes
- Wheat Free Hazelnut Brownies – No Gums
- Baking You Happy Review
- Glazed Strawberry Pie with Cream Cheese
- Strawberry Cake with Pudding Frosting
- Scratch Strawberry Cake
Recipe Card: Roasted Strawberry Coconut Milk Ice Cream
Roasted Strawberry Coconut Milk Ice Cream
Anna
Pin Recipe
Equipment
-
1 ice cream maker
Ingredients
Roasted Strawberries
- 2 cups slightly heaping, fresh strawberries — weigh after trimming (approx. 340 grams)
- 6 tablespoons granulated sugar (approx. 70 grams)
Coconut Milk Mixture
- 2 cans full-fat coconut milk (15 oz / 400ml each)
- 6 tablespoons granulated sugar (approx. 70 grams)
- 1 tablespoon cornstarch or tapioca starch (for Method 1)
- 2 teaspoons pure vanilla extract
- ⅛ teaspoon xanthan gum (optional, for Method 2)
Instructions
Method 1: Stovetop & Cornstarch
-
Preheat your oven to 375 degrees F (190°C).
-
Slice the trimmed strawberries and place them in a loaf pan. Toss them gently with 6 tablespoons of granulated sugar. Bake for 10 minutes until the strawberries soften and release their juices, forming a beautiful syrup. Let them cool for at least 20 minutes.
-
In a large saucepan (about 3-quart size), pour in the coconut milk and stir well to combine any separated cream. Before heating, spoon out a small amount of coconut milk into a separate bowl and whisk in the cornstarch until completely dissolved. Add this cornstarch slurry back into the pot of coconut milk.
-
Add the remaining 6 tablespoons of sugar to the saucepan. Carefully tilt the cooled loaf pan with the roasted strawberries and allow the accumulated syrup to drain into the pot with the coconut milk. (Hold back the solid strawberries for later.) You should get approximately 6 tablespoons of syrup, but don’t worry if some remains with the strawberries; it will all be pureed and added soon.
-
Place the saucepan over medium heat and cook, stirring frequently, until the mixture reaches a gentle boil. Continue to stir and let it boil for about 3-5 minutes, or until it slightly thickens to a consistency similar to a thin cream gravy, not pudding. If you’re using a brand like Goya (without guar gum), it might take an extra minute or two to thicken. Remove from heat and transfer the mixture to a large bowl. Stir in the vanilla extract.
-
Take the reserved roasted strawberries and puree them until smooth. Stir this strawberry puree into the coconut milk mixture. Cover the bowl tightly and chill in the refrigerator for at least 3 hours, or until it is very cold. To speed up the chilling process, you can pour the mixture into a large, flat dish (such as a 9×13 inch baking dish); the increased surface area will help it cool faster.
-
Once thoroughly chilled, process the mixture in your ice cream maker according to the manufacturer’s instructions until it reaches a thick, soft-serve consistency. Transfer to an airtight container and freeze for at least 4 hours to firm up before serving.
Method 2: Blender Method (No Cook, No Cornstarch)
-
Slice the trimmed strawberries, place them in a loaf pan, and toss with 6 tablespoons of granulated sugar. Bake for 10 minutes (or 20 minutes if using frozen strawberries). The strawberries should soften and create a syrup. Let cool completely.
-
Pour the full-fat canned coconut milk into a high-speed blender. If the coconut milk has separated (cream at the top, water at the bottom), you might need to warm it slightly to re-emulsify it, then blend on high speed until smooth and fully combined. This step is essential for a creamy, consistent texture.
-
Add the cooled roasted strawberries and all their accumulated syrup to the blender, along with the vanilla extract.
-
Add the remaining 6 tablespoons of granulated sugar. For an extra smooth and stable texture, optionally add ⅛ teaspoon of xanthan gum. (Do not add cornstarch with this method.)
-
Blend the mixture on high speed for a full 2 minutes. This ensures everything is thoroughly combined and helps emulsify the fat for optimal creaminess. After blending, you can pour it directly into your ice cream maker, or chill it in the refrigerator until you are ready to churn.
-
Pour the blended mixture into your ice cream maker and churn according to the manufacturer’s directions until it’s thick and cold. Transfer the churned “ice cream” to freezer-safe tubs or covered containers and freeze for at least 4 hours to firm up before serving.
