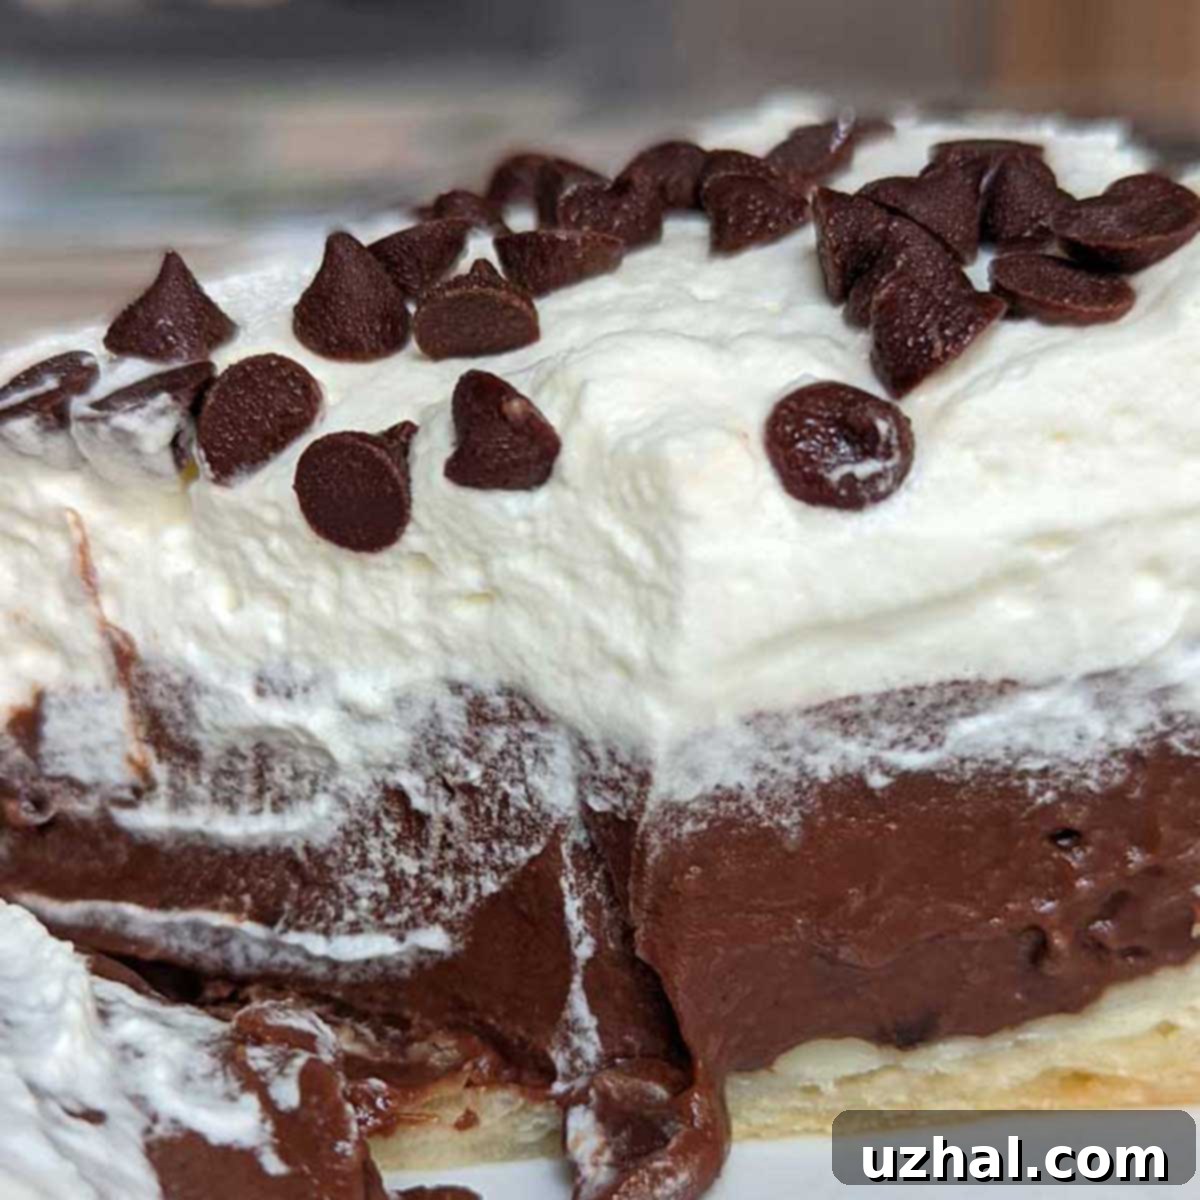
Classic Evaporated Milk Chocolate Cream Pie: A Creamy, Egg-Free Vintage Delight
Indulge in a timeless dessert that harks back to simpler times with this delightful Evaporated Milk Chocolate Cream Pie. This recipe is a cherished vintage classic, famously associated with Pet Evaporated Milk, and stands out for its unique egg-free composition. The secret to its incredibly smooth, rich, and nostalgic texture lies in the generous use of two full cans of evaporated milk. Beyond this key ingredient, the filling comes together with common kitchen staples: granulated sugar, rich cocoa powder, cornstarch for thickening, a pinch of salt to balance the flavors, and a touch of butter for luxurious creaminess. What makes this pie truly special is its ease of preparation, allowing you to whip it up almost effortlessly whenever you have a pie crust ready to be filled, promising a comforting taste that transports you back to childhood.
The Magic of Evaporated Milk in Desserts
Evaporated milk is the cornerstone of this pie, lending it a distinctive creamy consistency and rich flavor that sets it apart from other chocolate pies. Unlike regular milk, evaporated milk has about 60% of its water removed, resulting in a more concentrated and slightly caramelized flavor profile. This density contributes significantly to the pie’s luxurious, melt-in-your-mouth texture, reminiscent of old-fashioned puddings and custards.
Historically, evaporated milk was a pantry staple, especially during times when fresh milk was not readily available or refrigeration was limited. It became a hero ingredient in many vintage recipes, particularly for its ability to create rich, creamy desserts without the need for fresh dairy or eggs. In this egg-free pie, evaporated milk effectively replaces eggs, providing both richness and structure to the filling, making it an excellent choice for those with egg allergies or simply looking for a different kind of dessert experience.
Crafting the Perfect Chocolate Filling
Creating the decadent filling for this chocolate pie is surprisingly simple, primarily involving a careful combination of dry and wet ingredients before cooking. The blend of sugar, cocoa powder, cornstarch, and salt forms the flavorful base, which then gets slowly incorporated with the evaporated milk. The process emphasizes thorough mixing to prevent lumps and achieve a silky-smooth consistency.
Choosing Your Cocoa Powder for Optimal Flavor
Since this recipe relies entirely on cocoa powder for its chocolate flavor, the quality and type of cocoa you choose will significantly impact the final taste of your pie. You’ll need a full half cup of unsweetened cocoa, so select one you truly enjoy. There are generally two main types of unsweetened cocoa powder: natural and Dutch-processed.
Natural cocoa powder is typically lighter in color and has a slightly more acidic, fruitier chocolate flavor. Dutch-processed cocoa, on the other hand, is treated with an alkali to neutralize its acidity, resulting in a darker color and a smoother, milder chocolate taste. While both work in this recipe, personal preference often dictates the choice. Many find that natural cocoa powder offers a brighter, more pronounced chocolate flavor that truly shines in pie fillings, providing a delightful contrast. Experiment with your favorite brand to discover which yields your perfect chocolate experience.
Achieving a Velvety Smooth Texture: Avoiding Lumps
With any pudding-style filling that uses cocoa powder and no eggs, there’s a slight risk of developing lumps. To ensure your pie filling is perfectly smooth, consider a few key steps. First, sifting your cocoa powder before mixing it with the other dry ingredients can help break up any existing clumps and prevent new ones from forming. Second, it’s crucial to blend the dry ingredients with the evaporated milk as thoroughly as possible *before* placing the saucepan over heat. Aim for a homogenous mixture right from the start.
If, despite your best efforts, you still find a few stubborn lumps after cooking, there’s a simple solution. Before adding the butter and vanilla, and just before pouring the filling into your pie crust, you can strain it through a fine-mesh sieve. While this step is usually optional – especially if you’ve mixed everything diligently – it guarantees a flawlessly smooth texture. From personal experience, straining is rarely necessary unless the cocoa was unsifted and the initial blending was rushed. Remember, any minor imperfections can also be beautifully disguised by a generous dollop of whipped cream!
The Ideal Pie Crust: Finding the Perfect Fit
Selecting the right pie crust is essential for accommodating this rich, creamy filling. The original vintage recipe was designed for a substantial 9-inch homemade deep-dish pie crust, which typically holds up to 4½ cups of filling. However, modern store-bought deep-dish pie shells often have a shallower capacity, usually closer to 3 to 3¼ cups.
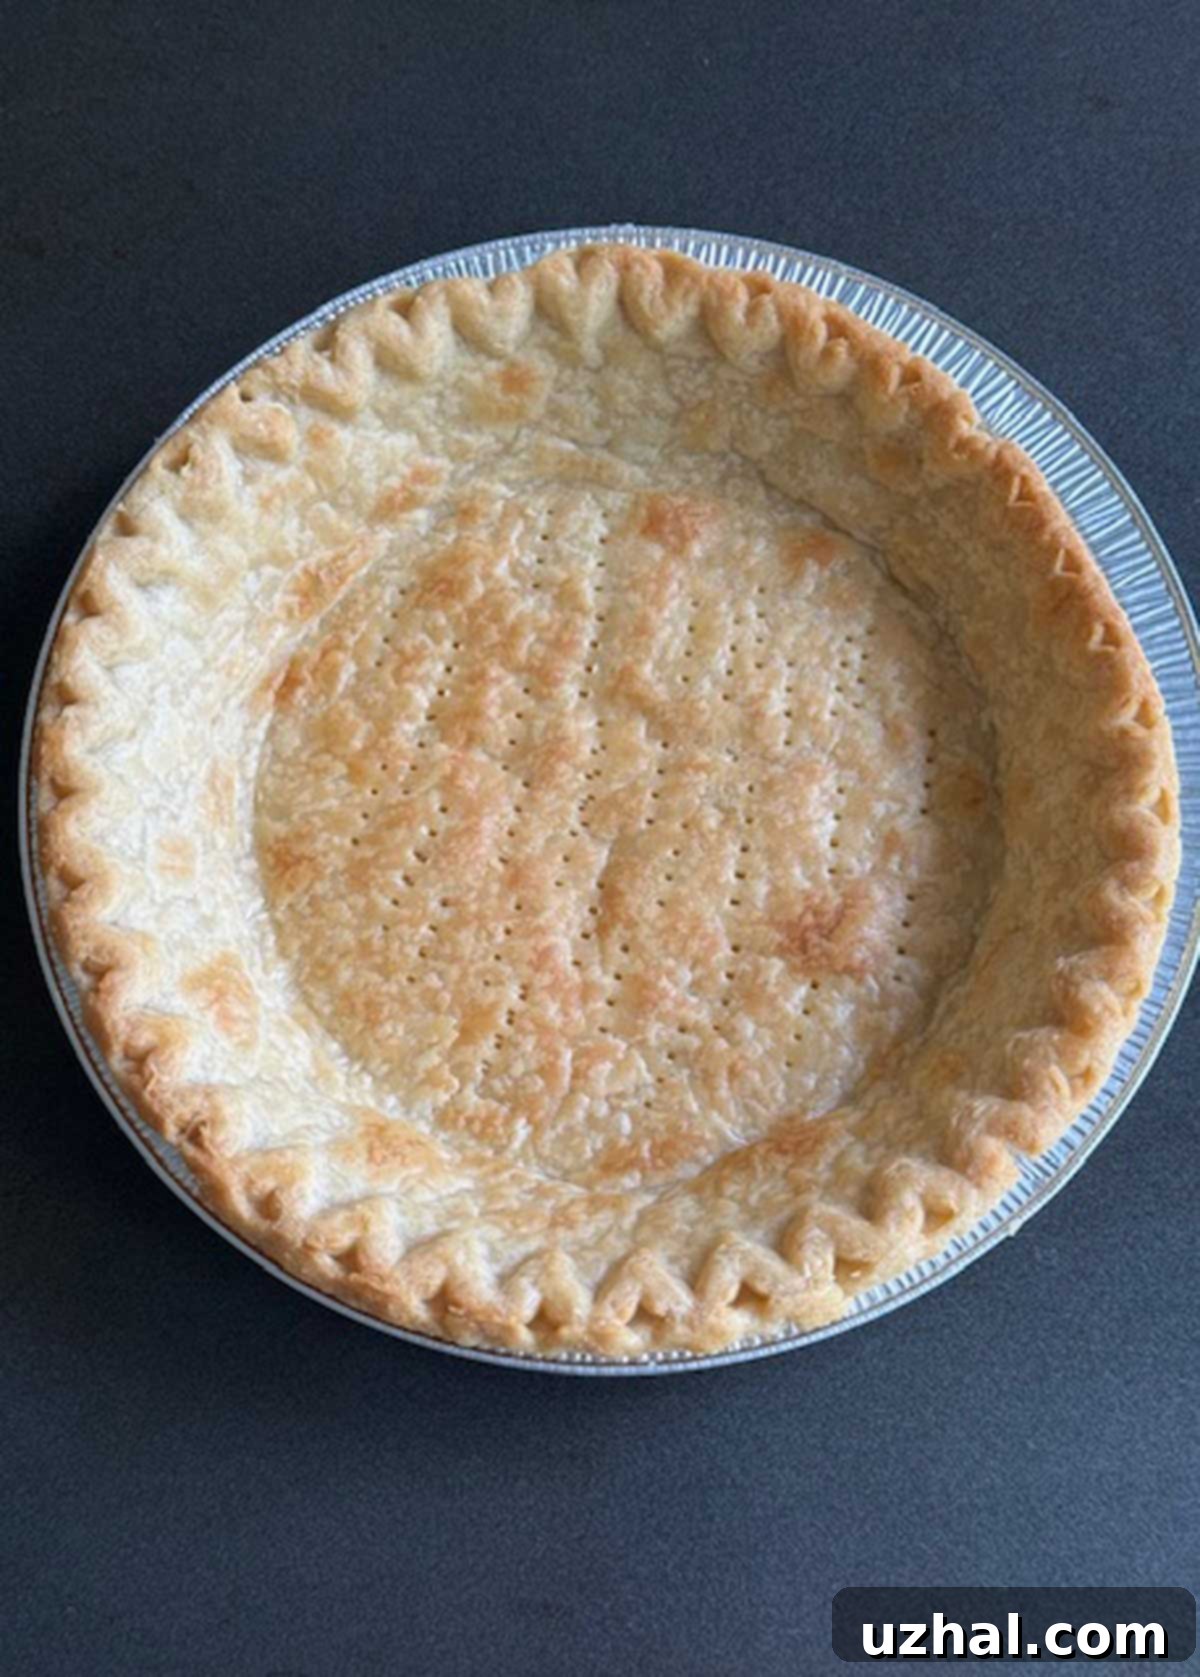
Navigating Store-Bought Frozen Baked Pastry Crusts
If you opt for a convenient store-bought frozen pie shell, such as those from brands like Marie Callender’s, be aware that you might end up with a bit of extra filling. Given that this egg-free pie filling is not extremely stiff, it’s best not to overfill your crust. Overfilling can lead to a messy overflow or compromise the pie’s ability to set properly. The good news is that any leftover filling can be poured into a small ramekin or serving dish, chilled, and enjoyed as a delightful bonus mini-dessert or a quick pudding snack. This ensures no delicious chocolate goes to waste!
The Charm of Homemade Deep-Dish Crusts
For those who love to bake from scratch, a homemade deep ceramic or glass pie plate crust is the ideal vessel for this recipe. These deeper crusts are perfectly sized to hold the entire volume of the filling, allowing you to achieve the pie’s full, majestic height. Crafting your own crust also offers the opportunity to customize the flavor and texture, perhaps with a hint of cinnamon or a flakier pastry, adding another layer of homemade goodness to your vintage chocolate pie.
Small Batch-Friendly Graham Cracker Crusts
For a quicker, smaller-scale treat, this recipe adapts wonderfully to a store-bought graham cracker crust. These crusts, often sold in 6 oz or smaller 9-inch shallow versions, are ideal when you decide to halve the recipe. Their pre-baked convenience makes them a fantastic shortcut for a family-sized pie that comes together in a flash. The delicate sweetness of the graham cracker complements the rich chocolate filling beautifully, offering a different but equally delightful flavor profile.
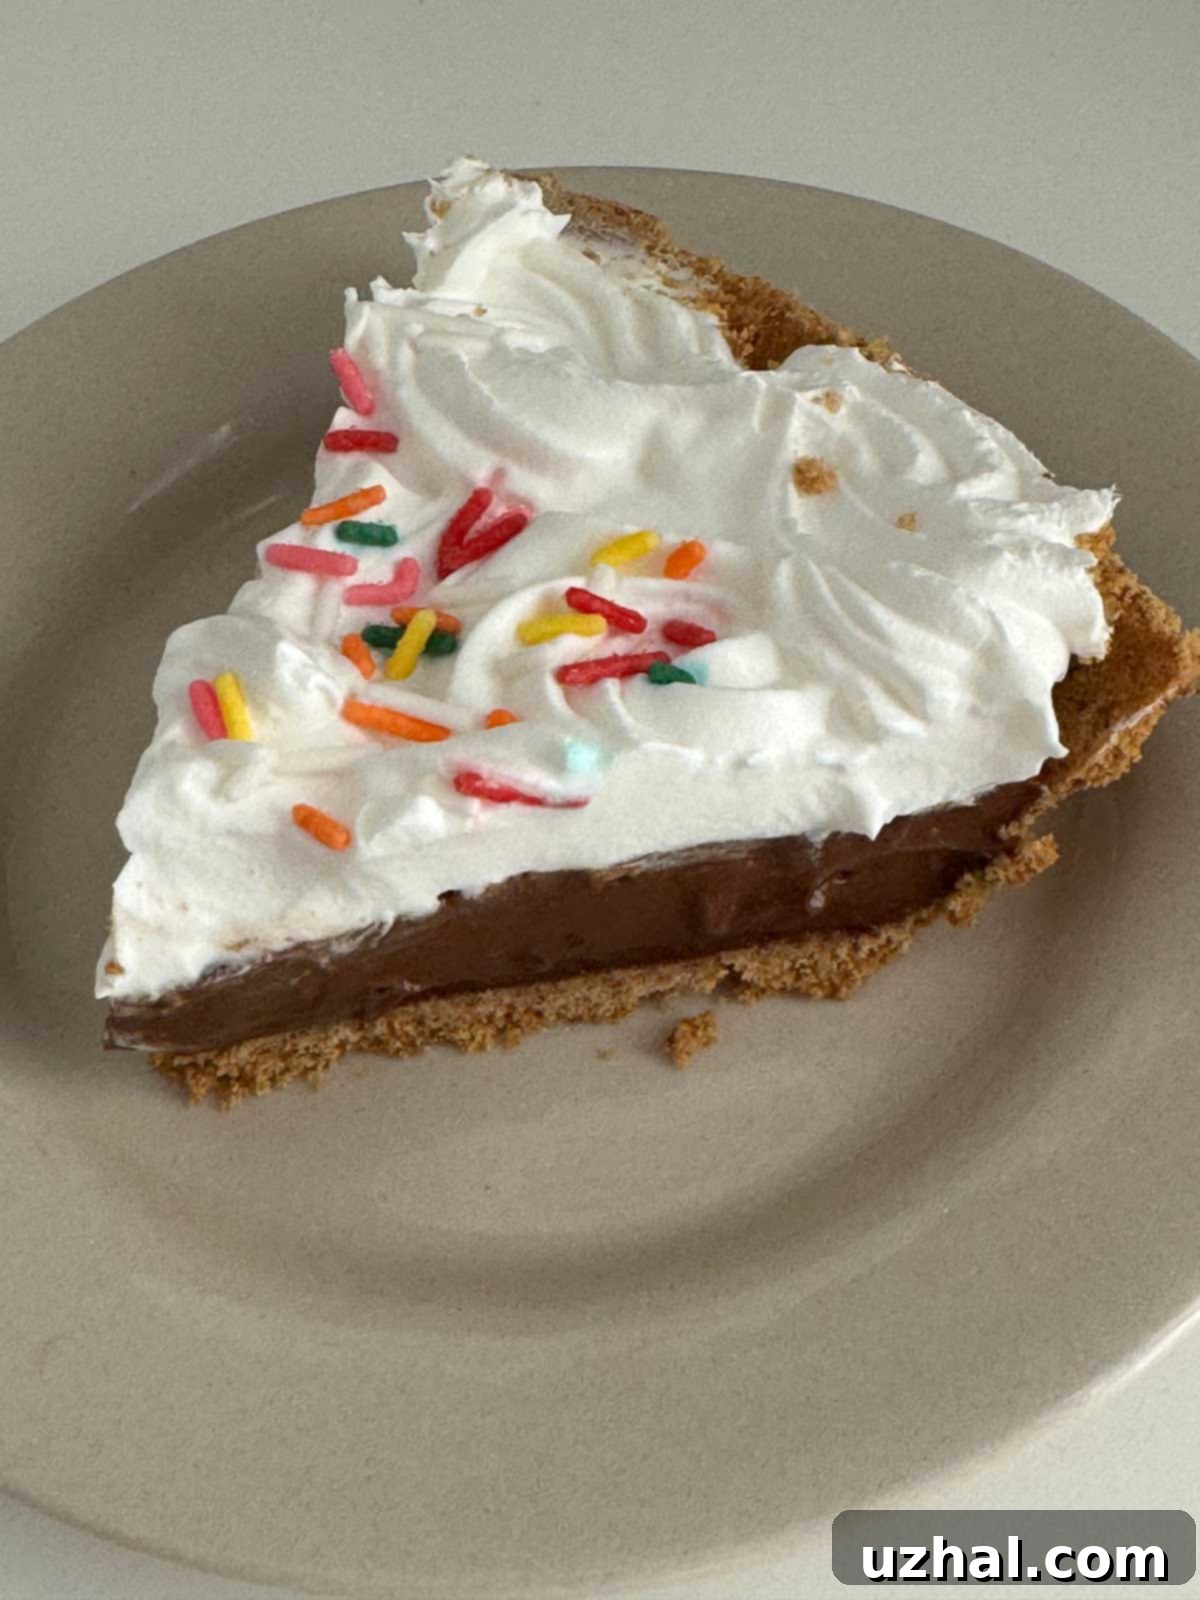
Understanding the Pie’s Unique Softer Set
One distinctive characteristic of this evaporated milk chocolate pie is its tendency to set up softer than traditional egg-based custard pies. This softer, almost pudding-like consistency is a direct result of two factors: the absence of eggs and the reliance solely on cocoa powder for flavor rather than chopped chocolate. Eggs typically contribute significant structure and firmness to baked goods, while the fat and solids in chopped chocolate also help pies set more rigidly.
If you prefer a pie with a much firmer, sliceable texture, you might want to seek out recipes that include eggs and/or chopped chocolate, or those that use a higher proportion of flour or cornstarch as a thickener. However, this softer set is precisely what gives this vintage recipe its charm and nostalgic appeal. Its luscious, smooth texture makes it versatile; it’s not only perfect for pie but would also excel as a parfait filling, layered with whipped cream and perhaps some crushed cookies. Think of those classic chocolate parfaits that Kentucky Fried Chicken used to sell (and perhaps still do in some locations!) – this filling would be absolutely perfect for recreating that delightful experience.
Scaling the Recipe for Any Occasion
While the original recipe is formulated for a full 9-inch deep-dish pie, it’s incredibly adaptable to suit various needs and preferences. For smaller households or when you simply crave a modest treat, halving the recipe is an excellent option. This provides enough filling for a smaller pie, typically fitting perfectly into a 6.5 or 7-inch pie dish. These charming, smaller-sized pie dishes are widely available online, making it easy to create individual or small family-sized desserts without excess leftovers.
Alternatively, if you prefer to make the full recipe and anticipate having extra filling due to a shallower store-bought crust, you can always pour the surplus into individual ramekins or small bowls. These make delightful “bonus” mini chocolate puddings that can be chilled and enjoyed separately. Whether you halve it or embrace the delicious leftovers, this recipe offers flexibility to fit your lifestyle.
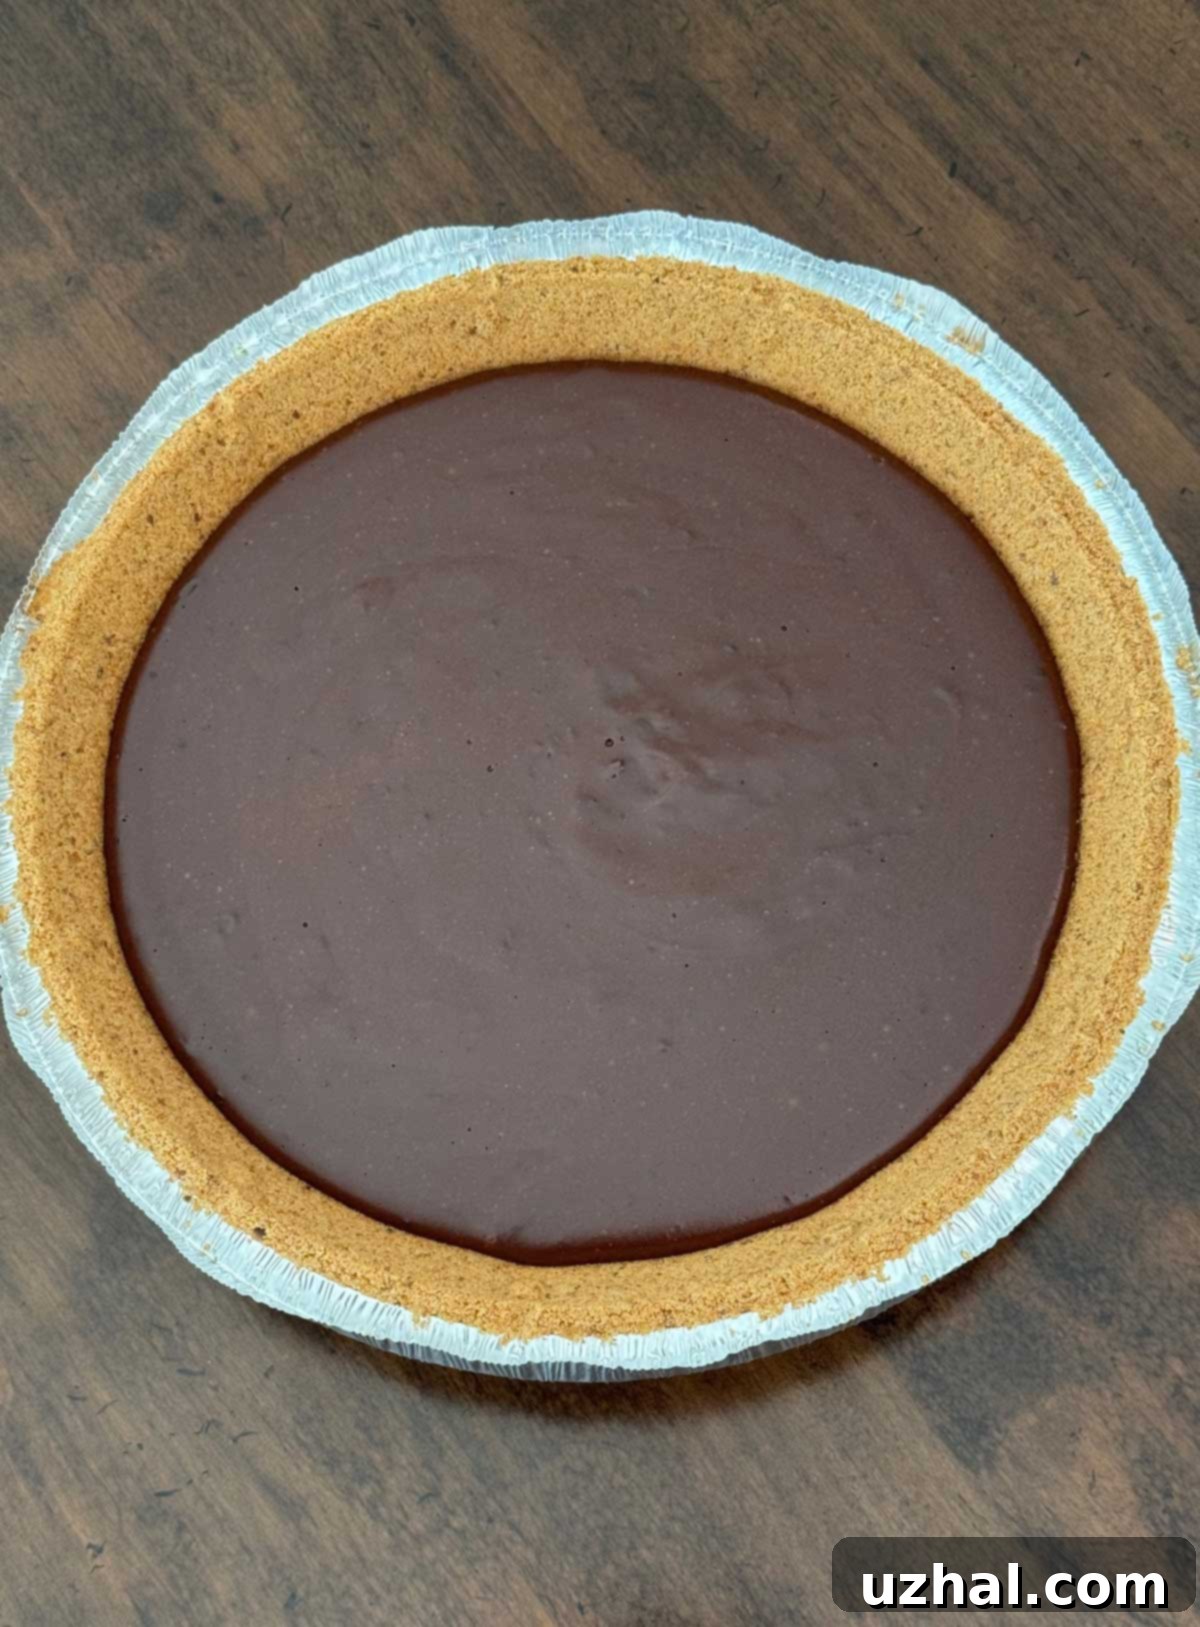
Serving Suggestions and Enhancements
This Evaporated Milk Chocolate Cream Pie is a delicious treat on its own, but it truly shines with the right accompaniments. A dollop of whipped cream is almost mandatory, adding a light, airy contrast to the rich chocolate filling. You can opt for store-bought whipped topping for convenience, or easily prepare your own homemade whipped cream for an extra touch of luxury. Homemade whipped cream, sweetened with powdered sugar and a hint of vanilla, elevates the pie to a gourmet level.
Beyond whipped cream, consider adding other toppings to enhance both presentation and flavor. A light dusting of cocoa powder or grated chocolate shavings can make the pie look even more inviting. For a textural crunch, a sprinkle of mini chocolate chips or toasted nuts could be a delightful addition. This pie is perfect for any occasion, from a casual family dinner to a festive holiday gathering, offering a comforting and satisfying close to any meal.
- Easiest Ever Pecan Pie With No Corn Syrup
- Egg Free Pecan Pie
- Great Pumpkin Dessert
- Malted Milk Powder
- Small Batch Pumpkin Dump Cake
Recipe
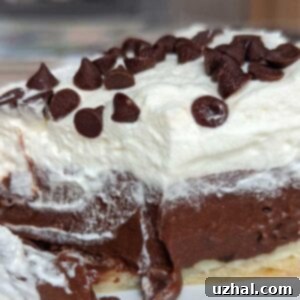
Evaporated Milk Chocolate Cream Pie
Anna
Pin Recipe
Ingredients
- 1 9 inch pie crust, deep dish, baked (see note)
- 1 ¼ cups granulated sugar (250 grams)
- ½ cup unsweetened cocoa powder, best quality** (60 grams)
- ⅓ cup cornstarch (40 grams)
- ¼ teaspoon salt
- 2 cans evaporated milk, Pet (12 oz each/3 cups total)
- 4 tablespoons room temperature butter, cut into chunks (56 grams)
- 1 teaspoon vanilla extract
Whipped Cream For Top — Optional, or use Whipped Topping
- 1 cup heavy whipping cream
- ⅓ cup powdered sugar or about 3 tablespoons granulated
- 1 teaspoon vanilla extract
Instructions
-
In a medium to large saucepan (a 3 ½ quart size works well), combine the granulated sugar, cocoa powder, cornstarch, and salt. Make sure to mix these dry ingredients thoroughly while the pan is off the heat.
-
Gradually whisk in the evaporated milk. Continue whisking diligently until the mixture is completely blended and as homogenous as possible, aiming to prevent any lumps from forming.
-
Place the saucepan over medium heat. Stir the mixture constantly, ensuring it doesn’t stick to the bottom, until it comes to a full boil. Once boiling, set a timer for 1 minute and continue stirring vigorously until the minute is up. This ensures the cornstarch is fully cooked and activated.
-
Immediately remove the pan from the heat. Add the room temperature butter chunks and vanilla extract, stirring continuously until the butter is completely melted and incorporated. Carefully pour the hot filling into your prepared pie crust. If you notice your crust is shallower than expected, hold back a small amount of filling to prevent overfilling. For an extra-smooth filling, you can strain it through a fine-mesh sieve into the pie crust before adding the butter and vanilla, though this step is often unnecessary if mixed well. The whipped cream topping will graciously cover any minor surface imperfections.
-
Cover the surface of the pie filling directly with plastic wrap or buttered parchment paper. This crucial step prevents a “skin” from forming on top as it cools. Allow the pie to cool at room temperature for approximately one hour before transferring it to the refrigerator.
-
Chill the pie in the refrigerator for at least 4 hours, or until it is thoroughly set and ready to serve.
Homemade Whipped Cream
-
Before serving your chilled pie, you can either top it with your favorite store-bought whipped topping or prepare a batch of fresh homemade whipped cream. For homemade, use 1 cup of heavy whipping cream combined with about ⅓ cup of powdered sugar (or 3 tablespoons of granulated sugar). This quantity will provide ample whipped cream, likely more than enough for generously topping your pie.
-
To make the whipped cream, pour the heavy whipping cream and sugar into the bowl of a stand mixer fitted with the whisk attachment (or use a hand mixer). Beat on medium-high speed just until soft peaks begin to form. Add the vanilla extract and continue whipping for a short moment until stiff peaks are achieved. Be careful not to over-whip, or you’ll end up with butter.
Notes
Whether you’re recreating a cherished memory or discovering this vintage delight for the first time, the Evaporated Milk Chocolate Cream Pie is sure to become a beloved addition to your recipe collection. Its simplicity, rich flavor, and irresistible creamy texture make it a standout dessert that proves classic recipes truly never go out of style. Enjoy the nostalgic taste and effortless elegance of this egg-free chocolate dream!
