Creamy Dairy-Free Peanut Butter Ice Cream: The Ultimate Oat Milk & Almond Milk Recipe
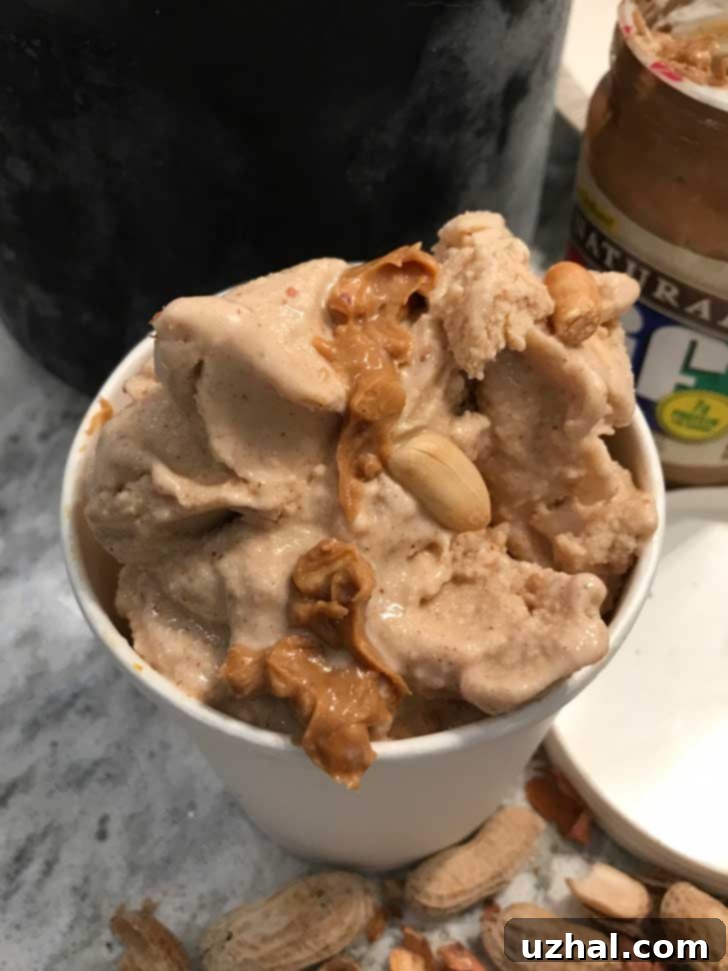
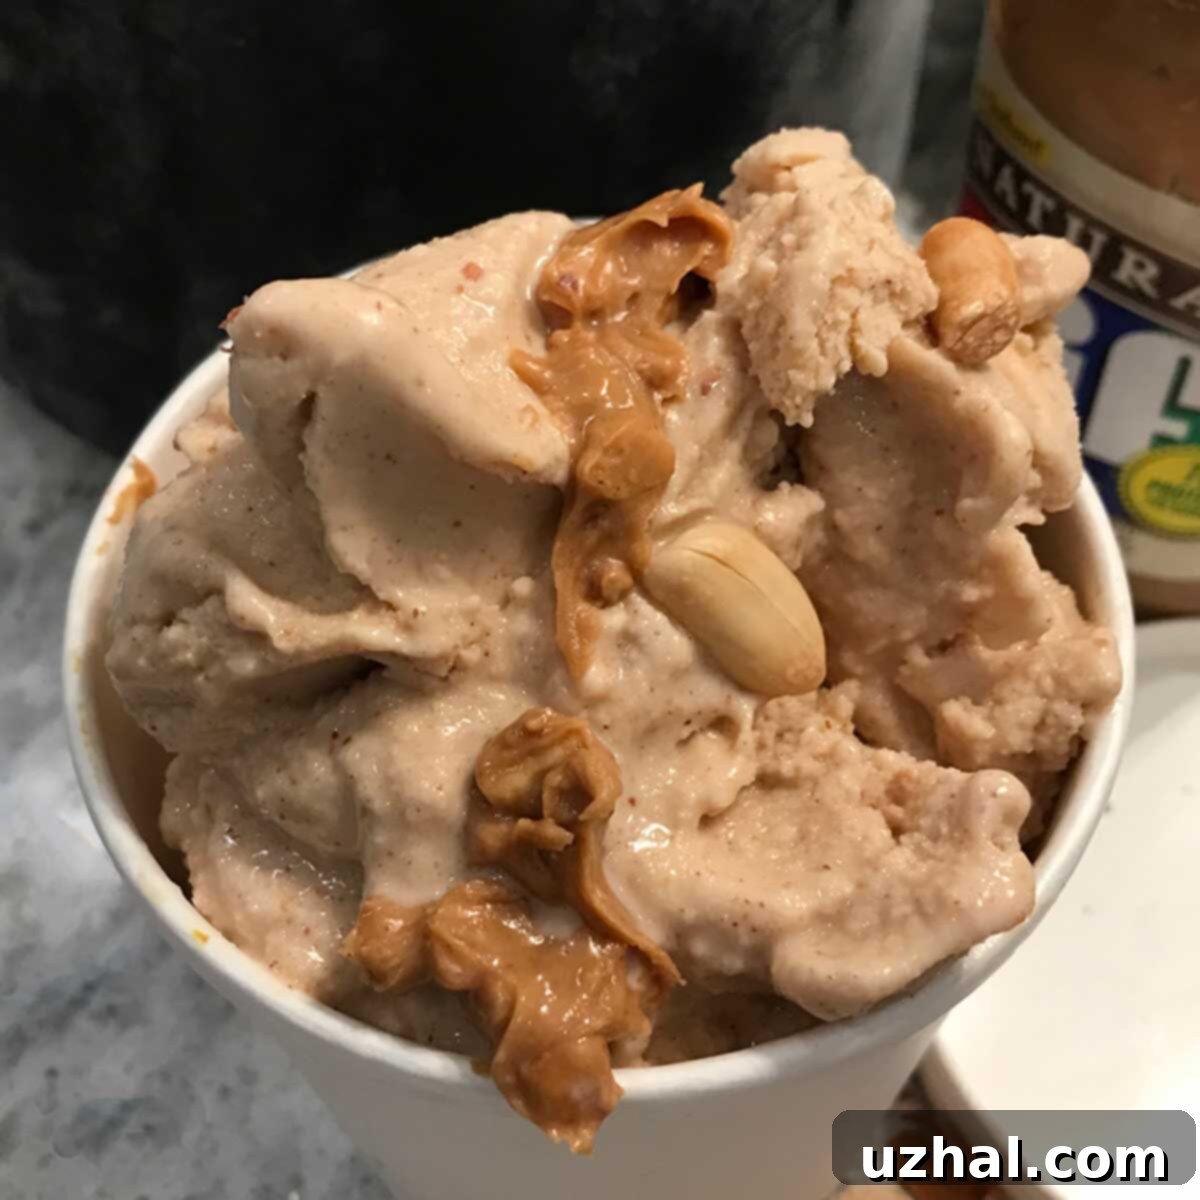
Craving a rich, creamy, and utterly satisfying peanut butter ice cream but need it to be dairy-free and vegan? Look no further! This recipe delivers a delightful frozen treat that’s not only incredibly delicious but also remarkably simple to make at home. What started as an almond milk-based delight has evolved into this equally fantastic oat milk version, offering a versatility that means you likely already have the core ingredients in your pantry. Whether you prefer the subtle sweetness of oat milk or the crisp lightness of almond milk, both plant-based options work beautifully, ensuring this becomes a staple in your dessert repertoire.

Achieving the Perfect Creaminess: A Balanced Treat
Unlike some overly decadent peanut butter ice creams that can feel heavy, this recipe strikes a perfect balance. It’s incredibly creamy, melting smoothly in your mouth, yet it avoids being excessively rich. The secret lies in harnessing the natural fats from the peanut butter itself, which provide all the necessary lusciousness. This is expertly balanced by the lower calorie content of vegan milk, preventing the ice cream from becoming cloyingly heavy. The result is a dessert that satisfies your sweet tooth without leaving you feeling weighed down.
For those who desire an even more luxurious, slightly richer texture without adding dairy, a simple trick is to substitute half of the oat milk or almond milk with creamy full-fat coconut milk. This adds a subtle tropical note and an extra layer of velvety smoothness, transforming your homemade treat into an even more indulgent experience. Experiment with this variation to discover your perfect level of richness!
Essential Tools for Crafting Your Own Dairy-Free Delight
Making homemade ice cream is a rewarding experience, and having the right tools can make it even more enjoyable. While a good ice cream maker is key, I’ve found that having specific storage solutions truly elevates the process. For some reason, having these convenient pint containers on hand has added so much more joy to my ice cream making adventures. They are perfectly sized for small batches, allowing you to store your creations neatly in the freezer. I often envision making cute labels for each flavor, though I rarely get around to it – but even without them, these containers are invaluable. Beyond ice cream, they’re surprisingly versatile; I’ve even used them for storing leftover soup!
When it comes to the ice cream maker itself, there are a few types to consider. Freezer bowl models, like my Cuisinart, require you to pre-freeze the bowl for at least 24 hours, but they are generally more affordable and great for occasional use. Compressor models, on the other hand, have a built-in freezer, allowing you to make batch after batch without any pre-planning. Whichever type you choose, ensure it’s clean and ready before you begin. A reliable blender is also crucial for achieving a perfectly smooth base, ensuring all ingredients are fully incorporated without any lumps. Don’t underestimate the power of these simple tools in your quest for homemade dairy-free ice cream perfection!
Low Carb & Keto-Friendly Peanut Butter Ice Cream
For those mindful of their sugar intake or following a low-carb or ketogenic diet, this recipe is wonderfully adaptable. I recently experimented with an almond milk base, natural peanut butter, and Birch Benders keto maple syrup, which is sweetened with monk fruit. The result was a delicious, guilt-free treat! It’s worth noting that sugar-free maple syrups tend to have a more pronounced “maple” flavor, similar to pancake syrup, which can be quite strong. This distinct flavor profile actually paired quite well with the robust peanut butter, creating a harmonious blend that was surprisingly satisfying.
If you prefer a more neutral sweetness for your low-carb version, fear not! There are other excellent sugar-free alternatives available. Allulose syrup is a fantastic option known for its clean taste and ability to mimic sugar’s texture without the glycemic impact. You could also explore products like allulose honey for a slightly different sweet profile. Always adjust the quantity to your preferred sweetness level, as sugar-free sweeteners can vary in intensity. By making these simple substitutions, you can enjoy a creamy, flavorful peanut butter ice cream that fits perfectly into your dietary goals, proving that dairy-free and low-carb desserts can be truly indulgent.
Oat Milk Peanut Butter Ice Cream: A Deep Dive into Ingredients
Crafting the perfect dairy-free peanut butter ice cream starts with understanding the role of each ingredient. Here’s a detailed look at what you’ll need and why:
- Oat Milk or Almond Milk: This is the base of our dairy-free ice cream. While the recipe is fantastic with either, consider the nuanced differences. Oat milk typically provides a richer, creamier texture and a slightly sweeter, more neutral flavor profile than almond milk, which can be thinner and sometimes has a subtle nutty undertone. Any reputable brand of unsweetened plant milk should work well, but for optimal creaminess, look for brands with a slightly higher fat content if available.
- Unsweetened Creamy Peanut Butter: This is the star of the show and provides the primary fat and flavor. My personal go-to brands are Whole Foods 365, Wegmans Just Peanuts, or Trader Joe’s Unsweetened, as they typically contain only peanuts and salt, ensuring a pure, unadulterated peanut flavor. I’ve also had great success with Smuckers Natural. It’s crucial to use *unsweetened* peanut butter for the base to control the overall sweetness of the ice cream. If you only have regular sweetened peanut butter (like Peter Pan or Jif), you absolutely can use it, but you will need to significantly reduce the maple syrup to about ¼ cup (or approximately 80 grams) to prevent it from becoming overly sweet. Measure your peanut butter by weight for the most accurate and consistent results.
- Vanilla Extract: A crucial flavor enhancer, vanilla extract adds depth and warmth, beautifully complementing the rich peanut butter notes. Don’t skip it, as it truly rounds out the flavor profile.
- Maple Syrup (or Agave Syrup): More than just a sweetener, maple syrup (or golden agave syrup) plays a dual role. Its natural sugars contribute to the ice cream’s smooth texture by helping to prevent ice crystal formation, resulting in a creamier, less icy final product. Agave syrup works equally well and has a very similar effect on texture. For the low-carb version, substitute with keto maple syrup or allulose syrup as discussed earlier.
- Salt: A tiny pinch of salt might seem insignificant, but it’s a flavor powerhouse. It doesn’t make the ice cream salty; instead, it skillfully counteracts and enhances the sweetness, making the other flavors pop and preventing the ice cream from tasting flat.
- Peanut Butter Powder (Optional): If you happen to have some peanut butter powder (like PB2) on hand, it’s a wonderful addition. It intensifies the peanut butter flavor without adding significant fat, making the ice cream even more robustly nutty. It’s not essential, but a nice extra layer of flavor if you have it.
- Sweetened Peanut Butter for Swirling (Optional, but highly recommended): While unsweetened peanut butter is best for the base, a swirl of mainstream sweetened peanut butter (like Jif or Skippy) can elevate this into an extra special treat. Its slightly sweeter and more processed consistency creates a delightful contrast and adds a nostalgic touch. You can also mix a tiny bit of olive oil or flax oil into the swirling peanut butter to keep it softer when frozen, which we’ll detail in the instructions.
- Extra Peanuts (Optional): For those who love a textural contrast, a handful of salted cocktail peanuts stirred in at the end adds a satisfying crunch and an extra burst of salty-sweet flavor.
Understanding the Macros: Dairy-Free Indulgence
I typically prepare this recipe using the lowest calorie almond milk I can find, which helps keep the overall calorie count down without sacrificing flavor or creaminess. The provided macro information in the recipe card below is calculated for the almond milk version, assuming the use of regular maple syrup. If you opt for a keto maple syrup substitute, you can significantly reduce the net carb count, often bringing it down to as little as 8 grams per serving, depending on your chosen sweetener. As always with dietary information, if you are strictly tracking your macros for health or fitness goals, I highly recommend inputting the specific brands and quantities of ingredients you use into your preferred nutritional tracking software. This ensures the most accurate and personalized macro breakdown for your homemade dairy-free peanut butter ice cream.
More Delicious Dairy-Free and Vegan Treats:
- Agave Honey Oatmeal Cookies
- Agave & Honey Oatmeal Raisin Cookies
- Small Batch Agave Oatmeal Chocolate Chip Muffins
- Dairy Free Chocolate Pie
- Chocolate Orange Walnut Cookies
Recipe: Dairy-Free Peanut Butter Ice Cream

Oat Milk or Almond Milk Peanut Butter Ice Cream
Anna
Pin Recipe
Equipment
-
1 ice cream maker
-
1 blender
Ingredients
- 2 cups oat milk or almond milk (460 grams/16 oz)
- ⅔ cup unsweetened creamy peanut butter (measure by weight for best results) (200 grams or about 7 oz by weight)**
- 1 teaspoon vanilla
- 6 tablespoons maple syrup or golden agave or keto maple syrup (120 grams a little over 4 oz by weight)
- 1 pinch salt
- 1 teaspoon peanut butter powder (optional)
- Handful of salted cocktail peanuts (optional)
- Peanut butter for swirling (preferably sweetened) plus a tiny bit of olive oil or another oil optional
Instructions
-
Combine all the base ingredients – oat or almond milk, unsweetened peanut butter, vanilla extract, maple syrup (or your chosen sweetener), and peanut butter powder (if using) – in a blender. Blend thoroughly until the mixture is completely smooth and creamy, ensuring no lumps remain.
-
Pour the smooth mixture into your pre-chilled ice cream maker. Process according to your manufacturer’s instructions. For reference, with a Cuisinart ice cream maker, this typically takes about 20 minutes to reach a soft-serve consistency.
-
Once churned, scrape the soft ice cream into a small, freezer-safe container. For optimal firmness and scoopability, freeze for at least 4 hours, or preferably overnight, until it reaches your desired consistency.
-
For an irresistible peanut butter swirl, gently soften about two tablespoons of your preferred sweetened peanut butter in the microwave for 15-30 seconds until it’s spoonable. Stir in about ½ to 1 teaspoon of a neutral oil like olive oil or flax oil. This addition helps the peanut butter remain slightly softer and smoother when frozen. As you spoon the churned ice cream into its storage carton, drizzle the softened peanut butter mixture throughout, creating beautiful swirls. Alternatively, you can simply spoon in straight peanut butter without the oil. I’ve tried both methods: adding oil results in a slightly softer, smoother swirl, whereas frozen straight peanut butter chunks will be a bit harder and more textural.
Notes
Nutrition
Tips for the Best Dairy-Free Ice Cream Experience
Making homemade ice cream, especially a dairy-free version, can be incredibly rewarding with a few key tips:
- Chill Your Base Thoroughly: For optimal churning, ensure your ice cream base is thoroughly chilled in the refrigerator for at least 4 hours, or preferably overnight. A colder base will churn faster and result in a smoother, creamier texture.
- Don’t Overfill Your Machine: Always leave some room in your ice cream maker bowl. The mixture will expand as it churns and incorporates air, creating that desirable light and fluffy texture.
- Achieve the Perfect Soft Serve: The ice cream will come out of the machine with a soft-serve consistency. While delicious immediately, freezing it for another 2-4 hours will firm it up to a scoopable, traditional ice cream texture.
- Dealing with Hardness: Dairy-free ice creams can sometimes freeze harder than their dairy counterparts. To avoid a rock-solid dessert, let your ice cream sit at room temperature for 10-15 minutes before serving to soften slightly. If you plan to store it for longer, consider adding a tablespoon of alcohol (like vodka, which doesn’t freeze) to the mixture before churning to help keep it softer.
- Customization is Key: Feel free to experiment with add-ins! Chocolate chips, vegan caramel swirls, or chopped roasted peanuts can elevate this ice cream to new heights. Just add them during the last few minutes of churning or layer them when you transfer the ice cream to its storage container.
Why Choose Homemade Dairy-Free Peanut Butter Ice Cream?
Beyond the sheer joy of creating something delicious in your own kitchen, making your own dairy-free peanut butter ice cream offers numerous advantages. You have complete control over the quality of ingredients, allowing you to select natural, organic, or allergen-friendly options. This homemade approach also means you can avoid artificial preservatives, colors, and excessive sugars often found in store-bought varieties. Furthermore, the ability to customize for dietary needs, such as low-carb or richer versions, makes this recipe incredibly versatile and appealing to a wider range of preferences. It’s a truly satisfying treat that you can feel good about enjoying!
