Moist & Easy Vegan Marble Cake: The Best Egg-Free Tofu Recipe
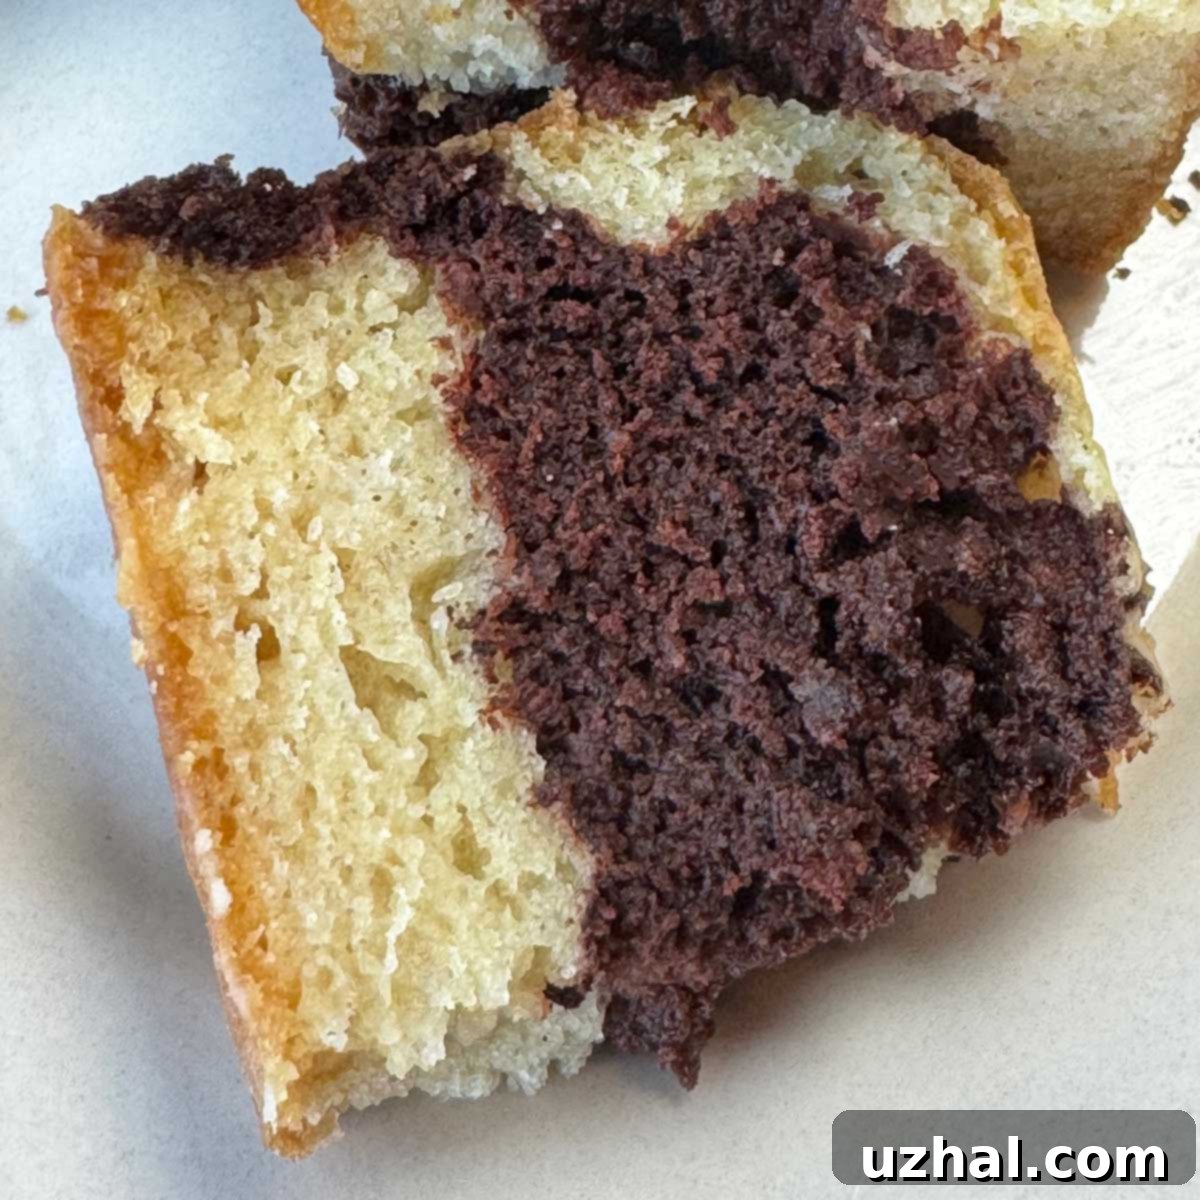
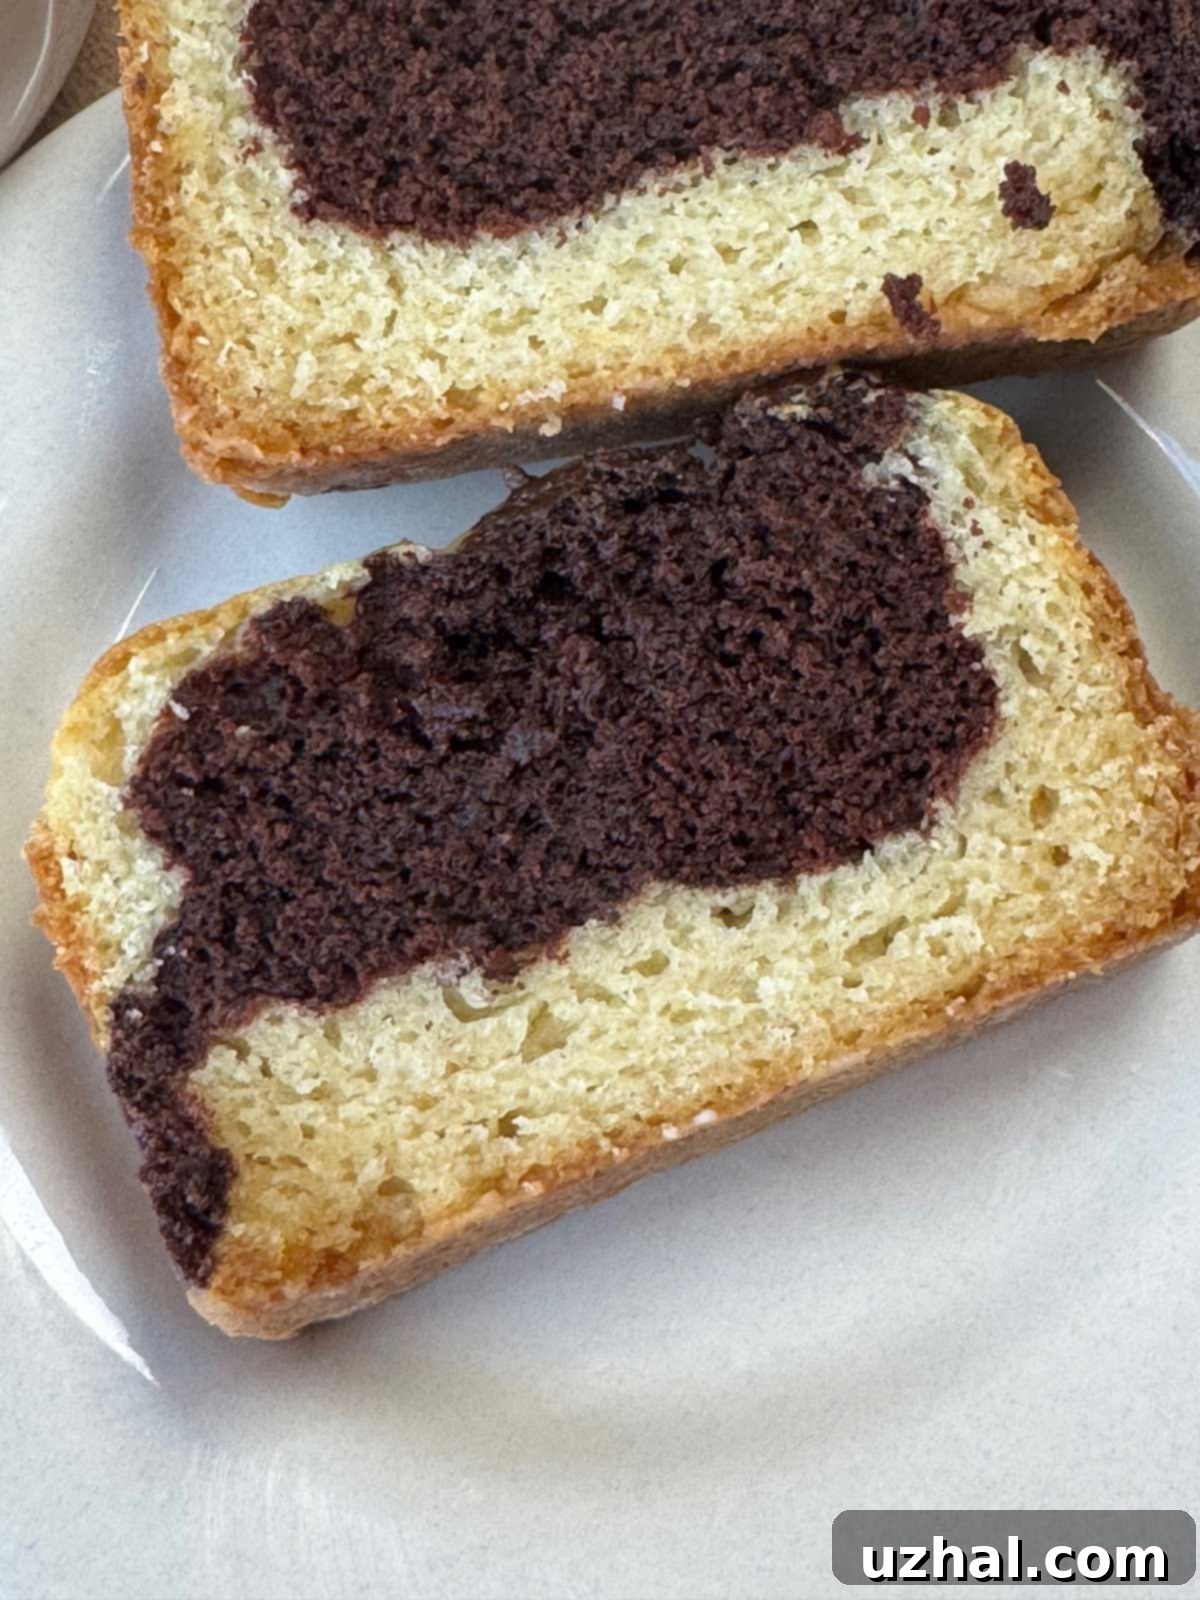
Welcome back to a beloved classic! This Vegan Marble Cake recipe, a cherished creation from way back in 2008, has finally received the makeover it truly deserves. For far too long, its incredible flavor was hidden behind less-than-stellar photographs taken in a pan that was simply too large. But after more than a decade of perfecting and planning, I’m thrilled to reintroduce this delightful, egg-free cake with fresh new visuals and updated insights. This isn’t just any vegan cake; it’s a testament to how simple ingredients can create something truly spectacular. The secret to its incredibly moist texture and perfect rise? Tofu – doing all the hard work that eggs traditionally would, and doing it beautifully!
The Secret Ingredient: Tofu in Vegan Baking
One of the most exciting aspects of this cake is its reliance on silken tofu as a key ingredient, replacing eggs entirely. Tofu, often overlooked in sweet recipes, is a powerhouse in vegan baking. It provides the necessary protein, adds moisture, and creates a wonderfully tender crumb that can be hard to achieve without traditional dairy and eggs. In this recipe, the tofu is pureed to a silky-smooth consistency, effortlessly integrating into the batter. This is where your blender comes in handy; while the rest of the cake batter is hand-stirred for simplicity, a blender is essential for transforming the tofu into its creamy, egg-like substitute. Combined with a generous amount of baking soda and baking powder, the tofu helps create the perfect lift and texture, resulting in a cake that’s light, airy, and incredibly satisfying.
Using tofu not only makes this cake vegan and egg-free, but it also contributes to a slightly healthier profile, offering plant-based protein without the cholesterol found in eggs. It’s truly a game-changer for those exploring the world of vegan desserts or simply looking for an alternative baking method.
Essential Ingredients for a Perfect Vegan Marble Cake
Beyond the star ingredient, tofu, this Vegan Marble Cake calls for a few other carefully selected components to achieve its signature light and tender texture:
- Cake Flour: This is crucial for a delicate crumb. Cake flour has a lower protein content than all-purpose flour, which results in a softer, more tender cake. If you don’t have cake flour, you can create a substitute by removing two tablespoons of all-purpose flour from each cup and replacing them with two tablespoons of cornstarch, then sifting thoroughly.
- Neutral Vegetable Oil: A neutral-flavored oil (like canola, sunflower, or grapeseed oil) provides the necessary fat for moisture without imparting any strong flavors that could compete with the vanilla and chocolate. Unlike butter, oil distributes more evenly throughout the batter, contributing to a consistently moist cake.
- Granulated Sugar: For classic sweetness, granulated sugar works perfectly. I’ve been considering experimenting with allulose, a newer natural sweetener known for its ability to create soft textures. It’s an interesting avenue for future trials, as allulose could potentially enhance the cake’s tenderness even further. For now, however, stick with granulated sugar for a reliably delicious result, especially if you’re keen on traditional baking methods.
- Plant-Based Milk: Soy or almond milk are excellent choices to bring the batter to the right consistency while keeping the cake entirely vegan. Their mild flavors complement the other ingredients beautifully.
- Good Quality Chocolate: The “marble” in our marble cake comes from melted semisweet chocolate. The quality of your chocolate makes a noticeable difference here. Opt for a good quality bar of chocolate (around 60-70% cacao) rather than chocolate chips, which often contain stabilizers that prevent them from melting smoothly. Melted chocolate provides a richer, more intense flavor and a better marbling effect.
- Vanilla Extract or Vanilla Bean Paste: Pure vanilla extract is always a good choice, but for an extra layer of gourmet flavor, I highly recommend vanilla bean paste. It adds a wonderful depth and visible specks of vanilla bean, enhancing the overall aroma and taste of the cake.
The Importance of Pan Size for a Perfect Loaf
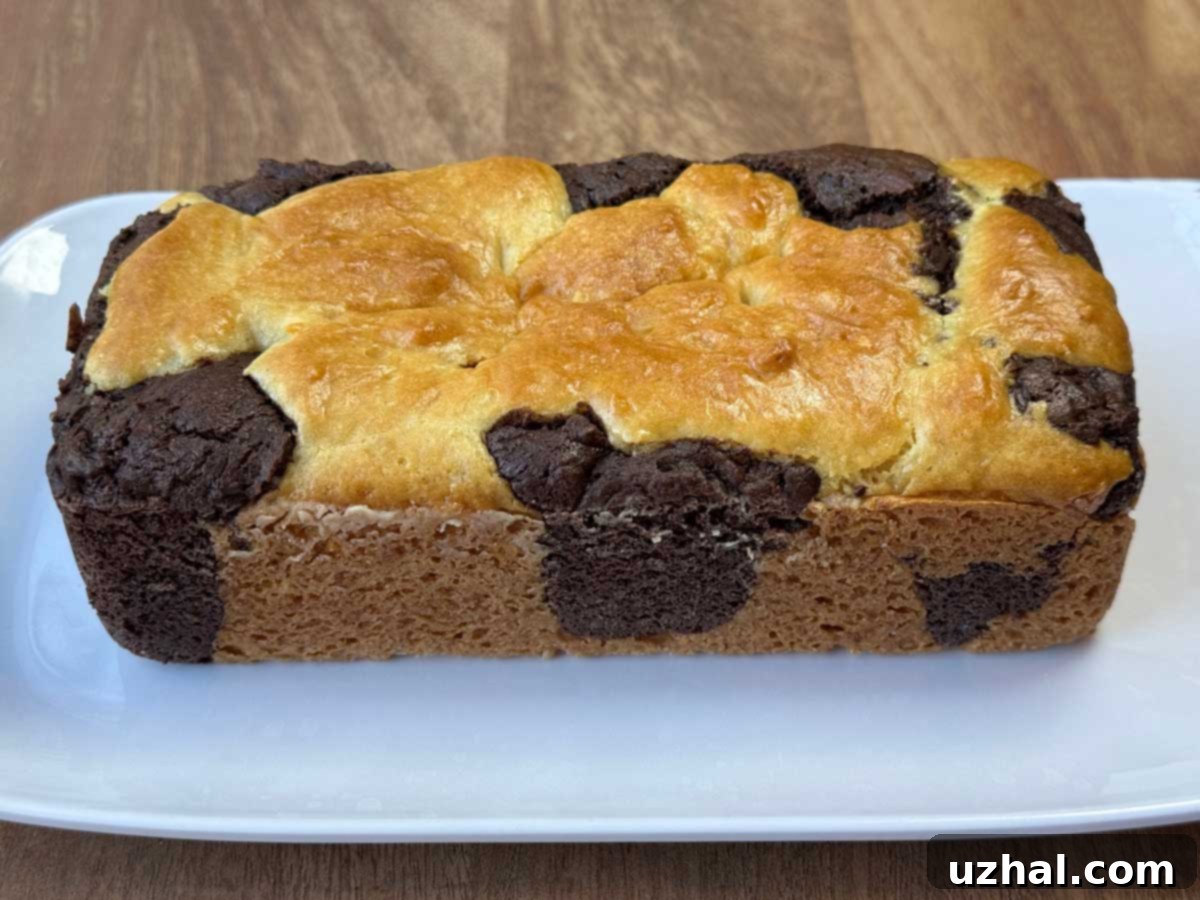
One of the key lessons learned over the years with this recipe is the critical role of pan size. My initial attempts in a standard 9×5 inch loaf pan resulted in a cake that was, as I affectionately called it, a bit “stubby.” While still delicious, it lacked the ideal rise and proportions. This cake performs best in a slightly smaller loaf pan, specifically one that measures 8×4 inches across the top.
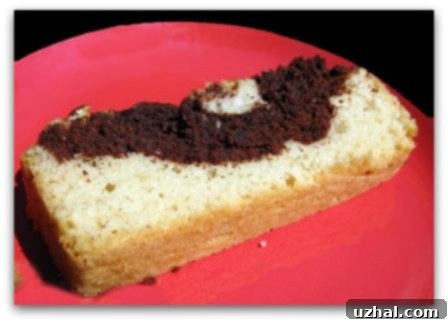
Using the correct pan size ensures that the batter fills the pan adequately, allowing the cake to rise beautifully and create a desirable dome. It also influences baking time and promotes even cooking. The picture below illustrates the difference, showing an older, wider cake versus the perfectly proportioned loaf you’ll achieve with the recommended 8×4 inch pan. I’ve had great success with Fat Daddio pans, which are often available at craft stores like Michaels, but any good quality 8×4 inch loaf pan will work perfectly. This minor detail makes a significant impact on the final presentation and overall baking experience.
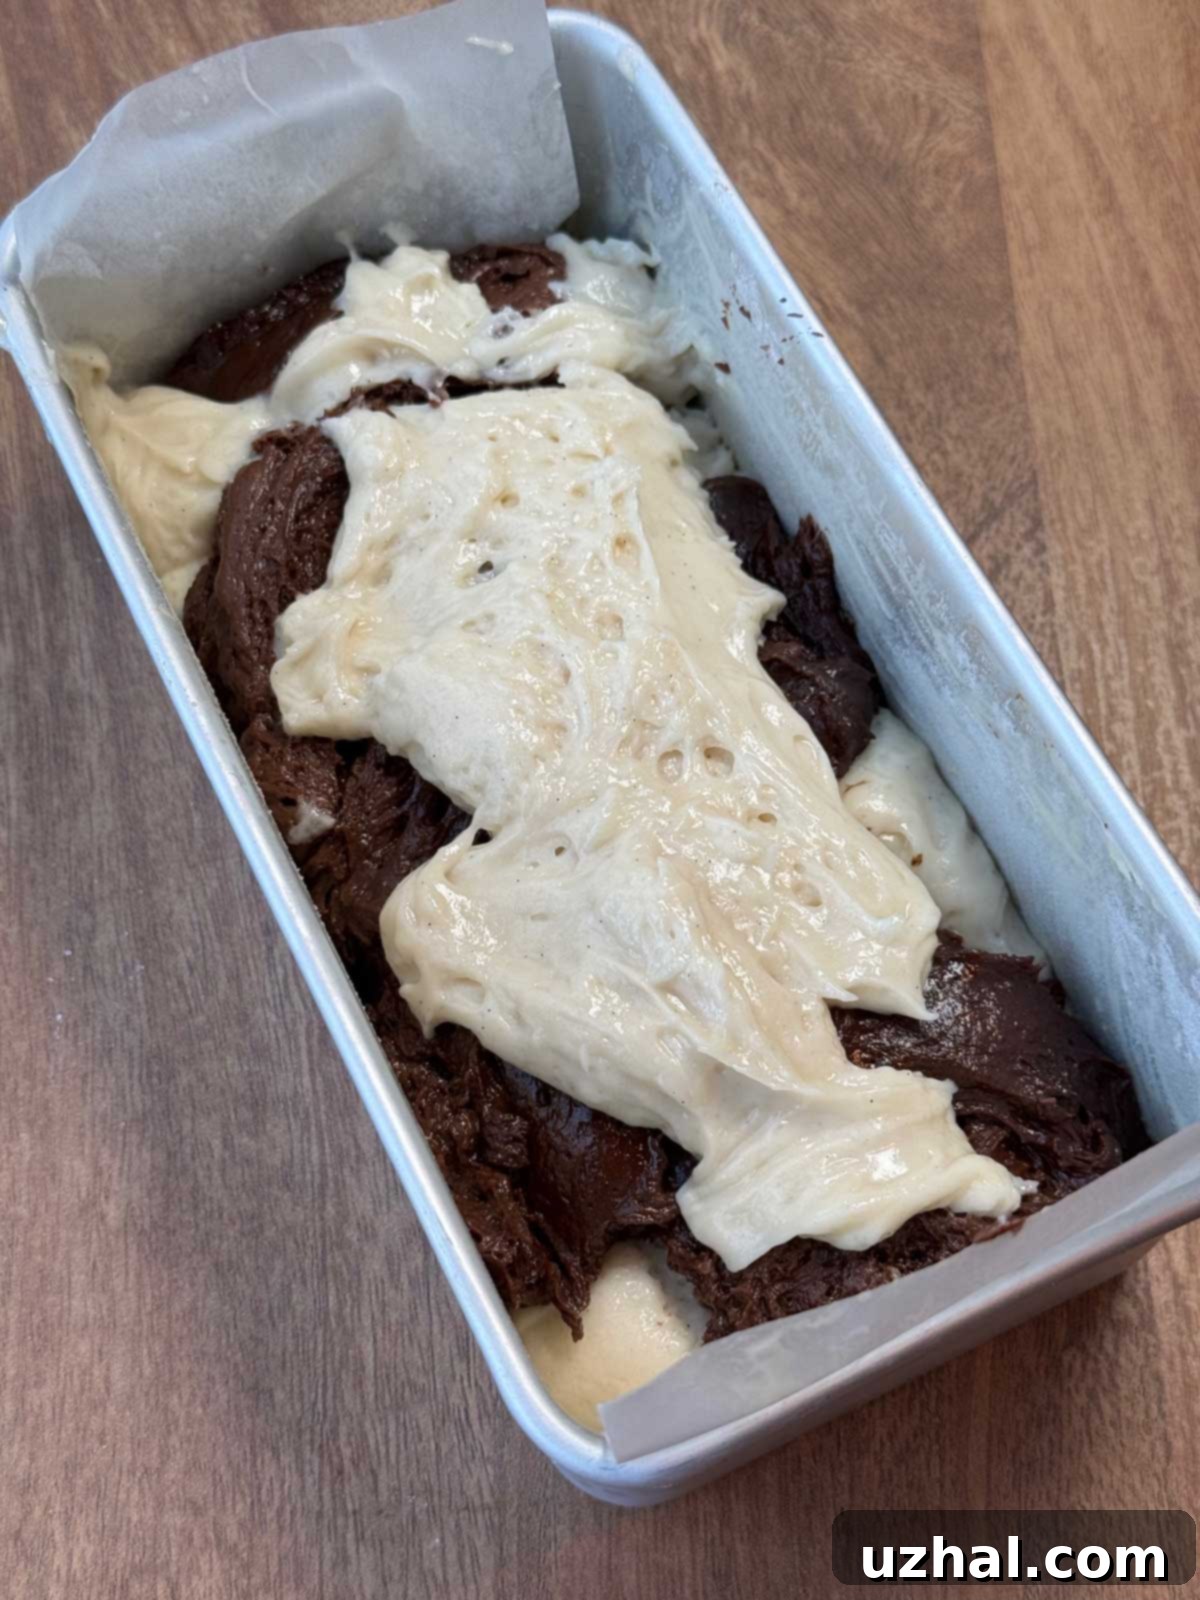
Here’s a glimpse of the batter for the latest iteration, perfectly nestled in the correctly sized pan, ready for its bake:
Expert Tips for Baking Your Vegan Marble Cake
To ensure your vegan marble cake turns out perfectly every time, keep these essential tips in mind:
- **Pan Size is Key:** As highlighted, using an 8×4 inch loaf pan is crucial. Avoid larger pans like the common 8 ½ by 4 ½ inch or standard 9×5, as this is a rather petite cake and needs the right dimensions to achieve its ideal height and texture. If you’re feeling adventurous, you could even try two mini loaf pans, but remember to adjust the baking time accordingly.
- **Sift and Measure Cake Flour Correctly:** Sifting your cake flour before measuring is vital for an accurate quantity and a light, airy batter. First, sift the flour, then measure out 1 ½ cups. If you prefer to weigh, aim for 150 grams. For reference, 1 ½ cups of sifted cake flour is approximately equivalent to 1 ⅓ cups of unsifted flour. This precision prevents a dense cake.
- **Salt Levels:** The original recipe used ½ teaspoon of salt, which some might find a touch too much. For a balanced flavor, ⅜ teaspoon is generally ideal. However, if you enjoy a more pronounced hint of salt in your sweet treats, feel free to stick with ½ teaspoon.
- **Silken Tofu for Smoothness:** For the best results and a truly smooth batter, stick to silken tofu. Its soft, creamy texture blends seamlessly. While other types of tofu might work, silken tofu is specifically recommended for its ability to mimic the emulsifying and binding properties of eggs without altering the cake’s texture. If you do experiment with non-silken tofu, I’d love to hear about your results!
- **Quality Chocolate for Rich Flavor:** Don’t skimp on the chocolate! Good quality semisweet chocolate (around 70% cacao) is essential for a deep, rich chocolate swirl. High-quality chocolate melts more smoothly and incorporates better into the batter, preventing a grainy texture. While 70% offers a sophisticated flavor, you could go slightly sweeter with 60% if preferred. Avoid chocolate chips, as they often contain waxes that can prevent them from melting properly.
- **Enhance with Vanilla Bean Paste:** Any good quality vanilla extract will work well, but using Nielsen Massey vanilla bean paste takes this cake to the next level. Its concentrated flavor and visible specks of vanilla seeds add a gourmet touch and an incredible aroma that truly elevates the marble cake experience.
- **Don’t Overmix:** Once the wet and dry ingredients are combined, stir just until everything is incorporated and the batter is fairly smooth. Overmixing can develop the gluten in the flour, leading to a tough, dry cake.
- **Achieving the Marble Swirl:** For a beautiful marble effect, after pouring most of the vanilla batter into the pan, dollop the chocolate batter on top in a line or a few spoonfuls. Then, gently swirl a knife or skewer through the batter once or twice. Avoid over-swirling, as this can lead to a uniformly brown cake rather than distinct marble patterns.
- **Cooling is Crucial:** Allow the cake to cool in the pan for about 10-15 minutes before transferring it to a wire rack to cool completely. This prevents it from breaking and allows the structure to set properly. Slicing a warm cake can cause it to crumble.
Serving and Storage Suggestions
This Vegan Marble Cake is delightful on its own, perhaps with a dusting of powdered sugar, or paired with a cup of coffee or tea. It also makes a fantastic dessert after any meal. For storage, keep the cake tightly wrapped at room temperature for up to 3-4 days, or in the refrigerator for up to a week. For longer storage, slices can be individually wrapped and frozen for up to 2-3 months. Thaw at room temperature for a quick treat.
The Delight of Egg-Free Baking with Tofu
Baking with tofu might sound unconventional, but it truly unlocks a world of possibilities for delicious, moist, and tender vegan treats. This Vegan Marble Cake is a perfect example of how plant-based ingredients can shine, delivering all the comfort and joy of traditional baking without eggs or dairy. It’s a fantastic recipe for anyone with dietary restrictions, those looking to incorporate more plant-based foods into their diet, or simply adventurous bakers eager to explore new techniques. Give this updated classic a try, and prepare to be amazed by the magic of tofu in your kitchen!
- Tofu Peanut Butter Pie
- Almost Fat Free Chocolate Cake
- Pan Fried Glazed Tofu
- Vegan Chocolate Chip Scones
- Vegan Gingerbread Muffins
Recipe
Vegan Marble Cake
Anna
Pin Recipe
Ingredients
- 1 ½ cups sifted cake flour, measure after sifting (150 grams)
- 1 ½ teaspoon baking powder
- 1 teaspoon baking soda
- ⅜ teaspoon salt
- 5 oz silken tofu, drained (140 grams, Mori Nu Silken Firm is recommended)
- ⅔ cup granulated sugar (135 grams)
- ⅓ cup neutral vegetable oil
- ¼ cup soy milk or almond milk (use a vegan milk alternative)
- 2 teaspoons vanilla extract or vanilla bean paste
- 2 oz good quality semisweet chocolate, melted and cooled (56 grams, 60-70% cacao recommended)
Instructions
-
Preheat your oven to 350 degrees F (175 C). Lightly grease an 8×4 inch loaf pan and line the bottom with a strip of parchment paper, leaving an overhang on the longer sides to easily lift the cake later.
-
In a large mixing bowl, sift the cake flour and then measure the required amount. Add the sifted cake flour, baking powder, baking soda, and salt to the bowl and whisk them together thoroughly until well combined. Set aside.
-
In a blender or food processor, combine the drained silken tofu, granulated sugar, neutral vegetable oil, plant-based milk (soy or almond), and vanilla extract or paste. Blend until the mixture is completely smooth and creamy, with no tofu lumps remaining.
-
Pour the tofu mixture into the bowl with the flour mixture. Using a wooden spoon or a heavy-duty rubber scraper, stir by hand until the batter is fairly smooth and just combined. Be careful not to overmix.
-
Measure out a little less than 1 cup of the vanilla batter (approximately 190 grams) into a separate small bowl. Stir the melted and cooled semisweet chocolate into this smaller portion of batter until fully incorporated.
-
Pour about two-thirds of the vanilla batter into your prepared 8×4 inch loaf pan. Gently spoon or pipe the chocolate batter in a line down the center of the vanilla batter. Then, carefully dollop the remaining vanilla batter on top of and around the chocolate batter. Take a knife or skewer and swirl it through the batters once or twice to create the marble effect, being careful not to overmix.
-
Bake for 28-30 minutes, or until a wooden skewer or toothpick inserted into the center of the cake comes out clean. The exact baking time may vary slightly depending on your oven.
-
Once baked, remove the cake from the oven and let it cool in the pan on a wire rack for about 10-15 minutes. This helps the cake to set and prevents it from breaking. After 10-15 minutes, use the parchment paper overhang to carefully lift the cake out of the pan and transfer it directly to the wire rack to cool completely before slicing and serving.
