Indulge in the Ultimate Oreo Chocolate Mocha Pie: A Rich & Creamy Dessert Recipe
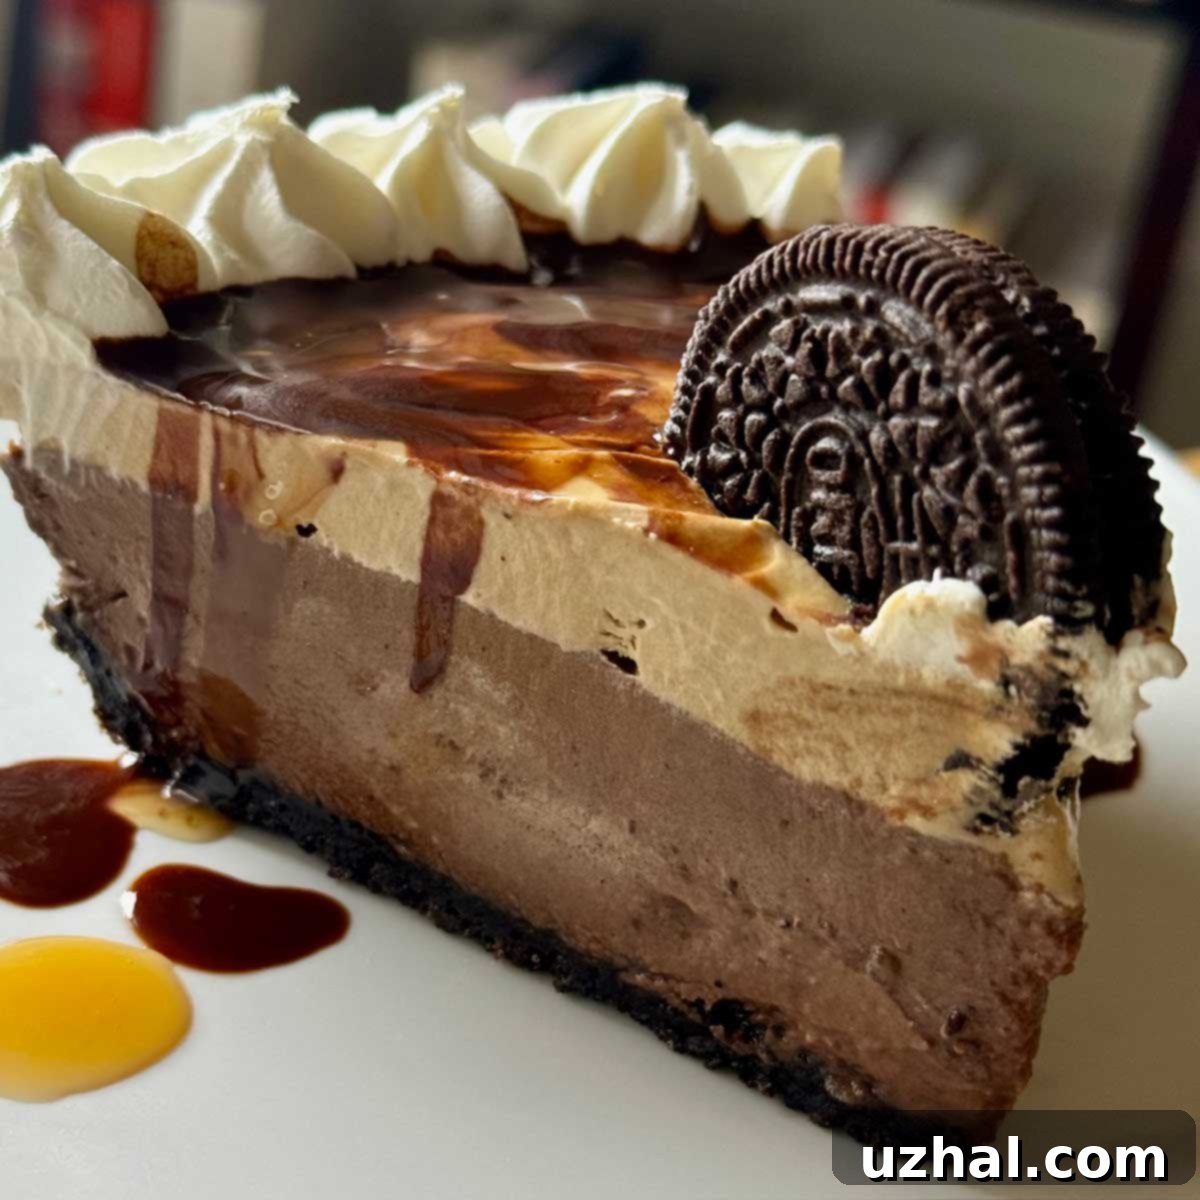
Every now and then, culinary inspiration strikes from the most unexpected places. For this exquisite Oreo Chocolate Mocha Pie, it began with a humble, forgotten bag of Oreos in the back of the freezer. Instead of letting them languish, I decided to transform them into a decadent pie crust. What followed was a delightful journey of creating a filling worthy of such a base, resulting in a pie that’s truly more than the sum of its parts. This creation brings together a luscious chocolate pudding filling, topped generously with light and airy coffee-flavored whipped cream, and finished with elegant swirls of vanilla whipped cream, chocolate syrup, and caramel drizzle. It’s a symphony of flavors and textures, promising to be a new favorite for any chocolate and coffee lover.
Jump to Recipe
The Irresistible Flavor Profile and Perfect Texture
The heart of this pie lies in its chocolate pudding filling. It’s crafted to be exceptionally smooth with just the right level of stiffness, allowing for clean slices while maintaining a melt-in-your-mouth creaminess. What sets it apart is its balanced sweetness; it’s rich without being overly cloying. To achieve this deep, complex chocolate flavor, I use a thoughtful combination of unsweetened cocoa powder and chopped unsweetened chocolate, with a hint of vanilla to elevate the overall profile. This filling forms a luxurious base, providing a robust chocolate foundation that perfectly complements the vibrant notes of coffee.
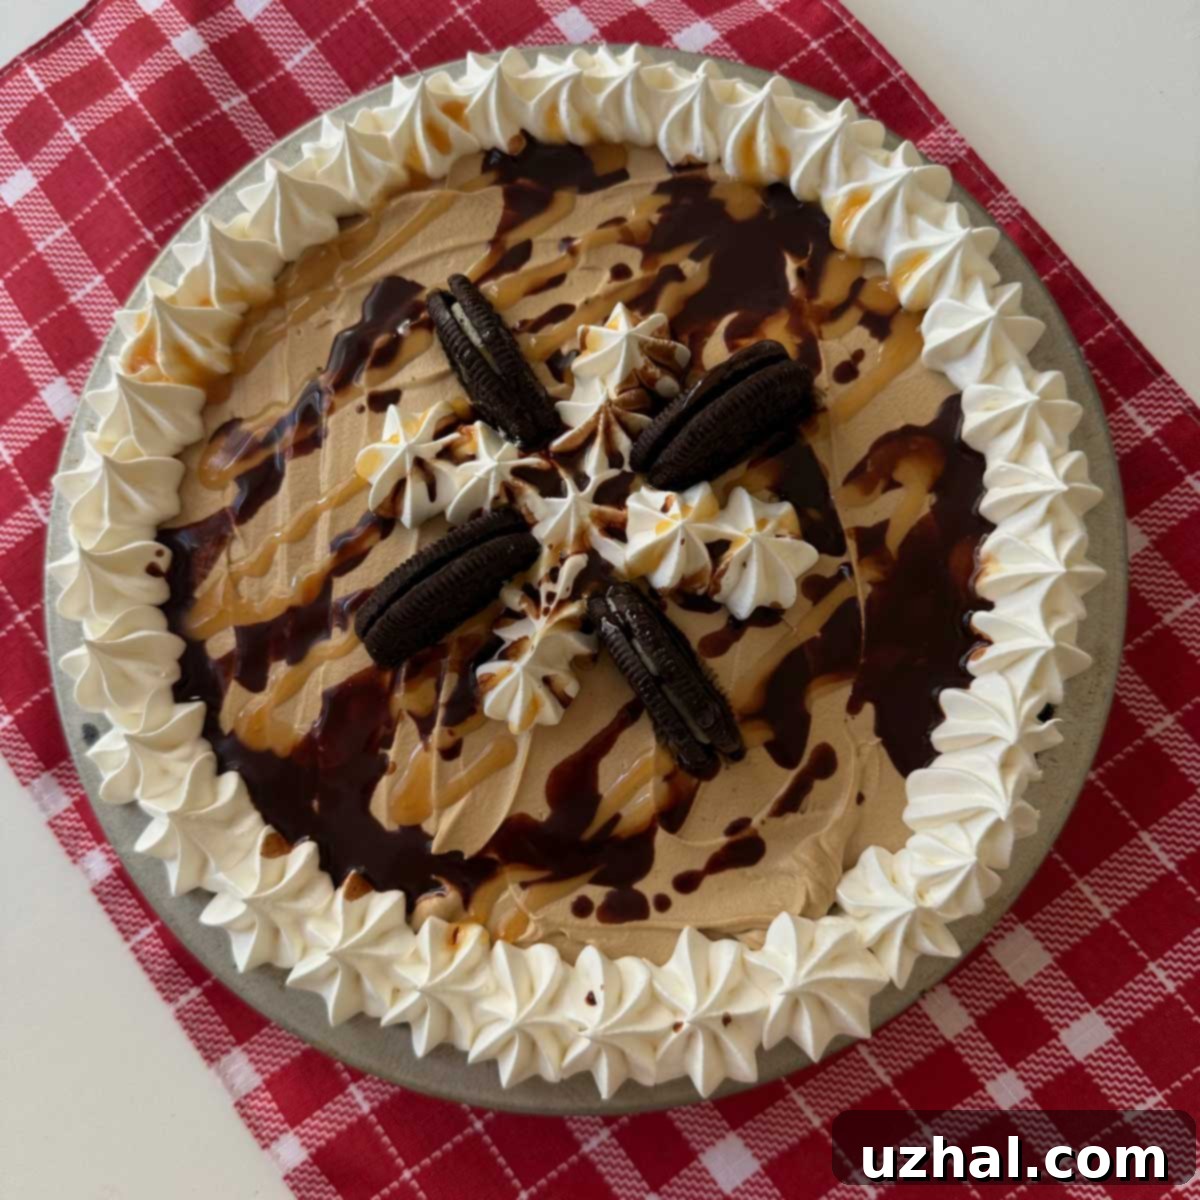
The magic truly happens when this rich chocolate filling meets the coffee-flavored whipped cream topping. Together, they evoke a nostalgic sensation, reminiscent of the classic freezer mocha pies that Weight Watchers used to make, but with an elevated, richer, and more satisfying depth of flavor. It’s a taste experience that feels both familiar and wonderfully new. While originally unplanned, a last-minute decision to add garnishes proved to be a stroke of genius. A quick homemade chocolate syrup and a drizzle of premium caramel sauce (like Ghirardelli) not only enhance the visual appeal but also add another layer of sweetness and complexity, turning each slice into a truly gourmet experience.
Crafting the Perfect Chocolate Cookie Crumb Crust
Every great pie starts with an outstanding crust, and this Oreo chocolate mocha pie is no exception. The foundation of this dessert is a simple yet incredibly satisfying chocolate cookie crumb crust. The full recipe with precise measurements and techniques is detailed in the recipe card below. However, for those who might occasionally forget the exact ratios (like me!), I have a dedicated post offering universal proportions and step-by-step guidance for making an Oreo or any chocolate sandwich cookie crumb crust. This resource ensures you’ll always achieve a perfectly crumbly yet firm base for your pies.
I typically use regular Oreos for the crust, which provide that iconic chocolatey flavor and satisfying crunch. However, the beauty of this recipe is its versatility: gluten-free Oreos work just as wonderfully, making this delicious pie accessible to those with dietary restrictions. The key is to crush the cookies finely and combine them with melted butter, creating a mixture that presses easily into the pie plate. A brief baking period helps to set the crust, preventing it from becoming soggy when the luscious filling is added. This simple technique ensures a delightful contrast to the creamy filling, adding an essential textural component that makes every bite truly enjoyable.
Mastering Whipped Cream with a Food Processor
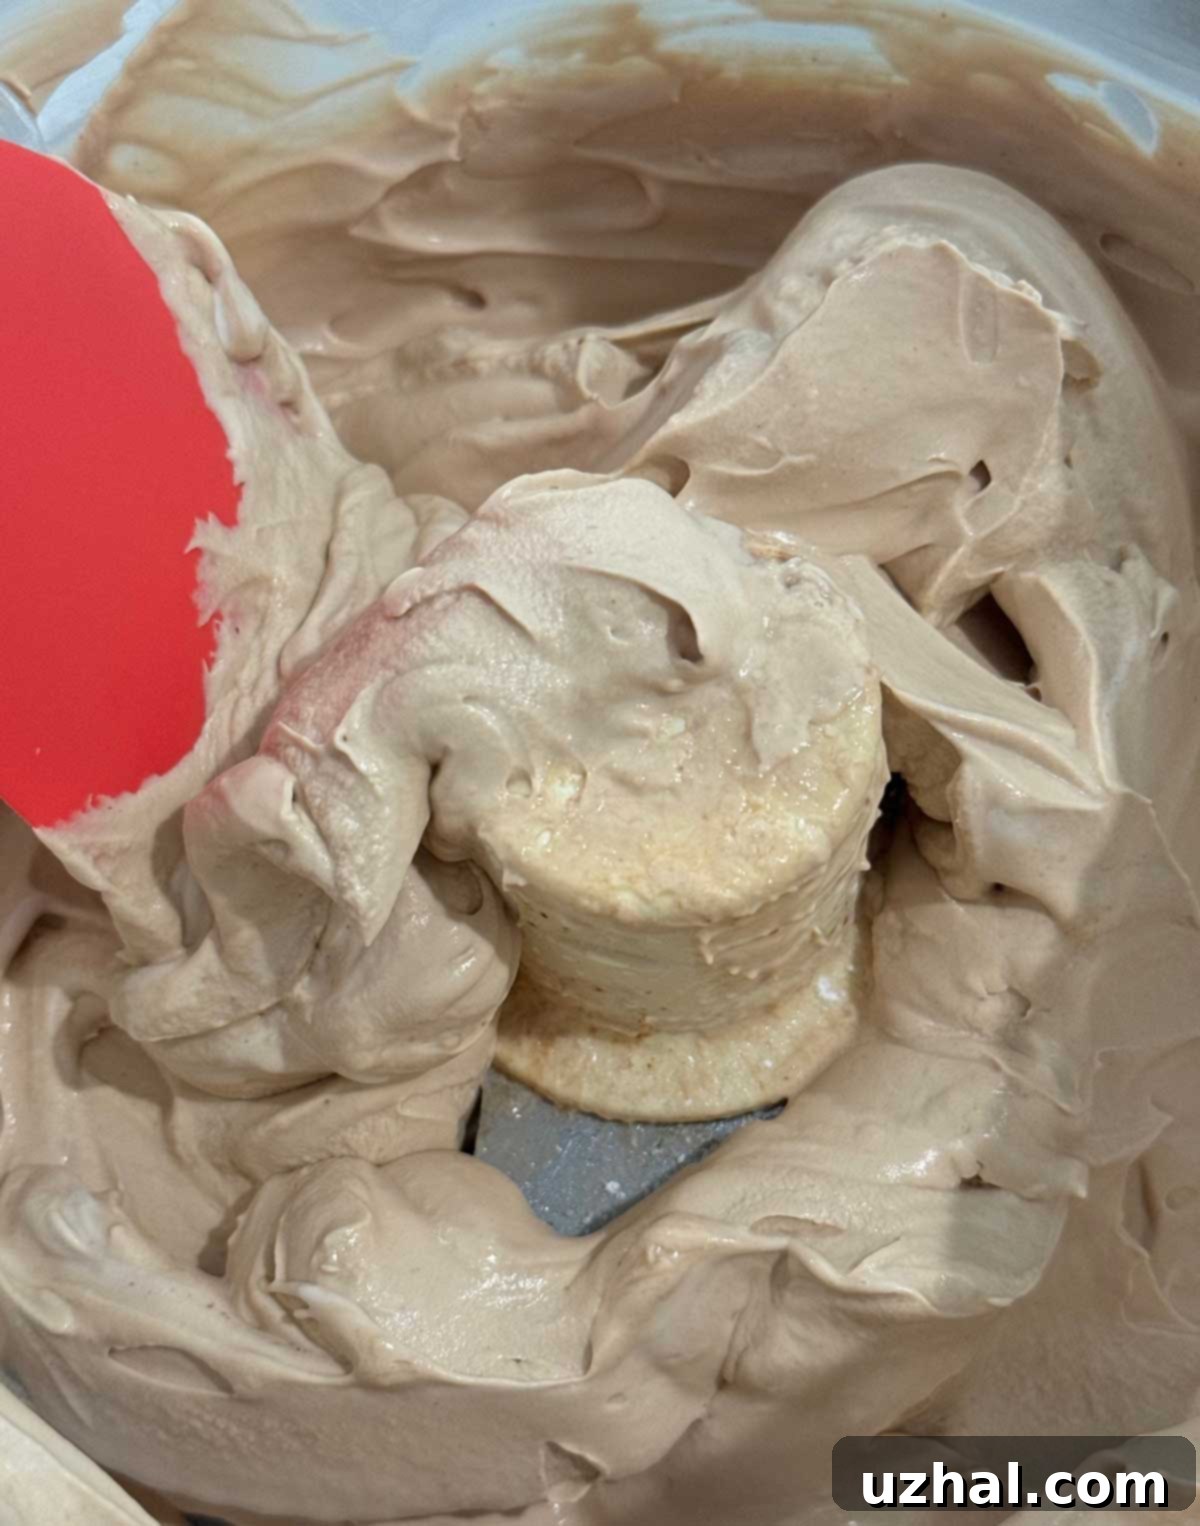
While a stand mixer is a reliable tool for whipping cream to fluffy perfection, the food processor offers an often-overlooked advantage: speed. If you’ve just used your food processor to make the cookie crumb crust, it makes perfect sense to keep it out for the whipped cream, saving you an extra dish to wash. Whipping cream in a food processor is surprisingly simple and efficient, producing beautifully aerated cream in a fraction of the time.
To whip cream using a food processor, simply pour your well-chilled heavy cream into the bowl. Process for about 30 seconds to begin the whipping process. Unlike a stand mixer where you can easily observe the texture, gauging the thickness through a food processor bowl can be tricky. After the initial 30 seconds, lift the lid and use a spoon to check the consistency. Continue processing in short bursts, typically 5-10 seconds at a time, checking frequently by lifting the lid. The cream can go from perfectly whipped to over-whipped (and then butter!) very quickly in a food processor, so constant vigilance is key. With a bit of practice, you’ll develop an intuitive sense of how long it takes to achieve your desired stiffness, making this a quick and convenient method for flawless whipped cream every time.
Understanding and Substituting Half & Half in Your Pie Filling
The chocolate pie filling recipe specifically calls for half & half, a dairy product prized for its unique balance. It’s lighter than heavy cream, offering a less overwhelming richness, but significantly richer and creamier than regular milk. This sweet spot of fat content contributes to the perfect texture and mouthfeel of our pudding, giving it a luxurious, silky quality without being too heavy. It’s important to note that despite its name, half & half isn’t merely an equal mix of heavy cream and milk; its specific processing and fat content (typically 10.5% to 18% milk fat) means a simple 50/50 blend of milk and cream won’t yield quite the same result.
However, if half & half isn’t readily available or if you prefer to use other dairy products, there are excellent substitutes. To create a similar consistency using a blend of milk and heavy cream, a good ratio to aim for is 1 ¾ cups of whole milk combined with ¾ cup of heavy cream. This mixture will provide a fat content and richness that closely mimics half & half, ensuring your pudding sets beautifully and retains its creamy texture.
For an even simpler alternative, you can opt to use whole milk exclusively. If choosing this route, you will need 2 ½ cups of whole milk. To compensate for the lower fat content of whole milk compared to half & half, it’s crucial to increase the amount of unsweetened chocolate from 2 oz to 3 oz. This seemingly small adjustment is vital: the extra ounce of chocolate provides additional fat and solids, which are essential for giving the pudding the necessary structure and “support” to achieve that desirable stiffness. Without this extra chocolate, a filling made with only whole milk might turn out softer than intended. This flexibility allows you to adapt the recipe to what you have on hand without compromising on the quality and deliciousness of your chocolate mocha pie.
Freezing and Serving Tips for Your Mocha Pie
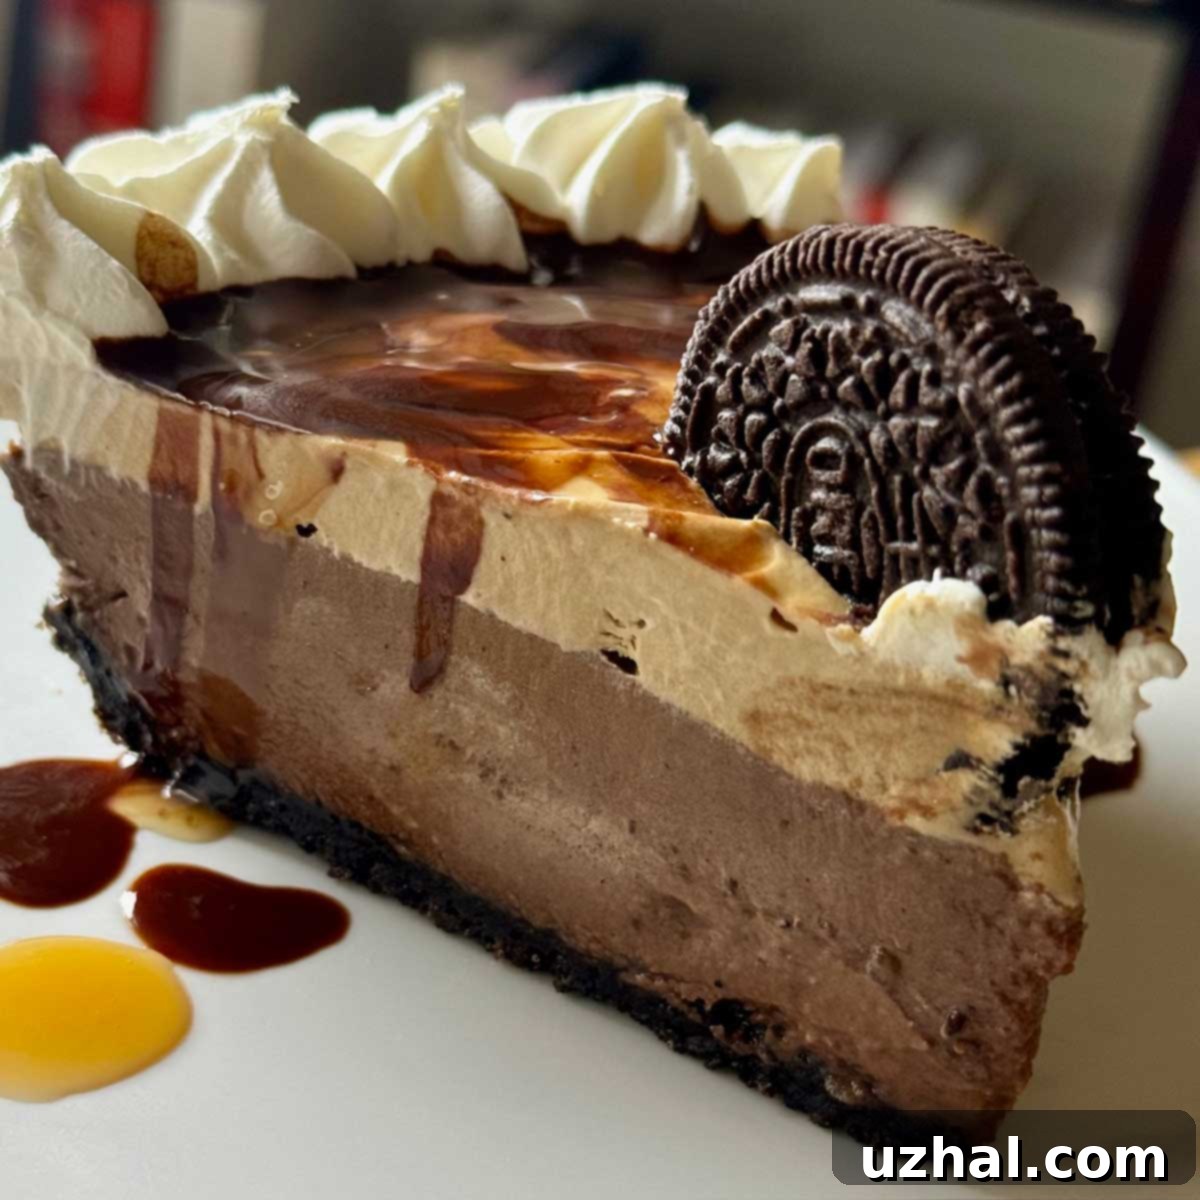
One of the many advantages of this delightful Oreo Chocolate Mocha Pie is its excellent freezer-friendly nature. This makes it an ideal dessert for meal prepping ahead of a special occasion or simply for enjoying a slice whenever a craving strikes. The pie in the accompanying photo, for instance, was frozen prior to being cut, which resulted in the notably clean, sharp lines of the coffee-flavored whipped cream. Freezing helps to firm up all the layers, allowing for a much neater slice that truly showcases the beautiful stratification of crust, chocolate filling, and mocha topping. To freeze, ensure the pie is fully chilled, then cover it tightly with plastic wrap and then foil. It can be stored in the freezer for up to a month.
While freezing offers aesthetic benefits for serving, it’s important to note that the pie truly does not *need* to be frozen to be enjoyed. A well-chilled pie from the refrigerator will still be incredibly delicious and easy to cut, though perhaps with a slightly softer, more yielding whipped cream layer. If you prefer to serve it unfrozen, simply chill it overnight in the refrigerator for the best results. For a frozen pie, allow it to thaw in the refrigerator for a few hours before serving, or at room temperature for about 30-60 minutes to reach a perfect, slightly softened texture that’s still cool and refreshing. Either way, this pie promises a delightful dessert experience that’s as convenient as it is delicious.
Explore More Mocha & Chocolate Delights
If you’re a fan of the rich combination of chocolate and coffee in this pie, you’re in for a treat! The world of mocha-inspired desserts is vast and wonderful. Whether you’re looking for cupcakes, cheesecakes, cookies, or different types of pie, there’s a mocha creation to satisfy every craving. We’ve gathered some of our favorite related recipes below to inspire your next baking adventure. These selections offer variations on the classic mocha theme, ensuring you can enjoy these beloved flavors in many delightful forms.
- Halloween Chocolate Mocha Cupcakes
- Double Layer Mocha Cheesecake for Two
- Nestle Toll House Tales Double Chocolate Mocha Cookies
- Gluten-Free Almond Flour Pie Crust (great for GF mocha pie!)
- Mocha Walnut Cinnamon Coffee Cake Bars
Recipe

Chocolate Mocha Pie
Anna
Pin Recipe
Ingredients
Oreo Crust
- 2 cups Oreo crumbs (200 grams)
- 4 tablespoons unsalted butter or salted, melted and cooled
Chocolate Filling
- ¾ cup sugar (150 grams)
- ¼ cup cornstarch (30 grams)
- 1 ½ tablespoon cocoa powder (8 grams)
- ¼ teaspoon salt
- 2 ½ cups heavy cream
- 4 large egg yolks
- 2 tablespoons unsalted butter
- 2 oz chopped unsweetened chocolate, chopped
- 1 teaspoon vanilla extract
Coffee Whipped Cream
- 1 ½ cup well-chilled heavy cream
- 1 ½ tablespoons espresso powder (optional)
- ⅛ teaspoon cinnamon
- ½ cup confectioners’ sugar
- 1 teaspoon vanilla
Garnish
- 2 cups sweetened whipped cream made with ¾ cup heavy cream, 2 tablespoons of powdered sugar and a dash of vanilla or just use sweetened whipped topping.
- chocolate and caramel syrups
Instructions
-
Mix the cookie crumbs and butter. Press into a greased 9-inch pie plate and bake at 350F for 8 minutes. Let cool completely.
-
Combine the sugar, cornstarch, cocoa powder and salt in a bowl. Whisk in ½ cup of the half & half and 4 egg yolks. Heat the remaining half & half in a 2 quart saucepan until it just starts to simmer. Gradually add hot half & half to egg mixture, whisking until combined, then pour it all back into the saucepan.
-
Set saucepan back over medium heat and whisk constantly until mixture boils and thickens. After it thickens, continue whisking at a gentle boil and stirring for about a minute.
-
Remove from heat and stir in the chocolate and butter. Allow some of the steam to escape, then stir in the vanilla. Let cool for about 30 minutes at room temperature, then scrape into your Oreo crust. Cover with wax paper or plastic wrap to prevent a skin from forming and chill for at least 6 hours or overnight.
Coffee Flavored Whipped Cream
-
Whip the cream in a food processor or in a mixing bowl with an electric mixer. When soft peaks start to form, add the espresso powder and cinnamon and gradually add the sugar. Beat until peaks are stiff, then flavor with the vanilla. Spread over the pie.
-
Whip and sweeten some more cream to use as a garnish. If you just want to make a ring around the edge, you can whip just ¾ cup of cream and sweeten. Flavor with a bit of vanilla.
-
Garnish sides with more sweetened whipped cream or whipped topping (you can pipe it out or dollop. Crumble Oreos over the top or arrange them decoratively.
