The Ultimate Loaf Pan Fudge Brownies: Your Go-To Small Batch Recipe
There’s nothing quite like the indulgence of rich, fudgy brownies. But what if you’re craving that deep chocolate delight without committing to a giant 9×13 inch pan that yields dozens of servings? Enter the magnificent Loaf Pan Fudge Brownies – a quick, easy, and incredibly satisfying solution designed for those moments when a small, personal batch is precisely what you need. Whether you’re baking for yourself, a cozy date night, or a small family treat, a standard loaf pan (typically 8 ½ by 4 ½ inches) is the perfect vessel to create just enough luscious brownies without any excess.

Why Choose a Loaf Pan for Your Brownies? The Brilliance of Small Batch Baking
Baking in a loaf pan offers several distinct advantages, making it an ideal choice for many home bakers. Firstly, it’s about portion control. A full pan of brownies can be a dangerous temptation, leading to overindulgence. However, a loaf pan yields just 6-8 perfect squares, providing a satisfying treat without the excess. This makes it ideal for managing cravings while enjoying freshly baked goods.
Secondly, it’s about efficiency and convenience. Smaller batches translate to significantly less prep time, shorter baking times, and often, less cleanup. You get to enjoy warm, homemade brownies much faster, making them a perfect last-minute dessert or a quick pick-me-up. This recipe for loaf pan brownies is particularly celebrated for its exceptionally fudgy texture, promising a dense, rich, and moist bite every time.
If your preference leans towards a brownie with a slightly thicker, more “in-between” texture – not quite intensely fudgy, nor entirely cakey – you might enjoy exploring Artpark Brownies. That recipe offers a different structural integrity and can easily be adapted. You can halve that specific batch to fit a 9×5 inch loaf pan, or simply bake the full recipe in a 9-inch square pan for a larger yield if you decide a bigger batch is in order.
Crafting the Perfect Fudgy Texture: The Role of Quality Chocolate
The secret to truly fudgy brownies lies not only in the precise baking technique but crucially, in the quality and type of chocolate you choose. For these Loaf Pan Fudge Brownies, the goal is always that dense, chewy, melt-in-your-mouth experience that chocolate lovers adore. I’ve experimented with various brands over time, and the results can indeed vary subtly based on the chocolate used, emphasizing that this ingredient is truly the heart of the brownie.
Currently, my go-to for the unsweetened chocolate component is Ghirardelli unsweetened baking chocolate. Its consistent quality provides a deep, rich chocolate base that lays the foundation for intense flavor. For the dark or semi-sweet chocolate, there’s more flexibility. You can use anything from finely chopped Dove Dark chocolate squares for a smooth, indulgent finish, or opt for whatever high-quality dark chocolate bar is on sale at your local grocery store. The key is to select chocolate that you genuinely enjoy eating on its own, as its distinct flavor will be prominent in your finished brownies. Don’t shy away from experimenting with different cocoa percentages to find your ideal balance of bitterness and sweetness that perfectly suits your palate.
Mastering the Loaf Pan: Choosing the Right Size for Flawless Brownies
The success of these fudgy loaf pan brownies hinges significantly on using the correct pan size. An 8 ½ by 4 ½ inch loaf pan might seem only slightly smaller than a common 9×5 inch pan, but that difference in surface area and depth is crucial for achieving consistent baking results and the desired texture. A narrower pan creates a thicker brownie, which is essential for that desirable moist, fudgy center and slightly crispier, chewy edges.
If for some reason you have to use a loaf pan that is wider or larger than the recommended 8 ½ by 4 ½ inches, be prepared to adjust your baking time. Your brownies will spread thinner in a larger pan and will likely bake faster, possibly resulting in a drier, more cake-like texture rather than the intended rich, fudgy treat. To ensure perfection, I always recommend relying on internal temperature for doneness, rather than just the clock. For my loaf pan brownies, I consider them perfectly baked when a digital thermometer inserted into the very center registers around 205°F and is steadily climbing. This ensures they are cooked through without being overbaked, preserving that glorious moisture and fudginess. Always remember that oven temperatures can vary, so getting to know your oven and using a thermometer are your best allies.
Baking Essentials & Expert Tips for Your Loaf Pan Brownies
- Preparation is Key: Always preheat your oven to 375ºF before you begin mixing any ingredients. Properly lining your 8 ½ by 4 ½ inch loaf pan with nonstick foil, with an overhang on the sides, makes removal incredibly easy and mess-free. This simple step prevents sticking and ensures your beautiful brownies come out intact.
- Melting Chocolate & Butter: Combine the unsalted butter and both types of chopped chocolates (unsweetened, dark, or semi-sweet) in a small saucepan. Melt them gently over very low heat, stirring continuously until the mixture is completely smooth and fully combined. This gentle melting process is crucial to prevent the chocolate from scorching, which can lead to a grainy texture. Once melted, remove the saucepan from the heat and allow the chocolate mixture to cool slightly while you prepare the egg mixture.
- The Ribbon Stage: In a medium-sized mixing bowl, beat the large egg with either a hand-held mixer or a stand mixer for about one minute until it’s light, frothy, and slightly pale. While the mixer is still running, gradually add the granulated sugar. Continue beating for approximately 5 minutes, or until the mixture thickens significantly and forms a “ribbon” that slowly disappears when the beaters are lifted. This technique incorporates essential air, contributing to the brownie’s characteristic texture and a beautiful crackly top. Finally, beat in the vanilla extract for that essential aroma and flavor depth.
- Combining Wet & Dry: With a sturdy rubber spatula or a heavy-duty scraper, gently fold the slightly cooled chocolate mixture into the egg and sugar mixture. Work carefully to combine them without deflating the egg mixture too much. Once combined, carefully stir in the all-purpose flour (or a suitable gluten-free flour blend). Be mindful not to overmix at this stage; just combine until no streaks of dry flour remain. Overmixing the flour can develop the gluten too much, leading to tougher, less fudgy brownies.
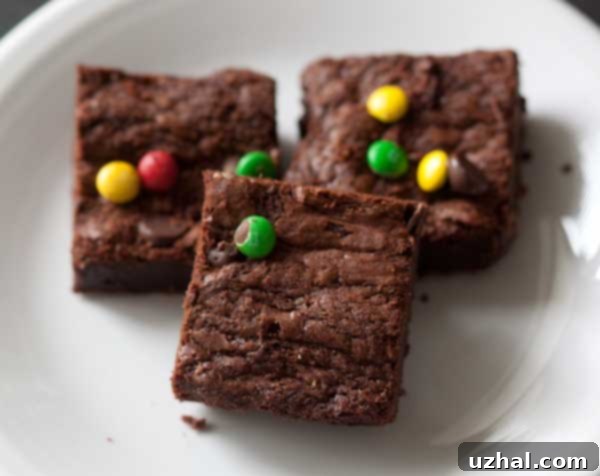
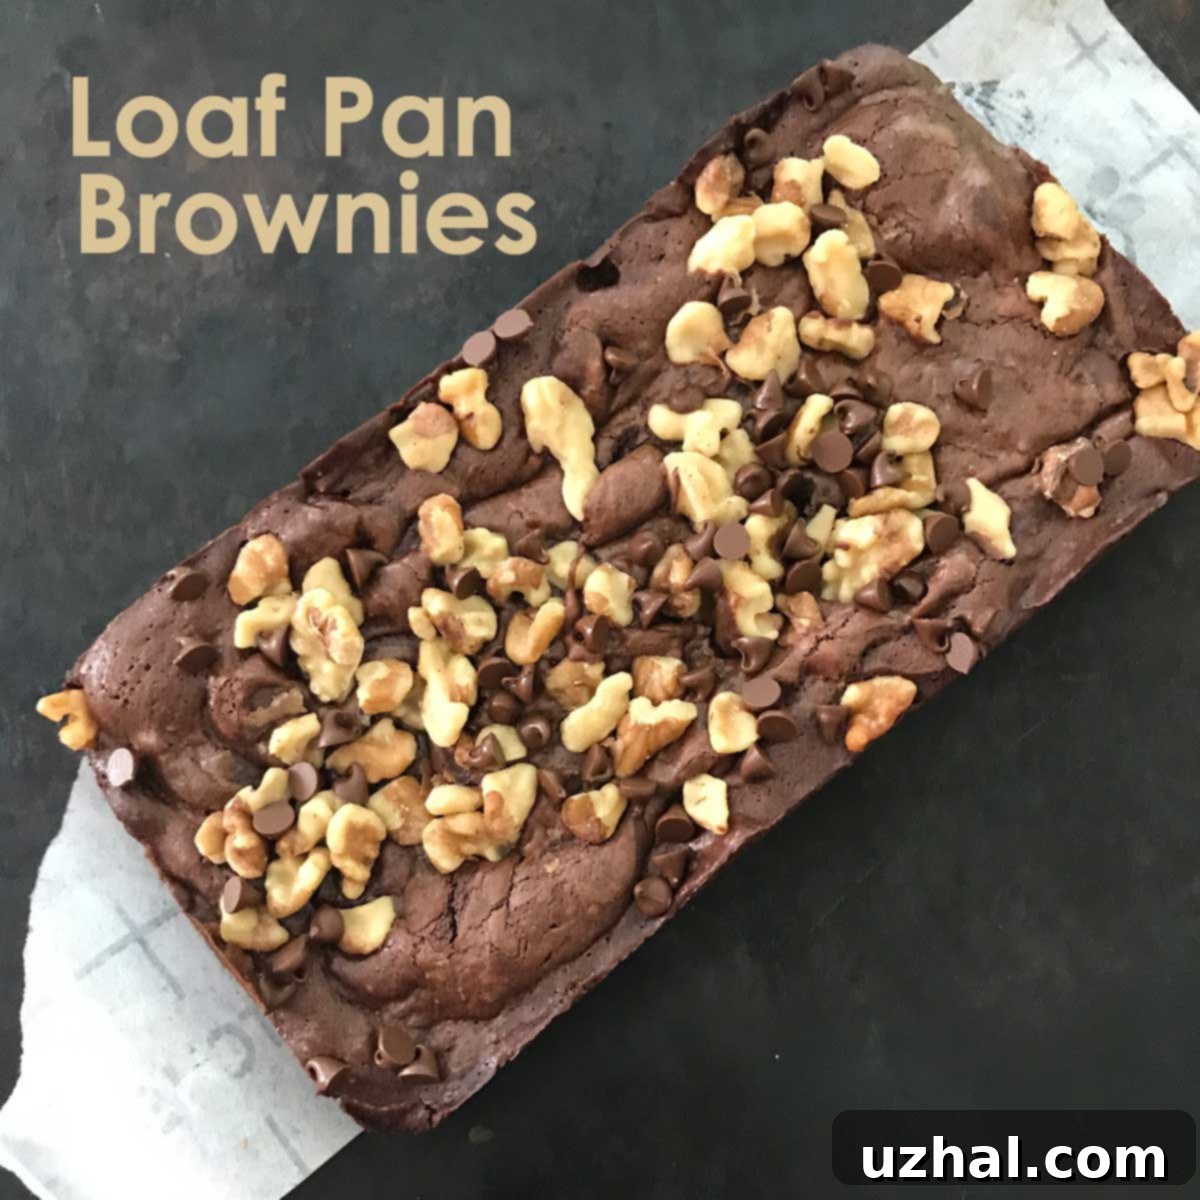
- Add-ins & Toppings (Optional): Pour the luscious brownie batter into your prepared loaf pan and spread it evenly to the edges, ensuring a consistent thickness. This is the perfect moment to personalize your brownies! Sprinkle ¼ cup of toasted, coarsely chopped walnuts for a classic crunch and nutty flavor, or get creative with colorful M&Ms, extra chocolate chips, or even a sprinkle of flaky sea salt for a gourmet touch.
- Baking & Cooling for Fudginess: Bake for approximately 22-25 minutes. Remember, baking times can vary significantly between ovens, so keep a close eye on your brownies. Use the internal temperature method (205°F) mentioned earlier for best results. Once baked, remove the pan from the oven and let the brownies cool completely at room temperature for at least 30 minutes. For the absolute ultimate fudgy experience, transfer them to the refrigerator and chill for about 2 hours. This chilling time allows the brownies to firm up, making them incredibly dense, chewy, and much easier to cut into those rich, perfect squares. Lift them from the pan using the foil overhang and slice into 8 indulgent servings.
Serving Suggestions for Your Decadent Brownies
These Loaf Pan Fudge Brownies are absolutely delightful on their own, offering a pure, unadulterated chocolate experience. However, they also serve as a fantastic base for various delicious toppings and accompaniments. For an extra special treat, consider serving them warm with a scoop of premium vanilla bean ice cream, allowing the warmth of the brownie to slightly melt the ice cream for a heavenly combination. A drizzle of homemade caramel sauce or a generous dollop of freshly whipped cream can also elevate their presentation and taste, adding another layer of sweetness and richness. For a more casual enjoyment, pair them with a cold glass of milk, a hot cup of coffee, or a rich espresso for an unforgettable dessert experience at any time of day.
Storage Tips to Keep Your Brownies Fresh and Fudgy
To keep your Loaf Pan Fudge Brownies fresh and maintain their signature fudgy texture, store them in an airtight container at room temperature for up to 3 days. This helps to seal in their moisture and prevents them from drying out. For a longer shelf life, especially if you prefer a firmer, denser texture, you can refrigerate them for up to a week. Brownies tend to become even fudgier when chilled! They also freeze beautifully, making them an excellent make-ahead treat. To freeze, wrap individual brownies tightly in plastic wrap, then place them in a freezer-safe bag or container for up to 2-3 months. When ready to enjoy, thaw them at room temperature or gently warm them in the microwave for a quick, comforting dessert that tastes freshly baked.
- Ice Cream Filled Chocolate Loaf Cake
- Frosted Fudge Brownies
- Guittard Truffle Brownies
- Gourmet Deep Dark Chocolate Brownies
- Double Chocolate Chip Brownies
Recipe

Loaf Pan Fudge Brownies
Anna
Pin Recipe
Ingredients
- 4 tablespoons unsalted butter (56 grams)
- 1 ½ ounces unsweetened chocolate, chopped (42 grams)
- 2 ½ ounces dark or semisweet chocolate, chopped (70 grams)
- 1 large egg
- ¼ teaspoon salt
- ½ cup granulated sugar (100 grams)
- 1 teaspoon vanilla
- 2 tablespoons all-purpose flour or gluten-free flour blend (16 grams)
- ¼ cup walnuts toasted coarsely chopped or M&Ms or chocolate chips (optional)
Instructions
-
Preheat oven to 375ºF. Line an 8 ½ by 4 ½ inch loaf pan with nonstick foil.
-
Melt butter in a small saucepan. When it’s almost full melted, add the chocolates. Reduce heat to low and stir until melted and smooth. Remove from heat and let cool.
-
In a medium size mixing bowl, beat the egg with a hand-held or stand mixer mixer for about a minute. With mixer going, gradually add the sugar and continue beating for about 5 minutes or until mixture reaches ribbon stage. Beat in the vanilla.
-
With a heavy duty scraper, fold together the slightly cooled chocolate mixture and egg mixture, then stir in the flour.
-
Pour batter into pan and spread to edges. Sprinkle walnuts or candy on top if desired.
-
Bake for about 22-25 minutes. Let cool at room temperature for about 30 minutes, then chill for about 2 hours. Lift from pan and cut into 8 rich squares.
