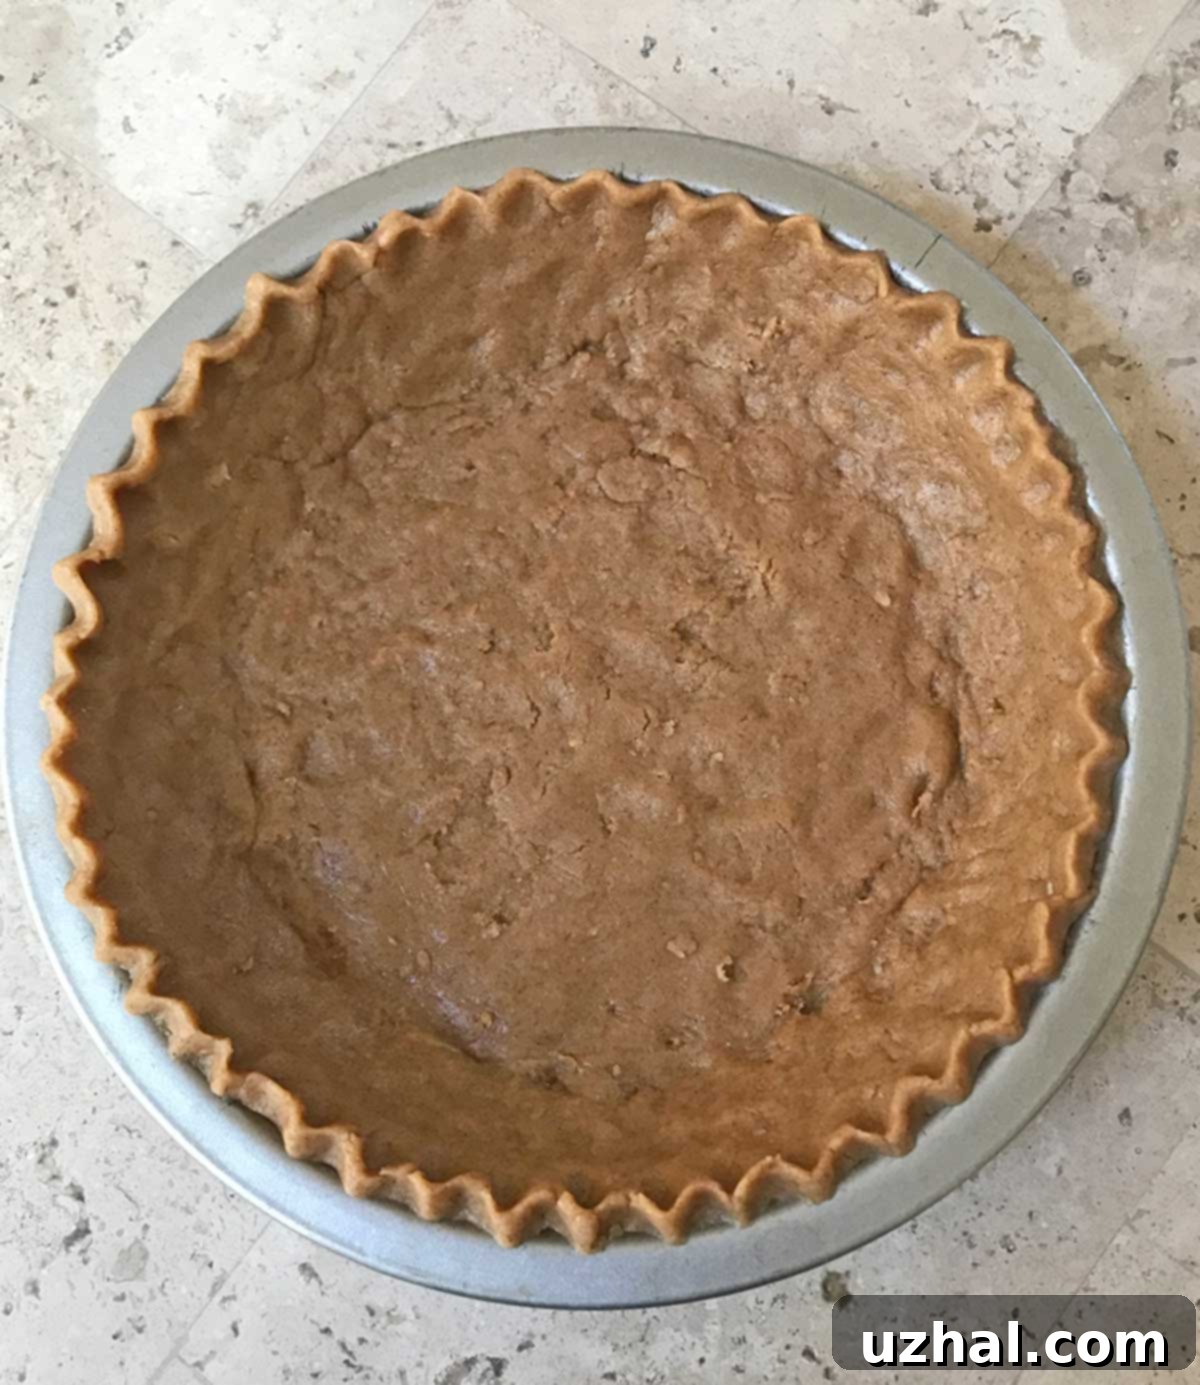
Perfectly Rolled Graham Cracker Pie Crust: The Ultimate Non-Crumbly Recipe
Graham cracker crusts are a beloved foundation for countless cream pies, cheesecakes, and tarts, offering that signature sweet and slightly spicy flavor that so many adore. However, the traditional crumb crust, while delicious, can often be a source of frustration. It’s notoriously crumbly, making for messy slices and sometimes a less-than-elegant presentation. While a rustic, crumbly crust has its charm, there’s a distinct satisfaction in a pie that holds its form beautifully, offering clean, defined slices.
This desire for a more cohesive, yet equally flavorful, graham cracker base led to the exploration of a revolutionary idea: a rolled graham cracker crust. Instead of merely pressing crushed crackers into a pan, imagine a dough, imbued with all the delightful essence of graham crackers, that can be rolled out, fitted into a pie plate, and baked to perfection. This innovative approach promises the beloved taste without the typical mess, transforming your pie-making experience.
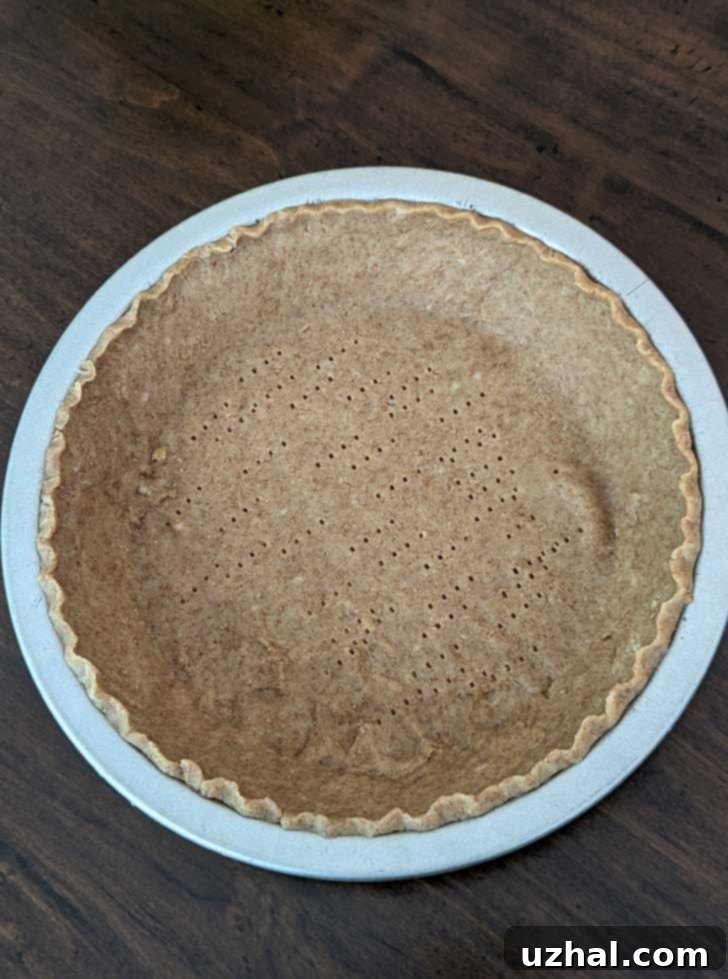
The Ingenuity Behind Rolled Graham Cracker Crust: A Maida Heatter Classic
The concept of a rolled graham cracker crust, while seemingly novel, has historical roots. The legendary baker Maida Heatter, known for her meticulous and often groundbreaking dessert recipes, pioneered a recipe for just such a crust. She brilliantly included it in her “The Great Book of Chocolate Desserts,” demonstrating her foresight and culinary genius. Heatter’s version isn’t just a simple crust; it’s a carefully crafted dough that draws inspiration from her original graham cracker recipe, incorporating a thoughtful blend of both white all-purpose flour and whole wheat flour.
What sets Maida’s rolled graham cracker dough apart is its unique texture and composition. Unlike a typical flaky pastry dough, it behaves more like a soft, pliable cut-out cookie dough. The inclusion of whole milk and golden honey are key ingredients, as they contribute significantly to its softness and tenderness, ensuring it remains workable and sliceable even after baking. This delicate balance of ingredients gives the crust a distinct character that complements creamy fillings beautifully, providing a satisfying chew and a rich, honeyed graham flavor that traditional crumb crusts can sometimes lack.
Crafting Your Rolled Graham Cracker Crust: A Step-by-Step Guide
Initially, this recipe is designed to yield enough dough for two standard 9-inch pies. However, it’s important to note that when divided this way, the resulting circles of dough are exceptionally thin. These thin crusts bake up beautifully, becoming incredibly tender and easy to slice, which is a major advantage over their crumbly counterparts. Yet, their delicate nature presents a minor challenge during preparation: transferring them to the pie plate without breakage can be tricky.
Don’t be disheartened if your first attempt at transfer results in a few cracks or breaks. It’s a common occurrence with such thin dough. My personal solution, which I’ve found to be highly effective, is simply to embrace the breaks. Once transferred, gently press the dough back together directly in the pie plate. The warmth from your hands and the pliability of the dough allow for easy patching and shaping. While the unbaked crust might not look absolutely perfect, the baked result will be remarkably cohesive and function perfectly as a base for your favorite pie filling. Another excellent trick is to roll the dough between two sheets of parchment paper, then freeze the rolled dough for a short period. Once firm, peel away one sheet, invert the dough directly over your pie dish, and gently press it into place before peeling off the second sheet. This method minimizes handling and potential breakage.
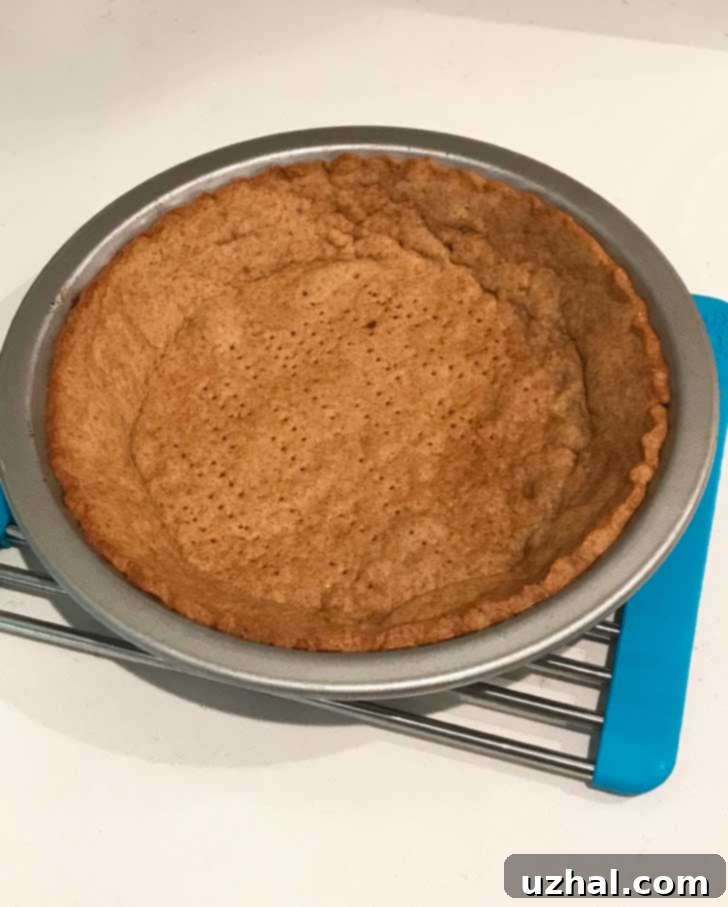
Visualizing Perfection: What Your Crust Can Look Like
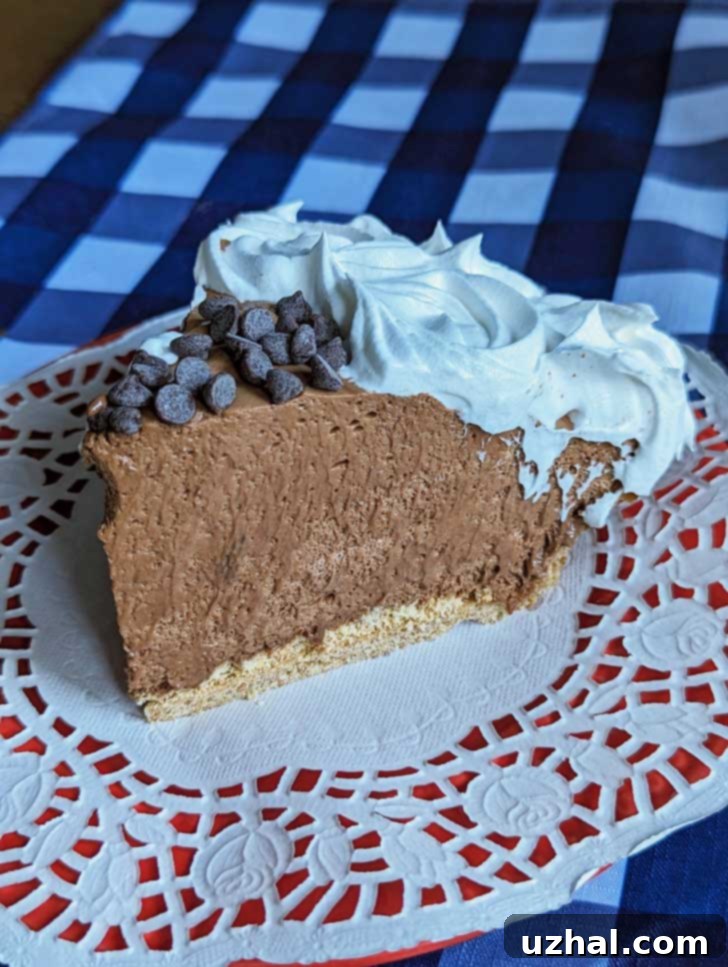
Once baked and filled, the rolled graham cracker crust truly shines. It provides a stable, flavorful base that slices cleanly, presenting a professional and appealing finish to your dessert. The rich, golden-brown hue and subtle texture enhance the visual appeal, making your pie an absolute showstopper.
Refining the Recipe: Thicker Crust for Easier Handling
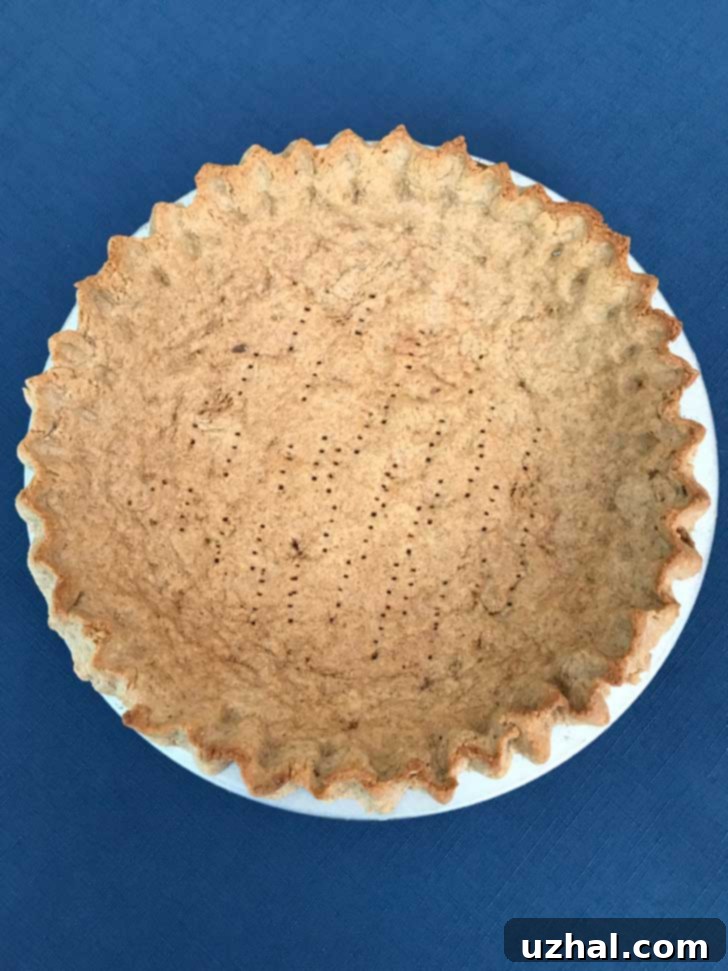
While the initial two-crust recipe works well, especially for shallower pies, I decided to experiment with a slight modification to enhance the user experience and versatility. For “Round Two,” I used approximately three-quarters of the total dough recipe to create a single, thicker pie crust. This adjustment made a significant difference in the ease of handling. The thicker dough was far less prone to breaking during rolling and transferring, offering a more forgiving experience for bakers of all skill levels.
Beyond the improved workability, the thicker crust provided ample dough for crimping the edges, allowing for a more decorative and traditional pie presentation. When baked, this more substantial crust yielded a puffier, richer texture, adding another layer of satisfaction to the final pie. This modification is particularly recommended for deep-dish pie plates or for those who prefer a more robust crust to complement their fillings.
Why Choose a Rolled Graham Cracker Crust? Benefits and Future Ideas
As much as I appreciate the traditional graham cracker crumb crust, this rolled version offers a delightful and practical change of pace. The primary advantage is undoubtedly how neatly the crust slices, preventing the common issue of filling oozing out from a crumbling base. This makes for much cleaner serving and a more appealing dessert. Furthermore, the ease of preparation – simply mixing ingredients to form a dough and then rolling it out – is incredibly appealing, simplifying the pie-making process.
It’s crucial to highlight the importance of the flour blend in this recipe. My tests revealed that a combination of all-purpose and whole wheat flour is key. A version made with 100% all-purpose flour resulted in a crust that became very soggy within hours of adding the filling. The whole wheat flour provides essential absorption power, preventing the crust from becoming unpleasantly wet, thus maintaining its structural integrity and delightful texture. This makes the rolled crust particularly suitable for cream-based or fruit fillings that release moisture.
Looking ahead, I’m excited to explore further applications for this versatile crust. My next culinary adventure involves pairing it with a rich brownie pie, promising a decadent combination of flavors and textures. I also plan to experiment with incorporating marshmallows into the crust or as a topping, aiming for a creative S’mores-themed dessert that will surely be a crowd-pleaser. The possibilities for this elegant and sturdy crust are truly endless.
Essential Ingredients for Your Rolled Graham Cracker Pie Crust
- Flour: This recipe utilizes a blend of regular all-purpose and whole wheat flour. The all-purpose flour provides structure and tenderness, while the whole wheat flour is essential for its absorption qualities, preventing the crust from becoming soggy under the pie filling. Do not skip the whole wheat for best results!
- Baking Powder: Acts as a leavening agent, contributing to a slightly lighter, more tender crumb in the baked crust.
- Baking Soda: Works with the brown sugar and whole wheat flour to create a balanced flavor and enhance the leavening.
- Salt: A pinch of salt is vital for balancing the sweetness and enhancing the overall flavor profile of the crust, making it more complex and delicious.
- Cinnamon: This spice is the secret to giving the crust its authentic “graham cracker” taste. Adjust the amount to your personal preference for a subtle hint or a more pronounced warmth.
- Sugar (Dark Brown): Dark brown sugar adds a deep, molasses-like sweetness and contributes to the crust’s tender texture and beautiful golden-brown color.
- Butter: Softened salted or unsalted butter (we used salted here) provides richness and helps to bind the dough. Ensure it’s truly softened for easy creaming. If using unsalted, increase the added salt slightly.
- Honey: Beyond its natural sweetness, honey plays a crucial role in keeping the baked crust soft enough to yield easily to a fork, especially after the pie has been chilled with its filling. It also adds a lovely depth of flavor.
- Whole Milk: This liquid ingredient is essential for bringing the dough together, preventing it from being too dry and crumbly to work with. It also contributes to the tenderness of the final crust.
- Vanilla Extract: A splash of vanilla enhances all the other flavors, adding a warm, aromatic note that elevates the crust from good to extraordinary.
Recipe
Rolled Graham Cracker Pie Crust
Pin Recipe
Ingredients
- ½ cup sifted or weighed all-purpose flour (65 grams)
- ½ teaspoon baking powder
- ¼ teaspoon baking soda
- ½ teaspoon cinnamon (adjust to taste for more or less graham flavor)
- ⅛ teaspoon salt (use ¼ if you are using unsalted butter)
- ¼ teaspoon vanilla extract
- 4 tablespoons butter, softened or soft margarine** (56 grams – ensure it’s at room temperature for easy creaming)
- ¼ cup dark brown sugar (55 grams – packed tightly)
- 2 tablespoons honey (40 grams – helps keep the crust tender)
- 4 tablespoon whole milk (56 grams – provides moisture and tenderness)
- 1 cup unsifted whole wheat flour (125 grams – crucial for preventing sogginess)
Instructions
-
In a medium bowl, thoroughly whisk together the first ½ cup (65 grams) of all-purpose flour, baking powder, baking soda, salt, and cinnamon. It’s important to mix for at least 30 seconds to ensure there are no lumps and that all the dry ingredients are uniformly distributed.
-
In a separate large mixing bowl, using an electric mixer, cream together the softened butter (or margarine) and dark brown sugar until light and fluffy. Beat in the vanilla extract and honey until well combined. Gradually add the white flour mixture to the butter mixture, stirring until just blended. Then, stir in the whole milk. Finally, gradually incorporate the unsifted whole wheat flour, continuing to stir until a cohesive dough forms. Avoid overmixing.
-
Divide the dough mixture in half to make two thinner crusts, or use approximately ¾ of the dough for one thicker crust. Gently shape each portion into a round disc, wrap tightly in plastic wrap, and chill in the refrigerator for at least several hours (or preferably overnight). This chilling period is crucial for allowing the whole wheat flour to fully hydrate and soften, making the dough easier to roll and preventing a tough crust.
-
Lightly grease one or two shallow 9-inch pie tins. You can use butter, shortening, coconut oil, or a nonstick cooking spray. For deep-dish pies, remember to adjust the dough quantity as discussed in the “Round Two” section.
-
On a lightly floured pastry mat or clean counter, take one chilled round of dough. Roll it out into a 12-inch circle. Be aware that this will be a very thin circle if making two crusts from the recipe. Consistent flour dusting on the mat and your rolling pin is crucial to prevent sticking.
-
Using a pie lifter or a wide bench scraper, carefully loosen the dough from the mat and gently transfer it to the prepared pie pan. It is quite common for the thin dough to break during this step. If it does, simply press the dough back together with your fingers directly in the pan, shaping it neatly to fit. For an alternative, more foolproof method, roll your dough circle out between two sheets of parchment paper, freeze it briefly until firm, then peel away one sheet of parchment, invert the dough over the pie dish, and press it down before removing the second sheet.
-
Chill the lined pie plate in the refrigerator for about an hour. This helps the crust retain its shape during baking. When you’re ready to bake, preheat your oven to 350°F (175°C). Prick the bottom of the crust all over with a fork (this is called docking) to prevent bubbling. Bake for about 12 to 15 minutes, or until golden brown. Keep an eye on it; if it appears to be browning too quickly, you can reduce the heat to 325°F (160°C). Remove from the oven and allow it to cool completely on a wire rack before adding any filling.
Notes
Embrace the elegance and stability of a rolled graham cracker pie crust for your next dessert. This Maida Heatter-inspired recipe, with its thoughtful blend of ingredients and refined techniques, offers a superior alternative to the traditional crumbly crust. Say goodbye to messy slices and hello to beautifully presented, perfectly firm pies every time. Whether you opt for the delicate thinness or the more robust, thicker version, you’ll find this crust to be a game-changer in your baking repertoire. Happy baking!
