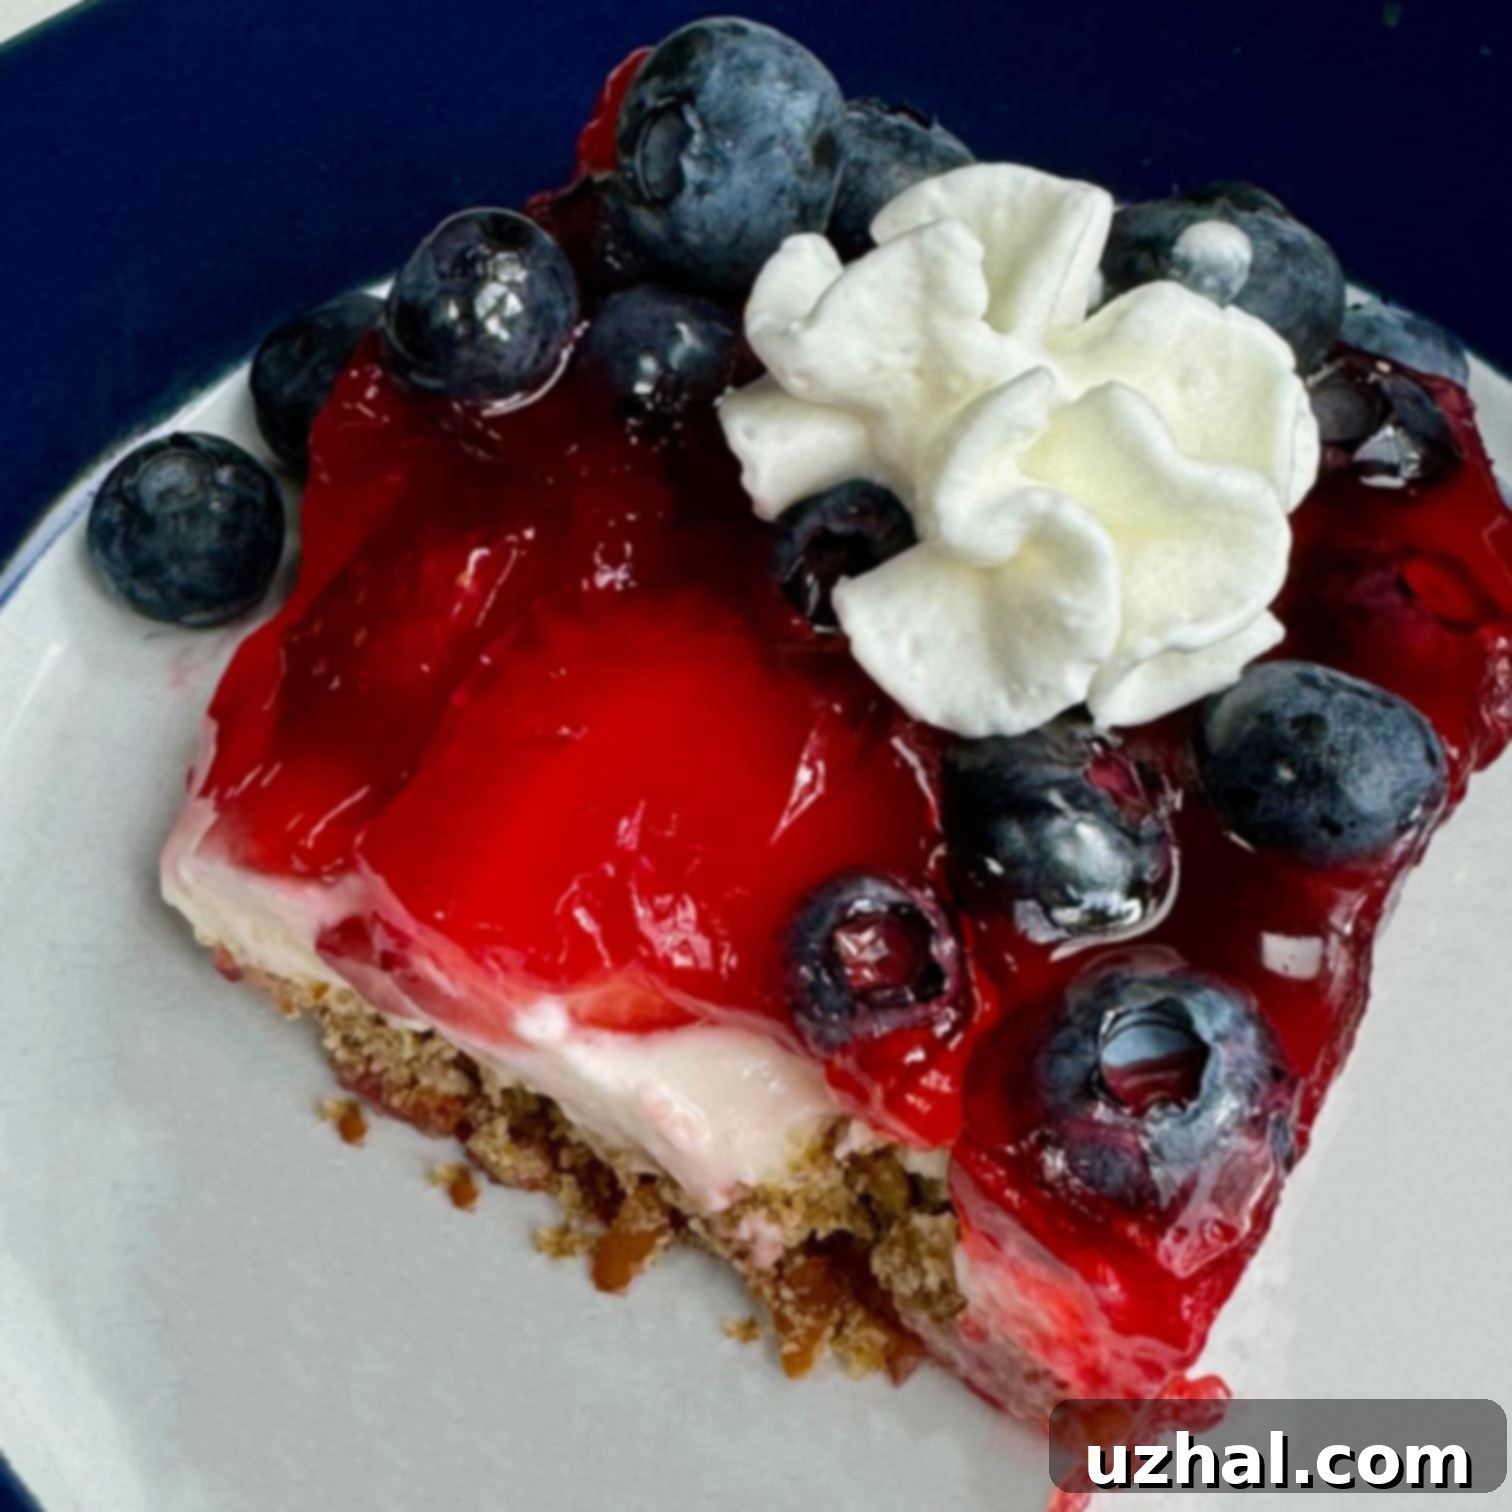
The Ultimate No-Bake Layered Strawberry Dessert: A Summer Favorite
Prepare to fall in love with a dessert you never knew you needed! This spectacular Layered Strawberry Dessert, originally conceived as a simple way to use up fresh strawberries and a box of gelatin, has blossomed into an undeniable family favorite. It wasn’t intended to be a patriotic statement, but a handful of vibrant blueberries scattered alongside the ruby-red strawberries instantly transformed it into a delightful homage to the American flag. Now, it’s my celebrated go-to treat for July 4th and every summer occasion that calls for something refreshingly sweet and effortlessly elegant.
Jump to Recipe
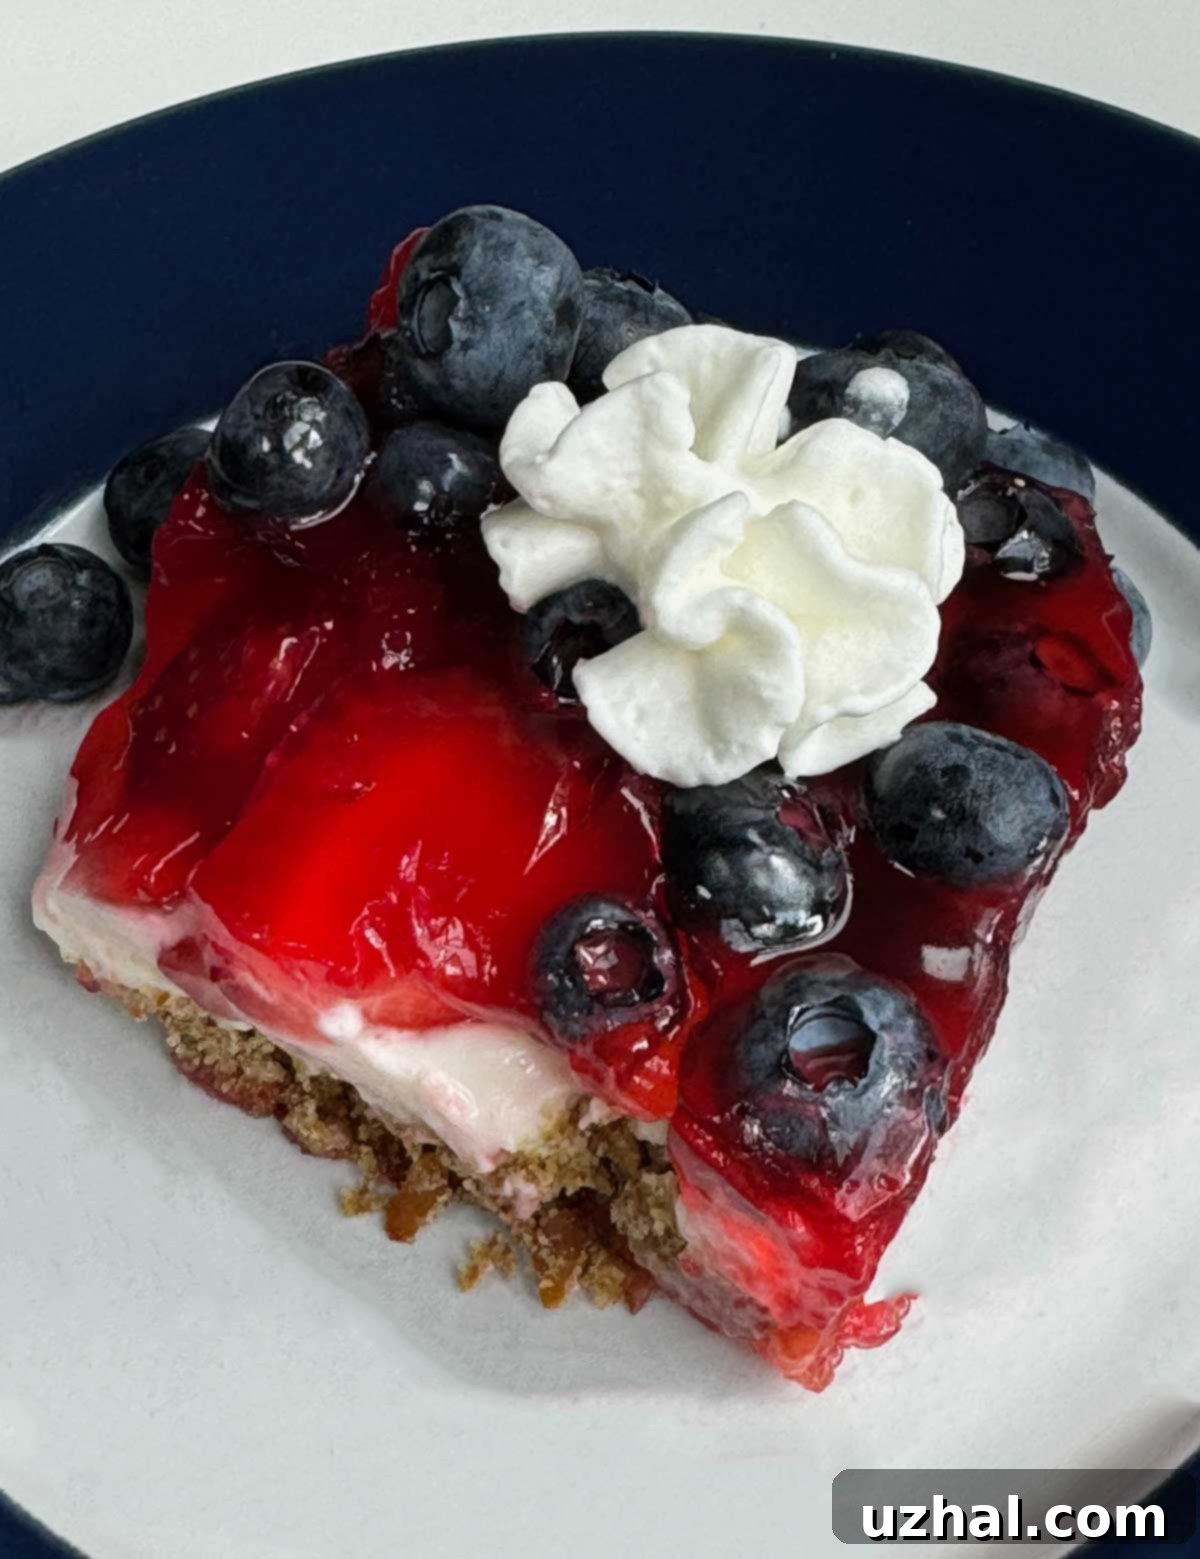
This delightful recipe masterfully combines several textures and flavors into one harmonious dish. It begins with a sturdy, buttery crust, followed by a light and luscious no-bake cream cheese layer, all crowned with a generous topping of fresh strawberries suspended in a shimmering, congealed strawberry glaze. While its playful nature might not suit the formality of a grand dinner party, it’s absolutely perfect for a casual weeknight treat, a festive July 4th barbecue, or a crowd-pleasing potluck. Its ease of preparation and impressive presentation make it a true summer superstar.
Why This Layered Strawberry Dessert Will Be Your New Favorite
Since its first appearance, this dessert has quickly climbed the ranks to become a beloved staple in our home. Its simplicity belies its deliciousness, offering a refreshing escape from heavy, complicated desserts. The magic lies in its adaptability and the satisfying contrast of its layers. The buttery crunch of the crust provides a wonderful foundation, which perfectly balances the smooth, tangy sweetness of the cream cheese filling. Then, the fresh, juicy strawberries, enveloped in a vibrant, fruit-forward gelatin, add a burst of summer flavor that’s simply irresistible. It’s a dessert that invites customization, allowing you to experiment with different crusts or even mix in other fruits, making it a fresh experience every time you prepare it.
Layered Strawberry Dessert Notes & Variations for 2024
Over time, I’ve had a blast tweaking and perfecting this recipe, discovering new ways to enhance its appeal. Here are some of my latest insights and favorite variations to make your Layered Strawberry Dessert truly shine:
- The Versatile Crust: Building a Flavorful Foundation
The original pecan shortbread crust is undeniably good, offering a rich, nutty flavor and a satisfying texture. I’ve even increased the amount by ¼ to make it a little thicker and more substantial, providing a better base for the creamy layers. However, the beauty of this dessert lies in its flexibility. Don’t feel limited to pecans! I’ve experimented with other options: a Saltine cracker crust provided an interesting savory-sweet balance that was surprisingly pleasant, but the pretzel crust truly stole the show with its perfect salty-sweet crunch. You can use almost any crumb crust here – the key is finding a combination you love. For a standard 9×13 inch pan, you’ll typically need a recipe that calls for about 2 cups of crumbs to achieve a nice, even layer.
- The Creamy, Dreamy No-Bake Filling: A Layer of Pure Bliss
The cream cheese filling in the recipe card delivers a wonderfully modest and balanced layer. However, if you’re a fan of a thicker, more decadent cheesecake-like center, feel free to increase the ingredients for this layer by ⅓ or even ½. One of the best parts about this filling is its effortless preparation. There’s no need to haul out a heavy electric mixer! If your cream cheese is properly softened to room temperature, you can easily beat in the powdered sugar with a simple spoon or a silicone scraper. Gently folding in the whipped topping afterward will yield a perfectly smooth, airy, and luscious consistency every time.
- Picture-Perfect Fruit Topping: A Feast for the Eyes
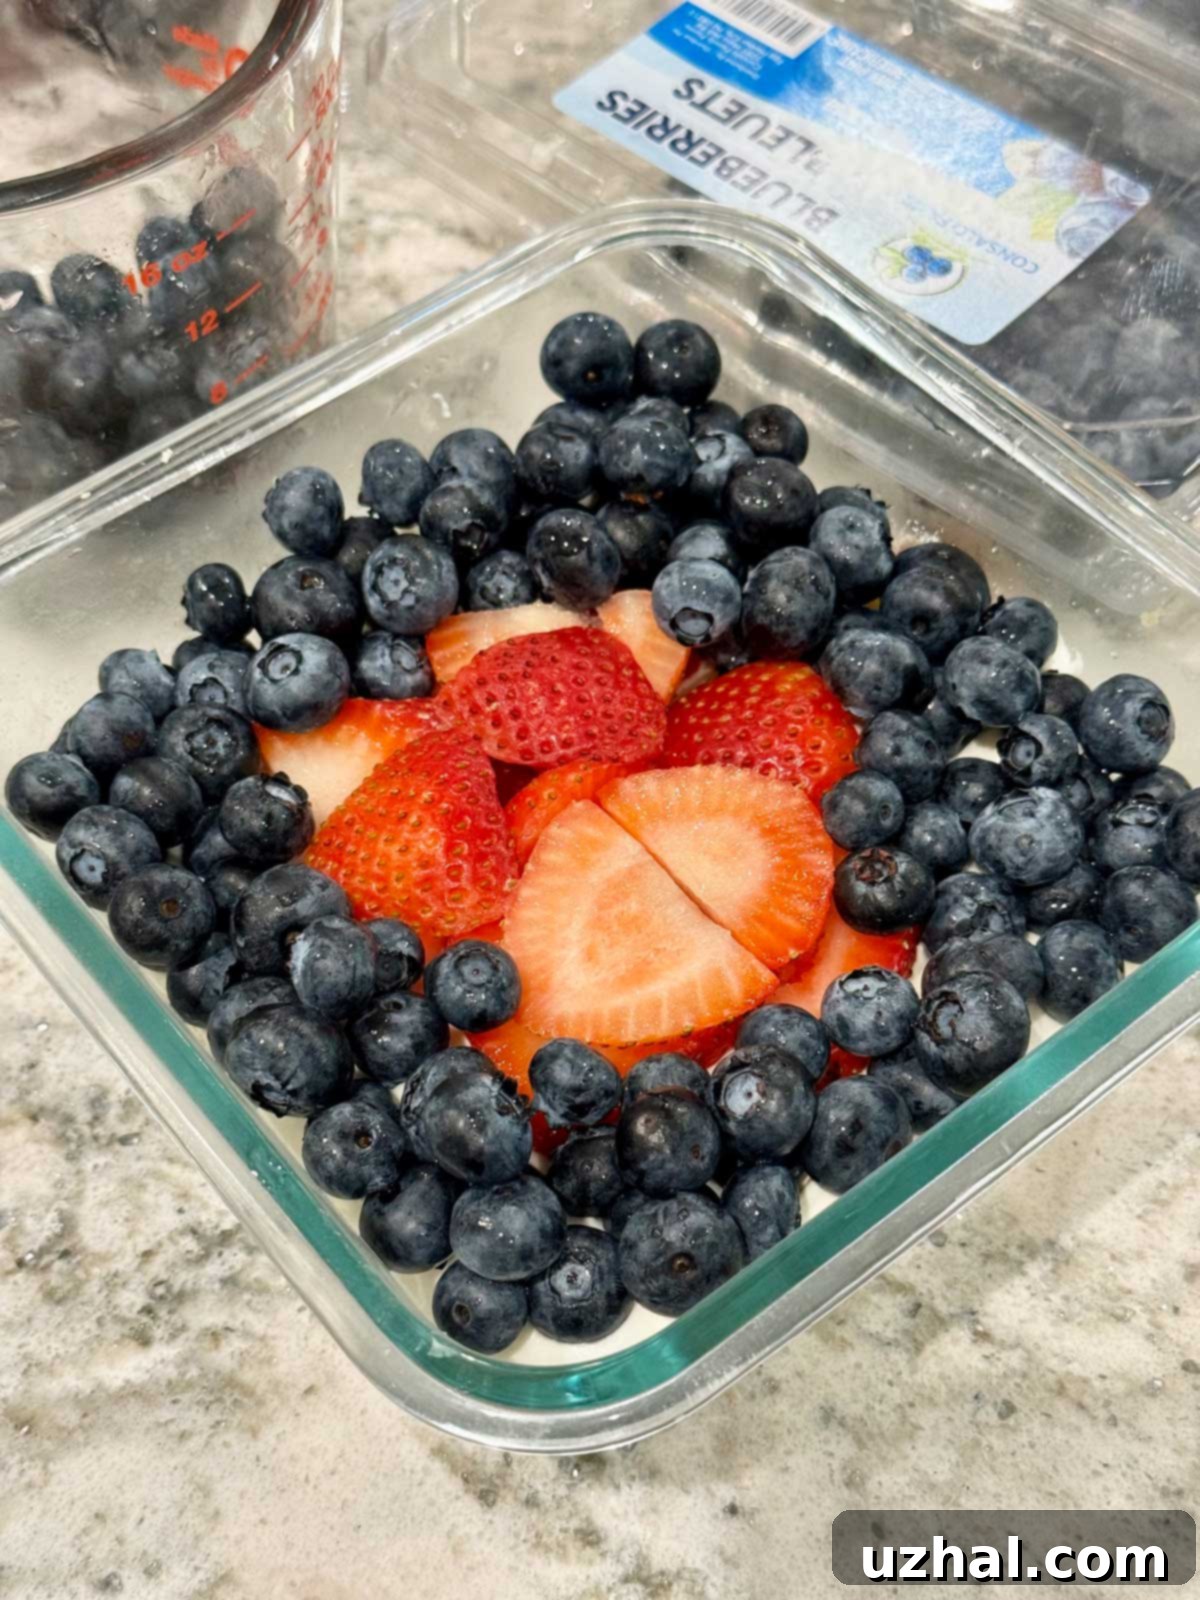
While fresh strawberries are the star, you can get creative with your fruit arrangement, especially if you’re short on strawberries or another berry is in season. Consider placing the sliced strawberries in the middle and then artfully arranging other fruits, such as blueberries or blackberries, around the edge. This not only looks incredibly pretty, as shown in the picture below, but also creates a stunning cross-section when sliced, revealing beautiful layers and vibrant colors. It’s an easy way to elevate the presentation and add an extra layer of flavor and visual interest.
- The Shimmering Strawberry Gelatin Mixture: Glaze with Grace
The recipe for the strawberry gelatin mixture makes a generous amount, designed to beautifully congeal and hold all the fruit together. The trick here is in the application: pour on only as much as you need to adequately coat the fruit and set the top layer. My initial mistake when I first made this dessert was pouring the entire batch of gelatin mixture over the fruit, which resulted in an overwhelming strawberry gel layer that overshadowed the other components. A thinner, delicate glaze is all you need to achieve that perfect glistening finish and fruit stability.
- Soda or Sparkling Water: A Zesty Twist
For the gelatin topping, traditional lemon-lime soda works well, lending a classic touch. However, I’ve recently discovered a fantastic alternative: flavored sparkling water. Using a lemon-flavored sparkling water, like La Croix, provides a lighter, more nuanced citrus note that complements the strawberries beautifully without being overly sweet. It’s a subtle change that makes a noticeable difference in the overall freshness of the dessert.
Choosing the Right Pan Size for Your Dessert
The recipe provided in the card is perfectly tailored for an 8×12 or 9×13 inch baking dish. This measurement offers a good ballpark, but there’s a little room for flexibility. You can certainly use a slightly smaller dish if that’s what you have on hand, but I’d advise against going any larger, as the layers might become too thin. If you opt for a smaller dish, keep in mind that the crust will be a bit thicker, which might require a few extra minutes in the oven to achieve that perfect golden-brown edge. For those who want to make a smaller batch, perhaps for a less crowded gathering or just to test different crusts, a half batch works wonderfully in an 8-inch square pan. Just grab your kitchen scale and weigh half of each ingredient – I’ve been doing this often to test various crust recipes, so I can confirm it works flawlessly and yields equally delicious results!
Basic Steps for Assembling Your Layered Strawberry Dessert
This section offers a quick visual rundown of the simple steps involved in creating this marvelous dessert. While I typically use a prettier ceramic dish for serving, I thought a disposable pan would perfectly illustrate its suitability for potlucks and picnics – easy cleanup is always a win!
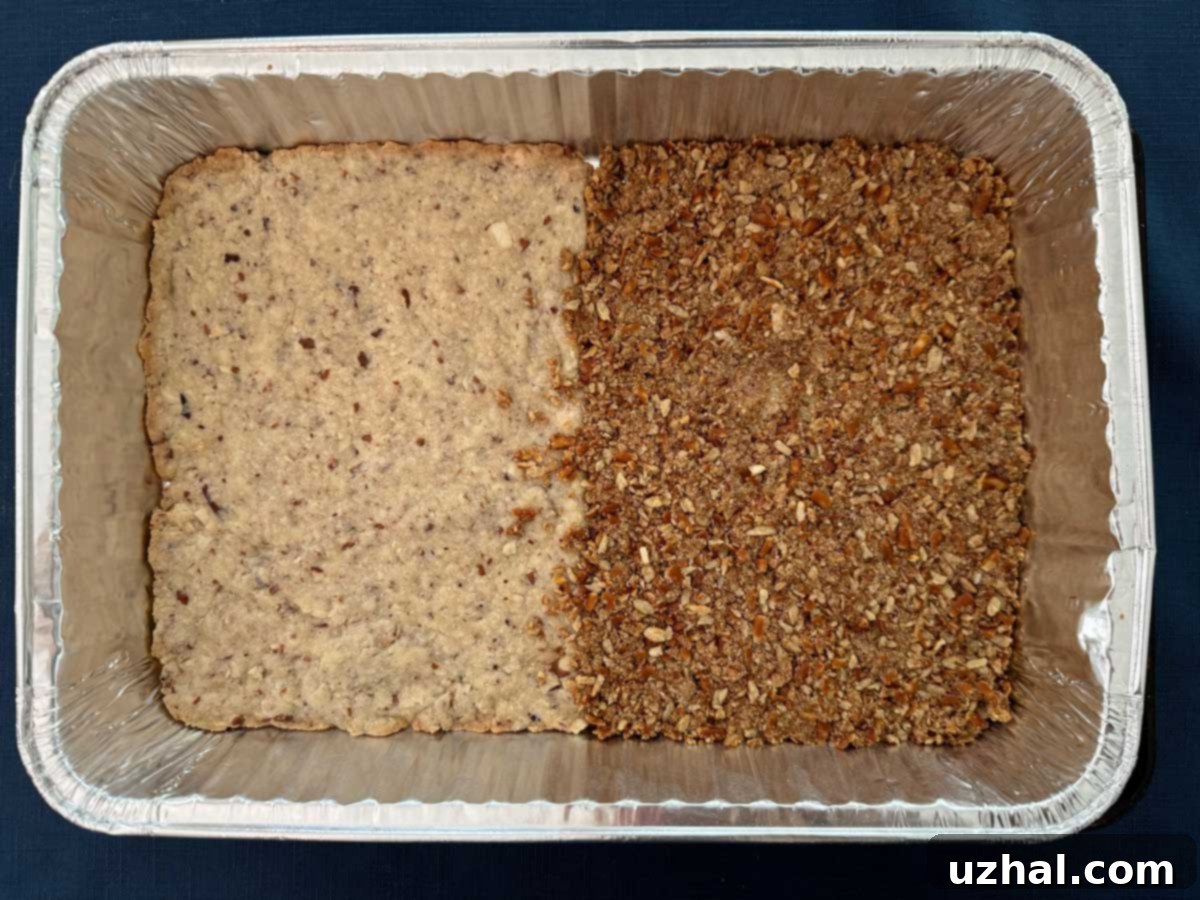
- **Prepare the crust.** Here, I experimented with a delightful blend of half pecan and half pretzel crumbs, pressed firmly into the baking pan, ready for its quick bake.
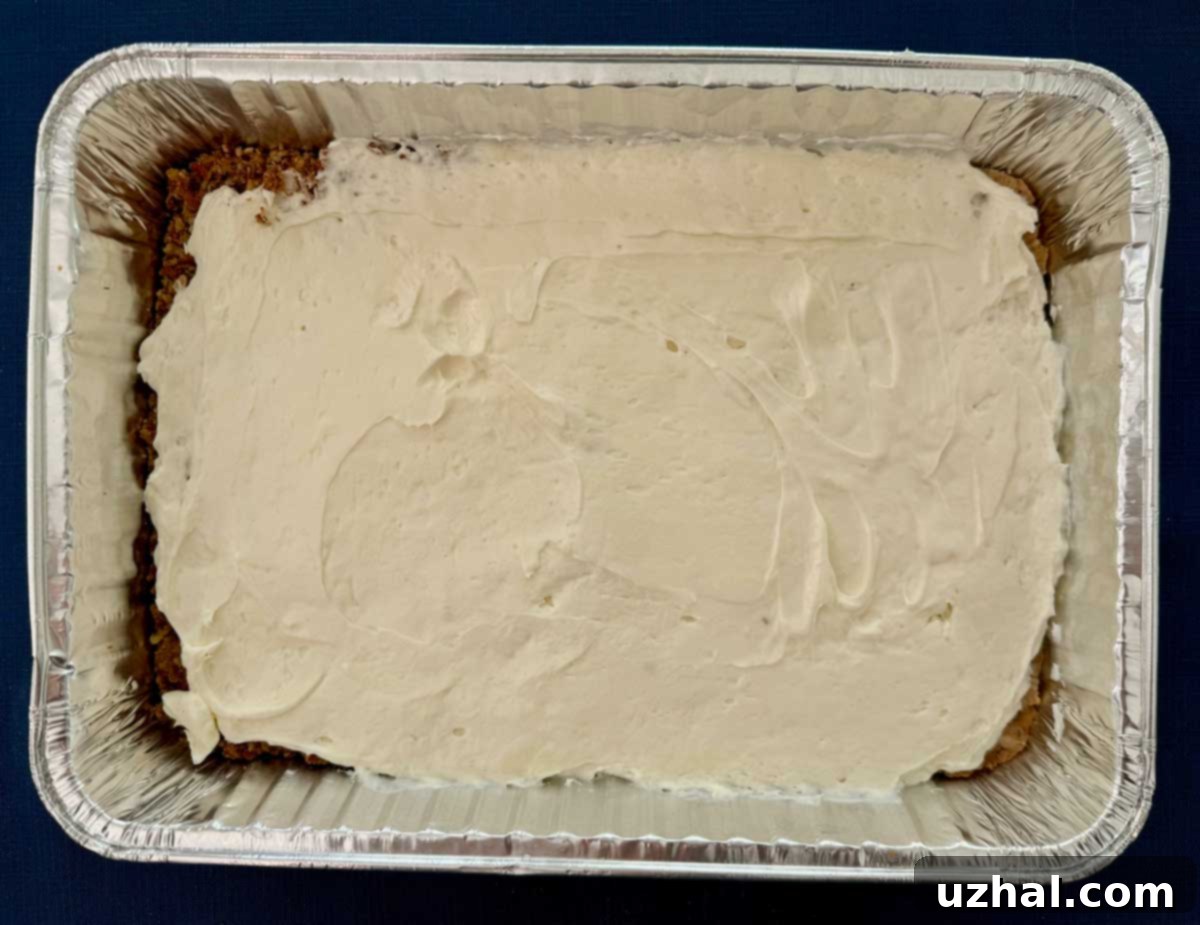
- **Spread the creamy cheese mixture.** Once the crust is baked and completely cooled, carefully spread the fluffy cream cheese filling evenly over its surface, creating a smooth, inviting layer.
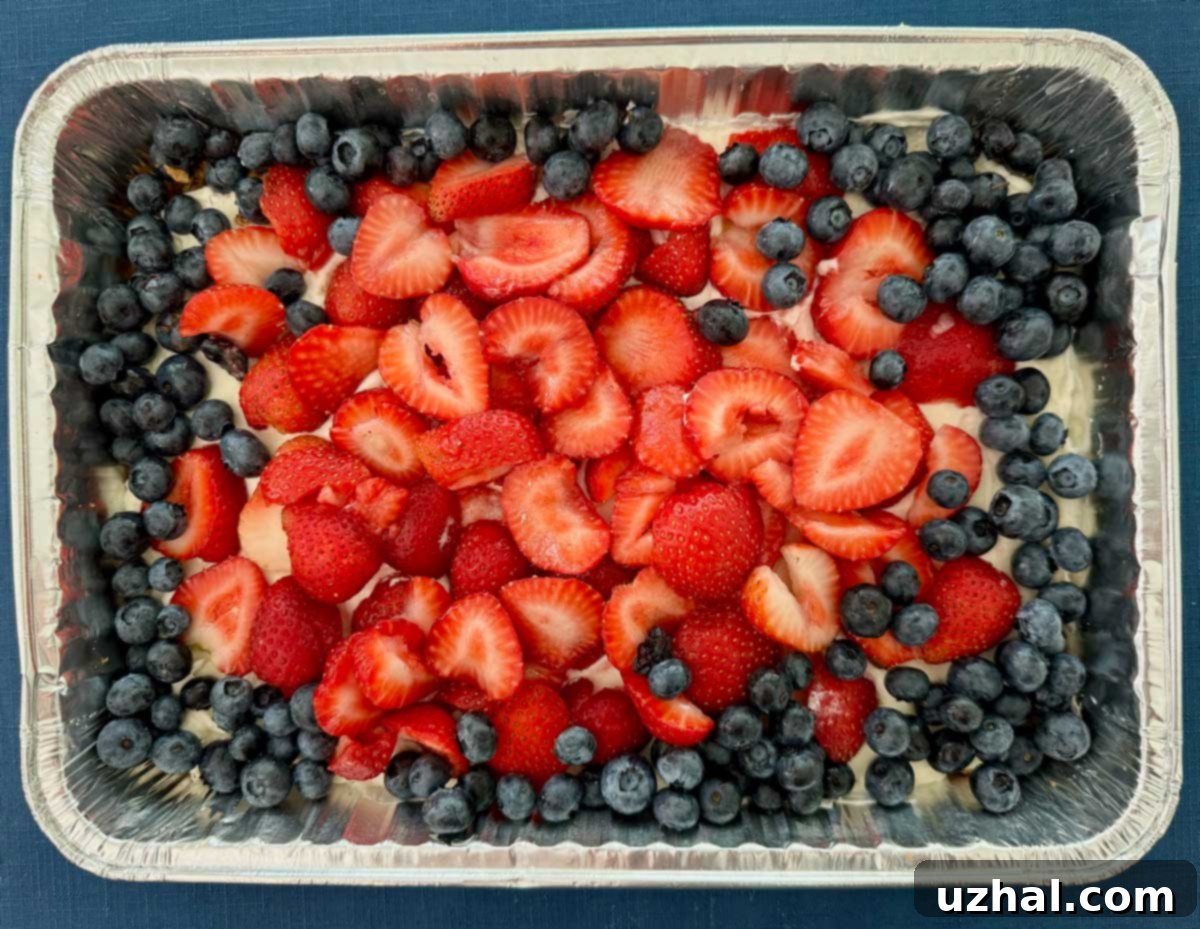
- **Layer with fresh fruit.** Artfully arrange your sliced fresh strawberries (and any other desired fruits) over the chilled cream cheese layer. This is where the dessert really starts to come alive with color.
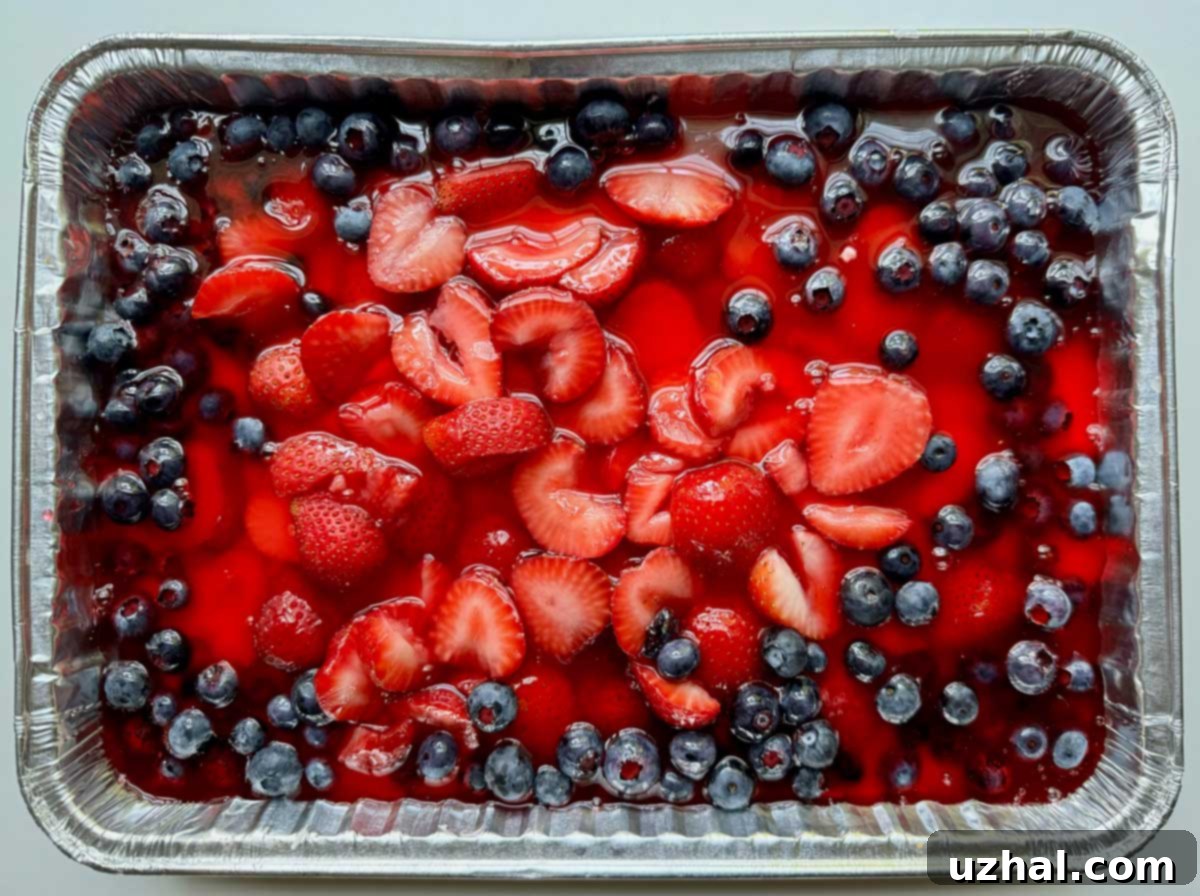
- **Pour the gelatin and chill.** Carefully pour just enough of the cooled strawberry gelatin mixture over the fruit to coat and hold it in place. Then, refrigerate for at least 4 hours, or until the gelatin is completely set, allowing all the flavors to meld beautifully.
Serving and Storage Suggestions
Once your Layered Strawberry Dessert is perfectly chilled and set, slice it into squares for easy serving. This dessert is fantastic on its own, but for an extra touch of indulgence, consider serving it with an additional dollop of whipped topping or freshly whipped cream, and a few extra fresh berries. It’s best enjoyed cold, straight from the refrigerator.
Store any leftovers in an airtight container in the refrigerator for up to 3-4 days. While the crust might soften slightly over time, the flavors will remain delicious. It’s not recommended for freezing, as the gelatin and cream cheese layers can change texture upon thawing.
- Basic Strawberry Sauce and Topping
- Strawberries & Cream Cake
- Glazed Strawberry Pie with Cream Cheese
- Scratch Strawberry Cake
- Strawberry Cake with Pudding Frosting
Recipe
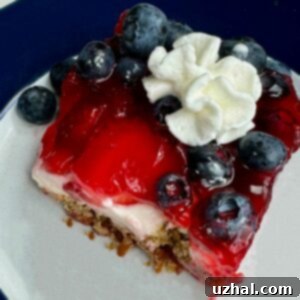
Layered Strawberry Dessert
Anna
Pin Recipe
Ingredients
- 1 ¼ cups all-purpose flour (170 grams)
- ⅓ cup powdered sugar (40 grams)
- ½ cup plus 2 tablespoons salted butter, melted and cooled (140 grams)
- ¼ teaspoon vanilla extract
- ⅔ cup finely chopped pecans, preferably toasted
Layer 2
- 8 ounces cream cheese, softened (reduced fat is fine too) (228 grams)
- ¾ cup powdered sugar (90 grams)
- 1 teaspoon of vanilla
- 2 cups of whipped topping (like Cool Whip)**
Layer 3
- 1 cup granulated sugar (190 grams)
- 3 tablespoons cornstarch
- 1 pinch of salt
- 1 ½ cups lemon-lime soda OR lemon flavor sparkling water (I like the sparkling water best)
- 1 pack strawberry gelatin (3 oz size)
- ½ cup water
- 1 tablespoon fresh lime or lemon juice (optional)
- 4 cups or as needed sliced strawberries plus other fruit if desired
Instructions
-
Preheat your oven to 350 degrees F (175 C). Lightly grease a 9×13 inch baking pan to prevent sticking.
-
In a medium bowl, combine the all-purpose flour and powdered sugar. Stir in the melted and cooled butter and vanilla extract until well combined. Fold in the finely chopped pecans. Press this mixture firmly and evenly across the bottom of the prepared pan. Bake for approximately 18 minutes, or until the edges are lightly golden brown. Allow the crust to cool completely on a wire rack before proceeding.
-
To make the second layer, beat the softened cream cheese with powdered sugar and vanilla extract until the mixture is smooth and lump-free. Gently fold in the whipped topping until just combined and airy. Spread this creamy mixture evenly over the completely cooled crust. Chill in the refrigerator while you prepare the topping.
-
For the topping, in a large saucepan, whisk together the granulated sugar, cornstarch, and a pinch of salt. Pour in the lemon-lime soda or lemon-flavored sparkling water. Place the saucepan over medium heat and cook, stirring constantly, until the mixture thickens and transitions from cloudy to clear. Remove from heat immediately and stir in the strawberry gelatin powder until fully dissolved. Then, stir in the cold water (this helps cool the mixture faster). Optionally, you can add a tablespoon of fresh lime or lemon juice for an extra zesty kick.
-
Let the gelatin mixture cool down. You can leave it in the saucepan or transfer it to another container for quicker cooling. It should be cool enough not to melt the cream cheese layer or cook the fruit when poured, but still liquid enough to spread.
-
Carefully spread the sliced strawberries (and any other desired fruit) over the chilled cream cheese layer. Gently pour just enough of the cooled strawberry gelatin mixture over the fruit to coat it and hold it together as it sets – avoid pouring too much. Return the dessert to the refrigerator and chill for at least four hours, or until the gelatin layer is completely set. Once set, cut into neat squares and serve, optionally garnished with extra whipped topping or fresh whipped cream and additional fruit. Enjoy your delicious homemade layered strawberry dessert!
Notes
- The recipe calls for 2 cups of whipped topping, which is approximately ⅔ of an 8-ounce tub of Cool Whip. If you prefer to use freshly whipped heavy cream, you’ll need about ⅔ cup (just under 6 ounces) of heavy cream. Whip it to stiff peaks and gently fold it into the cream cheese mixture. You may want to increase the powdered sugar by a teaspoon or two, to taste, for added sweetness.
- For a delicious and satisfying pretzel crust, combine 2 cups of crushed salted pretzel sticks with ¼ cup of dark brown sugar and ¾ cup of melted butter (salted or unsalted works fine). Press this mixture firmly into your chosen baking pan and bake at 350°F (175°C) for about 10 minutes, or until lightly golden. Allow it to cool completely before adding the next layer.
