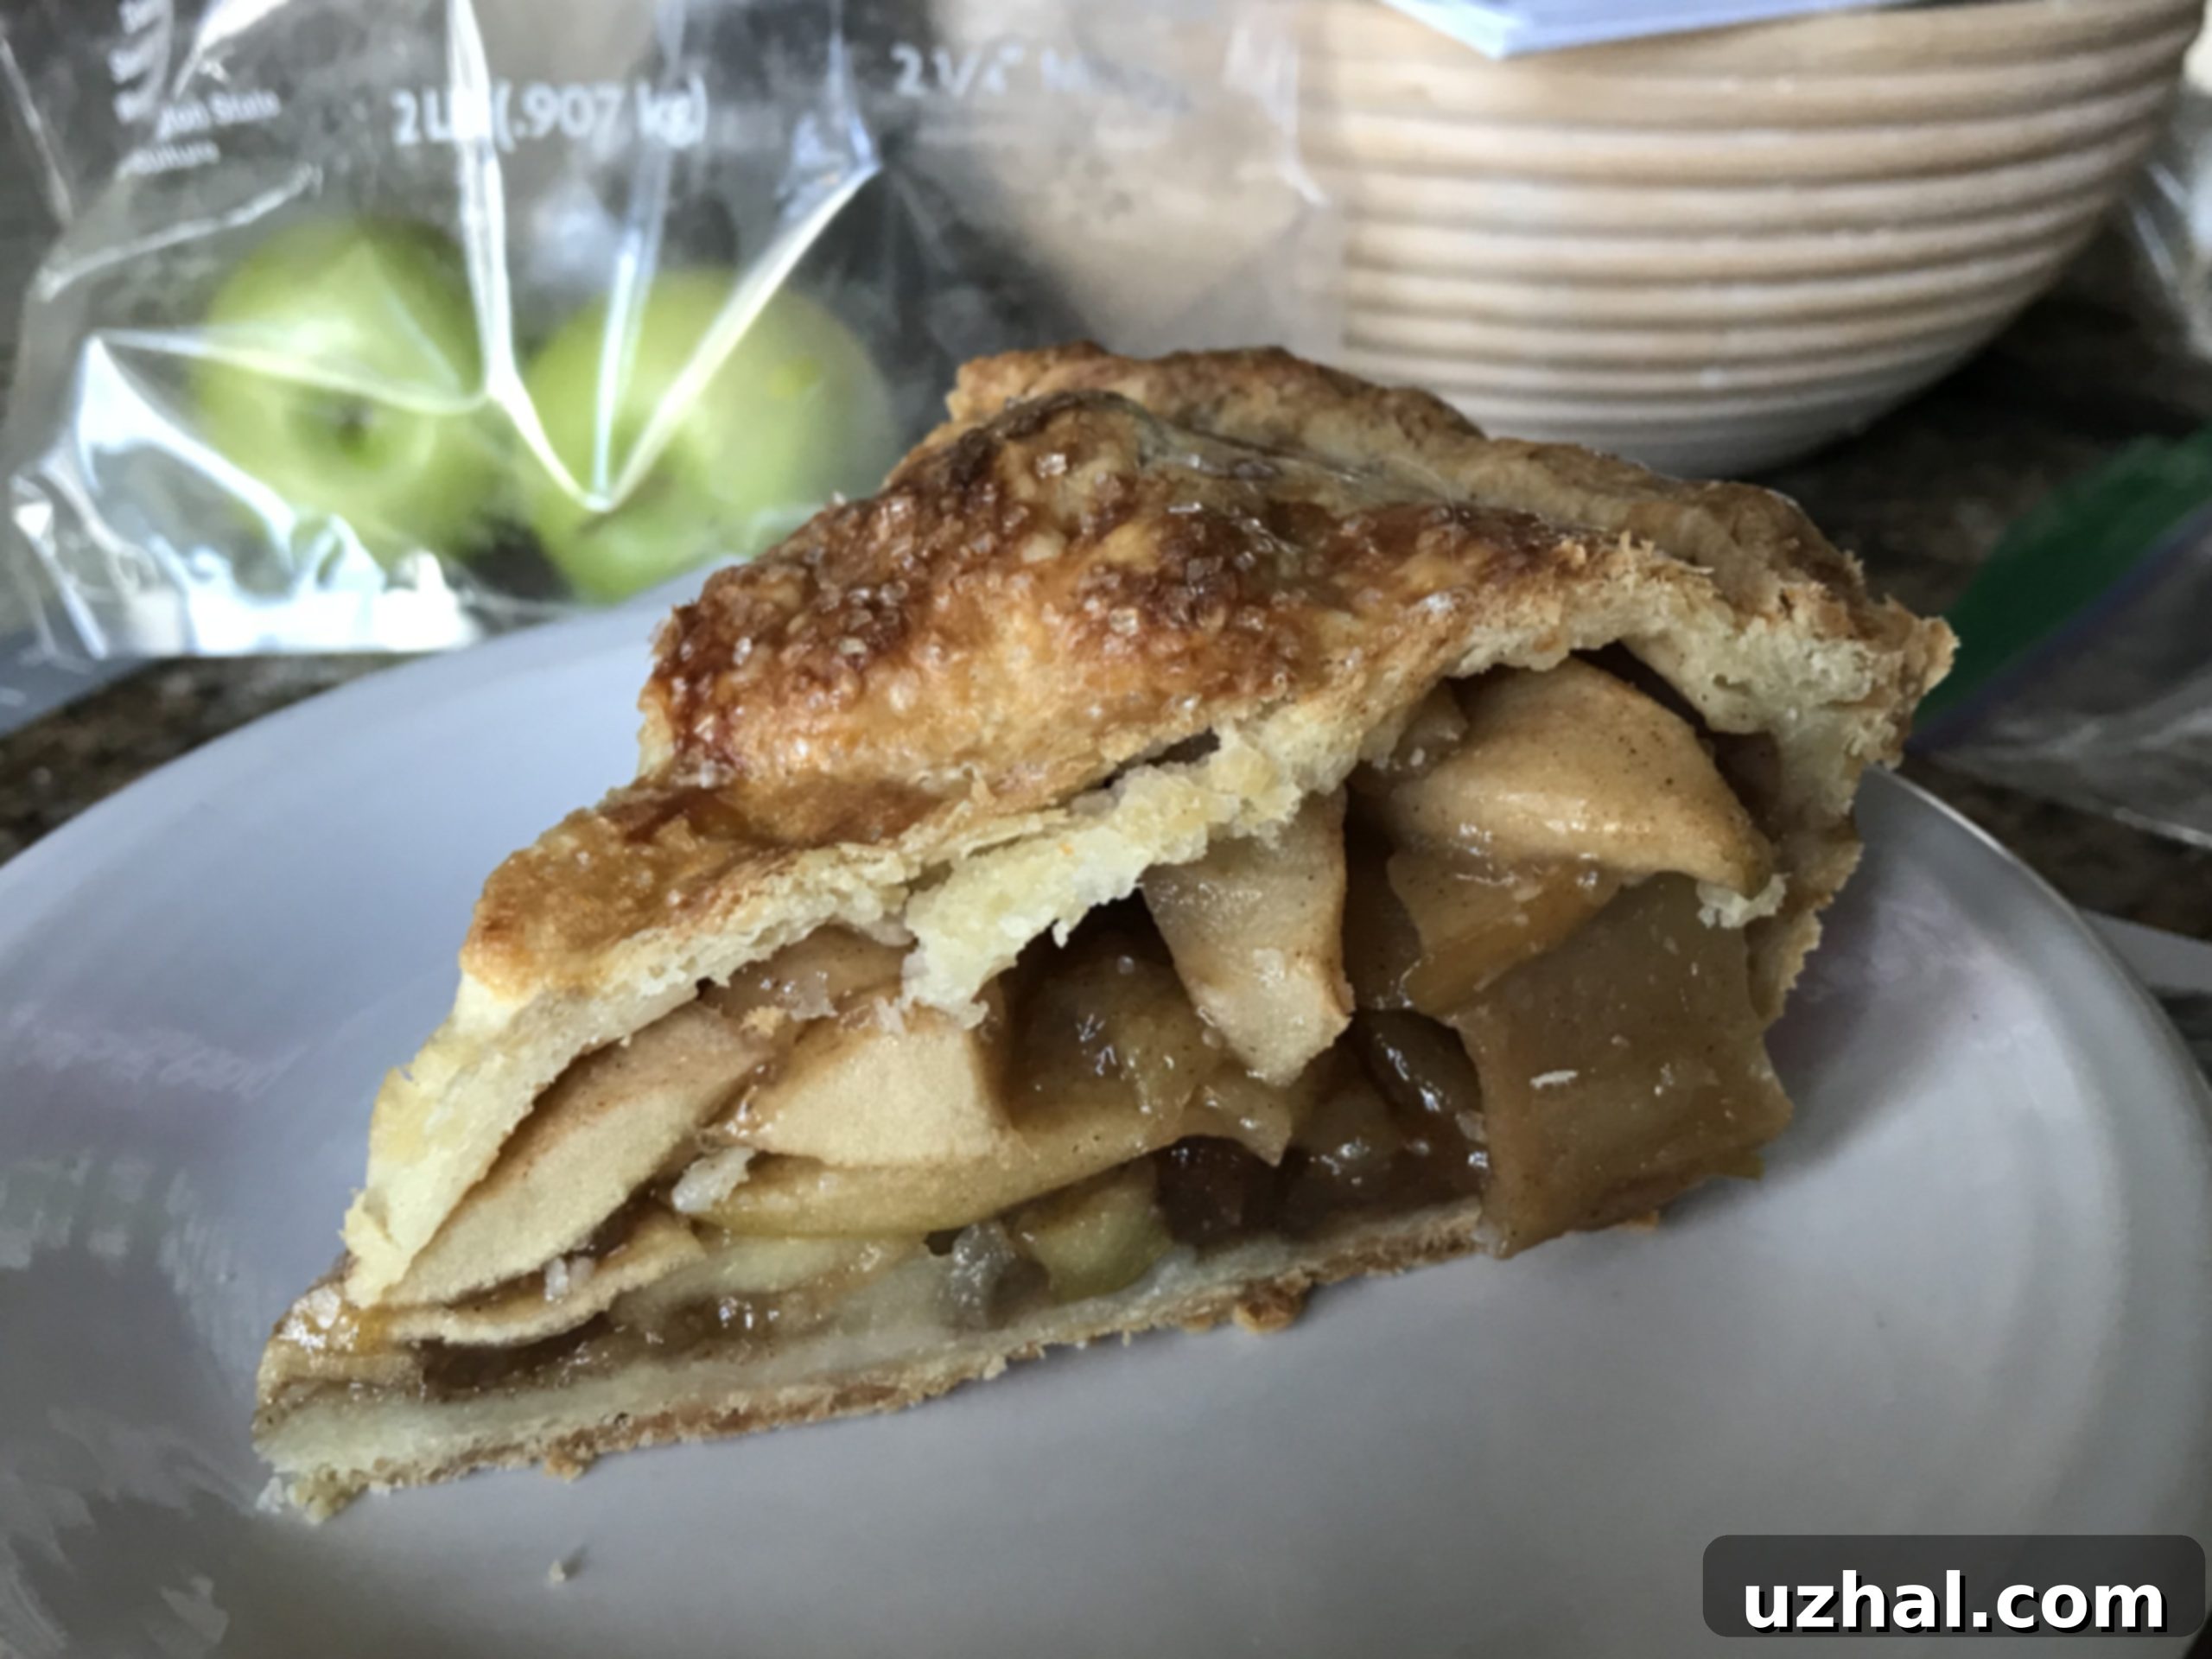
Unlocking the Secrets to the Perfect Stella Parks No-Fuss Apple Pie (and Hand Pies!)
Every once in a while, a recipe comes along that completely redefines your expectations. For me, that recipe is Stella Parks’ No-Fuss Apple Pie from her phenomenal cookbook, Brave Tart: Iconic American Desserts. If you’re a baking enthusiast, this book is an absolute treasure, but don’t worry if you haven’t added it to your collection yet – you can still access the ingenious recipe through Serious Eats. This isn’t just any apple pie; it’s a celebration of warm, inviting fall flavors, bursting with an incredible abundance of fresh, tender apples. What truly sets it apart is its impeccable structure: it slices beautifully without crumbling and, even more remarkably, remains perfectly firm and non-runny, especially on the second day. While the title “No-Fuss” might raise an eyebrow when you consider the task of peeling and slicing 4 ½ pounds of apples (a labor of love that’s hard to avoid with any great apple pie!), the rest of Stella’s method is surprisingly streamlined. The filling ingredients are simply tossed into a bag and shaken, minimizing cleanup and complexity. So, what are the ingenious techniques that elevate this apple pie to a league of its own?
The Art of Macerating Apples for a Superior Pie Filling
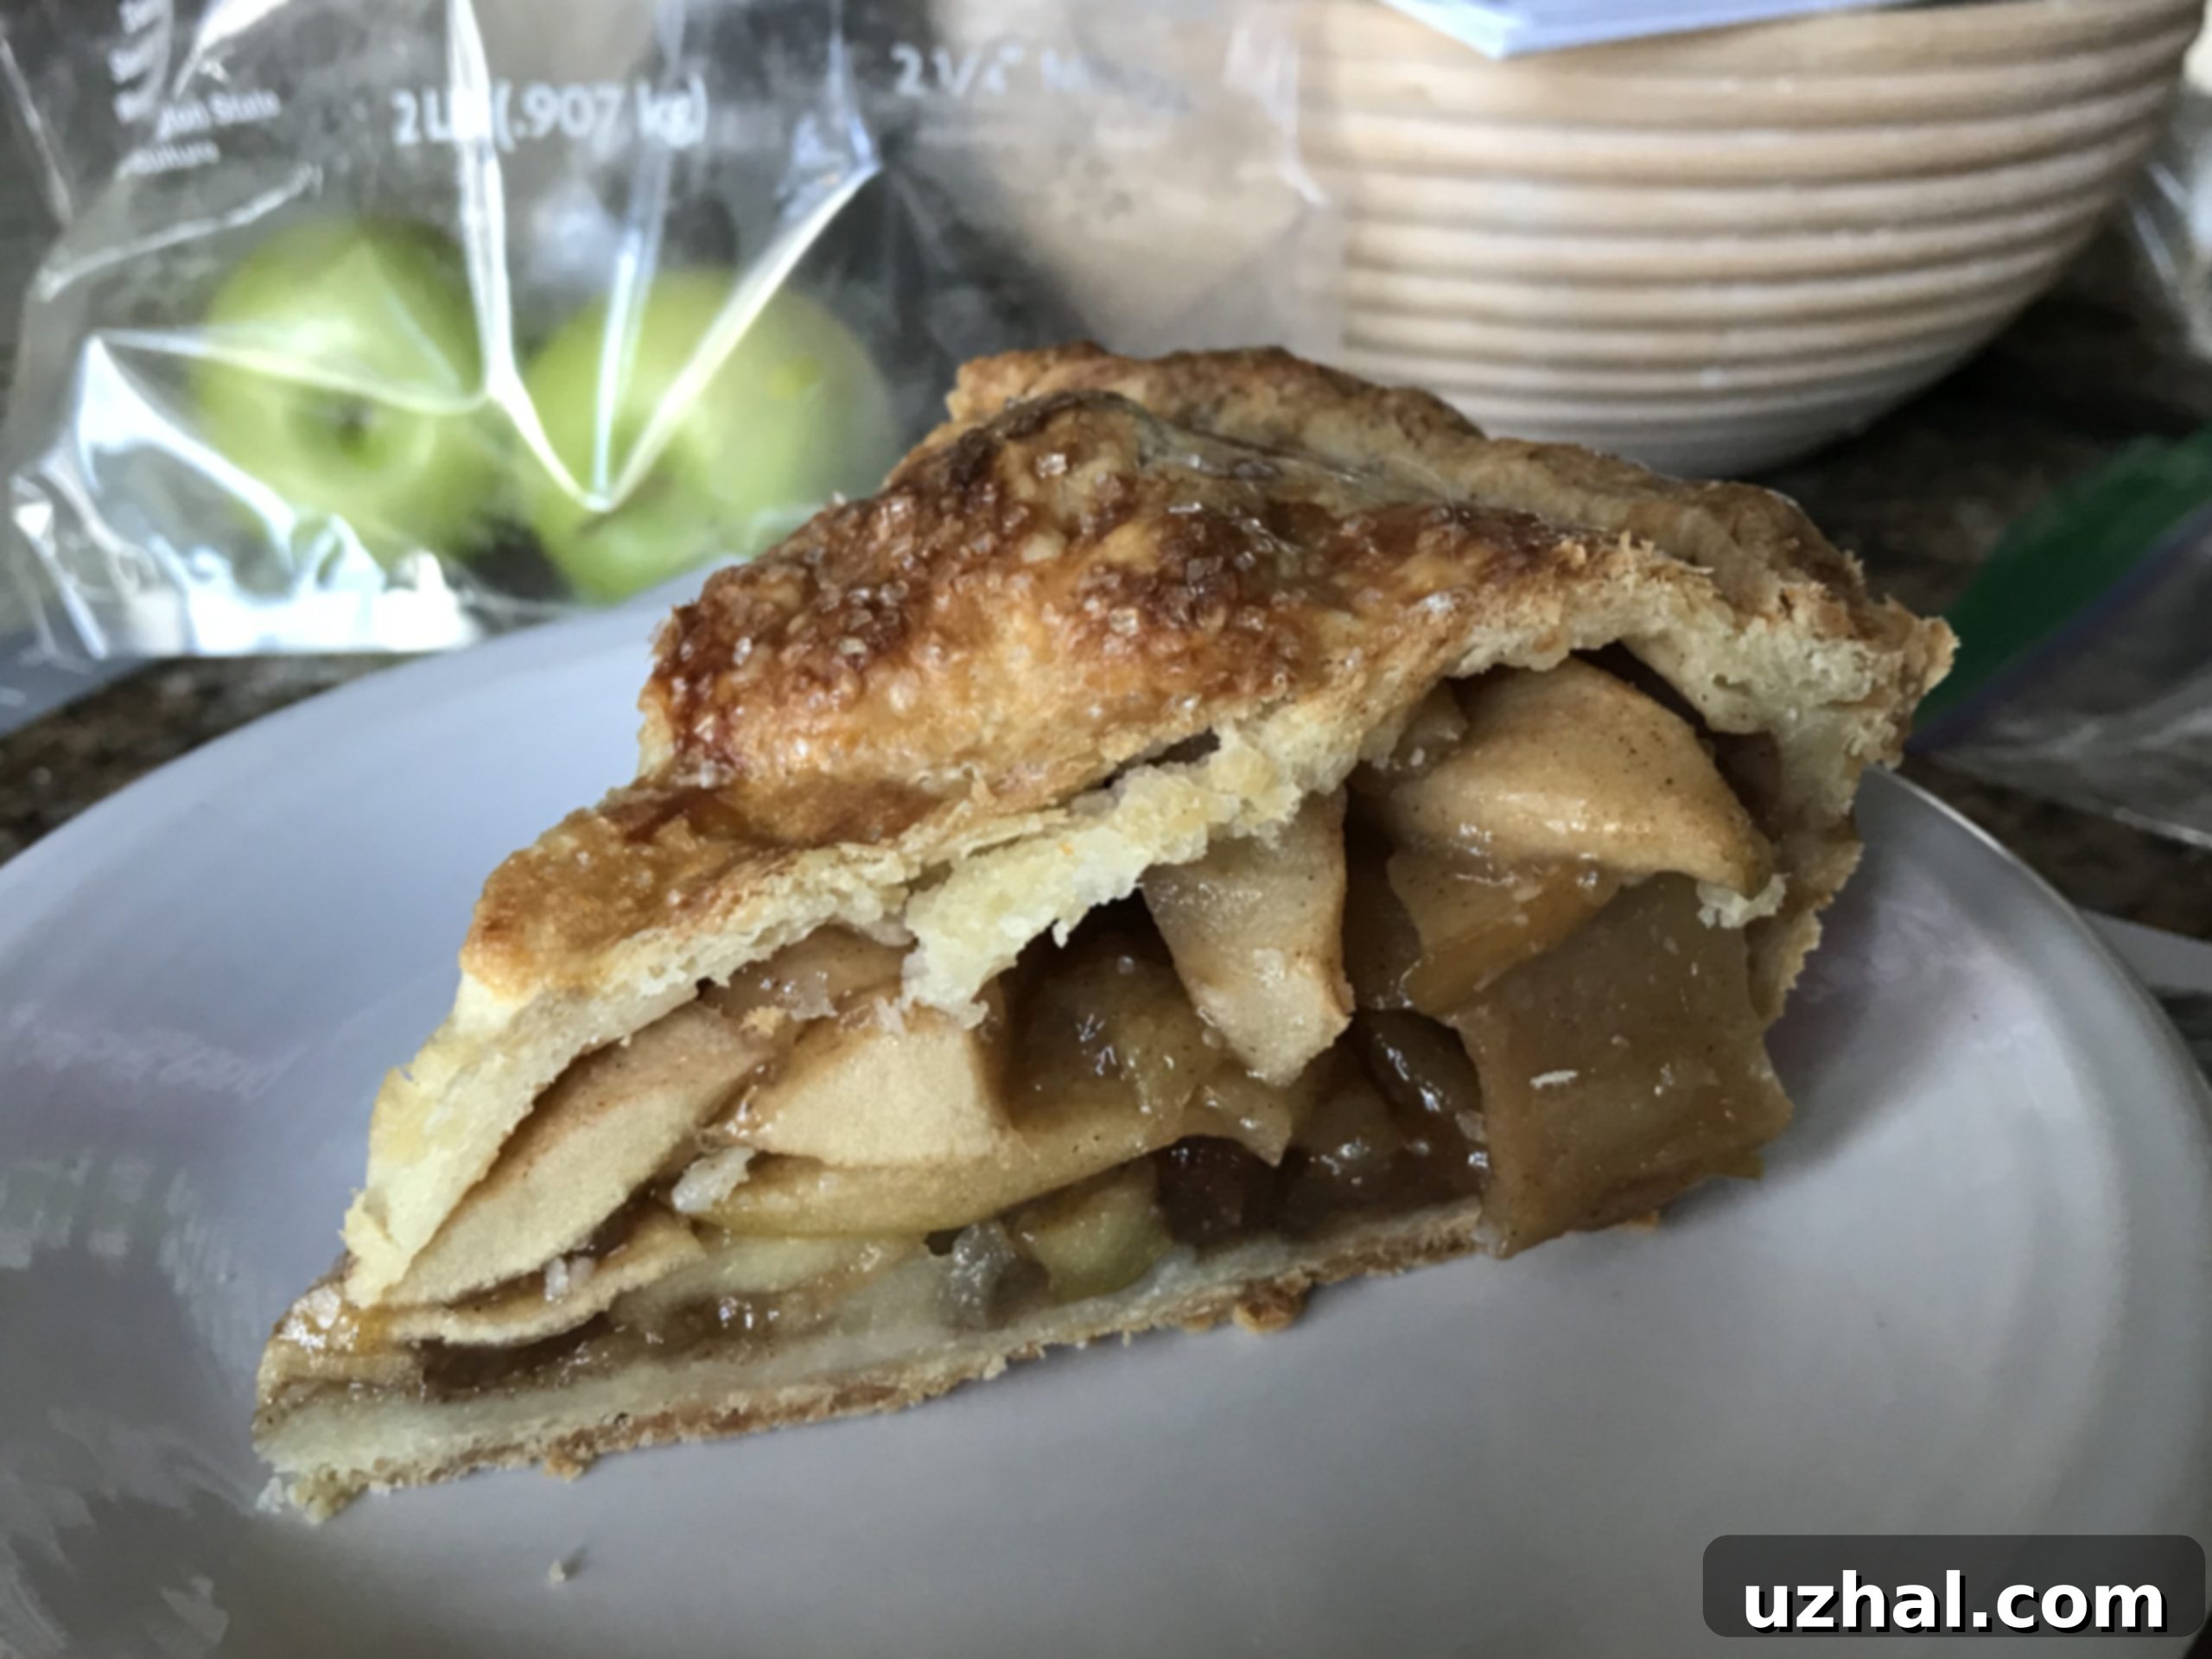
The first secret lies in the art of maceration. Traditional apple pie recipes often call for simply placing raw apples, sugar, and spices directly into the pie shell before baking. While this approach can yield a tasty pie, it often leads to a common problem: as the apples bake, they release a significant amount of juice. This causes the fruit’s volume to shrink dramatically, leading to an unsightly sunken top crust and a watery, runny filling. Stella Parks’ innovative method tackles this head-on by macerating the apples *before* they go into the pie. This process involves coating the peeled and sliced apples with sugar and spices and letting them rest, typically for four passive hours. During this time, the sugar draws out moisture from the apples through osmosis, reducing their volume and creating a rich, flavorful syrup right in the bag.
The benefits of this maceration technique are manifold. Firstly, by pre-shrinking the fruit, you can fit a much greater quantity of apples into your pie shell, ensuring a generously filled pie that lives up to expectations. Secondly, the excess liquid is released *before* baking, which significantly reduces the risk of a soggy bottom crust – a common lament among pie bakers. Instead of steaming the crust from below, the pre-drained apples bake into a firm, yet tender, texture. You might achieve somewhat similar results by cooking the apples first (as seen in a broiled apple pie) or by draining the juice and then boiling it down into a syrup. However, Stella’s maceration method is considerably simpler, requiring minimal active involvement. It essentially gives you four hands-off hours to focus on other tasks, like perfecting your pie crust or simply relaxing, while the apples do their magical work in the refrigerator.
The Power of Tapioca Starch for a Crystal-Clear Filling
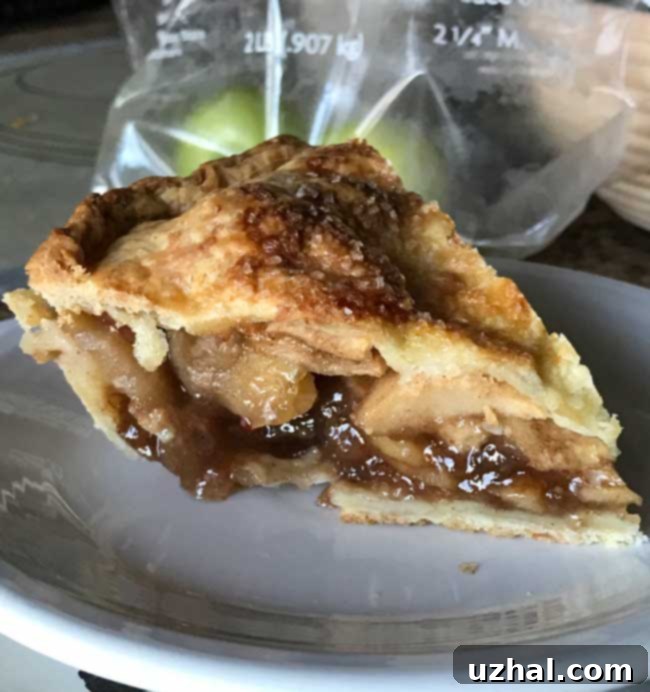
Beyond macerating the apples, another key ingredient in Stella Parks’ No-Fuss Apple Pie is tapioca starch. This choice of thickener is crucial for achieving the perfect filling consistency and clarity. While I personally often use ground Minute Tapioca as a convenient substitute, which works beautifully, using either tapioca starch or ground tapioca ensures a filling that is consistently thick, beautifully clear, and never cloudy. This allows the vibrant color of the apples and spices to shine through, creating an aesthetically pleasing slice.
Compared to other common thickeners like cornstarch or flour, tapioca starch offers several distinct advantages in pie fillings. Cornstarch, while effective, can sometimes create a slightly opaque or “gummy” texture, and its thickening power can diminish if the filling is overcooked or subjected to acidic ingredients like apples. Flour, on the other hand, tends to make pie fillings cloudy and can impart a slight floury taste if not cooked thoroughly. Tapioca starch, however, delivers a uniquely smooth, gel-like texture that remains stable even with acidic fruits. It’s also more forgiving when it comes to freezing and thawing, making it ideal for pies you might want to make ahead. My experience confirms that tapioca consistently provides the most reliably thick and clear fillings, which is why I’m such a strong advocate for its inclusion in this exceptional apple pie recipe. It truly makes a noticeable difference in the final product’s quality and appearance, contributing to that perfectly sliceable, non-runny texture.
The Critical Role of Chilling the No-Fuss Apple Pie Filling
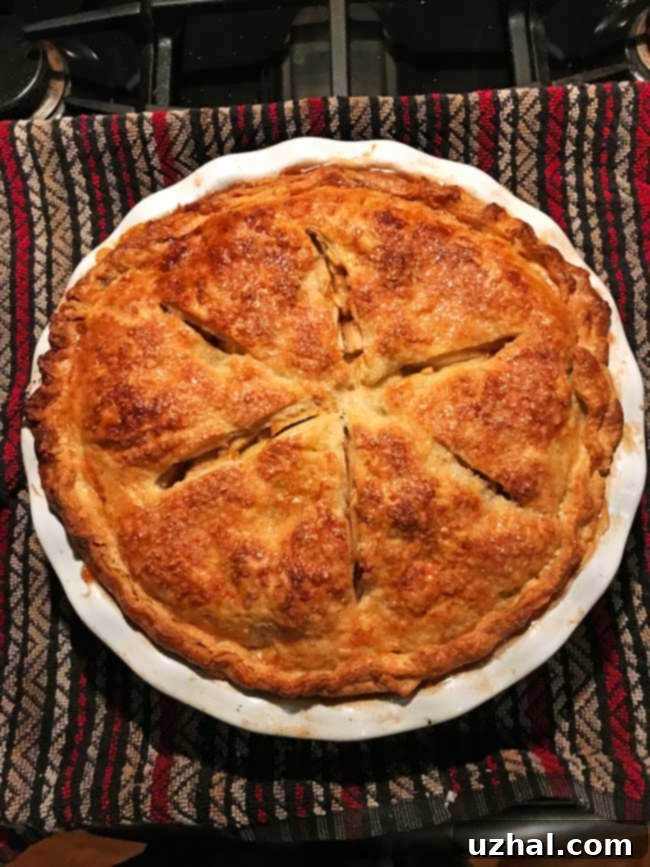
Stella Parks doesn’t stop at just maceration and tapioca; she introduces another brilliant trick to ensure a flawless apple pie: controlling the internal temperature of the filling during baking. Before discovering this method, I had never given much thought to the internal temperature of an apple pie. However, Stella explains that if the pie filling reaches a full boil during baking, it overcooks the apples, turning them mushy. Moreover, excessive boiling forces even more juice out of the fruit, leading to a runny filling despite all previous efforts. To counteract this, Stella advises chilling the assembled pie thoroughly before baking, ensuring the filling starts out cold. The goal is to prevent the filling from exceeding 195 degrees Fahrenheit during its time in the oven.
This attention to temperature makes perfect sense. By starting cold and limiting the maximum internal temperature, the apples cook gently to a tender-firm state, retaining their structure and flavor without becoming a shapeless mass. The filling thickens properly without breaking down, resulting in that coveted clean slice every time. For those who want to be precise, you can even use an internal thermometer to check if the filling has reached 195°F, though I’ve found that with a little experience, you can often tell by simply observing the pie’s appearance. The way the crust browns and the filling gently bubbles, rather than violently boils, gives a clear indication that it’s on its way to perfection. This seemingly small detail is a game-changer, ensuring that every slice of this no-fuss apple pie is exactly what you hope for: beautifully structured, bursting with flavor, and utterly delicious.
From Pie Plate to Portable: No-Fuss Apple Pie Hand Pies
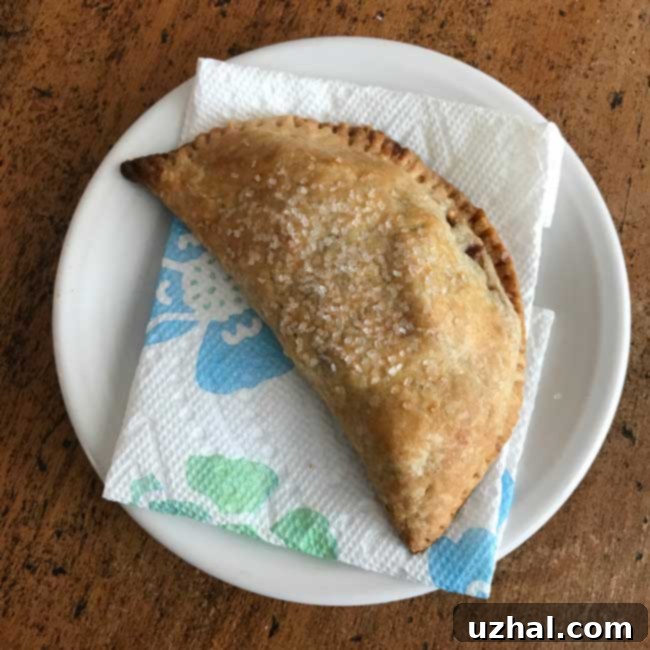
Given the resounding success of Stella’s full-sized apple pie, I was inspired to explore its versatility by transforming it into delightful hand pies. Hand pies offer all the comforting flavors of a traditional pie in a convenient, portable package, perfect for picnics, lunchboxes, or simply a treat that doesn’t require a fork and plate. For this adaptation, I meticulously followed Stella’s core methods for the apple filling, specifically embracing the maceration and tapioca starch techniques that make the filling so exceptional. These steps are crucial for ensuring the hand pies are equally non-runny and full of perfectly textured apples.
While the filling method remained true to Stella’s genius, I opted to change the crust to a simple, yet robust, food processor crust made with whole wheat pastry flour. You can certainly use any pie crust recipe you prefer – perhaps Stella’s own recipe from *Brave Tart* for a truly authentic experience, or your personal favorite. However, I have a particular fondness for this whole wheat version; its light, nutty flavor perfectly complements the warm autumn spices of the apple filling. The food processor makes the crust incredibly easy and quick to prepare, living up to the “no-fuss” ethos. This specific hand pie recipe is detailed below, while the original, full-sized apple pie version, as mentioned, can be found on Serious Eats. These hand pies are not only delicious but also freeze exceptionally well, making them a fantastic make-ahead dessert or snack.
- Brown Edge Wafers
- Coconut Milk Chocolate Ice Cream
- Stella Parks’ Glossy Fudge Brownies
- Tapioca Flour Brownies
- Apple Streusel Bread
Recipe: Whole Wheat Apple Hand Pies
Whole Wheat Apple Hand Pies
Cookie Madness
Pin Recipe
Ingredients
Apple Mixture
- A little over a pound of whole apples about 18 oz, preferably a mix of sweet and tart varieties like Honeycrisp, Granny Smith, or Fuji
- ¼ cup light brown sugar packed (50 grams weight)
- ½ teaspoon ground cinnamon
- ¼ teaspoon ground ginger
- Pinch of ground cloves
- Pinch of ground nutmeg
- 1 tablespoon ground Minute Tapioca
Whole Wheat Crust (makes 12 oz of dough, enough for 5 or 6 hand pies)
- 1 ¼ cups whole wheat pastry flour
- ½ scant teaspoon salt reduce to ¼ if butter is salted
- 1 tablespoon sugar
- 1 stick 115 grams unsalted butter, cut into small chunks and chilled
- ⅓ cup ice water
- Whole milk for brushing plus coarse or regular sugar for sprinkling
Instructions
-
Peel the apples and cut them into thin slices. Then, cut the slices into smaller, bite-sized chunks and transfer them to a large zipper bag. Add the brown sugar, cinnamon, ginger, cloves, and nutmeg to the bag. Seal the bag and shake it vigorously to ensure all the apple pieces are evenly coated with the sugar and spice mixture. Place the apple mixture in the refrigerator for at least 4 hours, or preferably overnight, to allow the maceration process to draw out moisture and create a flavorful syrup. The tapioca will be added later.
-
While the apples macerate, prepare the crust. In a food processor, combine the whole wheat pastry flour, salt, and sugar. Pulse a few times to thoroughly mix these dry ingredients.
-
Add the chilled, cut-up butter to the food processor. Pulse in short bursts until the mixture resembles coarse meal with some pea-sized pieces of butter still visible.
-
Gradually add the ice water, 2 tablespoons at a time, pulsing after each addition. Continue this process until the mixture just begins to come together when pinched. Be careful not to overprocess; you do not want the dough to form a solid ball in the food processor, just to be moist enough to hold together.
-
Transfer the dough onto a lightly floured large pastry mat or work surface. Gently pat it into a large rectangle. It should be pliable but may crumble slightly at first. Continue patting and gently folding the dough over itself a few times until it forms a cohesive block. Wrap the dough tightly in plastic wrap and chill it in the refrigerator for at least 30 minutes (or up to 2 days) to allow the gluten to relax and the butter to firm up.
-
About 20 minutes before assembling the hand pies, retrieve the apple mixture from the refrigerator. Add the ground Minute Tapioca to the bag of apples and shake it very well to distribute evenly. Let the mixture sit for about 10 more minutes in the refrigerator to allow the tapioca to begin absorbing the liquid.
-
Divide the chilled dough into 4 equal pieces, each weighing approximately 3 ounces. Take one piece of dough and, on a lightly floured surface, roll it into a circle between 6 and 7 inches in diameter.
-
Spoon a generous amount of the prepared apple filling onto one half of the rolled dough circle, leaving a small border around the edge. Fold the other half of the dough over the filling to create a semi-circle. Gently press around the edges to seal and then use a pastry wheel or knife to trim any excess dough, saving the trimmings.
-
Use the tines of a fork to crimp the edges of the hand pie, ensuring a tight seal. Carefully transfer the hand pie to a parchment-lined plate. Repeat this process with the remaining dough pieces and apple filling. You can gather and re-roll the dough trimmings to create a fifth hand pie. Once all hand pies are assembled, place them all back in the refrigerator for at least 1 hour to chill thoroughly. This step is crucial for maintaining their shape and preventing the filling from boiling excessively.
-
When you are ready to bake, preheat your oven to 400 degrees F (200 degrees C). Line a large baking sheet with parchment paper or nonstick aluminum foil.
-
Arrange the chilled hand pies on the prepared baking sheet, leaving some space between each one. Lightly brush the tops of the pies with whole milk and then sprinkle generously with coarse sugar (or regular sugar) for a beautiful sparkle and crunch. Bake for 25 to 30 minutes, or until the crust is deeply golden brown and the filling is gently bubbling. Allow the hand pies to cool slightly on the baking sheet before transferring them to a wire rack to cool further before serving. Enjoy them warm or at room temperature!
Whether you opt for the classic full-sized pie or the charming hand pie version, Stella Parks’ ingenious techniques for apple pie promise an unforgettable dessert. By embracing maceration, utilizing tapioca starch, and minding the filling’s temperature, you’ll consistently achieve a perfectly structured, flavorful, and beautifully sliceable apple pie that will impress everyone. Give this recipe a try, and you might just find your new favorite apple pie, too!
