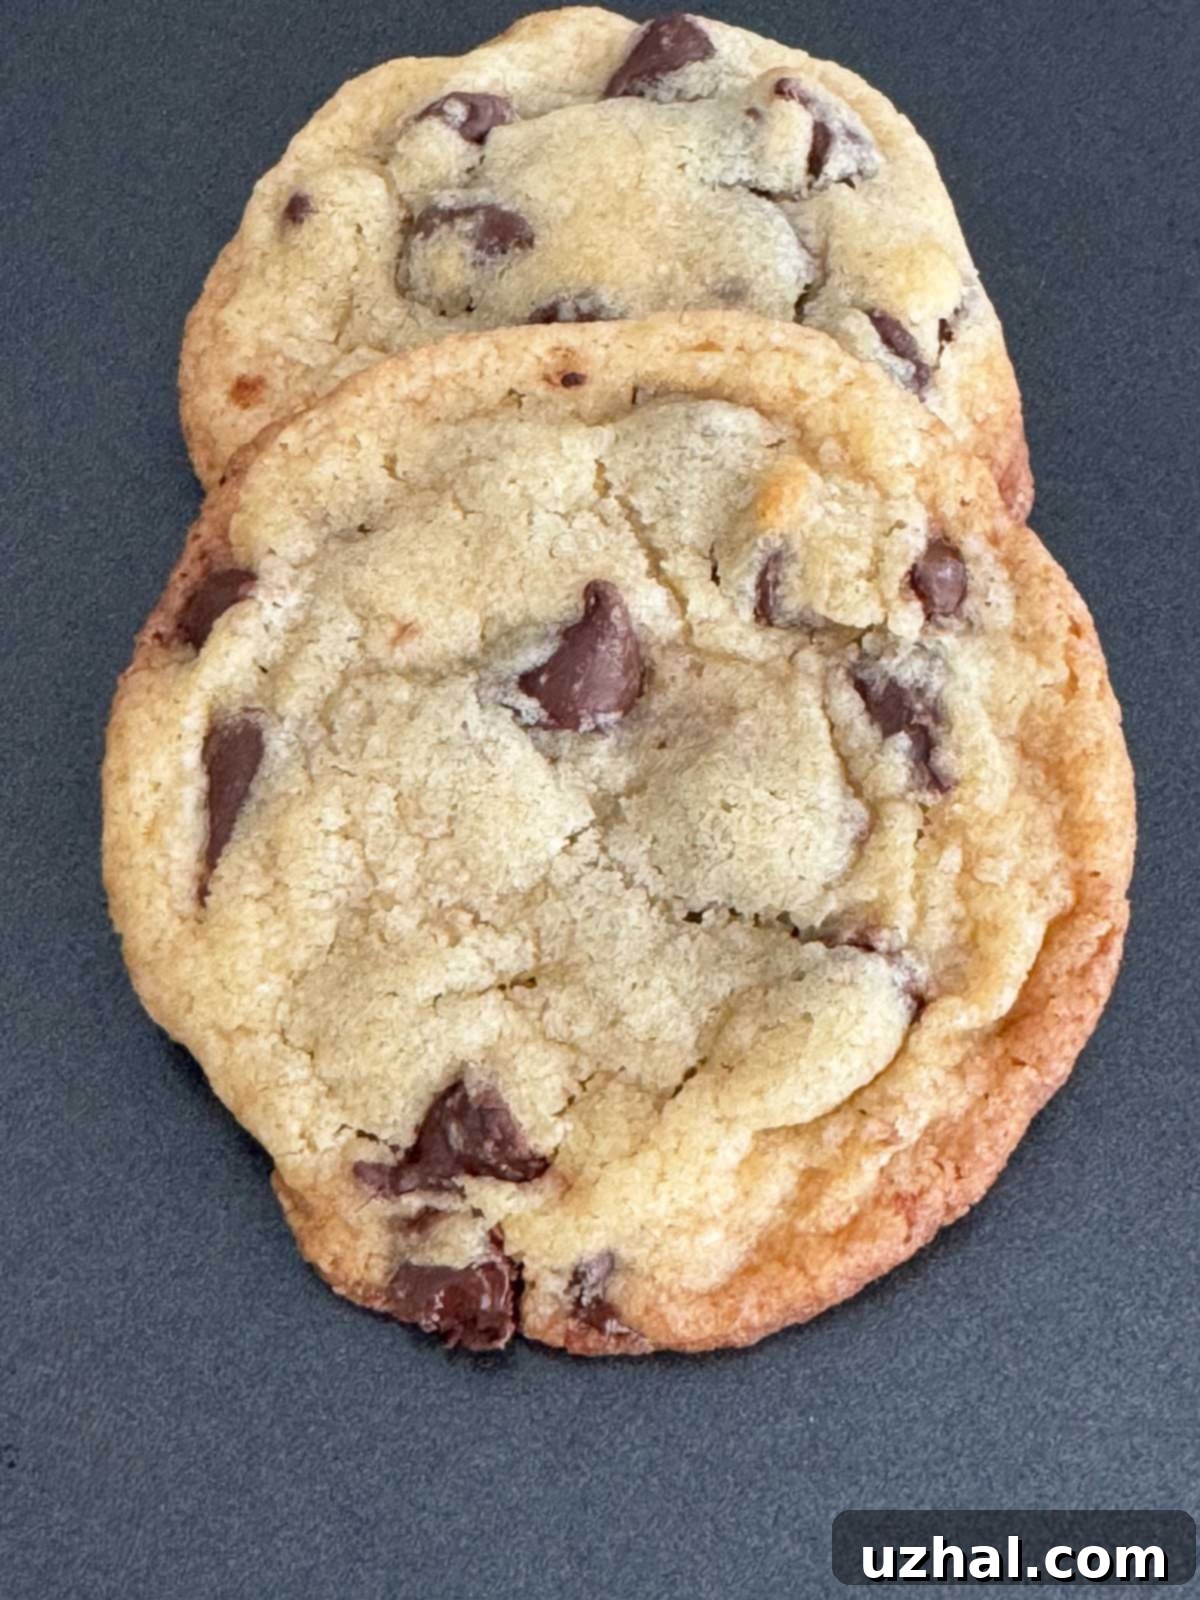
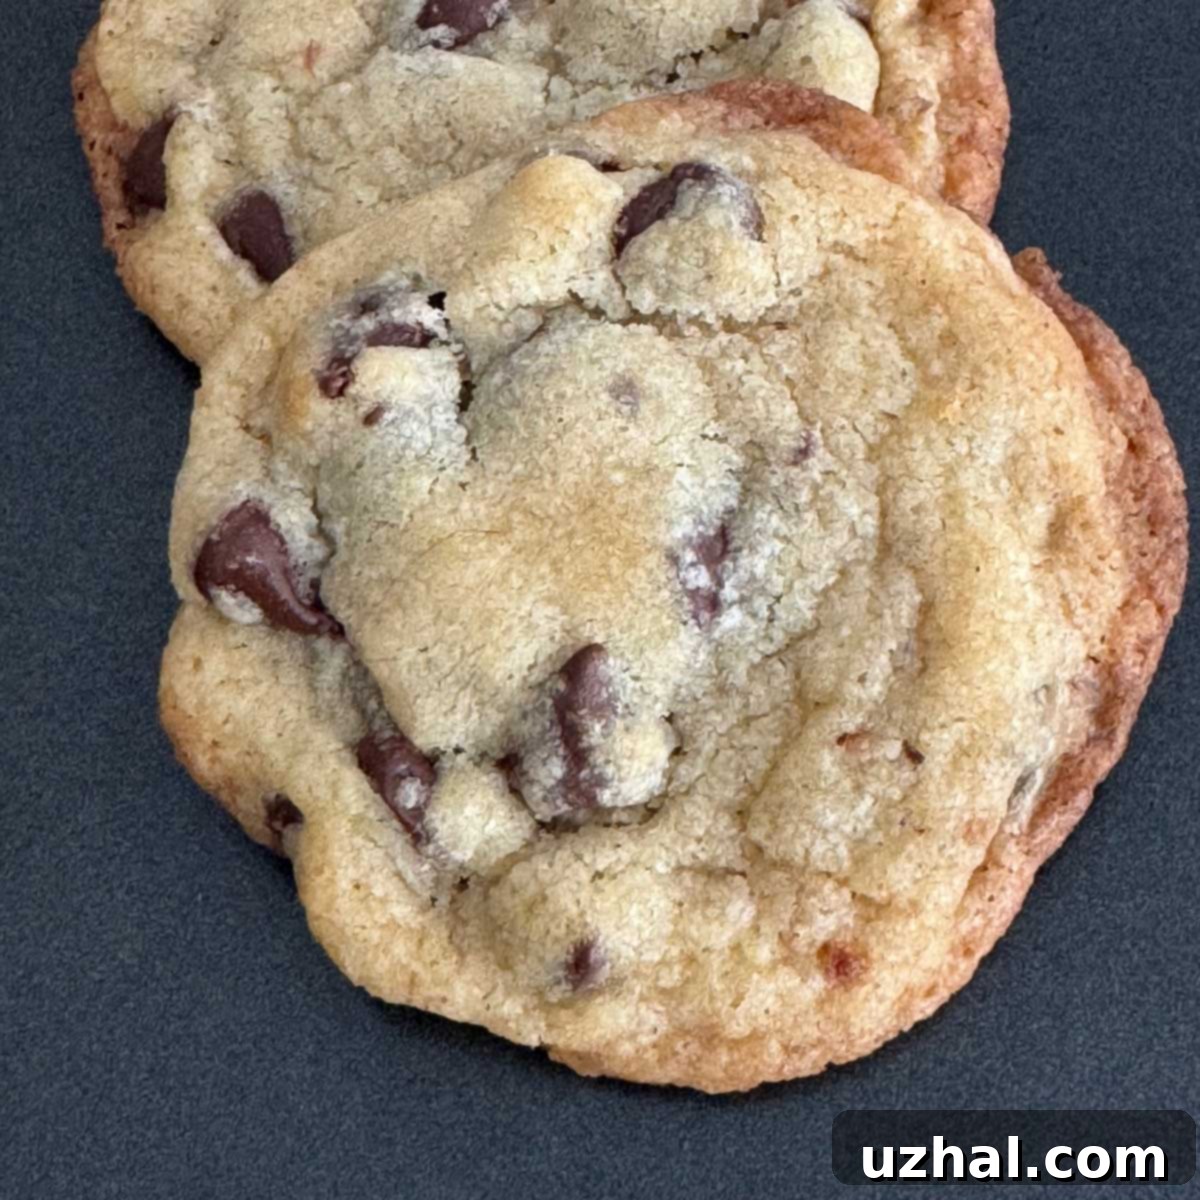
Mastering the Milk Bar Chocolate Chip Cookie: The Secret to Soft, Chewy Perfection with Milk Powder
For years, I’ve been a devoted admirer of Christina Tosi and the innovative culinary creations from Milk Bar. My kitchen bookshelves proudly display all her cookbooks, and I’ve savored countless recipes. However, one particular recipe, deceptively simple on the surface, consistently eluded me: the iconic Milk Bar Chocolate Chip Cookies, specifically the version featuring milk powder. Despite my best efforts, batches never quite hit the mark, often spreading too much or lacking that signature chew. But after much experimentation and persistence, I’m thrilled to announce that I’ve finally cracked the code, achieving the perfect balance of flavor, texture, and appearance that rivals the original. It turns out, the devil truly is in the details, and a few subtle adjustments can make all the difference in transforming a good cookie into an extraordinary one.

My earlier attempts were plagued by a common cookie conundrum: excessive spreading, resulting in thin, crisp cookies with undesirably rough, brown edges. This issue is typically a tell-tale sign of an imbalance—too much butter relative to flour, or butter that’s too warm. Beyond the structural integrity, another persistent question loomed: was nonfat dry milk powder truly a game-changer, or merely an optional ingredient that could be skipped without consequence? My culinary journey to perfect these cookies involved a deep dive into each component, scrutinizing every ingredient and technique to uncover the secrets to their coveted soft and chewy texture.
The Secret Ingredient: Why Milk Powder Elevates Your Cookies
The inclusion of milk powder in a cookie recipe is far from a gimmick; it’s a strategic move that significantly enhances several key aspects of the final product. Firstly, it contributes to a luxuriously softer center, a hallmark of the best chocolate chip cookies. The milk solids, primarily lactose and milk proteins, interact with other ingredients during baking, creating a tender crumb that resists becoming dry or cakey. Beyond texture, milk powder plays a crucial role in promoting superior browning. This isn’t just about color; it’s about flavor development. The lactose in the milk powder undergoes Maillard reactions during baking, caramelizing and contributing a deeper, more complex, and often ‘toasty’ flavor profile to the cookies. This subtle caramel note adds an incredible depth that’s absent in cookies made without it.
However, I initially struggled with the flavor contribution. Some brands of dry milk powder impart a rather bland or even slightly off-putting taste. It wasn’t until I discovered Bob’s Red Mill brand nonfat dry milk powder that I truly understood its potential. I originally purchased it for ice cream making and was immediately impressed by its superior taste compared to other brands I had used previously. It possesses a creamier, more natural milk flavor that translates beautifully into baked goods. Furthermore, Bob’s Red Mill milk powder tends to be denser than some other varieties. If you’re working with a recipe that specifies milk powder by volume rather than weight, be mindful that you might need to use slightly less of this particular brand to achieve the intended result. My newfound appreciation for this ingredient rekindled my motivation to master the Milk Bar recipe.
The Butter Debate: Why Softened Plugra Butter Makes a Difference
Another pivotal discovery in my quest for cookie perfection was the use of Plugra butter. Plugra is a European-style butter known for its higher butterfat content (typically 82% compared to standard American butter’s 80%). This increased fat content, combined with a lower water content, profoundly impacts both the texture and flavor of baked goods. While the Milk Bar cookies are already quite butter-heavy, the Plugra butter somehow elevates them further, lending a richness and tenderness that regular butter couldn’t quite match. The higher butterfat contributes to a more tender crumb and a superior mouthfeel, without making the cookies excessively greasy.
Crucially, the *state* of the butter is just as important as the brand. Many cookie recipes call for “softened butter,” but this term is often misunderstood. The butter needs to be genuinely soft and squishy to the touch, easily indented with a finger, but it must not be melted in any way. Melting the butter, even slightly, drastically alters its emulsion and structural properties, leading to cookies that spread excessively and become flat and greasy. Softened butter, on the other hand, creams more effectively with sugars, creating tiny air pockets that contribute to a lighter, chewier texture. Achieving this perfect consistency requires patience; letting butter sit at room temperature for an hour or two is often ideal, avoiding shortcuts like microwaving which can inadvertently melt parts of it.
Flour Power: The Role of Gold Medal Bleached Flour
The type of flour used also proved to be a critical factor in achieving the desired cookie structure and preventing unwanted spread. My experiments indicated that bleached all-purpose flour seemed to offer a distinct advantage. I frequently switch between bleached and unbleached flours depending on the recipe and my baking mood, always making a point to weigh a cup to understand its density. Recently, I’ve noticed significant inconsistencies in flour weights by volume across different brands and even within the same brand. For example, a cup of King Arthur unbleached all-purpose flour scooped this morning weighed around 146 grams, while a carefully scooped cup of Gold Medal bleached all-purpose flour came in at approximately 125 grams. This considerable difference highlights why weighing flour is paramount for consistent baking results.
Bleached flour, unlike unbleached, has undergone a chemical treatment that whitens it and often lowers its protein content slightly. This treatment can also affect how the flour absorbs liquids and interacts with other ingredients, sometimes resulting in a finer crumb and a more tender baked good. In the context of these chocolate chip cookies, the Gold Medal bleached flour, at its specific density, required me to adjust the volume. To hit the target weight of 245 grams, I needed a little more than the standard 1 ¾ cups when using Gold Medal bleached flour. This experience underscores a vital baking principle: if your cookies are consistently coming out too thin or spreading excessively, the culprit might very well be your flour. Weighing your flour is the most reliable method for accuracy, but if you’re baking by volume and experiencing thin cookies, consider increasing the volume by a tablespoon or two until you achieve the desired consistency. It ensures the dough has enough structure to hold its shape during baking, leading to that ideal soft and chewy texture.

Beyond Chips: Milky Macadamia Chocolate Chunk Cookie Variations
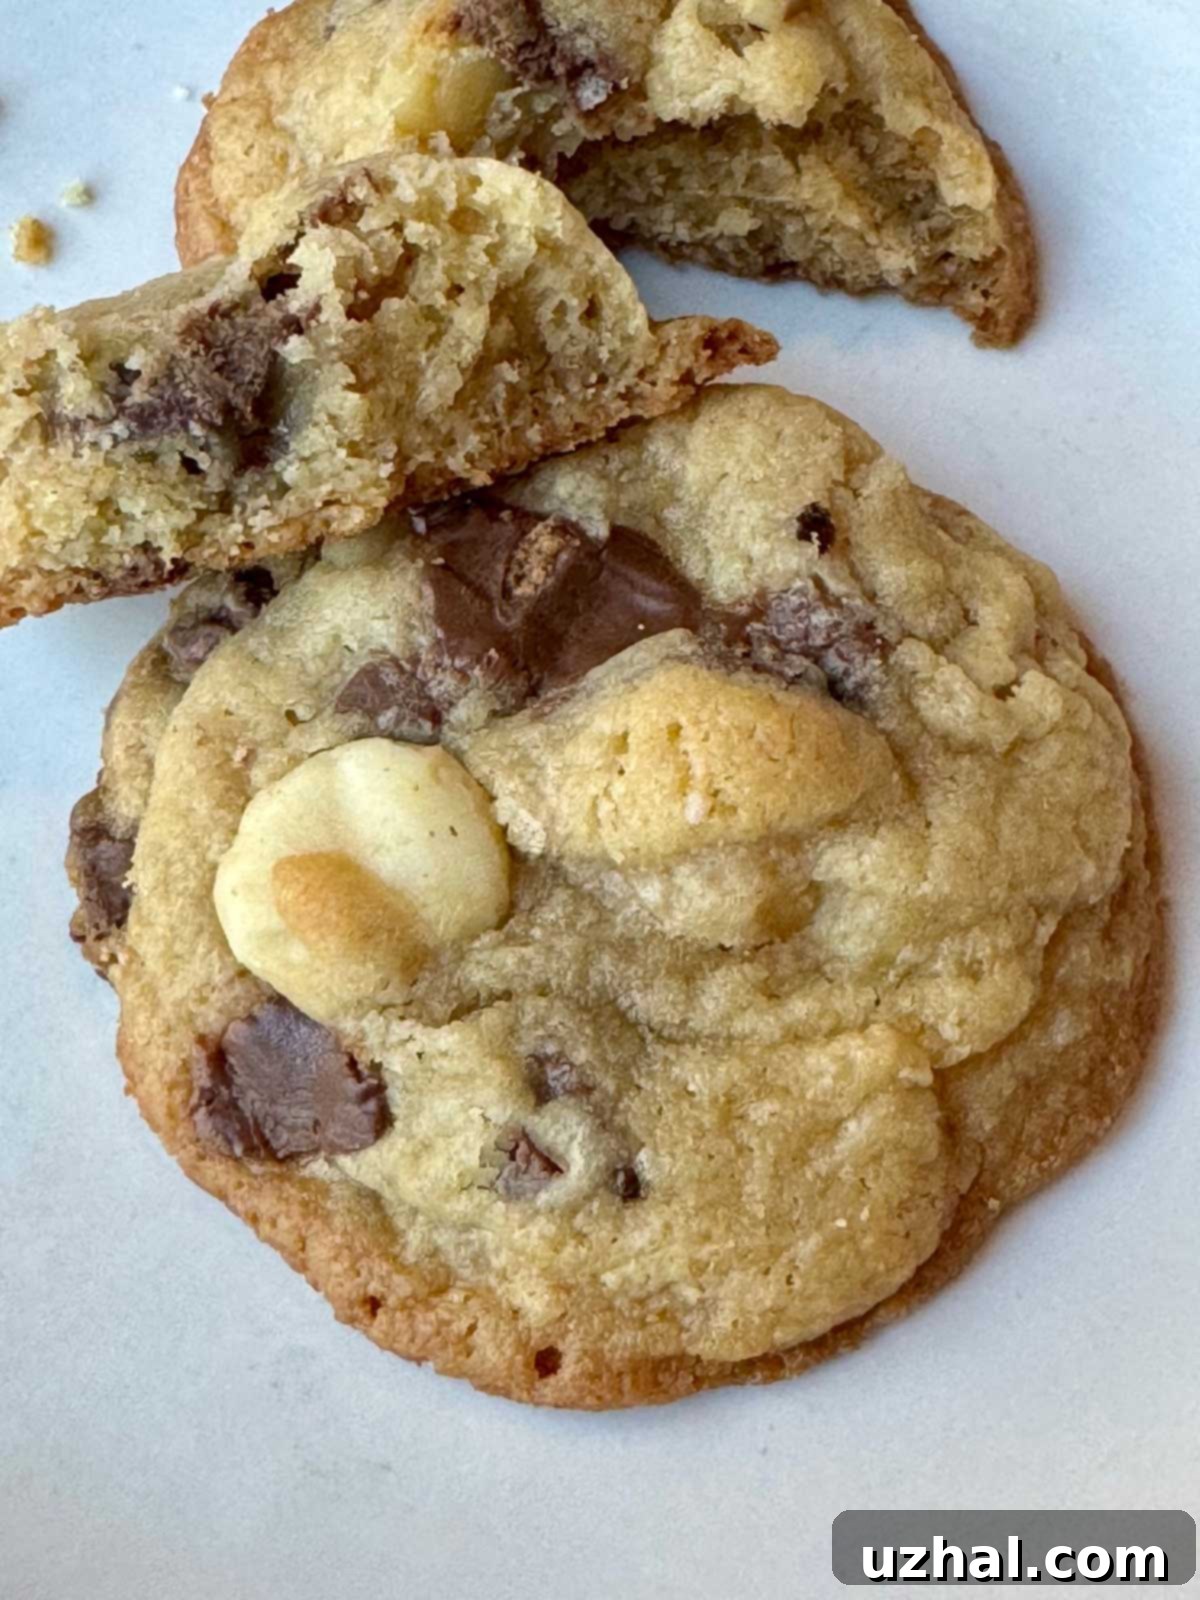
While my initial goal was to perfect the classic Milk Bar chocolate chip cookie, my newfound confidence in the base dough inspired me to experiment with exciting variations. I’ve recently developed a strong craving for milk chocolate chunks, so I decided to adapt the recipe to create a batch of jumbo-sized cookies overflowing with rich milk chocolate, crunchy walnuts, and buttery macadamia nuts. These cookies were an absolute revelation! The combination of the perfected soft, chewy dough with the generous addition of barely chopped walnut halves and eight ounces of chopped milk chocolate from a Trader Joe’s Pound Plus bar created an irresistible treat. The use of large chunks rather than standard chips allows for pockets of melting chocolate, intensifying the indulgent experience.
It’s truly remarkable how the same foundational dough can yield such diverse results with different add-ins. While these chunky, nutty versions almost appear to be an entirely different cookie from the classic chocolate chip, they share the same perfect base texture and flavor thanks to the careful attention to ingredients like milk powder, Plugra butter, and precisely measured flour. This versatility means that once you’ve mastered the core technique, the possibilities for customization are endless. Consider swapping out the nuts for pretzels, toffee bits, or even dried fruits for a unique twist on this already exceptional recipe. Each variation offers a fresh perspective on what a truly great cookie can be.
Achieving the perfect chocolate chip cookie is a journey of trial and error, but with these specific insights into milk powder, butter handling, and flour measurement, you’ll be well on your way to baking Milk Bar-style cookies that are consistently soft, wonderfully chewy, and bursting with flavor. Remember, patience with ingredient temperatures and precise measurements are your best friends in the kitchen.
- Gold Medal White Bread
- Crunchy Chocolate Chip Cookies Recipe — All Butter
- Milk Bar Life Oatmeal Cookies
- Hershey’s Gold Peanut Butter Oatmeal Cookies
- Gold Medal’s Extraordinary Chocolate Chip Cookies
Recipe

Milk Bar Chocolate Chip Cookies with Milk Powder
Anna
Pin Recipe
Ingredients
- 1 ¾ cups all-purpose flour (bleached if possible) (245 grams)
- ½ teaspoon baking powder
- ¼ teaspoon baking soda
- 1 ¼ teaspoon Diamond Crystals or ¾ teaspoon Morton kosher
- 2 tablespoons milk powder (Bob’s Red Mill) (16 grams)
- 2 sticks unsalted butter, carefully softened so that it’s squishy (228 grams)
- ¾ cup light brown sugar, fresh and soft (150 grams)
- ½ cup granulated sugar (100 grams)
- 1 teaspoon vanilla extract or better yet, vanilla paste
- 1 large egg (50 grams)
- 12 oz semisweet chocolate chips
Instructions
-
Whisk the flour, baking powder, baking soda and salt together until evenly blended, then set aside.
-
Put the softened butter and both sugars in the stand mixer bowl and use the paddle attachment to beat just until creamy. Alternatively, you can do this with a big scraper or a wooden spoon.
-
Add the milk powder and stir with the paddle (or your spoon) until blended, than add the egg and vanilla and stir just fully blended. The goal is to just mix everything without dissolving the sugar or whipping in a lot of air. This helps cookies spread less.
-
Add the flour mixture and stir until it’s mixed in, scraping the sides of the bowl and pushing the dough together. Add the chocolate chips.
-
Using a medium size cookie scoop (about 1 ½ tablespoons), scoop up balls of dough. Chill the dough balls while the oven preheats.
-
When ready to bake, preheat oven to 350 degrees F. Bake on a parchment lined baking sheet for about 10-12 minutes for medium size scoop cookies
-
Let cookies cool on the sheet for about 10-15 minutes, then transfer to a wire rack and let cool completely.
