Delicious and Easy Dal Bread: A Flavorful Way to Transform Leftover Lentils
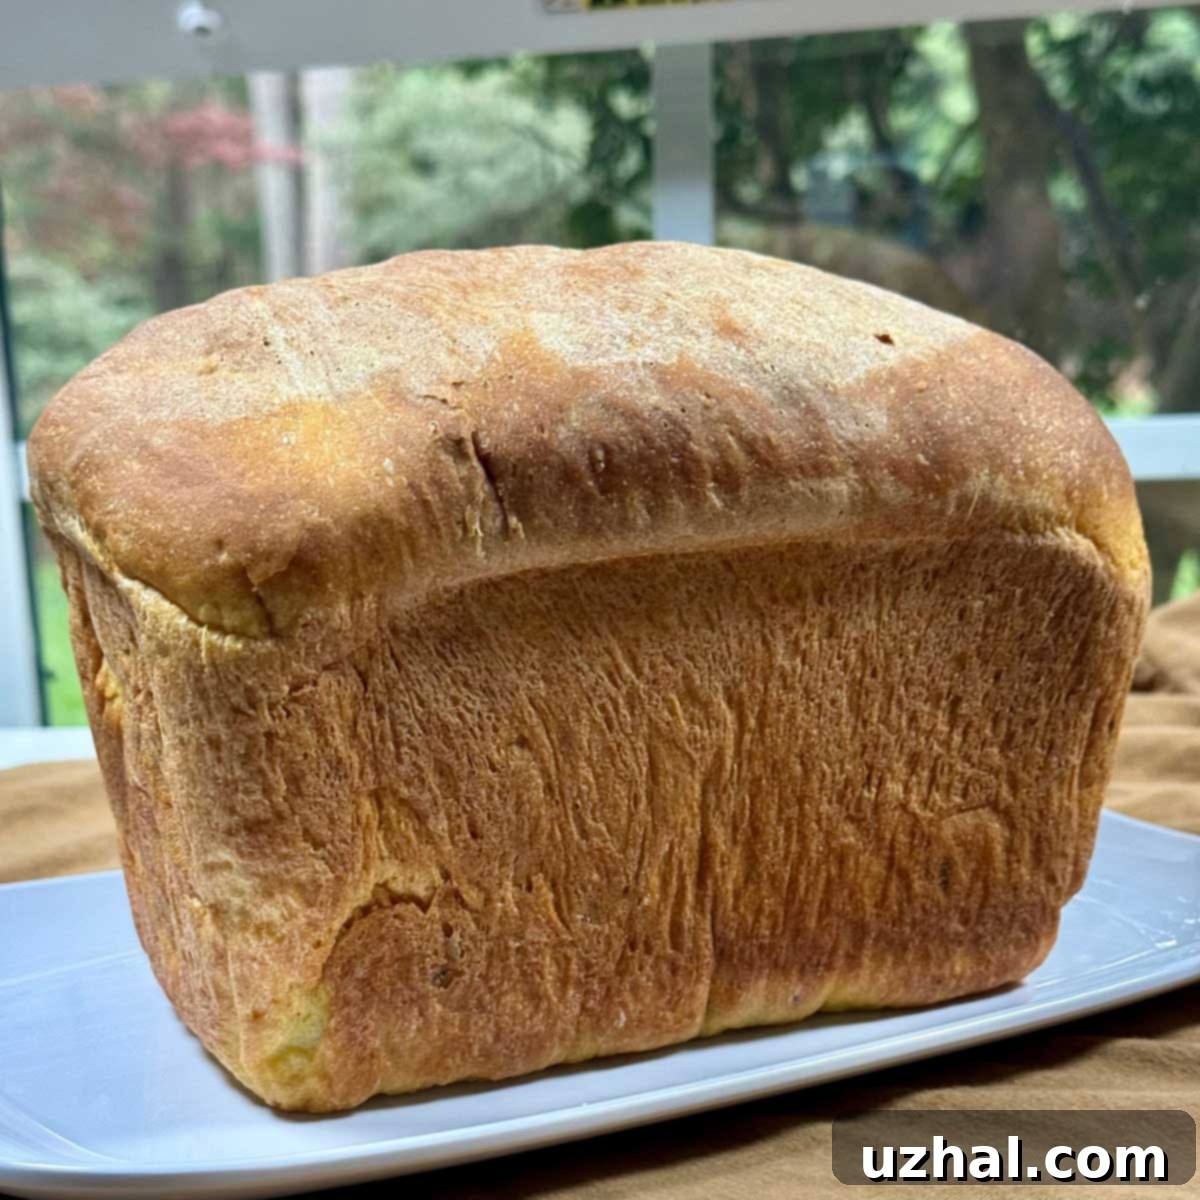
Imagine a warm, soft, and beautifully spiced bread that not only delights your taste buds but also cleverly repurposes leftovers. That’s exactly what Dal Bread offers! This unique and incredibly satisfying loaf is created by incorporating cooked dal into a basic white bread dough. The result is a substantial, tender, yet firm sandwich bread, infused with the rich colors and aromatic spices from the dal. It’s a wonderful example of culinary creativity, transforming a simple ingredient into something extraordinary. This versatile bread is perfect for making flavorful sandwiches, serving as a delightful garlic bread accompaniment to your meals, or even crafting into crispy, spicy chaat masala croutons for salads and soups. The possibilities truly are endless for this delicious and innovative bread.
Jump to Recipe
The Inspiration Behind Lentils in Bread Dough
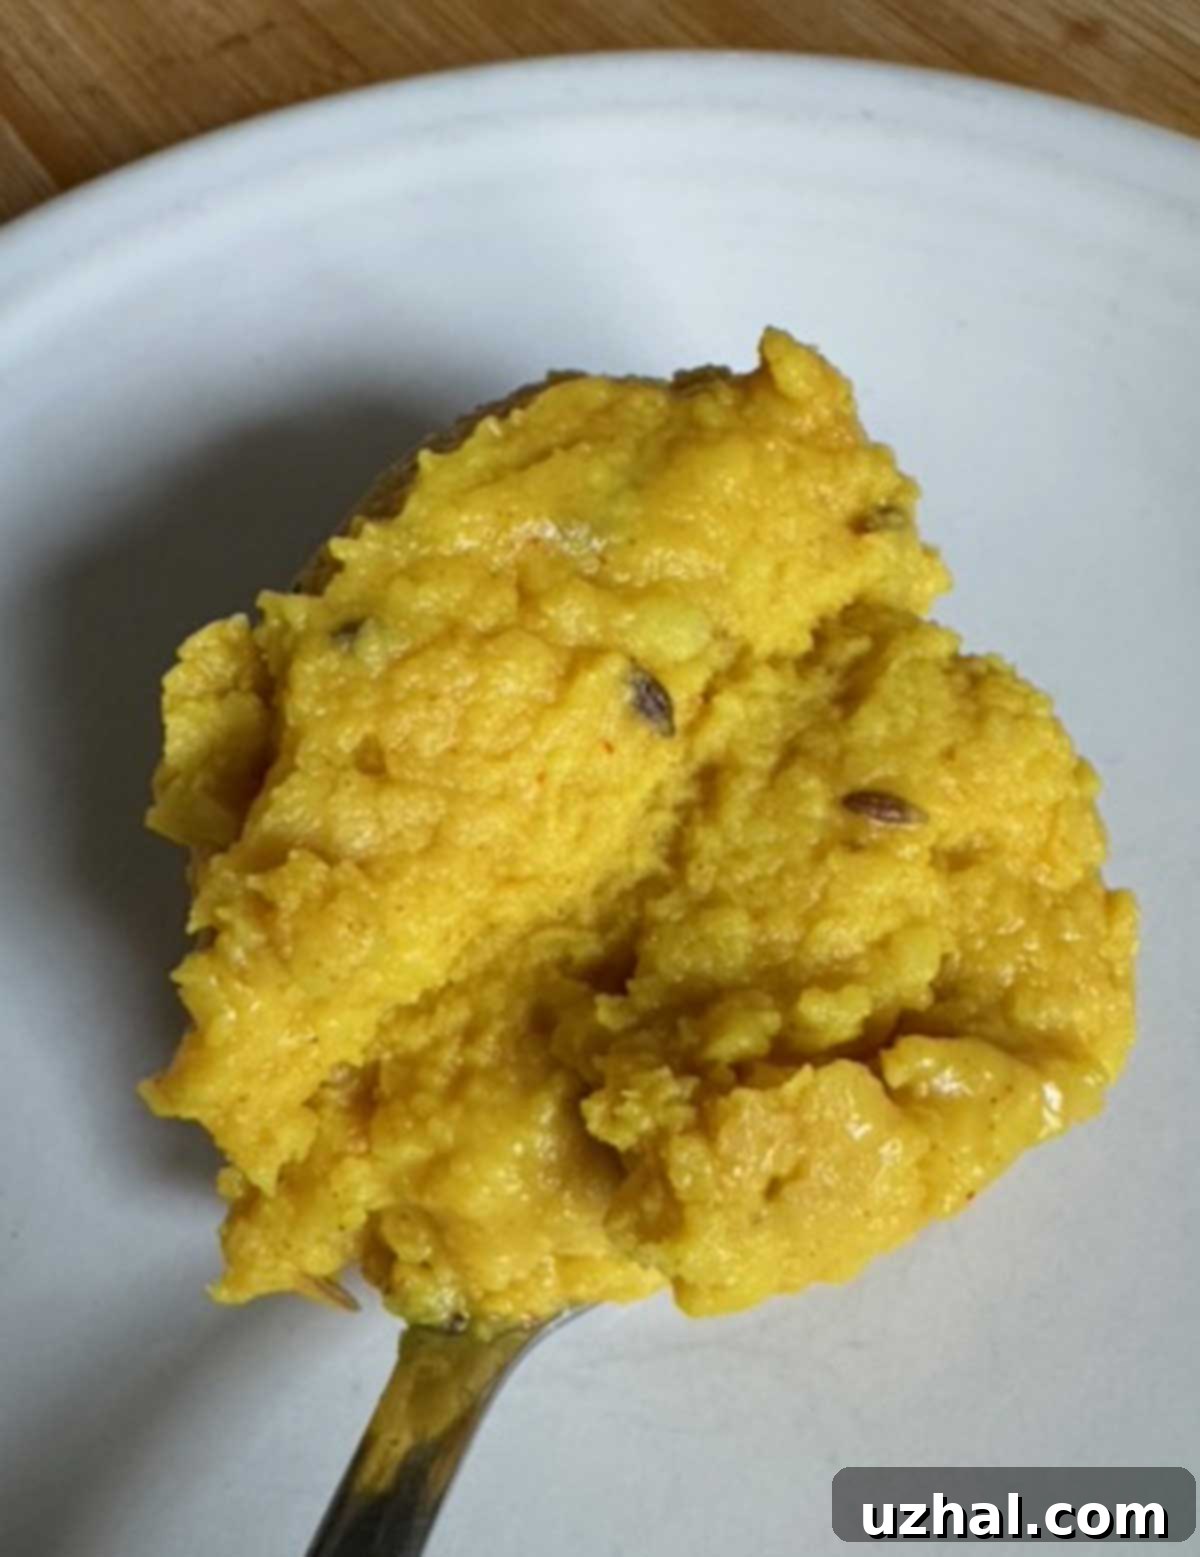
The journey to creating this delightful Dal Bread began with a simple yet intriguing concept: the inclusion of mashed lentils in bread dough as a way to boost protein content. This idea immediately resonated, bringing to mind the container of leftover dal patiently waiting in the refrigerator. Over time, this dal had naturally thickened to a consistency quite similar to mashed potatoes – perfect for incorporating into a dough. This presented a unique opportunity to combine the nutritional benefits of lentils with the comforting appeal of homemade bread, while also making the most of a delicious leftover. Why let good food go to waste when it can be transformed into something new and exciting?
For this inaugural batch of Dal Bread, I chose to adapt my tried-and-true sweet potato sandwich bread recipe. The familiar structure of that recipe provided a reliable base, into which I carefully folded 160 grams of leftover Priya’s Dal. The dal’s texture was ideal, as you can see in the accompanying picture; it was thick and robust, ready to lend its substance and flavor directly to the bread. Typically, I might thin leftover dal with a little more broth or revitalize its spices for another meal, but this time, the goal was different. I simply brought the dal to room temperature and added it directly to the mixing bowl alongside the other bread ingredients, eager to see how this culinary experiment would unfold.
Crafting the Perfect Dal Bread Dough: Texture and Aroma
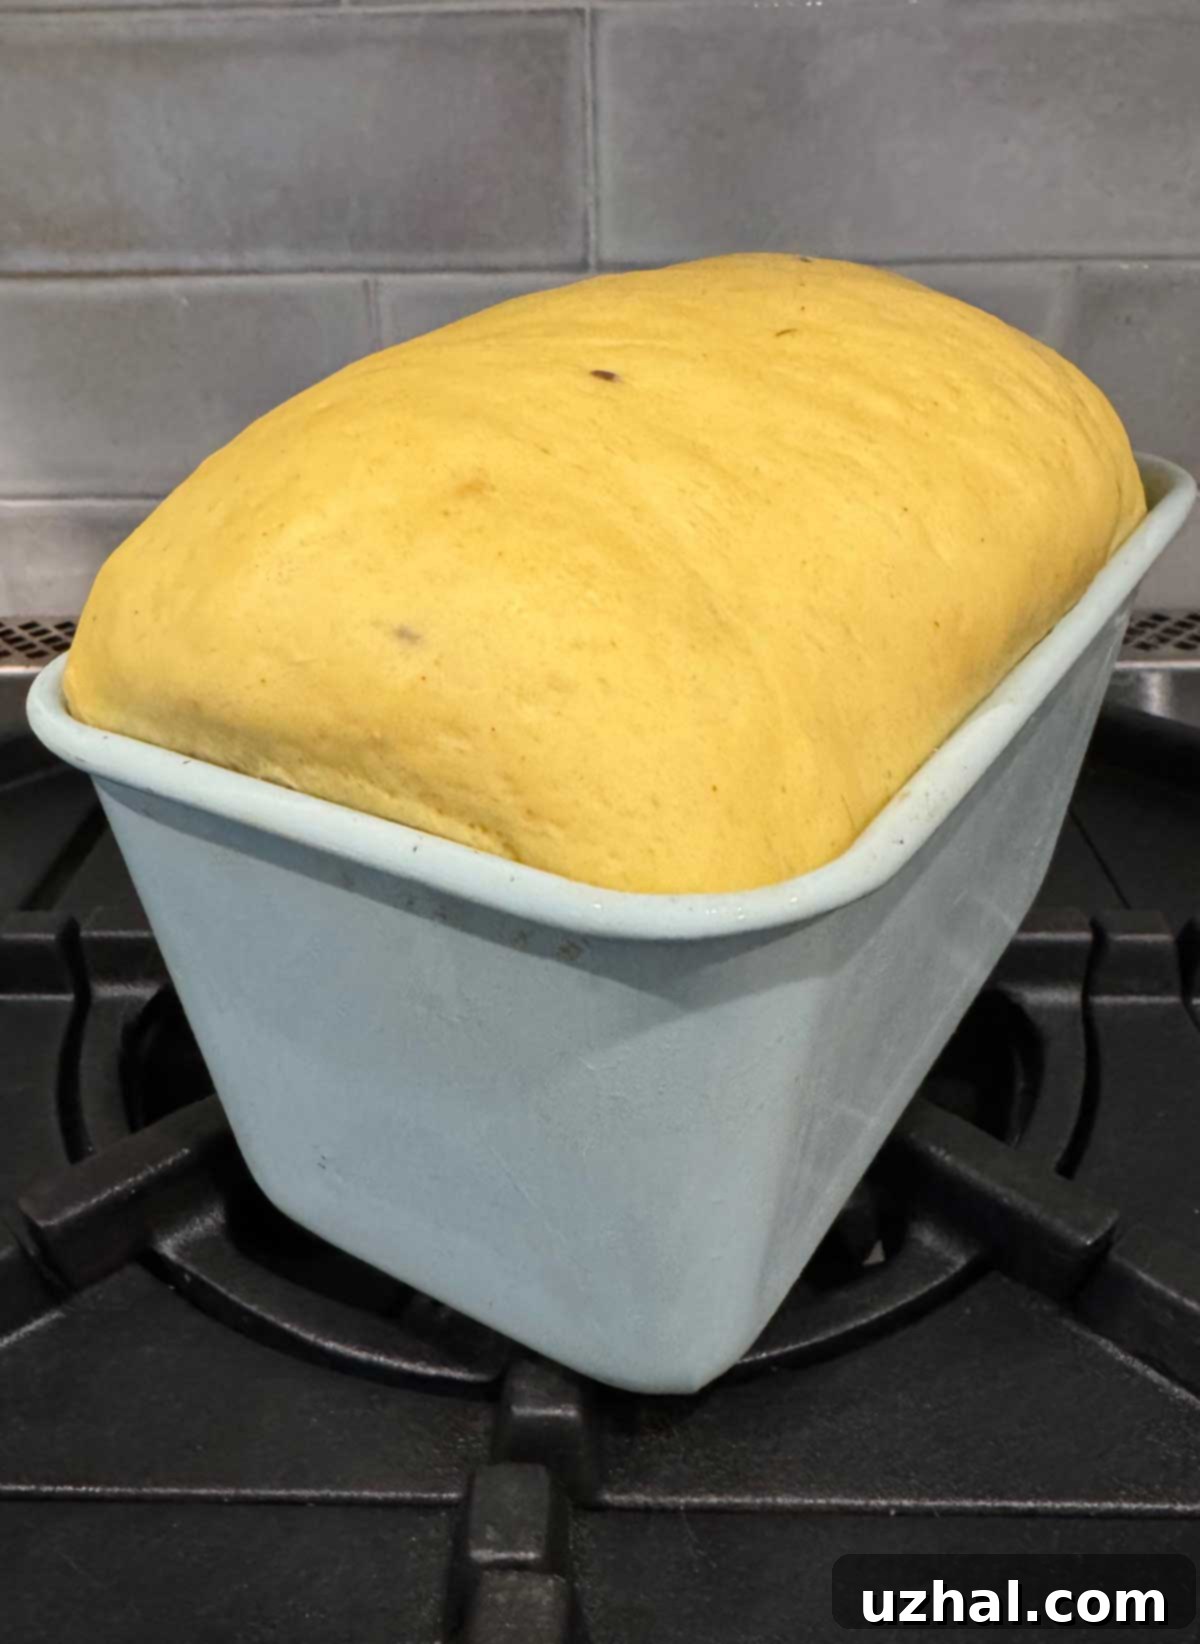
From the very start, the dough for the Dal Bread proved to be a joy to work with. It was firm yet exceptionally soft, boasting a beautiful natural yellow hue derived from the turmeric and other spices in the dal. This wonderful consistency made it incredibly easy to handle, kneading smoothly and developing a desirable elasticity. Watching it rise in the deep loaf pan was equally satisfying; the dough expanded majestically, demonstrating its robust activity and promising a light, airy crumb.
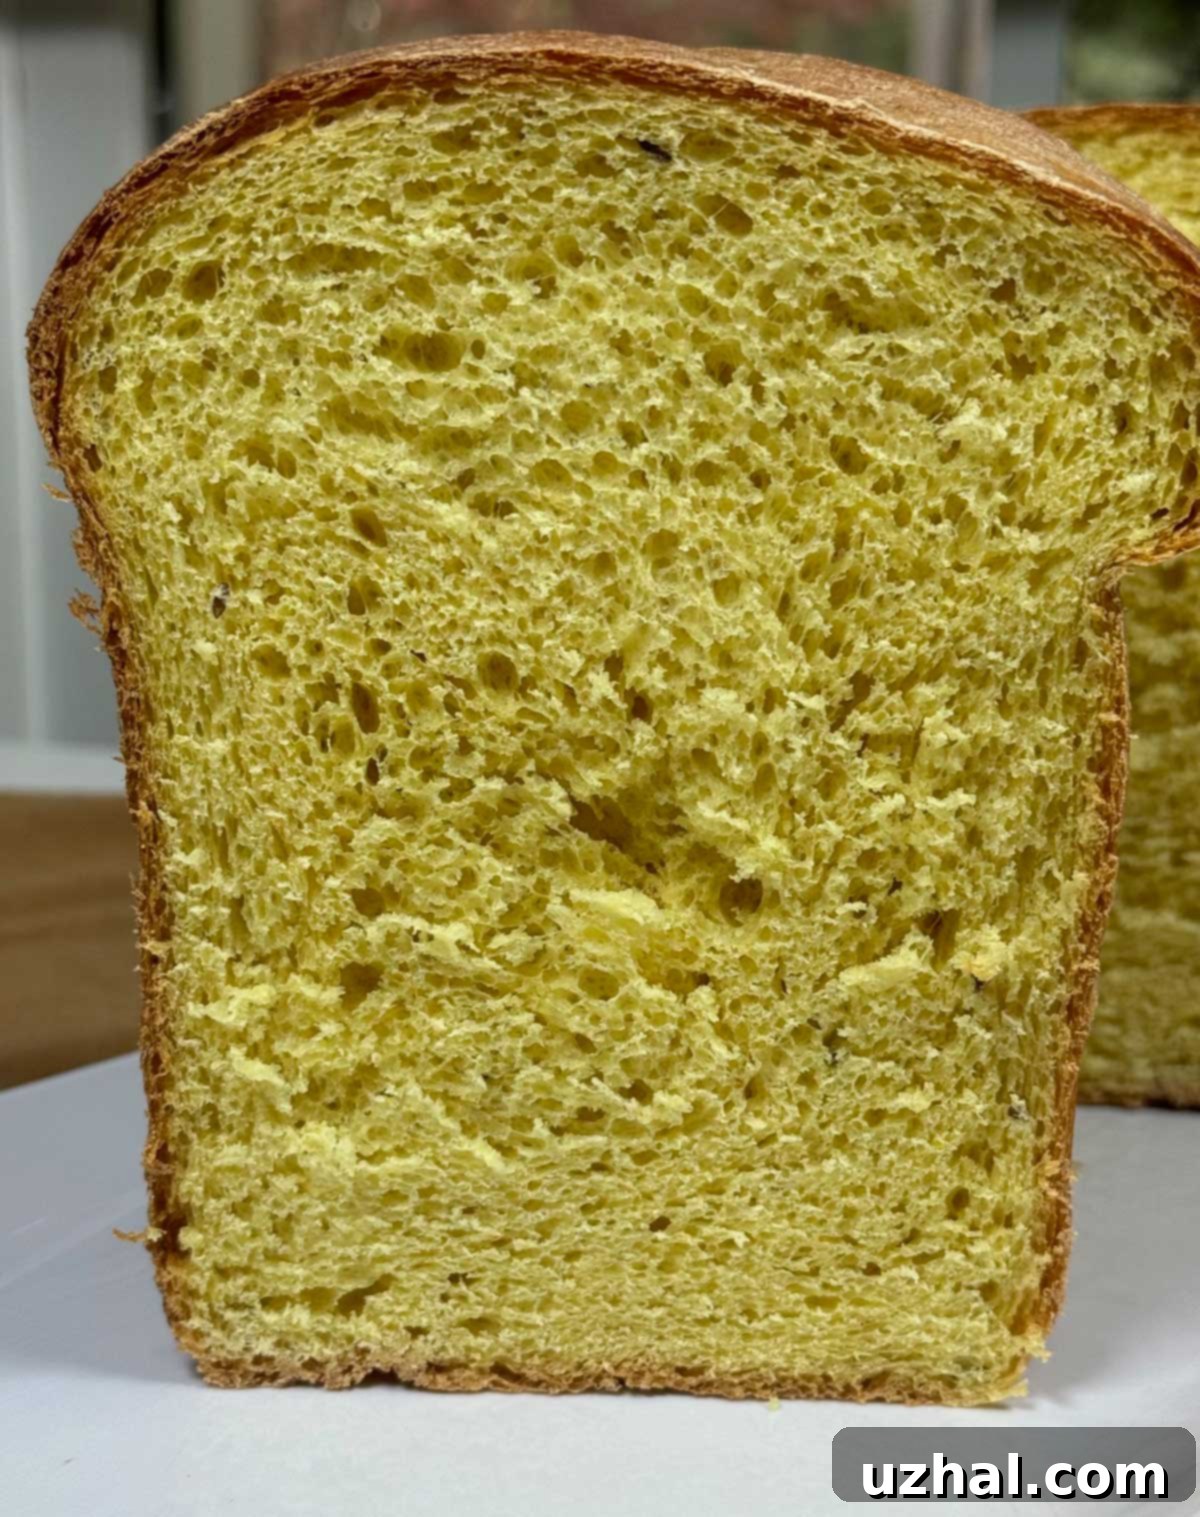
One of the delightful visual and aromatic elements in the finished bread comes from the small, distinct dots of whole cumin seeds. These seeds were originally part of the ‘chonk,’ a flavorful tempering of oil and spices typically added to dal at the end of its cooking process. By the time the dal was incorporated into the bread, the chonk had settled in, enriching the dal with its deep, aromatic essence and visual appeal. This thoughtful addition elevates the bread beyond a simple savory loaf, adding layers of authentic Indian flavors and a charming, rustic appearance.
Interestingly, the inclusion of dal meant that the dough required very little additional fat. Just one tablespoon of coconut oil was perfectly sufficient to achieve the desired texture and richness. I opted for unrefined coconut oil, speculating that its subtle, fragrant notes might complement the existing spices in the dal, contributing to an even more complex and inviting flavor profile in the final bread. The natural properties of the dal, combined with the minimal oil, created a bread that felt both indulgent and wholesome, promising a truly unique homemade baking experience.
Dal Bread: A Symphony of Flavor and Texture
The flavor journey of Dal Bread is particularly fascinating. My original dal, prepared with my husband’s high tolerance for heat in mind, was quite spicy. However, once baked into the bread, a remarkable transformation occurred. The intense spiciness mellowed into a pleasant, comforting warmth that was perfectly enjoyable, even for someone with a lower spice tolerance like myself. This subtle heat, combined with the inherent richness of the dal, created a profoundly flavorful bread that was complex without being overwhelming.
Visually, the turmeric present in the dal imparts a magnificent golden color to the bread, making each slice not only delicious but also incredibly appealing. This vibrant hue is a testament to the natural goodness packed within. The texture is equally impressive: a soft, yielding crumb that is substantial enough to hold up beautifully in sandwiches, yet tender enough to simply enjoy on its own. While I have only had the pleasure of baking this Dal Bread once so far, the process was remarkably smooth and predictable. This is largely because the underlying dough recipe is a clever adaptation of my much-loved and frequently made sweet potato sandwich bread.
The success of this first attempt has ignited a keen anticipation to experiment further. I am eagerly looking forward to making another batch of Dal Bread, perhaps exploring different types of dal or adjusting the spice profile to discover new nuances in flavor. This bread offers a fantastic opportunity for culinary creativity, promising a unique and delicious outcome every time. Whether you’re a seasoned baker or new to making homemade bread, Dal Bread provides a rewarding experience that marries traditional Indian flavors with the comforting essence of a classic homemade loaf.
Versatile Serving Suggestions for Your Dal Bread
Dal Bread is far more than just a savory loaf; its robust flavor and satisfying texture make it incredibly versatile for various culinary applications. As a sandwich bread, it truly shines. Imagine it toasted lightly, then layered with your favorite fillings – perhaps a classic grilled cheese, a hearty veggie sandwich, or even a spicy chicken tikka filling. The bread’s inherent spice profile complements savory ingredients wonderfully, adding an extra layer of depth that elevates any sandwich from ordinary to extraordinary.
Beyond sandwiches, Dal Bread transforms beautifully into other delightful forms. Slice it thickly, brush generously with garlic butter, and toast until golden for an irresistible garlic bread that pairs perfectly with pasta dishes, soups, or salads. The spices in the bread merge with the garlic to create an explosion of flavor that will impress your dinner guests. For a creative snack or garnish, cube the bread and toss it with a sprinkle of chaat masala and a touch of oil before baking or frying until crispy. These spicy croutons are fantastic atop creamy tomato soup, enriching green salads, or even enjoyed on their own as a flavorful bite.
Consider serving warm slices alongside a simple bowl of yogurt or raita for a light meal, allowing the cool, creamy dairy to balance the bread’s warmth and spice. It also makes an excellent accompaniment to various Indian curries, serving as a soft, absorbent vehicle for rich sauces. For breakfast or brunch, a slice of Dal Bread might be lightly grilled and served with a fried egg and a dash of hot sauce for a truly unique start to your day. The possibilities are truly endless, encouraging you to experiment and discover your own favorite ways to enjoy this exceptional bread.
Tips for Baking the Best Dal Bread at Home
Achieving a perfect loaf of Dal Bread is straightforward, especially with a few key tips in mind. Firstly, the consistency of your leftover dal is crucial. It should be thick, similar to mashed potatoes, as indicated in the recipe. If your dal is too runny, the dough might become too sticky and difficult to handle. You can gently simmer a thinner dal to reduce its moisture content, or even add a small amount of flour to it before incorporating into the dough, if absolutely necessary. Bringing the dal and egg to room temperature (or slightly warm) before mixing helps activate the yeast more efficiently and ensures a smoother, more cohesive dough structure.
When kneading, observe your dough closely. While the recipe provides precise measurements, external factors like humidity or the specific type of flour can affect the dough’s hydration. If the dough seems overly sticky and refuses to cling to the dough hook (or your hands, if kneading manually), add flour one tablespoon at a time until it reaches the desired consistency: soft, pliable, and just slightly tacky. Avoid adding too much flour, as this can result in a dense, dry bread. The goal is a dough that is manageable and elastic, allowing it to rise beautifully.
Proper rising is another critical step. Ensure your greased bowl is covered tightly with greased plastic wrap to prevent a dry skin from forming on the dough, which can inhibit rising. Place the dough in a consistently warm, draft-free spot. This could be a slightly warmed oven (turned off!), near a sunny window, or simply in a warm kitchen. Don’t rush the rising process; allow the dough to double in size for optimal texture and flavor. Similarly, the second rise in the loaf pan is essential for a well-domed, airy loaf.
Finally, regarding the baking process, paying attention to oven temperature and baking time is vital. Starting at a higher temperature helps the crust to set and develop quickly, giving the bread a good “oven spring,” while reducing the temperature ensures the interior bakes thoroughly without the crust becoming too dark. Always use a digital thermometer to confirm doneness; a temperature of around 200°F (93°C) in the center indicates the bread is fully baked. And as tempting as it is, allowing the bread to cool completely on a wire rack before slicing is key for the best texture and prevents a gummy interior. Dal Bread offers a truly rewarding baking experience, bringing a unique and flavorful twist to your homemade bread repertoire.
- Alton Brown’s Lentil Cookies
- Fran Berman’s Ginger and Lentil Soup
- Coconut Milk Banana Bread
- Chocolate Banana Oreo Brownies
- Sweet Potato Protein Powder Muffins
Recipe
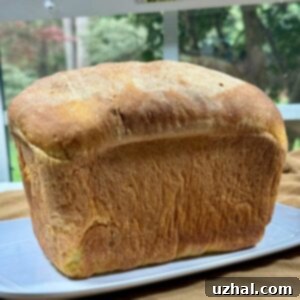
Dal Bread
Anna
Pin Recipe
Ingredients
- 2 ¾ cups King Arthur bread flour (390 grams) or all-purpose
- 2 tablespoons sugar
- 1 ¼ teaspoons salt
- 2 ¼ teaspoons quick rising yeast (SAF yellow label)
- 1 tablespoon dry milk powder (Bob’s Red Mill)
- 1 large egg, room temperature (warmish) (50 grams)
- ⅔ cup thick leftover dal, warmed slightly (160 grams)**
- ½ cup water (125 to 130 degrees) plus a tiny splash more as needed
- 1 tablespoon melted or very soft coconut oil
Instructions
-
Mix 390 grams of bread flour (which should be around 2 ¾ cup), sugar, salt, yeast and milk powder in a bowl and set aside.
-
Put the warmed dal and egg in the bowl of a stand mixer and mix them together with paddle attachment. Remove mixer from stand. Dump in the flour mixture. then pour the 4 oz of the warm water over the flour mixture. Return to mixer stand and using the paddle attachment, begin stirring everything together.
-
As the paddle is stirring, add the coconut oil. The batter should turn to a thick, clumpy, Play-Doh like consistency. The paddle won’t be able to handle it very well since it’s so thick, so you’ll need to switch to the dough hook. At this point you could also probably knead by hand (if you don’t have a dough hook).
-
Switch to the dough hook and knead until dough become more cohesive. It should cling to the hook and be thick, but kind of lumpy. If it is not clinging to the hook, but sticking to the side of the bowl, scrape it into the center of the bowl and dust sides of bowl with 1 tablespoon of extra flour. Begin kneading again. Continue adding flour 1 tablespoon at a time and kneading until the dough clings to the hook and sticks just to the bottom of the bowl. Again, the extra flour should not be necessary if you used the amounts given and your dough is sticky.
-
Put the dough in a greased bowl and roll it around so it’s just a little bit slick. It should hold the ball shape and not spread at all this point. Cover with greased plastic wrap and set in a warm place for 1 hour or until doubled.
-
Shape into a loaf and set in a greased 9×5 inch loaf pan or a Pullman pan or deep loaf pan (4 inch sides).
-
Cover the pan with a piece of greased plastic wrap and let rise until it comes up an inch or so over the pan, about 35-45 minutes. Toward the end of the rising time, preheat the oven to 400°F.
-
Bake at 400 degrees F for the first 15 minutes, then reduce the heat to 350 degrees F.
-
Bake at 350 for another 25 to 30 minutes, or until its crust is a deep golden brown, and a digital thermometer inserted into the center registers about 200°F.
-
Remove the bread from the oven and set the loaf pan on a rack to cool for about 5 minutes. Turn it out onto the rack to cool. Let cool completely before slicing (if you can!). It’s also easier to slice while cold.
