Pillowy Soft Kolaches with Sour Cream: Your Ultimate Guide to a Texas Favorite Pastry
Kolaches, known by various spellings like kolace, kolach, or kolack, are delightful Czech pastries. Traditionally, they are round or square-shaped yeast-leavened doughs featuring sweet or savory fillings such as fruit, cheese, or meat. While their origins lie in Central Europe, kolaches have found a special place in the hearts (and stomachs) of Texans, becoming a beloved local staple. Almost everyone in Texas has a cherished spot for their favorite kolaches, and among our friends, the discussions about the softest, most flavorful versions are endless. Our personal favorite has always been Weikel’s in La Grange, renowned for their incredibly soft and tender kolaches. My ongoing culinary quest has been to replicate that signature melt-in-your-mouth texture at home. After numerous experiments, this particular recipe, which incorporates sour cream directly into the dough, comes remarkably close to achieving that coveted pillowy softness.
Jump to Recipe
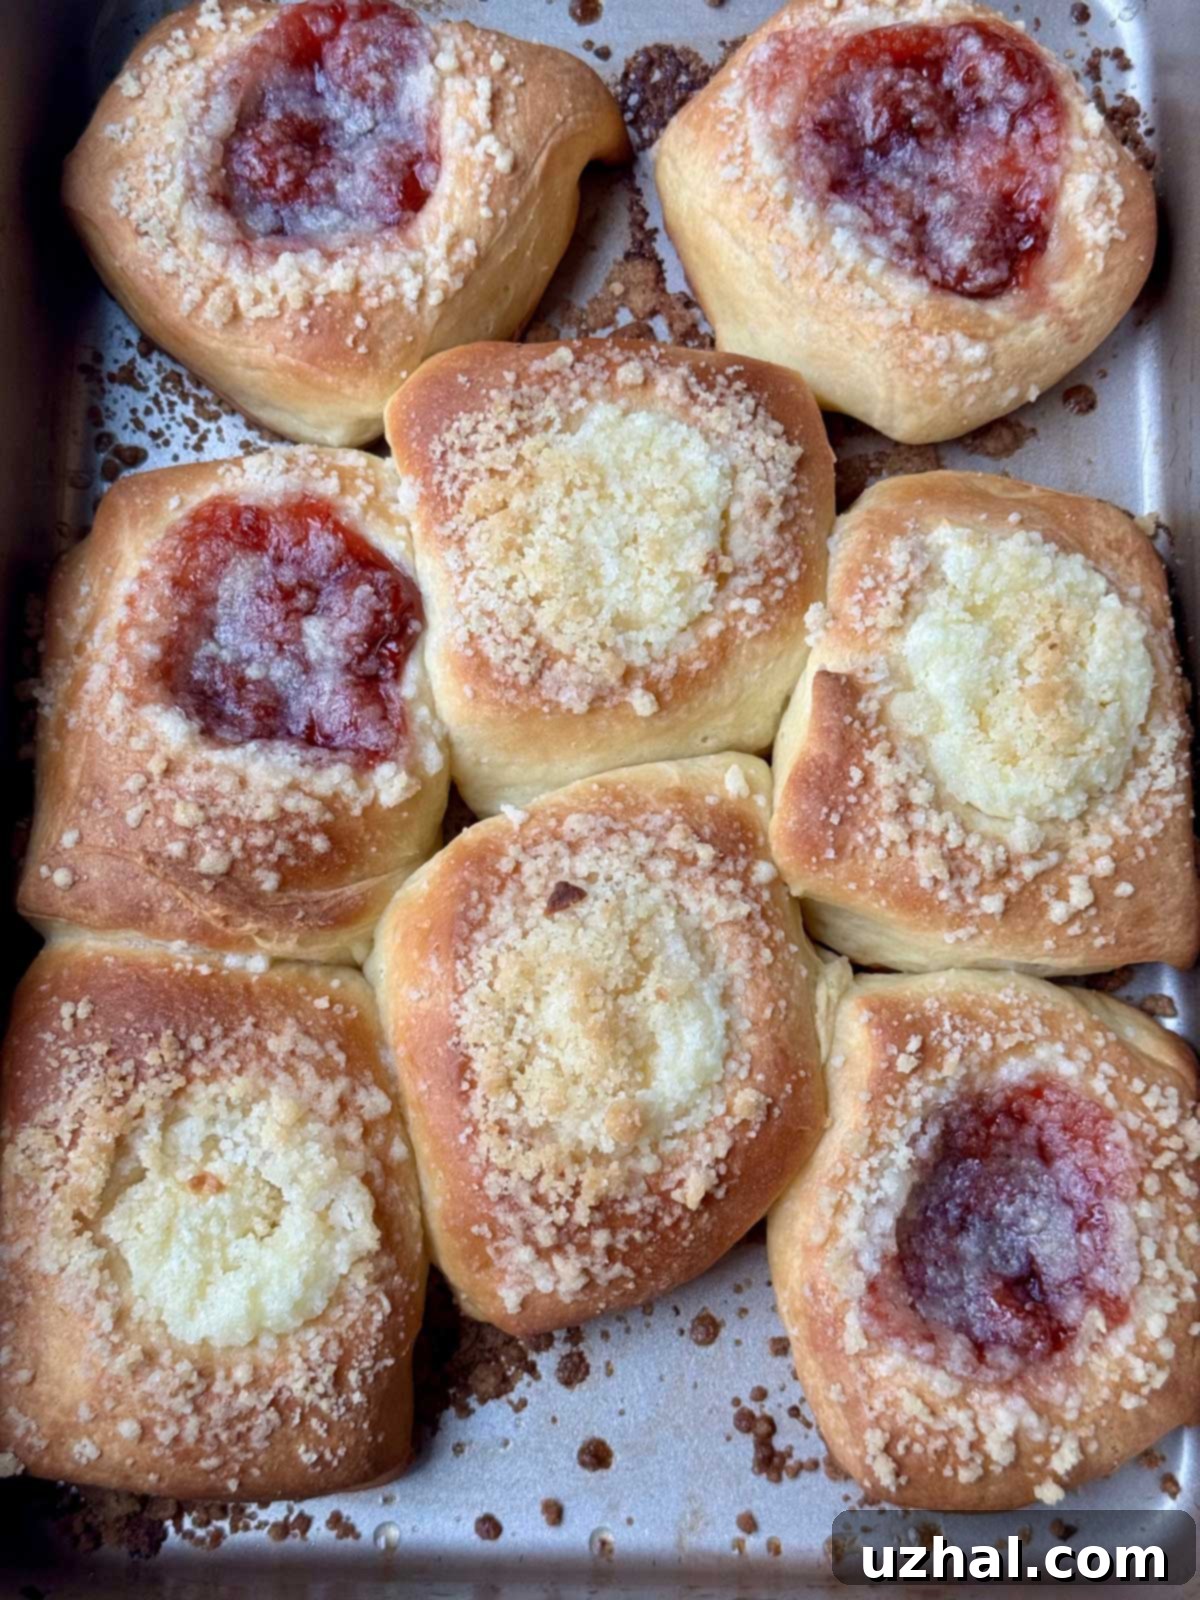
The journey to perfecting truly soft, light-textured kolaches was an adventure in itself, marked by various trials and errors. Initially, I experimented with a recipe that called for shortening and evaporated milk. The results were acceptable, yielding a decent pastry, but they lacked the ethereal softness I was aiming for. Next, I ventured into using one cup of mashed potatoes in the dough, a common technique for adding moisture and tenderness to breads. These kolaches were indeed good, possessing a nice flavor, but they turned out denser than I had hoped, missing the airy, cloud-like quality I craved. It wasn’t until my third attempt that I discovered the magic of sour cream. These kolaches, made with a generous half-cup of full-fat sour cream, were a game-changer – light, incredibly pillowy, and hands down the best I had made thus far. Since then, I’ve tried other recipes and methods, but this sour cream kolache recipe consistently remains a top favorite for its unparalleled softness and delightful texture.
Achieving Soft, Light-Textured Kolaches: The Sour Cream Secret
The secret to achieving that coveted light, pillowy texture in kolaches lies in a combination of high-quality ingredients and careful technique. For optimal results, I rely on good quality instant yeast, which provides a reliable and vigorous rise, creating an airy structure. Bread flour, with its higher protein content, is essential for developing the gluten needed for a strong yet elastic dough. However, the true hero ingredient that I believe imparts the signature soft texture is sour cream. Its unique properties contribute to both moisture and tenderness in a way that other fats or liquids simply cannot. While milk, butter, egg, and sugar are undeniably key players, adding richness, flavor, and facilitating browning, it’s the specific inclusion of sour cream that makes these kolaches exceptionally soft.
It’s crucial to use just the right amount of sour cream. In my testing, I’ve tried other recipes that called for a full cup of sour cream. While the resulting bread was undeniably soft, the rolls tended to be heavier and more dense, losing some of that desired lightness. A half-cup, as specified in this recipe, strikes the perfect balance, ensuring a dough that is rich, tender, and incredibly fluffy without becoming too heavy. The fat content in the sour cream tenderizes the gluten, while its acidity helps activate the yeast and break down flour proteins, leading to a more tender crumb. This balance is what gives these kolaches their distinctively soft interior, making them truly irresistible.
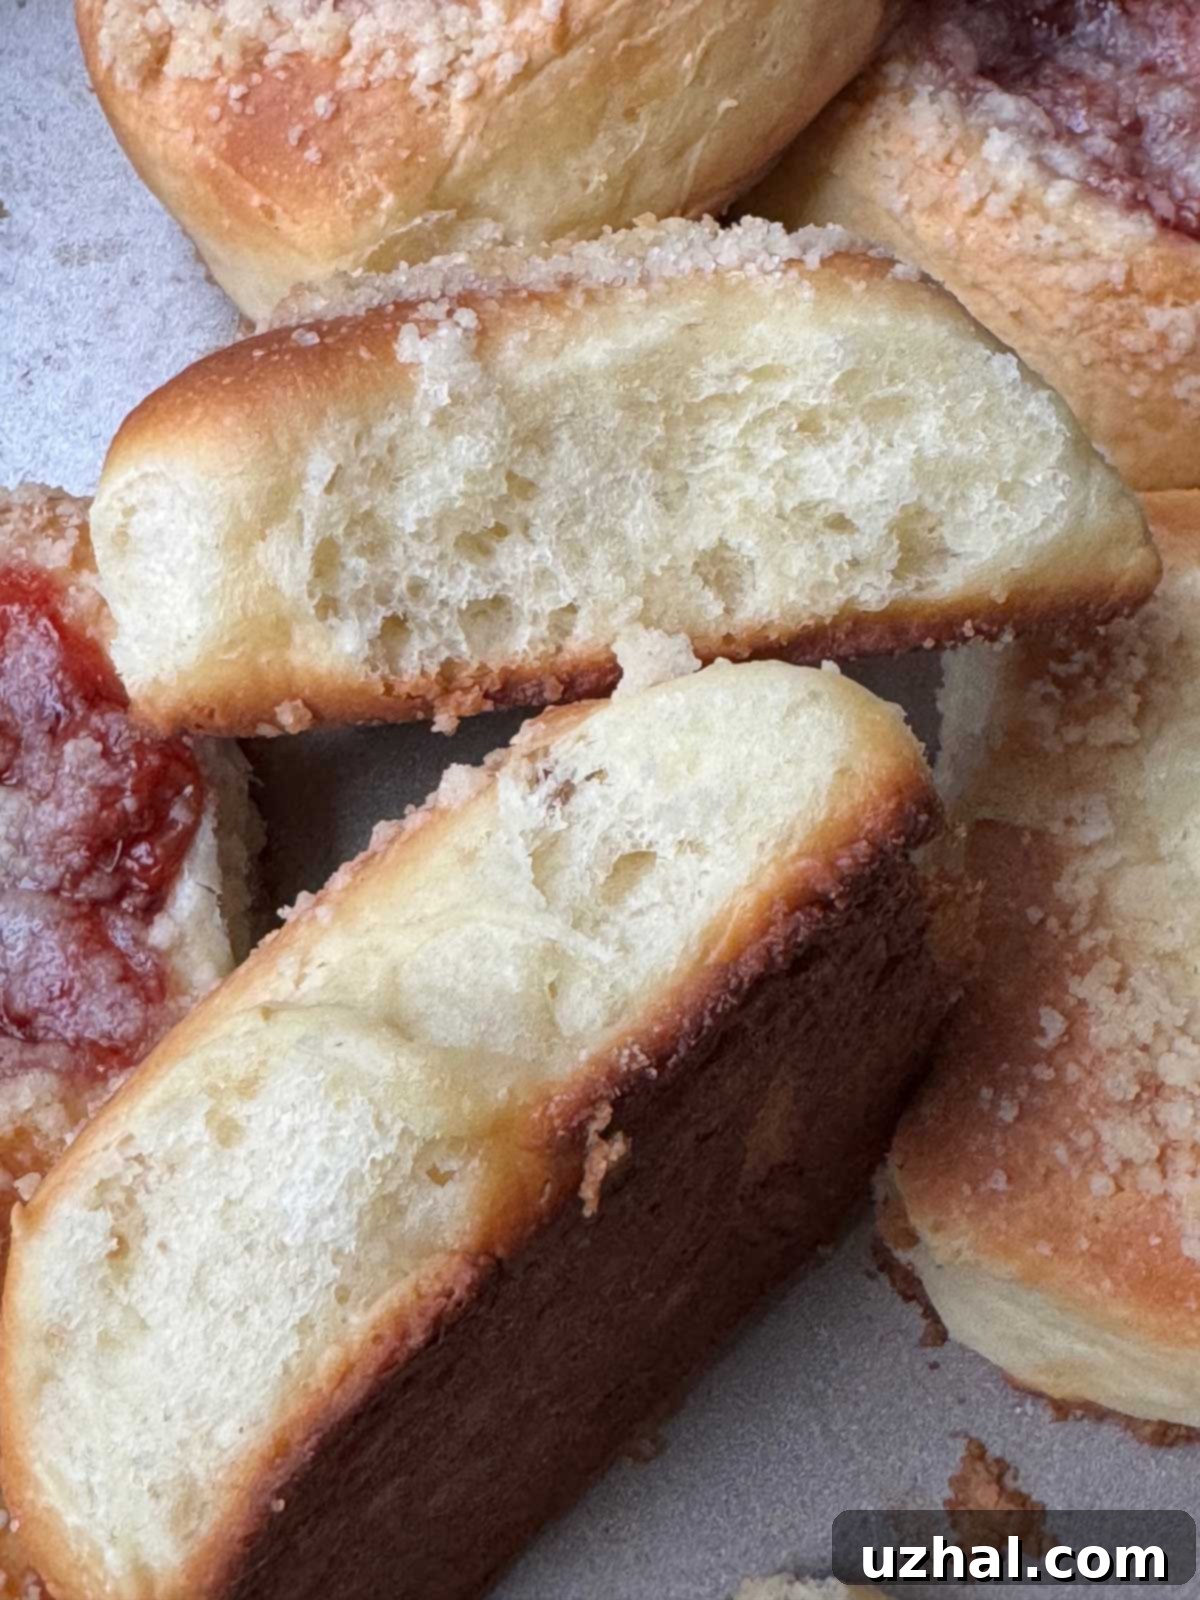
Beyond the ingredients, a smart baking technique also plays a significant role in achieving a soft texture. Arranging the dough pieces close enough in the pan so that they gently touch each other as they rise and bake in the oven creates a moist, steamy environment. This close proximity prevents the outer crust from hardening too much, resulting in softer sides and an overall more tender pastry. Don’t worry about having specific pan sizes; you can easily adapt based on what you have available. This recipe is perfectly suited for two standard 9×13 inch pans, allowing the kolaches to rise and bake beautifully together, ensuring that delightful soft-sided characteristic.
The Importance of a 400°F Baking Temperature
One particular characteristic of kolaches made with sour cream is their slower browning process compared to other doughs. This is primarily due to the acidity present in the sour cream, which can, to some extent, inhibit the Maillard reaction – the chemical process responsible for the delicious browning and complex flavors in baked goods. To counteract this and ensure your pastries achieve a beautiful golden-brown finish, it’s beneficial to bake them at a relatively high temperature. This recipe calls for baking at 400°F (200°C).
In my experience, oven performance can vary significantly. For instance, in my old oven, these kolaches would achieve a lovely brown in about 18 minutes. However, with my current Blue Star oven, they typically require around 23 minutes to reach the same level of golden perfection. This variation highlights the importance of understanding your own oven. Always remember that bake times are approximate, so it’s wise to start checking on your kolaches a few minutes before the recommended time to prevent over-baking and ensure they come out perfectly browned and soft, not dry. A quick visual check can make all the difference in achieving that ideal balance of a tender interior and a lightly golden exterior.
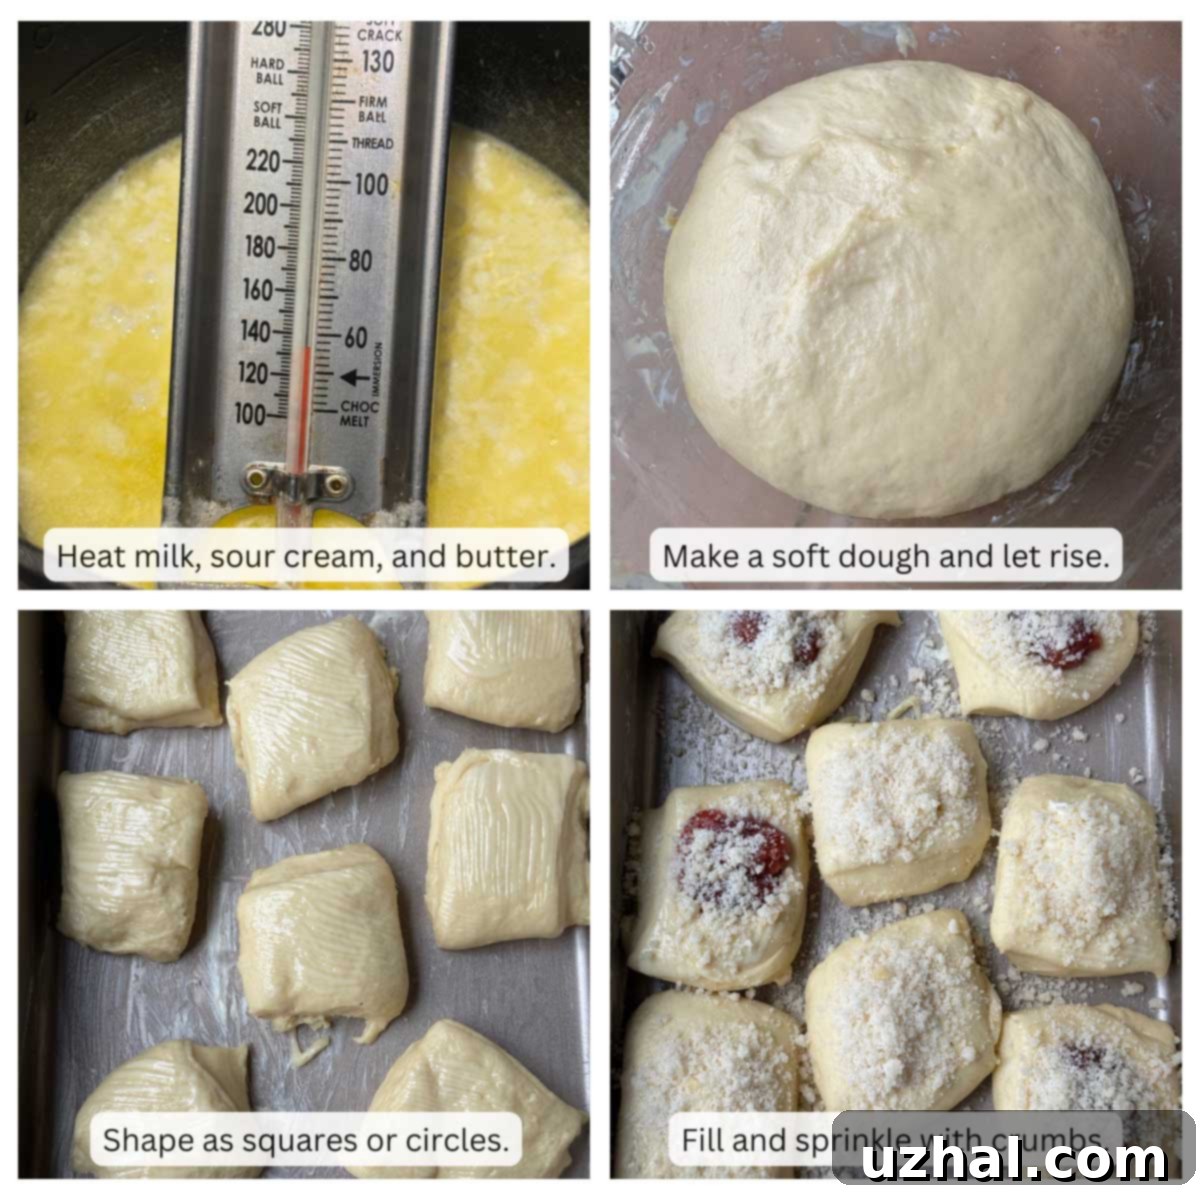
To further assist you in your kolache-making journey, I’ve incorporated additional notes within the recipe itself. These notes provide extra guidance and tips, ensuring you have all the information needed for success. Furthermore, I’ve included a helpful visual guide that breaks down the process into four distinct steps, making it easier to follow along and visualize each stage of preparing these delicious sour cream kolaches. These resources are designed to help you confidently create perfect pastries every time.
Kolache Shapes and Nostalgic Moments
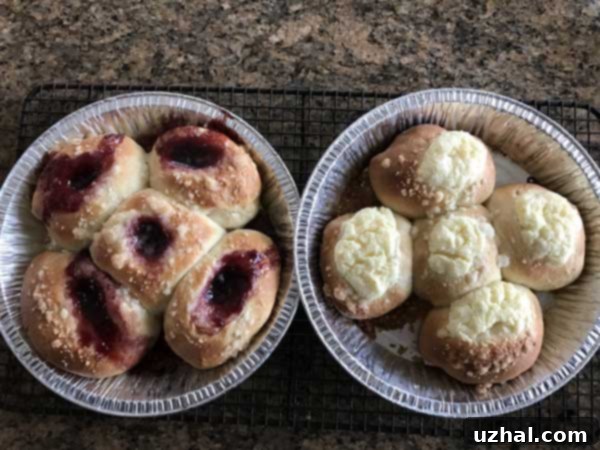
Kolaches are incredibly versatile, not just in their fillings but also in their shape. While the recipe focuses on round kolaches, they can also be crafted into charming squares. Here, I’m sharing some older photos from a batch I made in a circular shape, showcasing the traditional indentation for the delicious fillings. These images serve as a nostalgic reminder of the many batches of kolaches baked over the years, each one a step closer to perfecting that ultimate soft texture.
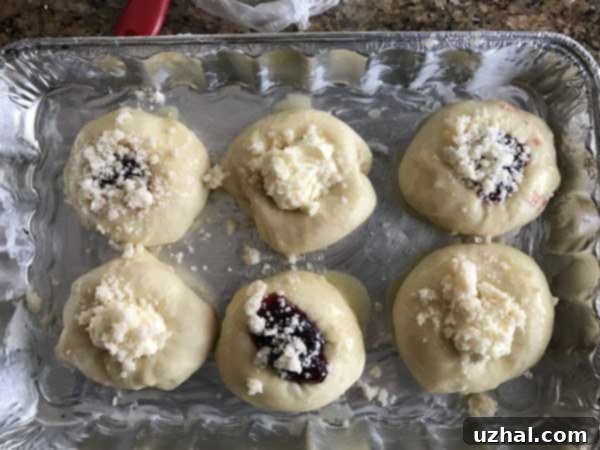
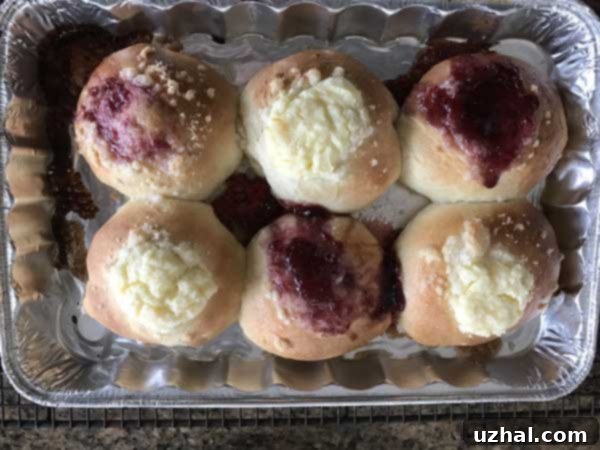
While this sour cream kolache recipe has become one of my go-to methods for its consistent softness, I certainly have other fantastic kolache variations up my sleeve. Another delightful recipe that doesn’t use sour cream is the Easy Tangzhong Kolaches. This recipe incorporates the Japanese tangzhong technique, where a portion of the flour is cooked with liquid to create a paste. This process pre-gelatinizes starches, allowing the dough to absorb and retain more moisture, leading to an exceptionally soft and airy crumb that stays fresh longer. While it might sound a little more involved, blending Japanese bread-making techniques with a classic Czech pastry, it’s not overly difficult and yields magnificent results. However, for those seeking a slightly simpler approach without compromising on incredible softness, the sour cream recipe presented here is an excellent choice. Both methods offer unique pathways to delicious, tender kolaches, allowing you to choose the technique that best suits your baking style and desired texture.
Recipe: Sour Cream Kolaches
Kolaches With Sour Cream Dough
Anna
Pin Recipe
Ingredients
Dough
- 4 tablespoons unsalted or salted butter cut into chunks (56 grams)
- ½ cup milk whole best but reduced fat okay
- ¼ cup water
- ½ cup sour cream full fat
- 3 cups bread flour (380 to 420 grams)
- 2 ¼ teaspoons instant yeast (SAF or Platinum)
- ⅓ cup sugar (65 grams)
- 1 teaspoon salt
- 1 large egg
- 2 tablespoons melted butter for brushing
Crumb Topping (Posypka)
- ⅓ cup sugar (65 grams)
- 2 ½ tablespoons flour (20 grams)
- 4 teaspoons softened butter (VERY soft) (16 to 18 grams)
- ⅛ teaspoon cinnamon or a splash of vanilla
Cream Cheese Filling
- 8 oz cream cheese, softened (230 grams)
- ¼ cup sugar (50 grams)
- 1 large egg yolk
- Pinch of lemon zest
- ½ teaspoon vanilla
Pie Filling or Preserves
- 1 cup I use whatever pie filling or preserves I feel like. Cherry pie filling is a favorite.
Instructions
-
In a medium saucepan, combine the butter (cut into chunks), milk, water, and sour cream. Place the saucepan over medium heat and stir occasionally. Bring the mixture to a gentle boil, then remove from heat and allow it to cool down to 130 degrees F (54 degrees C). You’ll notice the milk starting to boil first, while the butter and sour cream begin to melt and incorporate. Once boiling, you can turn off the heat and insert a thermometer to monitor the cooling process accurately.
-
While the liquid mixture is cooling, prepare your dry ingredients. In a large mixing bowl – ideally, a stand mixer bowl equipped with a dough hook for easier kneading – combine 2 cups (260 grams) of the bread flour, instant yeast, sugar, and salt. Once the milk mixture has cooled to 130 degrees F, add it to the dry ingredients and stir until just combined. Next, stir in the large egg. From this point, gradually add the remaining flour, a quarter cup at a time, until you achieve a soft dough. This dough will naturally be slightly sticky to the touch, but its stickiness should reduce considerably after a proper kneading.
-
Attach the bowl to your stand mixer and, using the dough hook, knead the dough on medium-low speed until it becomes smooth, elastic, and pulls away from the sides of the bowl. The dough might initially stick to the bowl’s sides during the kneading process. To ensure even kneading, pause the mixer every couple of minutes and use a spatula to scrape down the sides of the bowl, pushing the dough back towards the hook. Continue kneading until the dough is smooth and responsive; it will still feel somewhat sticky but should exhibit good elasticity and have a noticeable “snap” when lightly pulled.
-
Lightly coat a clean, large bowl with oil or melted butter. Transfer the kneaded dough to this bowl, turning it once or twice to ensure it is evenly coated in the oil. This prevents the dough from sticking as it rises. Cover the bowl loosely with plastic wrap or a clean kitchen towel and let it rise in a warm, draft-free place until it has doubled in bulk. This typically takes approximately 1 hour, though exact times can vary depending on your kitchen’s temperature.
-
Once the dough has doubled, gently punch it down to release the air. Turn the dough out onto a lightly floured surface. You have two shaping options: for traditional round kolaches, pinch off 16 equal-sized portions and gently roll them into smooth, small balls. Alternatively, if you prefer square kolaches, you can pat the dough into a large rectangle and then cut it into 16 even squares. Arrange 8 dough balls (or squares) onto each of two parchment-lined 13×9 inch baking pans, ensuring they are spaced about an inch apart. You can also use regular baking sheets if preferred. Lightly brush the tops of each shaped dough piece with melted butter.
-
Loosely cover the pans with a sheet of greased plastic wrap (greasing prevents sticking) and let the kolaches rise for another hour in a warm place. This second rise contributes significantly to their final light and airy texture.
-
While the kolaches are undergoing their second rise, take this time to prepare both the crumb topping (Posypka) and your chosen filling (cream cheese, fruit, or preserves). Having these ready will streamline the assembly process.
-
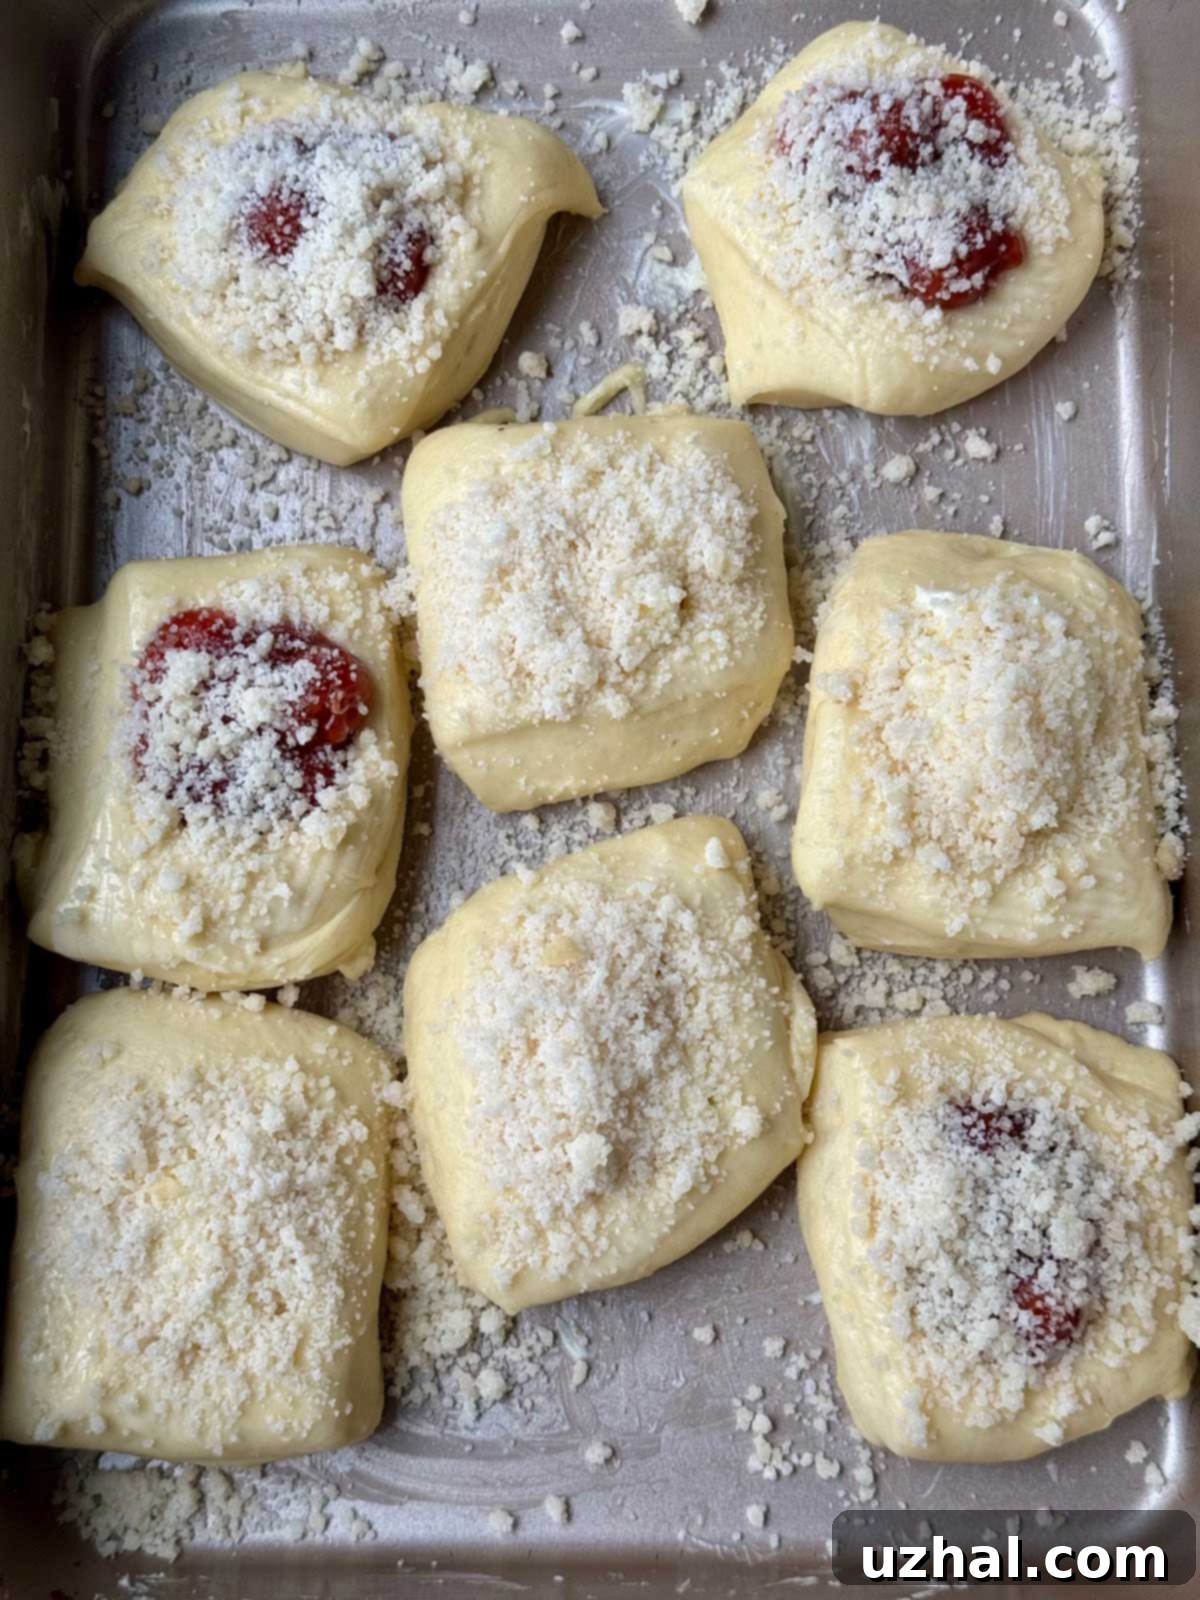
After the second rise, carefully make a shallow indentation in the center of each risen dough ball using your thumb or the back of a spoon. Fill each indentation with approximately a tablespoon of your prepared cream cheese filling, or your desired fruit filling/preserves. Gently brush the edges of the dough (not the filling) with melted butter and then generously sprinkle the crumb topping over the bun and filling.
-
Preheat your oven to 400 degrees F (200 degrees C). Allow the prepared kolaches to sit at room temperature while the oven fully preheats. This brief resting period helps them relax slightly before baking.
-
Bake the kolaches for approximately 15-20 minutes in the preheated 400°F oven. Keep a close eye on them, as baking times can vary between ovens; they are done when golden brown and puffed. Remove from the oven and allow them to cool slightly on the pan before transferring to a wire rack. Kolaches filled with fruit are particularly delicious served hot, fresh from the oven, while those with cream cheese filling are often best enjoyed warm or even at room temperature, allowing their flavors to fully develop.
Posypka (Crumb Topping) Instructions
-
To create this irresistible crumb topping, begin by thoroughly mixing together the sugar and flour in a small bowl. Add a tiny pinch of salt to enhance the flavors. Next, incorporate the very soft butter (it should be almost melted) and either a splash of vanilla extract or a pinch of cinnamon, depending on your preference. Use your fingertips or a fork to work the ingredients together until the mixture forms coarse, crumbly particles. This topping adds a wonderful texture and hint of sweetness to your kolaches.
Cream Cheese Filling Instructions
-
For a luscious cream cheese filling, combine the softened cream cheese with the sugar in a mixing bowl. Beat until smooth and well combined. Then, stir in the large egg yolk and the pinch of fresh lemon zest. The lemon zest adds a bright, zesty counterpoint to the richness of the cream cheese, elevating the overall flavor of your kolaches.
Notes