Mastering the Art of Moist Yellow Cake: A Two-Stage Method Recipe with Decadent Chocolate Frosting
There are countless yellow cake recipes out there, but this one has consistently proven itself to be a true standout, earning its place as one of my all-time favorites. What sets this particular recipe apart is its ingenious application of the two-stage method, sometimes referred to as the “reverse creaming method.” This technique, while seemingly unconventional, is a game-changer for achieving a superior cake texture. Instead of creaming butter and sugar first, you begin by mixing the dry ingredients, then coating them with softened fat, before gradually incorporating eggs and liquid in two distinct stages. Despite its alternative name, there’s no traditional creaming involved; rather, it’s a precise method designed to minimize gluten development and maximize moisture, resulting in a cake that is exceptionally tender, finely crumbed, and never disappointingly dense. For anyone aspiring to bake a truly perfect yellow cake from scratch, understanding and mastering this method is key.

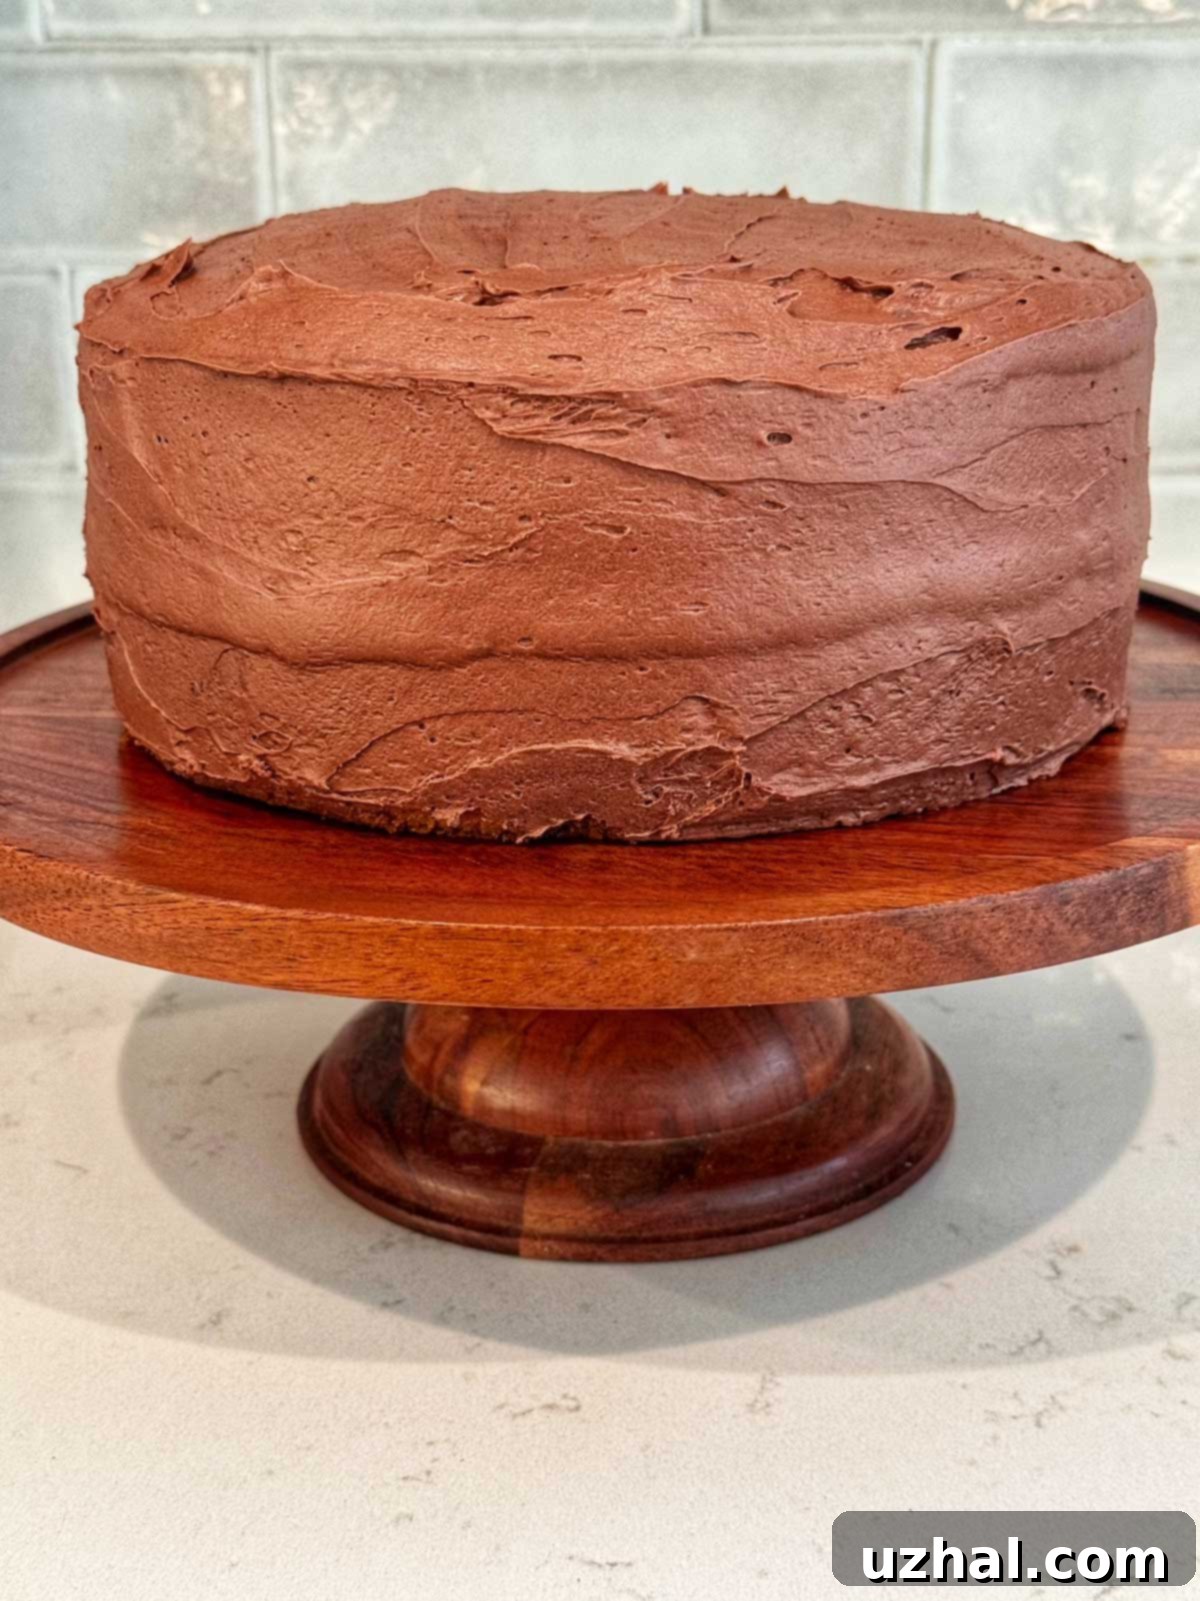
This remarkable yellow cake recipe is an adaptation of a classic from Cook’s Illustrated, a publication renowned for its meticulous approach to baking. I’ve been refining and enjoying this recipe for many years, experimenting with a variety of frostings, though I must admit, I’m fiercely loyal to none when it comes to the topping – the cake itself is the star! The cake pictured here features a simple, yet utterly delicious, cocoa powder frosting, quite similar to the classic recipe found on the Hershey’s cocoa can. Perhaps for photographic purposes, I should have prepared 1 ½ times the amount of frosting, as this cake is so wonderfully tall and thick that it naturally boasts a generous cake-to-frosting ratio, allowing the sublime flavor and texture of the yellow cake to truly shine through. Each bite offers a harmonious balance, where the rich, moist cake forms the perfect canvas for the sweet, chocolatey finish.

Understanding the Two-Stage Method for Perfect Cake Texture
While my frosting preferences may waver, my allegiance to this yellow cake and its unique two-stage baking method remains unwavering. This technique, also known as the “reverse creaming method” (though it doesn’t involve traditional creaming), consistently yields a cake with an incredibly moist, fine crumb and a beautifully tender texture. It’s a method designed to deliver unparalleled results, preventing the cake from becoming dense or tough. The process begins by combining all the dry ingredients, including the sugar and flour, in the mixer bowl. Then, the softened butter (and/or shortening) is added and mixed until the flour particles are fully coated. This coating of fat around the flour inhibits the formation of long gluten strands, which are responsible for toughness in cakes. By coating the flour first, you create a barrier that prevents excessive liquid absorption by the flour, leading to a much more tender and delicate crumb.
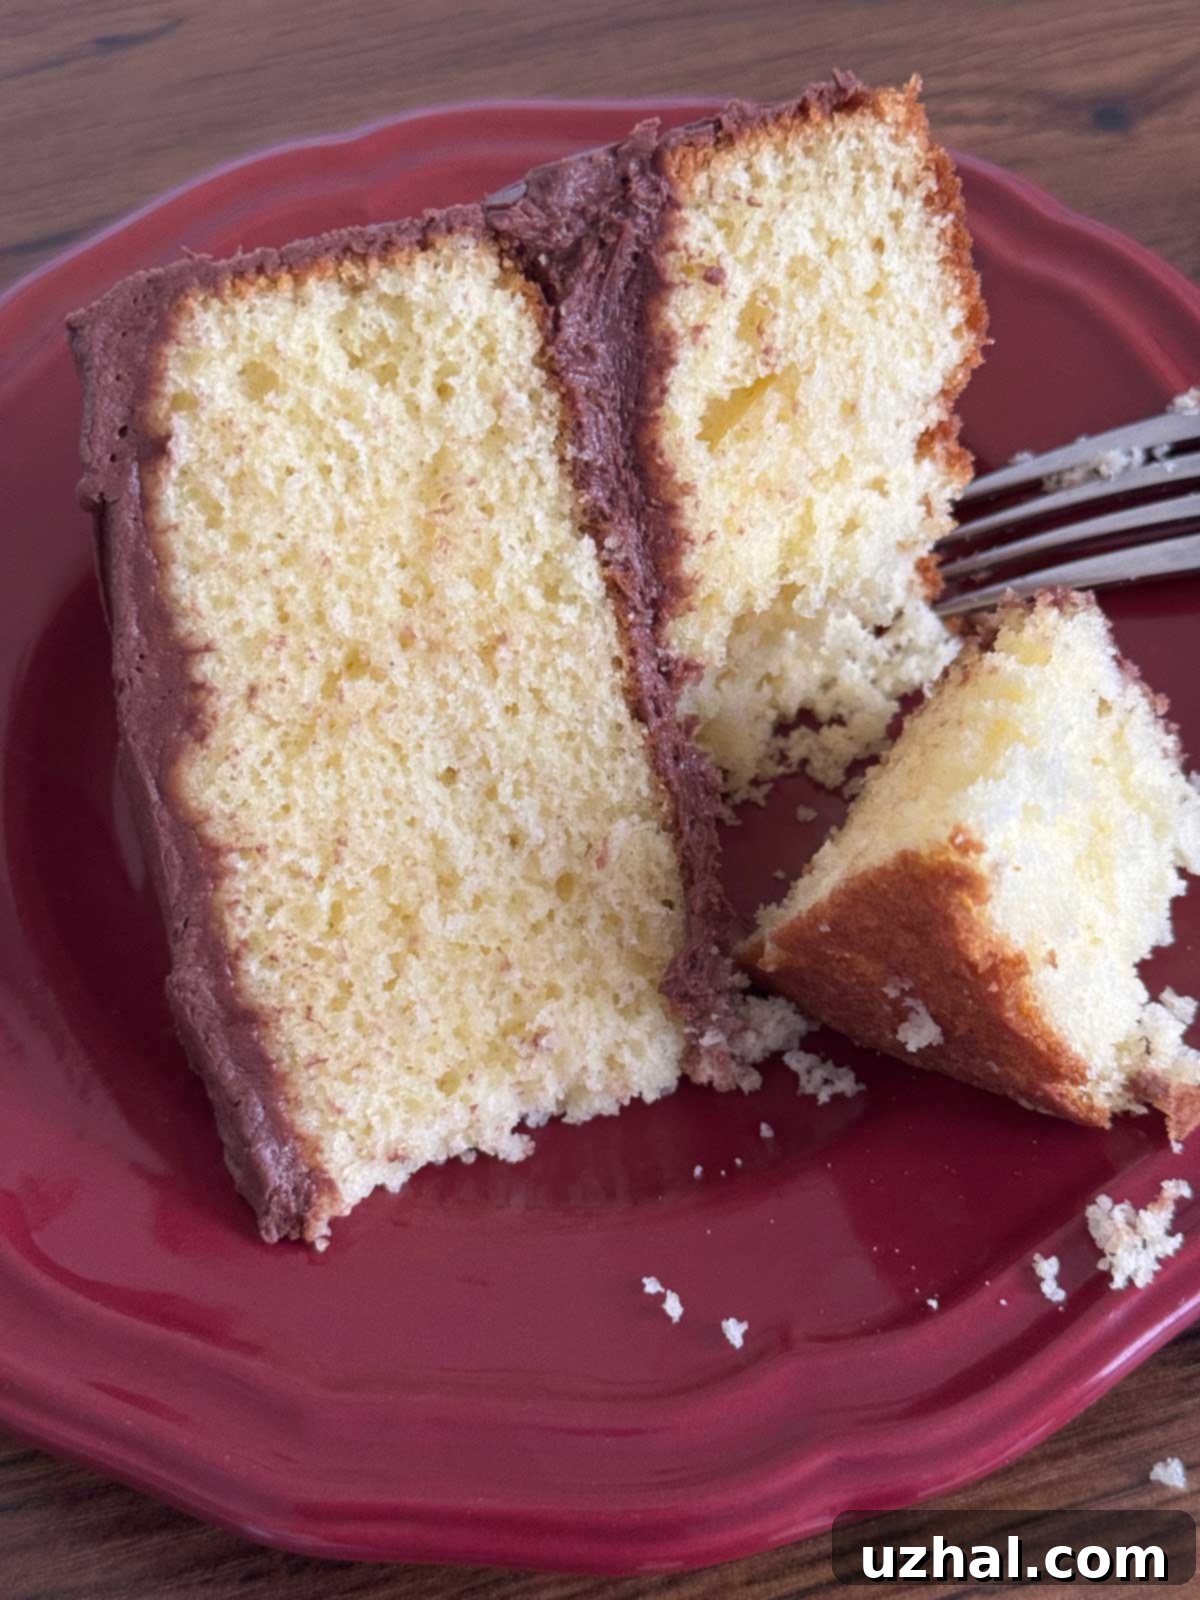
Following the fat coating, a portion of the liquid ingredients (usually milk or buttermilk) is slowly incorporated, followed by the egg mixture. Adding the liquids in stages allows for gradual hydration of the dry ingredients and controlled emulsification, further contributing to the cake’s smooth batter and fine texture. This method drastically reduces the risk of over-mixing, which is a common pitfall in traditional cake recipes that can lead to dry, tough cakes. The result is a cake that is remarkably soft, velvety, and moist, with a consistent structure throughout. Occasionally, I do notice a few air holes when using this method, a minor aesthetic imperfection that doesn’t affect flavor or texture. To mitigate this, I make it a practice to gently tap the cake pans on the counter a few times before baking. This helps to release larger trapped air bubbles and distribute smaller ones more evenly, leading to a more uniform crumb. Despite this small consideration, the two-stage method truly excels in producing a consistently moist and tender cake every single time.
Enhancing Yellow Cake Flavor and Achieving the Perfect Golden Hue
The name “yellow cake” evokes a sense of warmth, comfort, and classic charm, and achieving that signature golden color and delicious flavor is an art. While the primary flavor often comes from vanilla, adding a touch of dedicated yellow cake flavoring can elevate the taste significantly, contributing to that distinctive, nostalgic bakery-style essence. This special flavoring also subtly enhances the cake’s yellow hue, working in harmony with other ingredients. The final shade of yellow in your cake can actually vary quite a bit, depending on a few factors. For instance, the natural color of your butter plays a role; some brands, like Land O’Lakes, tend to produce butter that is lighter in color compared to European-style butters, which often have a deeper yellow tint due to higher fat content and different feed for the cows. The choice between using actual buttermilk or powdered buttermilk, and the quantity of yellow flavoring you incorporate, will also influence the outcome.
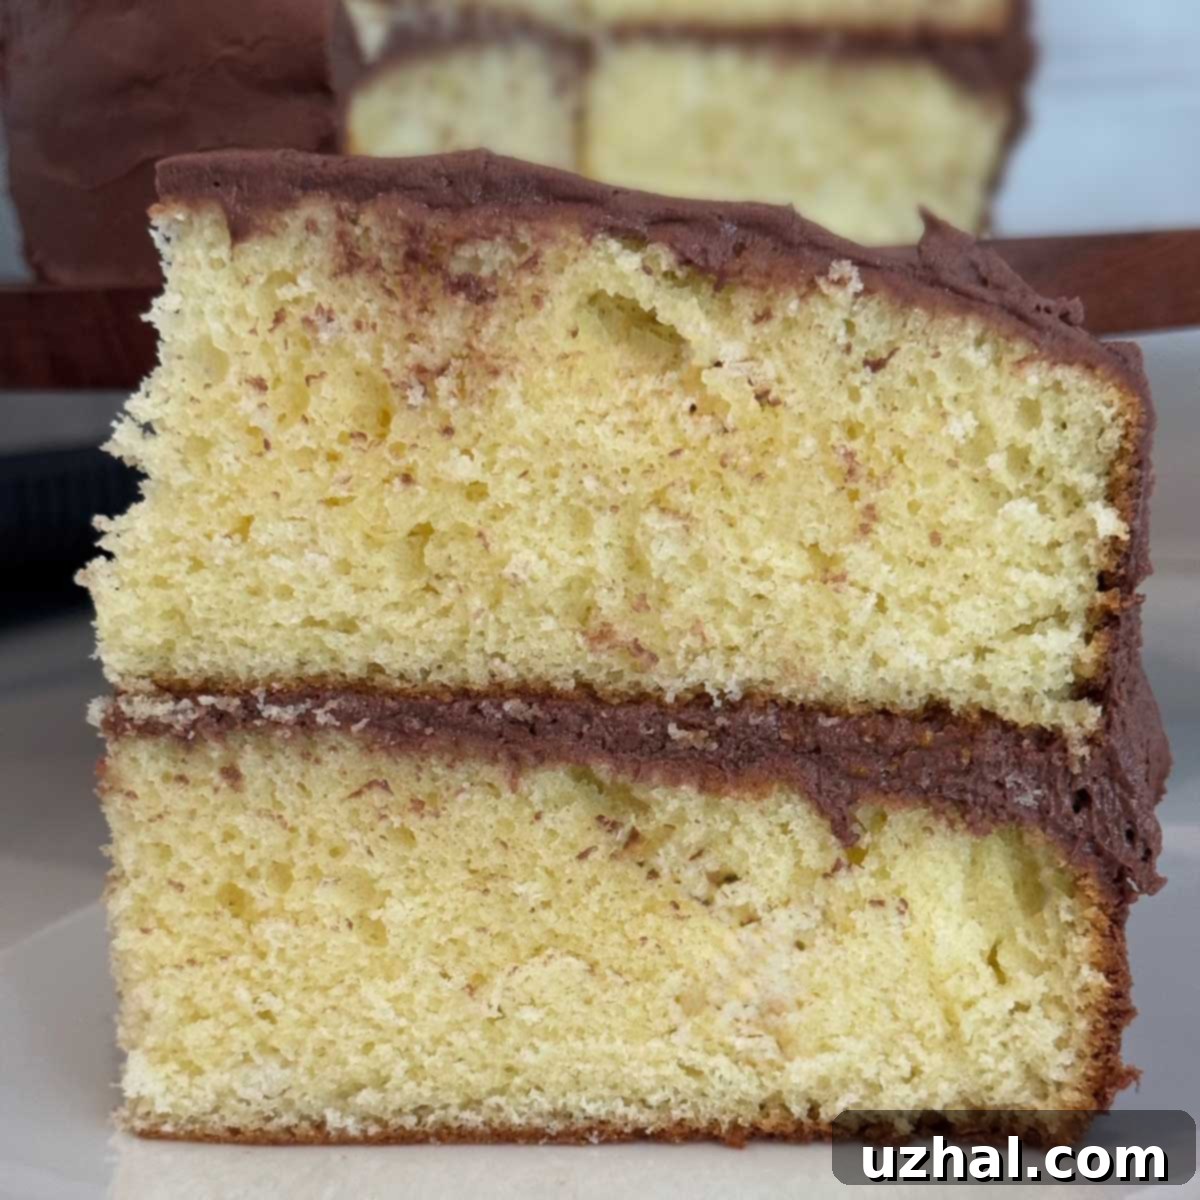
For a clearer illustration, consider the difference between two batches I made. In an older photo (shown below), I used a full teaspoon of cake batter flavor and genuine liquid buttermilk, which resulted in a distinctly richer, darker yellow cake. In contrast, the more recent photo above features a cake made with only ½ teaspoon of cake batter flavor and powdered buttermilk. While both versions are delicious, I’ve found that using actual liquid buttermilk tends to yield a cake with a superior flavor and an even more tender crumb, contributing significantly to both the texture and the moistness. The fat content in real buttermilk often adds to the richness, and its acidity reacts beautifully with baking powder to create a light, airy structure. Beyond specific flavorings, the inclusion of extra egg yolks in the recipe further contributes to the cake’s luscious yellow color and enriches its overall flavor profile, lending a luxurious, custardy note that defines a truly exceptional yellow cake.
The Essential Role of a Stand Mixer in Elevating Your Baking
While many wonderful yellow cake recipes exist that can be whipped up with nothing more than a bowl and a spoon, this particular recipe, utilizing the precise two-stage method, truly thrives with the power and consistency of an electric mixer. And more specifically, for optimal results, a stand mixer equipped with both a paddle and a whisk attachment is highly recommended. The controlled speed and consistent beating action of a stand mixer are crucial for properly coating the dry ingredients with fat, incorporating liquids in stages, and achieving the smooth, aerated batter necessary for a fine-crumbed cake. A handheld electric mixer can work in a pinch, but you’ll find the process more labor-intensive and the results potentially less consistent.
For years, I hesitated to invest in a stand mixer, believing my trusty handheld mixer would suffice for all my baking endeavors. However, when I finally made the leap, the difference was astounding. My baking, especially cakes, improved tenfold. The hands-free operation allows for better control over ingredient additions and monitoring the batter’s consistency, leading to more consistent and superior results. Stand mixers are now available across a wide range of price points, making them more accessible than ever before. When selecting a model, consider its power, bowl capacity, and the types of attachments included. Beyond the mixer itself, I cannot stress enough the importance of having at least two mixing bowls. This was another rookie mistake I made, thinking one bowl would be perfectly adequate. Having a second bowl streamlines the process immensely, especially for recipes like this one where you’re whisking separate liquid ingredients before adding them to the dry mixture. It saves time, reduces cleanup steps, and allows for a more organized and enjoyable baking experience.
Essential Tips for Baking the Best Yellow Cake
Achieving a truly exceptional yellow cake involves more than just following the steps; it’s about understanding the nuances of the ingredients and techniques. These pro tips will help ensure your cake is nothing short of perfection, delivering that coveted moist, tender, and flavorful experience every time.
- Embrace Cake Flour for Superior Tenderness: This is arguably the most critical tip for a delicate yellow cake. Cake flour is milled from soft wheat and has a significantly lower protein content (around 7-9%) compared to all-purpose flour (10-12%). Protein is what forms gluten when mixed with liquid, and too much gluten can make your cake tough and chewy. Cake flour also weighs less per cup – typically about 4 oz (114 grams) compared to all-purpose flour, which can range from 125 to 140 grams. If you substitute 3 cups of all-purpose flour without adjusting the weight, you’ll be using a substantial amount more flour, leading to a dry and dense cake. Furthermore, cake flour is often bleached, which not only gives it a whiter appearance but also slightly alters its starch molecules, allowing them to absorb more liquid and fat, resulting in a softer, more velvety crumb. Using cake flour allows for more vigorous mixing (as in the two-stage method) without developing tough gluten strands.
- Discover the Magic of Cake Batter Flavor: This seemingly small addition can make a surprisingly big difference. Cake Batter Flavor isn’t just about adding a bit more yellow color; it imparts that unique, nostalgic, and often indescribable “bakery cake” taste that many of us associate with classic yellow cakes. It enhances the overall flavor profile, adding a subtle depth that makes the cake feel more complete and professional. It’s a fun secret ingredient that truly elevates the experience. You can find it at specialty baking stores or online.
- Boost Richness and Color with Extra Egg Yolks: Beyond the whole eggs, incorporating additional egg yolks into your batter serves a dual purpose. Firstly, egg yolks are rich in fat, which contributes significantly to the cake’s overall richness, moisture, and tender texture. The fat emulsifies beautifully into the batter, ensuring a smooth and luxurious mouthfeel. Secondly, egg yolks are the primary source of natural yellow color in the cake. Using extra yolks intensifies this golden hue, giving your yellow cake that vibrant, appetizing appearance without needing artificial food coloring. They also help create a softer, less crumbly texture, making each slice wonderfully smooth.
- Strategize with Butter and Shortening for the Perfect Balance: While butter provides unparalleled flavor, it can be quite expensive. To conserve butter without sacrificing quality, consider a blend of fats. This recipe suggests using one stick of unsalted butter (114 grams) combined with a half cup (96 grams) of shortening. This combination offers the best of both worlds: the rich, creamy flavor notes from the butter, and the excellent tenderizing properties and structural stability that shortening provides. Shortening, being 100% fat and having a higher melting point, helps create a softer, lighter cake with a more uniform crumb and can also contribute to a slightly taller rise. It’s a smart way to manage cost while optimizing texture.
- Harness the Power of Buttermilk (or its Clever Substitutes): Buttermilk is a secret weapon in many moist cake recipes. Its acidity reacts with baking soda (or baking powder, as in this recipe) to produce carbon dioxide, which gives the cake its lift and tender structure. More importantly, buttermilk contributes incredible moisture and a subtle tangy flavor that enhances the overall taste profile. If you don’t have liquid buttermilk on hand, don’t fret! You can easily create a “homemade buttermilk” substitute by mixing regular milk (whole milk works best) with an acid like lemon juice or white vinegar. For every 1 cup of milk, add 1 tablespoon of lemon juice or vinegar, stir, and let it sit for 5-10 minutes until it slightly curdles. Alternatively, powdered buttermilk is an excellent pantry staple. If using powdered buttermilk, simply mix the powder with your dry ingredients, and then use the equivalent amount of water as indicated on the powdered buttermilk package (or as specified in the recipe for liquid buttermilk) as part of your liquid additions. Always ensure your buttermilk (or substitute) is at room temperature for seamless incorporation into the batter.
- Large Yellow Cupcakes
- Last of the Yellow Cakes – Rich Yellow Cake
- Ultimate Yellow Cupcakes
- White Lily Butter Yellow Cupcakes
Recipe

Yellow Cake With Chocolate Frosting
Anna
Pin Recipe
Ingredients
- 4 large eggs at room temperature
- 2 large egg yolks
- 2 ½ teaspoons vanilla extract or use 2 teaspoons vanilla and a half teaspoon of yellow cake batter flavor
- 1 ¼ cups buttermilk, room temperature (280 grams)
- 3 cups cake flour (335 grams)
- 2 cups granulated sugar (395 grams)
- 4 ½ teaspoons baking powder
- ½ teaspoon salt
- 2 sticks unsalted butter, softened or you can use half shortening and half butter (230 grams) If using shortening, use 114 grams of butter and 96 grams shortening
Chocolate Frosting
- 1 stick salted butter, softened (114 grams)
- ⅛ teaspoon salt, plus a pinch more as needed
- 3 cups powdered sugar, sifted (320 grams)
- ⅔ cup cocoa powder, sifted
- ¾ teaspoon vanilla extract
- ⅓ cup whole milk
Instructions
-
Preheat your oven to 350° F (175° C). Prepare two 9×2-inch round cake pans by thoroughly greasing and flouring them. This helps prevent sticking and ensures a clean release of the baked cakes.
-
In a medium-sized bowl, whisk together the eggs, egg yolks, vanilla extract (and yellow cake batter flavor, if using), and ¼ cup of the buttermilk until well combined and uniform. Set this liquid mixture aside.
-
In the bowl of your stand mixer, fitted with the paddle attachment, combine the cake flour, granulated sugar, baking powder, and salt. Mix on low speed until all the dry ingredients are evenly combined and there are no visible clumps.
-
Add the softened unsalted butter (and shortening, if you’re using the butter-shortening combination for enhanced tenderness) to the flour mixture in the stand mixer. Continue to beat on a low speed with the paddle attachment until the butter fully coats the flour, creating a crumbly, sandy texture. This step is crucial for the two-stage method, as it prevents gluten overdevelopment.
-
With the mixer still running on a fairly low speed, slowly drizzle in 1 cup of the room-temperature buttermilk. Continue mixing until just combined.
-
Increase the mixer speed to medium. Gradually add the whisked egg mixture to the batter, incorporating it slowly. Stop periodically to scrape down the sides of the bowl with a spatula, ensuring all ingredients are fully incorporated. Once the egg mixture is fully integrated and the batter appears smooth, increase the mixer speed to medium-high and beat for an additional 30 seconds. This final beating helps to aerate the batter and ensures a smooth, uniform consistency, contributing to the cake’s fine crumb.
-
Divide the cake batter evenly between the two prepared pans, aiming for approximately 700 grams of batter in each pan for consistent baking. Spread the batter gently to create an even layer.
-
To help disperse any large air bubbles and prevent the formation of uneven pockets within the cake, gently tap each cake pan a few times on your counter. The objective here is not to eliminate all air, but rather to evenly distribute the air throughout the batter, promoting a more consistent and tender crumb structure.
-
Bake for 30 to 35 minutes, or until the cakes are golden brown and spring back lightly when gently touched in the center. An inserted wooden skewer or toothpick should come out clean. Allow the cakes to cool in their pans for 10 minutes before carefully inverting them onto a wire rack to cool completely. Ensure the cakes are entirely cool before frosting to prevent the frosting from melting.
Chocolate Frosting
-
Using the whisk attachment of your stand mixer, beat the softened salted butter on medium speed until it is light, fluffy, and creamy, which typically takes about 2-3 minutes.
-
Add 1 cup of the sifted powdered sugar along with the ⅛ teaspoon of salt to the butter. Beat again until this mixture is creamy and smooth. Then, add the remaining powdered sugar and approximately half of the whole milk. Beat on low speed, scraping down the sides of the bowl as needed, until the sugar is mostly incorporated but the mixture may still appear a bit lumpy.
-
Gradually add the sifted cocoa powder to the mixer bowl and mix on a low speed to avoid a cocoa cloud. Once combined, add the remaining whole milk and the vanilla extract. Increase the mixer speed to medium-high and beat the frosting until it is perfectly smooth, light, and fluffy. If the frosting is too thick, add more milk a teaspoon at a time; if too thin, add more sifted powdered sugar a tablespoon at a time.
-
Once your cakes are completely cool, evenly spread the decadent chocolate frosting over the tops and sides of the cake layers. Arrange the layers and frost to your desired aesthetic. Enjoy your homemade masterpiece!
Notes
