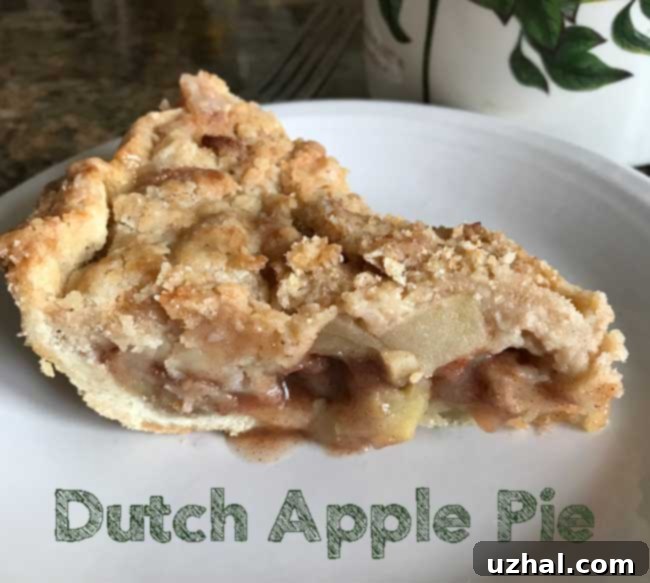
The Ultimate Homemade Dutch Apple Pie Recipe: A Crumbly, Sweet, and Perfectly Sliced Delight
For years, my go-to apple pie recipe was a cherished family favorite, a classic Cindy’s Mom’s Apple Pie that never failed to impress. I honestly hadn’t anticipated finding another Dutch Apple Pie recipe that would capture my heart and palate quite the same way. However, every now and then, a recipe comes along that is so exceptional, so effortlessly perfect, that it simply *must* be shared. This is one of those recipes – a game-changer in the world of apple desserts that I’m thrilled to introduce to you.
This particular Dutch Apple Pie, also known as Apple Crumb Pie, manages to strike an incredible balance between simplicity and spectacular results. It’s a pretty basic recipe at its core, but the way all the components—the buttery crust, the tender apple filling, and the irresistible crumb topping—come together is nothing short of magical. Beyond its superb flavor, one of the most remarkable aspects of this pie is its incredible ability to hold together, offering beautifully clean slices every single time. This is often a challenge with crumb-topped pies, but this recipe truly excels in maintaining its structure.
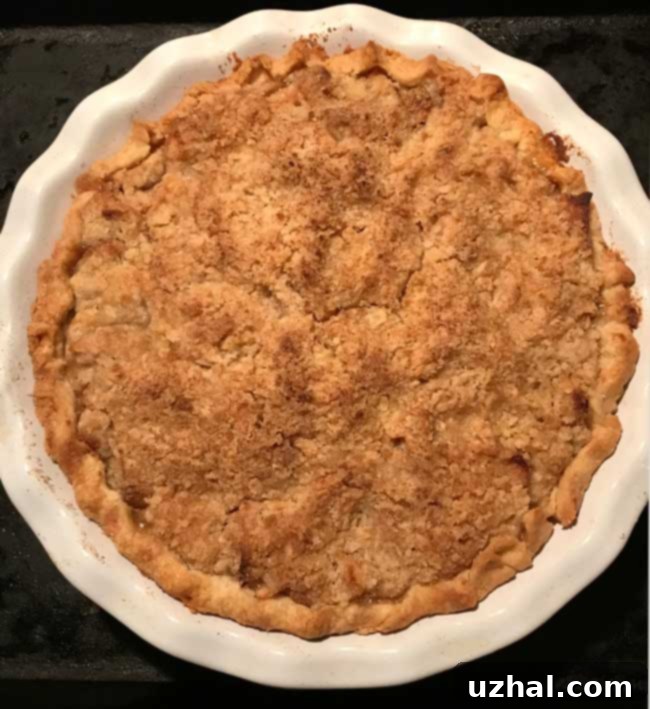
What sets a Dutch Apple Pie apart from its double-crust cousin is its signature crumb topping. Instead of a full pastry lid, a generous layer of buttery, sugary crumbs crowns the spiced apple filling, creating a delightful textural contrast. This recipe elevates that experience, delivering a topping that’s perfectly crisp yet tender, with just the right amount of sweetness to complement the tartness of the apples. You’ll find yourself reaching for a second slice, not just for the taste, but for the sheer joy of its balanced texture and flavor profile.
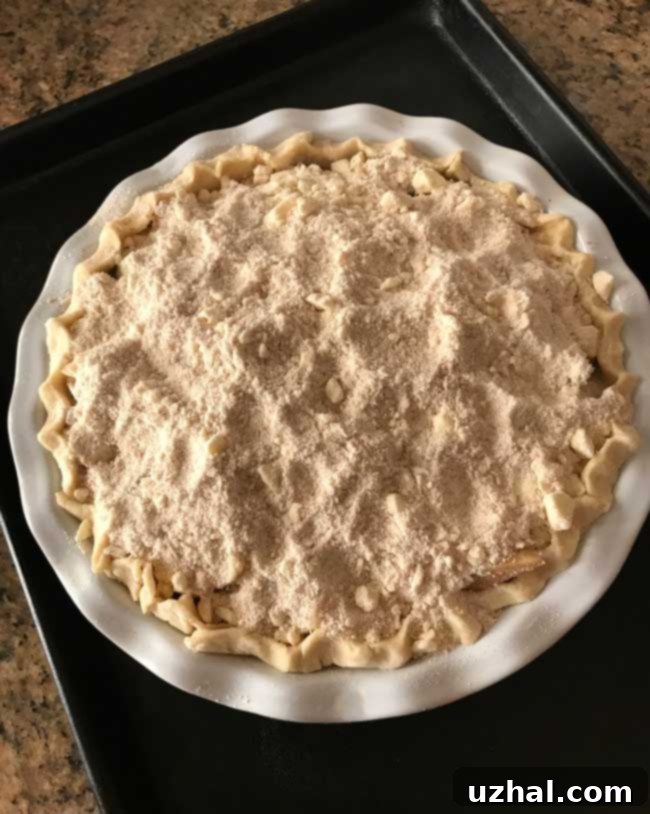
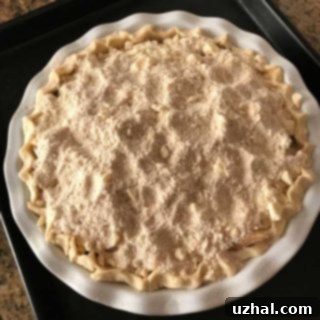
Before it even graces the oven, this pie promises deliciousness. Here’s a picture of it unbaked, showcasing the generous crumb topping nestled over the sliced apples, ready to transform into a golden-brown masterpiece.
Achieving Perfection: Slicing Your Dutch Apple Pie
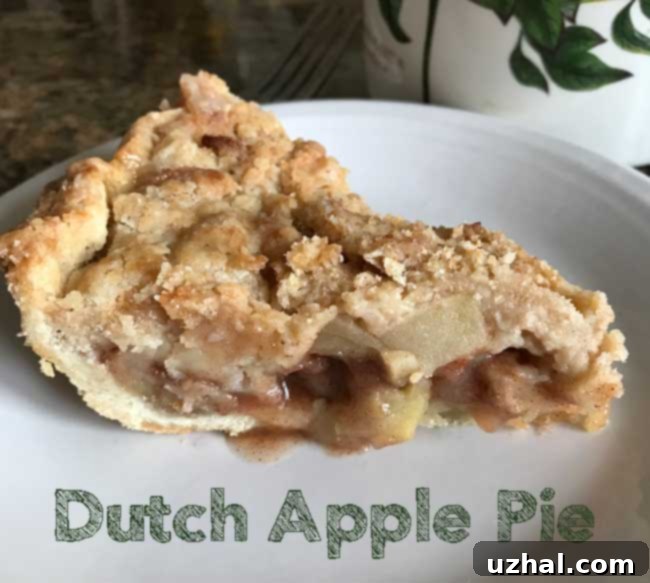
The true test of any pie, especially one with a crumb topping, is how it holds up when sliced. And here’s a picture of it sliced, demonstrating its impressive structural integrity. This photo was taken after the pie had cooled for several hours at room temperature, without any chilling whatsoever. I was honestly expecting it to fall apart, a common occurrence with many crumb-topped pies, and to be perfectly honest, I wouldn’t have minded much—the taste would still be heavenly! But its ability to maintain such clean, elegant slices was a truly pleasant surprise, making it ideal for entertaining or simply enjoying without a mess.
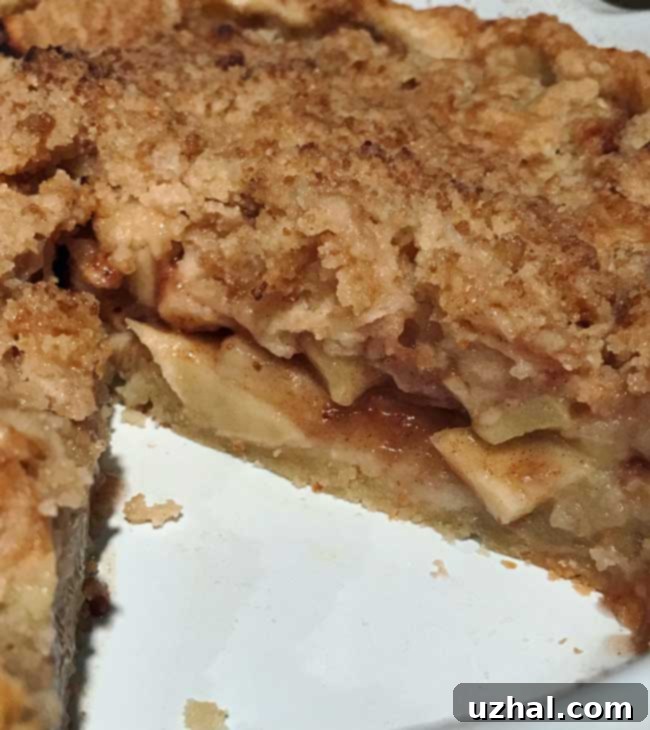
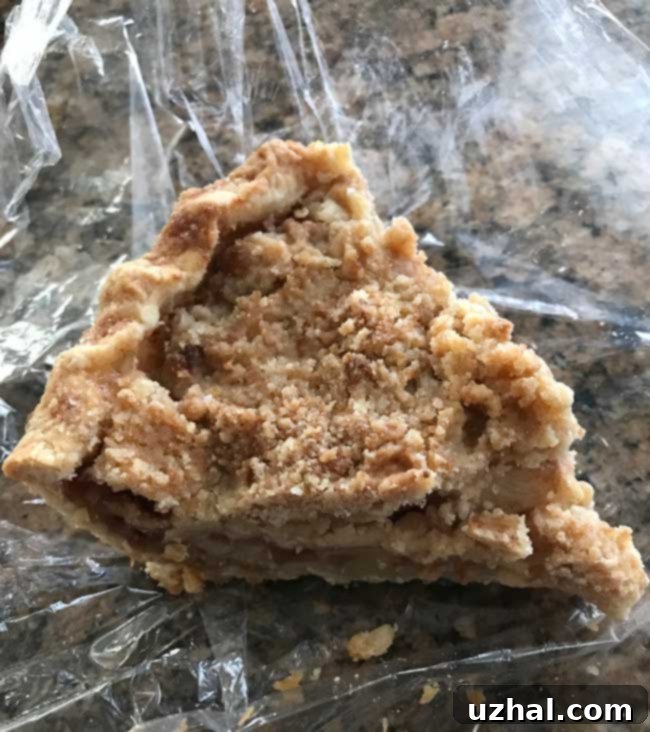
The pie’s remarkable stability isn’t just a one-day wonder. This homemade Dutch Apple Pie continues to impress even on subsequent days. Here’s another photo, captured on Day 2, still looking as inviting and perfectly structured as when it was first baked. This speaks volumes about the quality of the recipe and how well it keeps, ensuring that every leftover slice is just as delightful as the first. This durability makes it an excellent choice for meal prep or for those who like to bake ahead.
Tips for Effortless Pie Making and Delicious Results
One of the best kitchen companions for making this recipe is a food processor. It’s an absolute game-changer here because you can efficiently use the processor for creating both the flaky, tender pie crust and the perfectly textured crumb topping. This significantly cuts down on prep time and makes the entire process much more enjoyable, especially if you’re new to pie making or short on time.
Another invaluable tip for streamlining your baking experience? Delegate the apple peeling! This pie was particularly fun to make because my wonderful husband, Todd, graciously took over that job. Thanks, Todd! Having an extra set of hands for tasks like peeling and coring apples can turn what might feel like a chore into a collaborative and enjoyable kitchen adventure. If you don’t have a human helper, a good apple peeler tool can also be a lifesaver.
Choosing the right apples is crucial for a great Dutch Apple Pie. A mix of tart Granny Smith apples with a slightly sweeter, softer apple like Macintosh creates a complex flavor profile and texture that prevents the pie from being overly sweet or mushy. The Granny Smiths hold their shape well and provide a zesty counterpoint to the rich crumb, while the Macintosh apples soften beautifully and contribute to a luscious filling. Don’t be afraid to experiment with other baking apples like Honeycrisp, Braeburn, or Jonagold, but always aim for a balance of tart and sweet, firm and tender.
This Dutch Apple Pie is definitely a recipe I’ll be making again and again. Its ease of preparation, combined with its exceptional taste and impressive stability, makes it a true winner. For now, I’m wrapping the leftover slices individually and freezing them, which is a fantastic way to ensure you always have a delightful treat on hand for an unexpected craving or a quick dessert. Simply thaw and warm gently for a taste of homemade goodness whenever you desire.
Baking a perfect pie requires a few key techniques. When making the all-butter pie crust, remember that cold butter is your best friend. It creates pockets of steam in the oven, leading to a wonderfully flaky texture. Don’t overwork the dough; a light hand ensures tenderness. For the crumb topping, pulsing in the food processor creates perfectly uniform crumbs without overmixing, which can result in a tough texture. Always bake your pie on a rimmed baking sheet to catch any potential drips, which not only keeps your oven clean but also prevents burning.
Once baked, the cooling process is just as important as the baking itself. Allowing the pie to cool for several hours gives the filling time to set properly, preventing a runny slice. The wait can be agonizing, but it’s essential for that picture-perfect, stable slice that this recipe delivers. Serve your warm or room-temperature Dutch Apple Pie with a scoop of vanilla bean ice cream, a dollop of freshly whipped cream, or simply on its own. It’s a dessert that needs no embellishment to shine.
This recipe truly captures the essence of classic American comfort food with a delightful Dutch twist. It’s approachable for bakers of all skill levels, and the results are consistently outstanding. Whether you’re baking for a holiday gathering, a family dinner, or just a treat for yourself, this Dutch Apple Pie promises to be a memorable and much-loved addition to your recipe repertoire. Its unique combination of a perfectly crisp crust, a tender, spiced apple filling, and a sweet, buttery crumb topping makes it an irresistible dessert that you’ll be proud to share.
- Double Chocolate Apple Butter Bread
- Chocolate Apple Butter Muffins
- Apple Pie Muffins
- Easy Apple Muffin Mix Cookies
- Whole Wheat Apple Bread
Recipe
Dutch Apple Pie
Cookie Madness
Pin Recipe
Ingredients
All Butter Pie Crust
- 1 ¼ cups 5.8 oz/160 grams of all-purpose flour (weigh for best results)
- 1 ½ teaspoons granulated sugar
- ½ teaspoon salt — use ⅛ if using salted butter.
- 8 tablespoons 114 grams very cold unsalted butter, cut into chunks
- 4-6 tablespoons of ice cold water or as needed
Filling
- ½ cup sugar 98 grams
- 1 teaspoon cinnamon
- 2 tablespoon all-purpose flour
- 5-6 cups sliced apples mix of Granny Smith and Macintosh**
- 2 T. lemon juice
Crumb topping
- ¼ cup packed brown sugar 50 grams
- ¼ cup granulated sugar 50 grams
- 1 pinch of salt (omit if using salted butter
- 1 cup all-purpose flour 135 grams
- 1 stick 114 grams very cold butter, unsalted
Instructions
-
Put flour, sugar and salt in the bowl of a food processor and pulse to mix. Add butter and pulse until mixture is coarse.
-
Add ¼ cup of water and pulse just until moistened, then add water 1 T. at a time and pulse just until mixture holds together when pinched.
-
Dump the crumbly mixture onto a pastry mat and bring it all together, pressing it into a flat mass. Roll it over on itself, pressing into a block, then wrap tightly and chill for an hour or until ready to use.
-
Set the chilled pastry on a floured pastry mat. Cover with a sheet of plastic wrap and bang with a rolling pin to flatten it into a circle. Roll into a large (12 inch) circle. Transfer to a 9 inch pie dish.
-
Preheat the oven to 400 degrees. Mix sugar, cinnamon and flour. Toss apples with lemon juice and sugar mixture. Transfer filling to unbaked pie shell and set it on a rimmed baking sheet.
-
Prepare topping. Put both sugars, salt and flour in a food processor. Add chunks of butter and pulse until crumbly. Sprinkle over apples.
-
Set pie on a baking sheet and bake for 45-50 minutes or until golden. Let cool for several hours before serving.
Notes
