The Ultimate Peppermint Ice Cream Cake Roll Recipe: A Festive & Easy Dessert
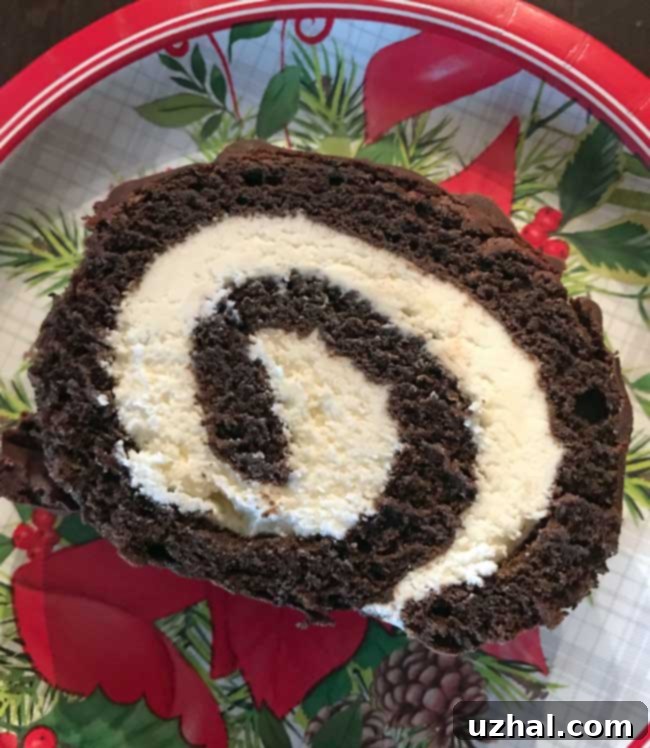
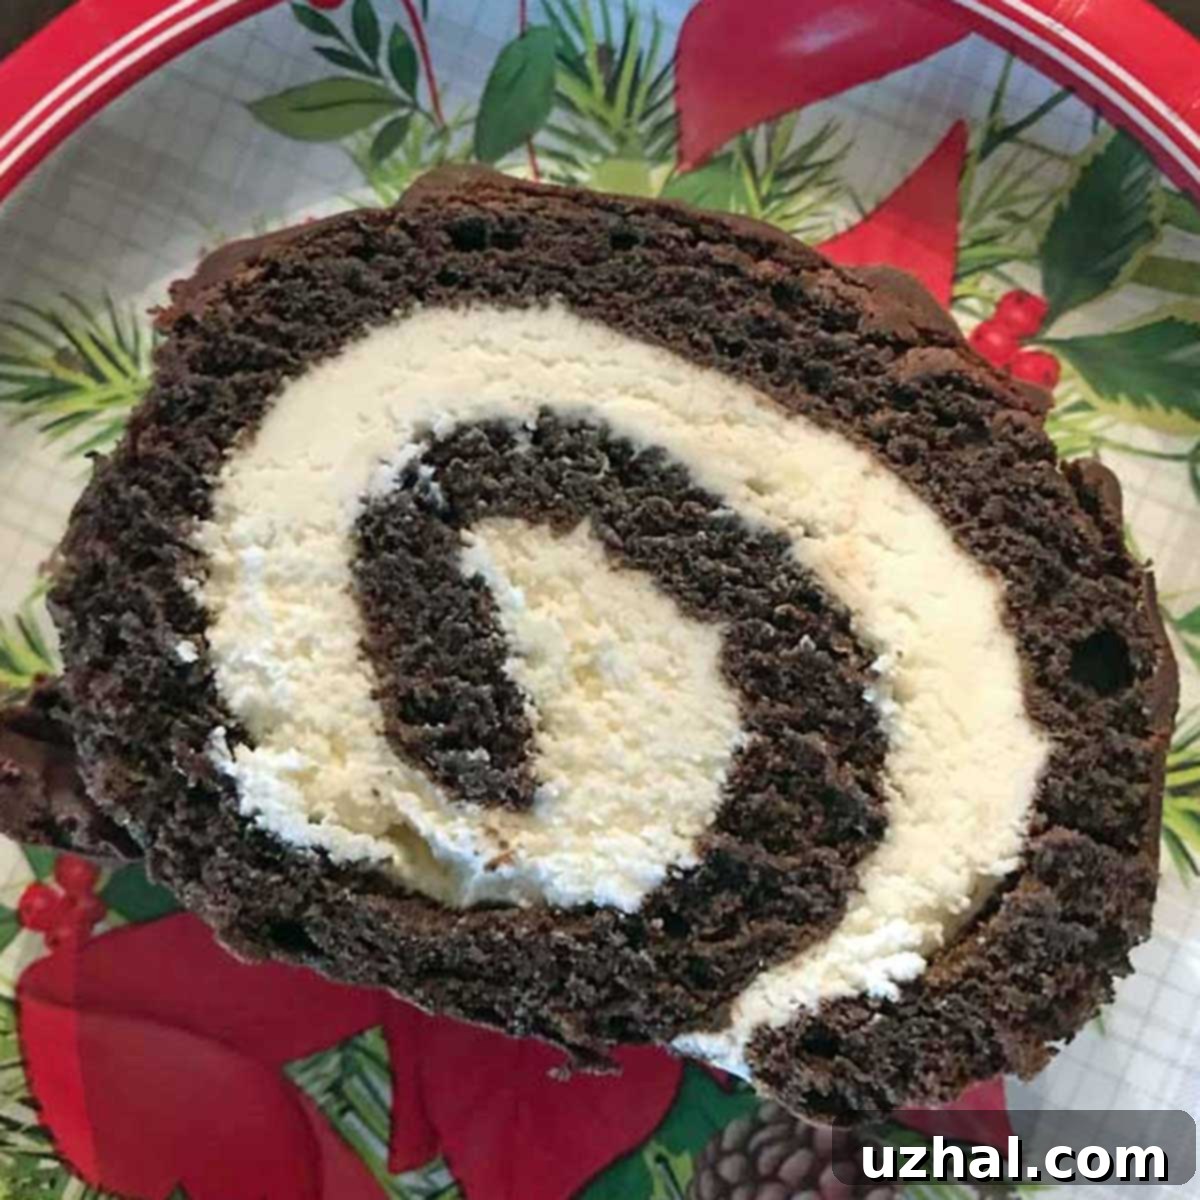
Prepare to delight your taste buds with this incredible Peppermint Ice Cream Cake Roll! This recipe is a cherished adaptation of a classic I discovered years ago in Redbook Magazine, transforming it into an even more exciting dessert experience. While my photographic skills might not always capture its full splendor, rest assured, this cake is an absolute showstopper. What makes this version truly special is its unique filling: instead of the traditional whipped cream, we’re using creamy, dreamy ice cream, elevating it to an irresistible frozen treat perfect for any celebration, especially during the holidays.

A Festive Twist on a Classic Cake Roll
Cake rolls, often referred to as jelly rolls, are a dessert marvel. They combine a tender, airy cake with a luscious filling, all elegantly rolled into a log. They look impressive but are surprisingly approachable to make. Our Peppermint Ice Cream Cake Roll takes this concept to the next level by incorporating a frozen element, making it a refreshing and vibrant choice.
The original Redbook recipe served as a fantastic starting point, and while my version doesn’t stray too far from its brilliance, I’ve added a few personal touches to perfect the experience. For the ice cream filling, I’ve opted for a simple yet effective method: rich vanilla ice cream generously stirred with crushed peppermints. This creates a delightful contrast of creamy and crunchy textures with a burst of cool minty flavor that perfectly complements the rich chocolate cake.
However, the beauty of adaptation is flexibility! If you’re looking to simplify or explore other flavor profiles, feel free to use a pre-made peppermint-flavored ice cream. Or, for an extra layer of decadence, imagine the cool, refreshing notes of mint chocolate chip ice cream swirling within that tender chocolate sponge. The possibilities are endless, but the core combination of chocolate and peppermint remains a timeless, irresistible pairing, especially popular during the festive season.
Why an Ice Cream Cake Roll is a Game-Changer
You might be wondering why choose ice cream over a traditional whipped cream or buttercream filling. The answer lies in the delightful textural and temperature contrast. A frozen ice cream filling offers a cool, smooth, and refreshing counterpoint to the soft, room-temperature cake. As the cake roll chills, the ice cream becomes firm, allowing for clean slices and a truly unique dessert experience. It’s particularly fantastic for make-ahead convenience, as it needs to freeze overnight, taking the stress out of last-minute holiday preparations.
Related Peppermint and Holiday Treats
If you’re a fan of peppermint and other festive flavors, you might also enjoy these complementary recipes:
- Peanut Butter Blondies from Redbook
- Frozen Peppermint Cream Pie
- White Chocolate Peppermint Pistachio Bars
- Milk Chocolate Peppermint Ice Cream Crunch Cake
- Peppermint Ice Cream Cake and Eagle Brand Condensed Milk
Recipe

Peppermint Cake Roll
Anna
Pin Recipe
20 minutes
12 minutes
32 minutes
Ingredients
- ½ cup cake flour (55 grams – ensures a tender, light cake)
- ⅓ cup unsweetened cocoa powder (32 grams – for a rich chocolate flavor)
- ¾ teaspoon baking powder
- ¼ teaspoon salt (to balance the sweetness and enhance flavors)
- 5 large eggs (separated and at room temperature – crucial for meringue and emulsification)
- ¾ cup granulated sugar (divided use, 150 grams total – ½ cup for egg whites, ¼ cup for egg yolks)
- 1 ½ teaspoon vanilla extract
- 2 tablespoons confectioners’ sugar for dusting (prevents sticking during rolling)
Filling:
- 4 cups vanilla ice cream (softened slightly for easy mixing)
- ¾ cup crushed peppermints (candy canes or peppermint candies)
Glaze:
- ½ cup heavy cream
- 2 tablespoon dark corn syrup (adds shine and prevents crystallization)
- 6 ounce bittersweet or semisweet chocolate (chopped for faster melting)
- 1 teaspoon vanilla extract
- Garnish with melted white chocolate if desired (for an elegant decorative touch)
Instructions
-
Prepare Your Pan: Preheat your oven to 400 degrees F (200 degrees C). This ensures the oven is at the correct temperature for even baking. Lightly spray a 15 ½ x 10 ½ x 1-inch jelly-roll pan with cooking spray. This initial spray helps the parchment paper adhere. Then, line the pan with parchment paper, allowing an overhang on the longer sides for easy lifting. Crucially, spray the parchment paper with more cooking spray. This double-layer of non-stick preparation is essential to prevent the delicate cake from sticking, which can cause it to tear during the rolling process.
-
Combine Dry Ingredients: In a small bowl, thoroughly whisk together the cake flour, unsweetened cocoa powder, baking powder, and salt. Whisking ensures all ingredients are evenly distributed and aerated, preventing pockets of leavening agents or lumps in the final cake batter. Set this mixture aside.
-
Whip Egg Whites (Meringue): In the bowl of a stand mixer fitted with the whisk attachment, begin beating the room-temperature egg whites on medium speed until they become foamy. Gradually, a tablespoon at a time, beat in ½ cup (100 grams) of the granulated sugar. Increase the speed to high and continue beating until stiff, glossy peaks form. It’s important that the peaks are stiff but not dry or crumbly, which would make them difficult to fold. Overbeaten egg whites can result in a dry cake. If you don’t have a stand mixer, a handheld electric mixer will also work effectively for this step; just be patient. Set the meringue aside.
-
Prepare Egg Yolks and Combine: In a separate mixing bowl, using a handheld mixer, beat the egg yolks with the remaining ¼ cup of granulated sugar and the vanilla extract. Beat until the mixture is thick, pale yellow, and ribbons fall slowly when the beaters are lifted, which usually takes about 2 minutes. This step creates an emulsification that adds richness and moisture to the cake. Gently add the prepared dry flour mixture to the egg yolk mixture. Using a spoon or rubber scraper, stir until just blended. Do not overmix, as this can develop the gluten in the flour, leading to a tough cake.
-
Fold in Egg Whites and Bake: To lighten the batter, carefully fold about ¼ of the beaten egg whites into the egg yolk and flour mixture using a rubber scraper. This makes the batter easier to work with without deflating the remaining meringue. Then, gently fold in the remaining egg whites in three equal parts, using a delicate, upward motion to incorporate them without losing too much air. The goal is a light, airy batter. Spread this batter evenly into your prepared jelly-roll pan, smoothing the top with the scraper. Bake for 10-12 minutes, or until the top springs back when gently pressed. Overbaking will make the cake dry and prone to cracking. Let the cake cool on a wire rack for precisely 2 minutes. Immediately after, generously sift confectioners’ sugar over the entire warm cake. This sugar helps prevent the cake from sticking to the towel and adds a hint of sweetness.
-
Prepare for Rolling: Lay a clean, lint-free dish towel (or a piece of parchment paper larger than the cake) over the confectioners’ sugar-dusted cake. Then, place another large, flat cookie sheet or cutting board over the dish towel. With a quick and confident motion, flip the entire assembly so the cake is now resting on the dish towel/parchment. Carefully and slowly peel off the parchment paper that was lining the baking pan from the back of the cake. If any cake sticks, use a thin spatula to gently loosen it.
-
Roll the Cake: Starting from one of the shorter ends of the cake, carefully and tightly roll up the cake along with the dish towel. Roll it gently but firmly to create a compact log. Place the rolled cake (still in its towel) seam-side down on a wire rack and allow it to cool completely to room temperature. This gradual cooling in the rolled shape “trains” the cake to hold its form, making it less likely to crack when you unroll it later for the filling.
-
Fill and Freeze: Once the cake has cooled completely, prepare your filling. In a medium bowl, mix the softened vanilla ice cream with the crushed peppermints until they are well combined. The ice cream should be soft enough to spread but not completely melted. Gently unroll the cooled cake. Spread the peppermint ice cream mixture evenly over the entire surface of the cake, leaving a small border around the edges. Carefully re-roll the cake, this time without the towel. Wrap the filled cake roll tightly in nonstick foil or plastic wrap, ensuring the seam side is down. Freeze overnight, or for at least 6-8 hours, until the ice cream filling is completely firm. This step is crucial for the cake to hold its shape when sliced.
-
Prepare the Glaze: About an hour before serving, prepare the rich chocolate glaze. In a small saucepan, combine the heavy cream, chopped bittersweet or semisweet chocolate, and dark corn syrup. Heat over low heat, stirring constantly, until the chocolate is fully melted and the glaze is smooth and shiny. This usually takes only 1 to 2 minutes. Remove from heat and stir in the vanilla extract. Allow the glaze to cool to room temperature. It should thicken slightly but still be pourable. If it’s too warm, it will melt the ice cream; if too cool, it will be too thick to spread.
-
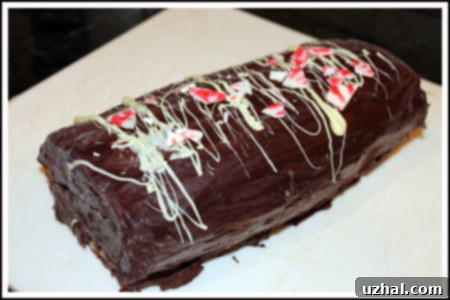
Glaze and Serve: Unwrap the frozen cake roll. Use a sharp, serrated knife to carefully trim about ½ inch off each end of the cake. This creates a clean, professional look and reveals the beautiful swirl of the filling. Place the cake on a wire rack set over a piece of waxed paper or parchment paper (to catch any drips). Pour the cooled chocolate glaze evenly along the top of the cake roll, using a spatula or offset knife to gently spread it down the sides, ensuring full coverage. If desired, garnish with additional chopped peppermint or a drizzle of melted white chocolate for an elegant finish. Allow the glaze to set for about 15-20 minutes, either at room temperature or briefly in the refrigerator, before slicing and serving. Enjoy your stunning Peppermint Ice Cream Cake Roll!
Tips for a Perfect Peppermint Cake Roll
- Room Temperature Eggs: This is crucial for both the egg whites to whip properly into a stable meringue and for the egg yolks to emulsify effectively with sugar, creating a smooth, rich base.
- Don’t Overbake: Cake rolls are delicate. Overbaking will dry out the cake, making it brittle and prone to cracking when rolled. Look for the “springs back when gently pressed” cue.
- Gentle Folding: When incorporating the egg whites into the yolk mixture, use a light hand and a folding technique (cutting down through the center and sweeping up the side of the bowl) to preserve as much air as possible. This is what gives the cake its signature light texture.
- Proper Cooling & Rolling: Rolling the warm cake in a towel while it cools is essential. This “trains” the cake to hold its shape. Don’t skip the confectioners’ sugar dusting, as it prevents sticking.
- Softened Ice Cream: Ensure your ice cream is softened just enough to be spreadable and mixable with the peppermints, but not melted. If it melts too much, it will be messy and difficult to roll.
- Sharp Knife for Trimming: A sharp, serrated knife will give you clean, professional-looking cuts when trimming the ends and slicing the cake.
Serving and Storage Suggestions
This Peppermint Ice Cream Cake Roll is best served chilled. After the glaze has set, you can keep it in the freezer until about 15-20 minutes before serving. This allows it to soften slightly, making it easier to slice but still maintaining its refreshing, firm texture. Use a hot, dry knife (wiped clean between slices) for the cleanest cuts.
Store any leftover cake roll tightly wrapped in nonstick foil or plastic wrap in the freezer for up to 2-3 weeks. For optimal freshness and texture, it’s best consumed within a week. While it technically stores longer, the ice cream texture can sometimes become icier over extended periods in the freezer.
Embrace the Holiday Spirit with Peppermint!
There’s something undeniably festive about the combination of chocolate and peppermint. This Peppermint Ice Cream Cake Roll perfectly embodies the spirit of the holidays, offering a delightful blend of rich cocoa, cool mint, and creamy indulgence. It’s a dessert that not only tastes incredible but also looks spectacular, making it an ideal centerpiece for your holiday table or a memorable treat for any special occasion. Whether you’re a seasoned baker or new to cake rolls, this recipe provides clear steps to guide you to a truly rewarding culinary creation. Don’t be intimidated by the rolling; with a little care and practice, you’ll master it in no time!
