Irresistible Mini Muffin Pan Peanut Butter Cup Cookies: Your New Favorite Treat
There’s something uniquely charming about miniature desserts, and these Muffin Pan Peanut Butter Cup Cookies are no exception. For far too long, I shied away from making these delightful bites due to a frustrating experience with an old mini muffin pan. It was a dark, non-stick (or rather, *stick-everything*) nightmare that baked everything too quickly and unevenly. The joy of creating small, perfectly portioned treats was constantly overshadowed by the agony of extraction and cleanup.
However, a recent acquisition of a new, high-quality silicone mini muffin pan has completely revitalized my passion for baking in miniature. This game-changing kitchen tool effortlessly releases baked goods, ensures even cooking, and makes cleanup a breeze. With this newfound enthusiasm, I’m thrilled to share one of my absolute favorite recipes that truly shines in a mini muffin pan: these incredibly addictive Peanut Butter Cup Cookies. They’re not just cookies; they’re a celebration of peanut butter and chocolate, perfectly designed for sharing and savoring.

What Makes These Cookies So Irresistible?
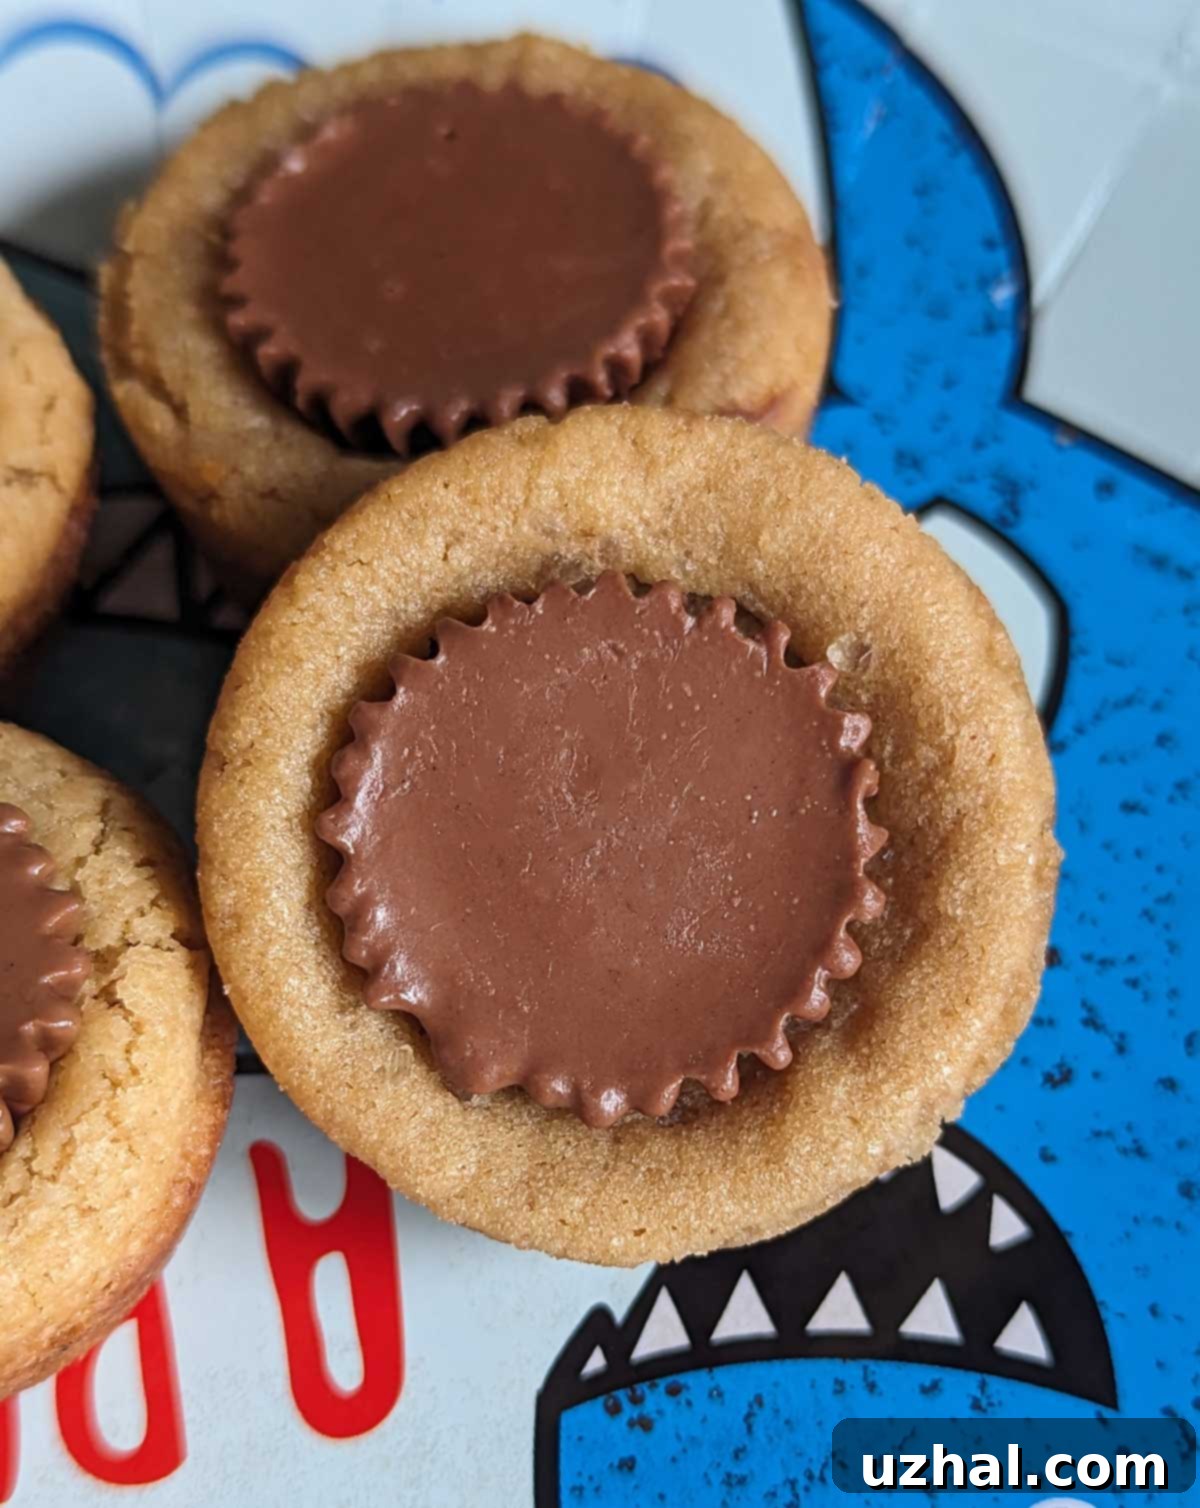
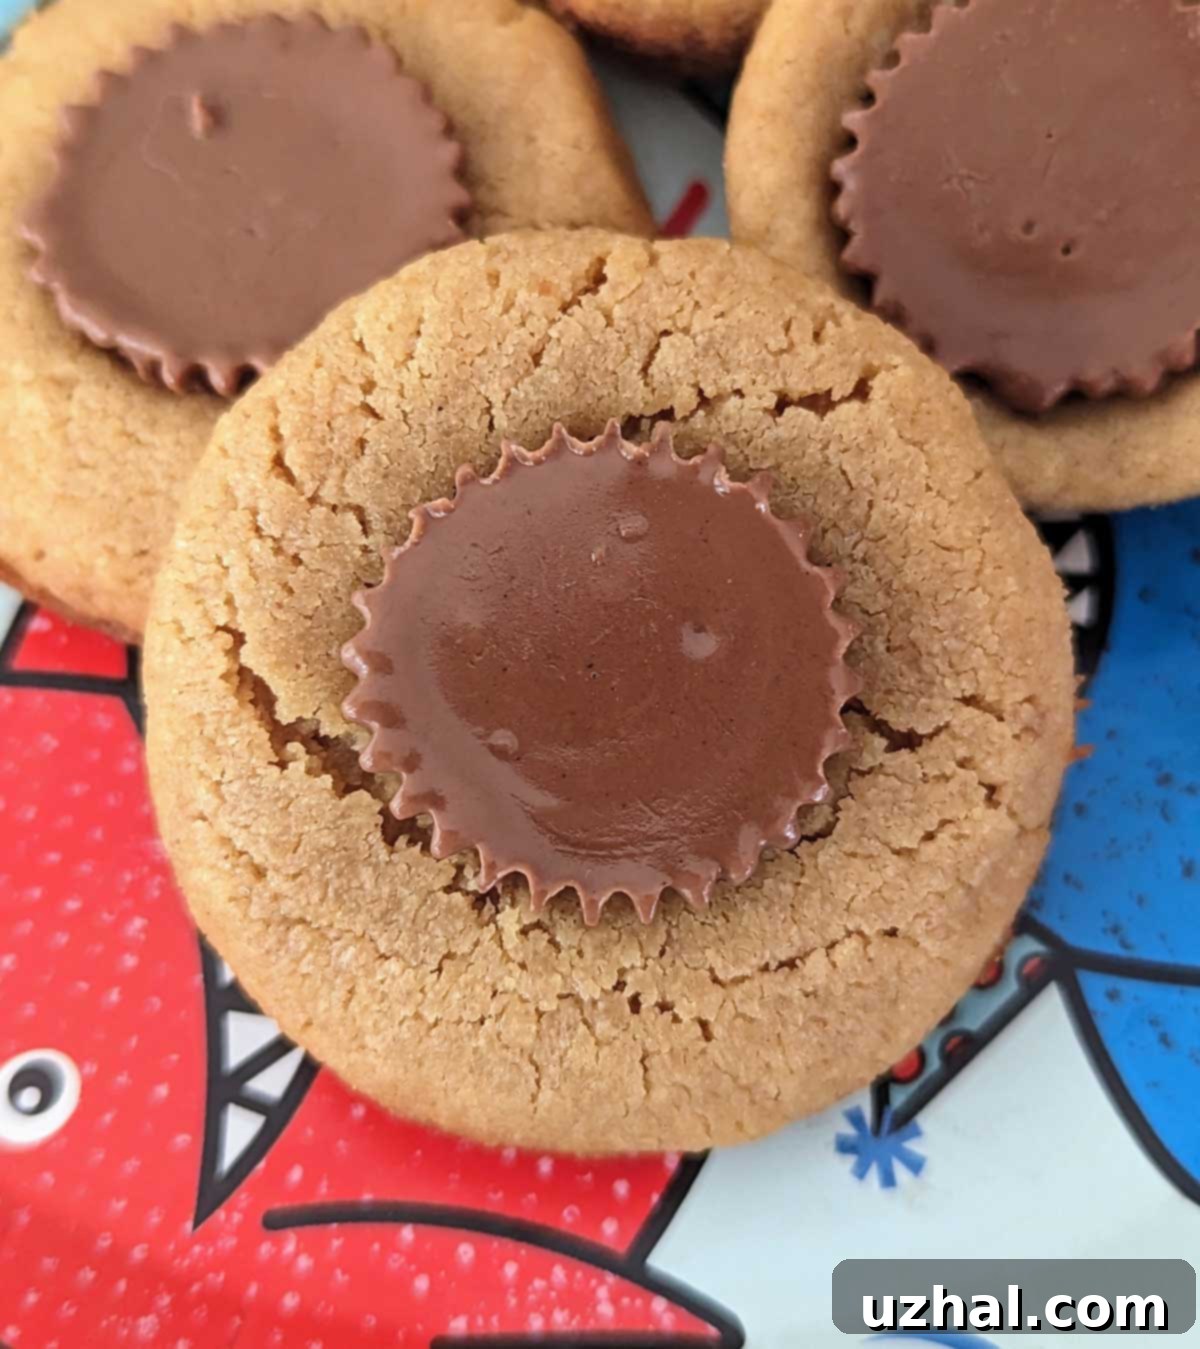
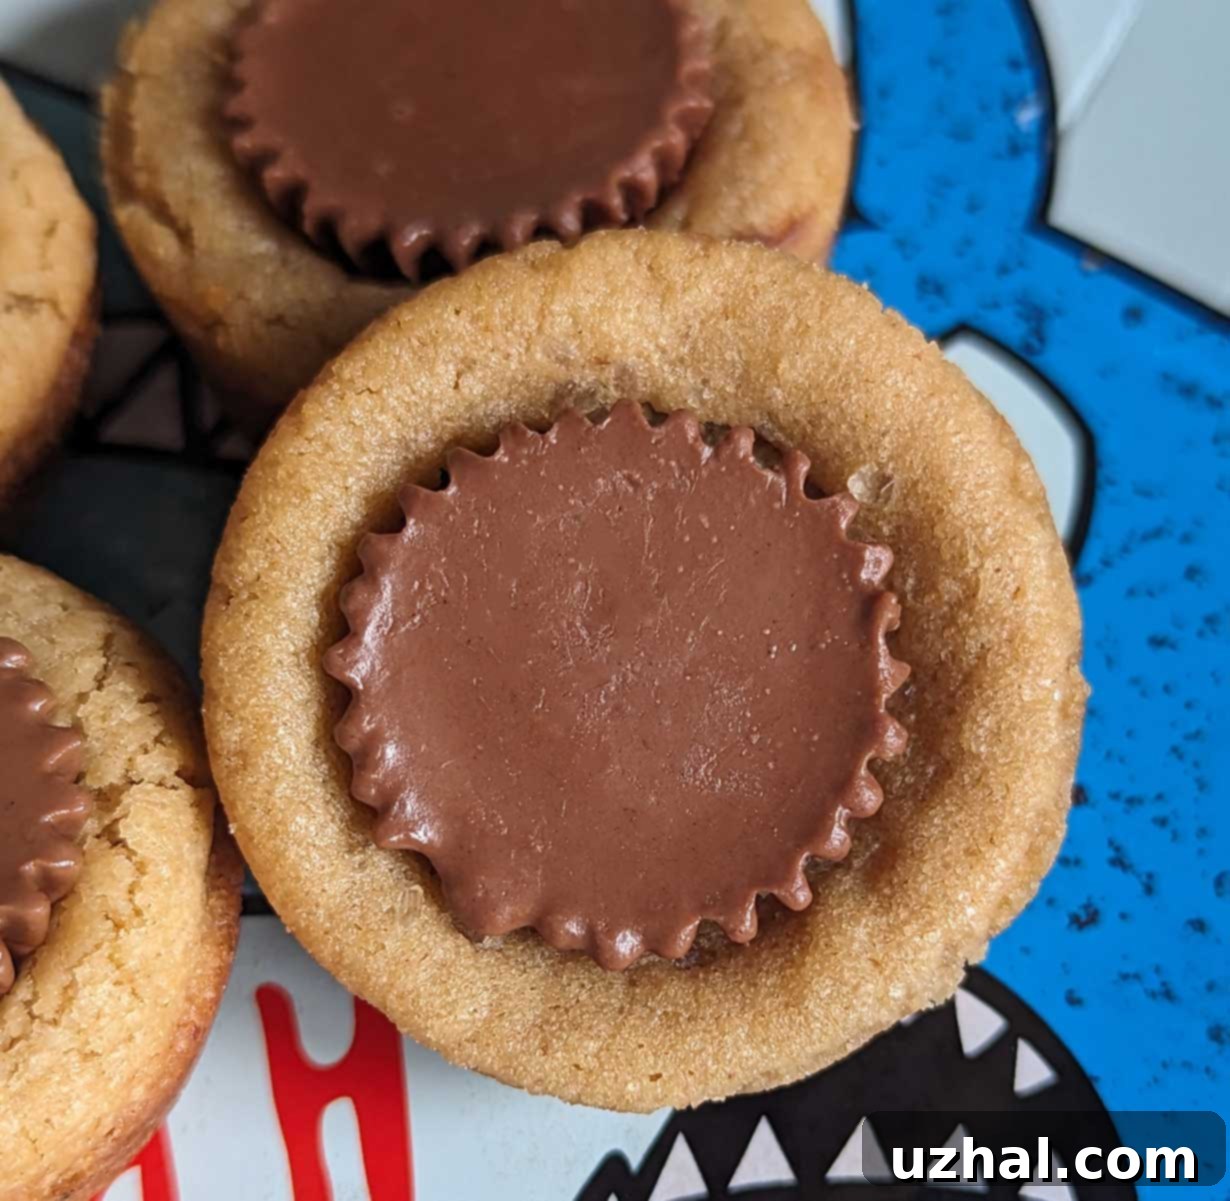
At their core, these cookies are a creative twist on the beloved Peanut Butter Blossoms, but with a few key enhancements that make them truly stand out. Instead of the traditional Hershey’s Kiss pressed into a flat cookie, we bake these peanut butter delights directly in a mini muffin tin and top them with miniature Reese’s Peanut Butter Cups. This clever method offers several advantages:
- Perfect Portioning: Each cookie is a consistent, bite-sized treat, making them ideal for parties, potlucks, or just a controlled indulgence.
- Easy Transport: Baking them in muffin cups makes them sturdier and less prone to crumbling, perfect for carrying to gatherings.
- Irresistible Flavor Combination: For peanut butter and chocolate enthusiasts, this cookie delivers the ultimate fusion. You get the rich, nutty flavor of a classic peanut butter cookie perfectly complemented by the creamy, chocolatey goodness of a Reese’s Mini.
- The Best of Both Worlds: It’s like having a cookie and a piece of candy all in one delightful bite – a true crowd-pleaser that satisfies multiple cravings.
The muffin pan baking technique also gives them a unique shape and texture, with slightly crispy edges and a wonderfully soft center, creating a delightful contrast that’s hard to resist. They’re fun to make, even more fun to serve, and disappear quickly from any dessert table!
Our Signature Recipe for Perfection
When it comes to Mini Peanut Butter Cup Cookies, there are various recipes circulating, each with slightly different ingredient ratios. Many common versions call for a higher proportion of flour, typically around 1 ¾ cups for a standard batch. While these recipes can certainly yield good results, they often lead to a drier, more crumbly cookie texture.
We’ve fine-tuned our recipe to use less flour – specifically, 1 ¼ cups – which makes a significant difference in the final product. This adjustment results in cookies that are:
- Remarkably Softer: They emerge from the oven with an incredibly tender texture that practically melts in your mouth.
- Richer in Peanut Butter Flavor: With less flour to dilute the taste, the true essence of the peanut butter shines through, offering a more pronounced and satisfying nutty profile.
- Less Dry: Say goodbye to chalky cookies! Our version retains moisture, ensuring every bite is moist and flavorful.
It’s important to note that these softer cookies do require a bit more cooling time in the muffin pan to firm up before being transferred to a wire rack. This patience is well rewarded, as once fully cooled, they achieve a perfect, stable texture that’s still wonderfully tender without being fragile. We believe this careful balance of ingredients creates a superior cookie experience that you’ll want to bake again and again.
Choosing the Right Muffin Pan for Success
The type of muffin pan you use can significantly impact the outcome of your Mini Peanut Butter Cup Cookies. For the classic, perfectly rounded shape, you’ll want a mini muffin pan with wells or cavities that are approximately 0.7 inches deep. This depth allows the dough balls to spread just enough to create a substantial base for the Reese’s Minis, forming that iconic cup shape.
As mentioned earlier, my transition to a silicone mini muffin pan has been a game-changer. Unlike traditional dark metal pans that can sometimes lead to overbrowning or sticking, silicone offers even heat distribution and unparalleled non-stick properties, making it incredibly easy to pop out your perfectly baked cookies. If you’re using a metal mini muffin pan, make sure to grease it thoroughly to prevent sticking.
While mini muffin pans are ideal, you can also adapt this recipe for a regular-sized muffin tin to create slightly larger, flatter cookies. These might not have the same “cup” aesthetic, but they’ll still be absolutely delicious. For regular-sized cookies, consider topping them with Reese’s Thins or even full-sized Reese’s Peanut Butter Cups for an even more decadent treat. Just be sure to adjust baking times slightly for the larger size.

Making Them Vegan: A Simple Switch
For those following a vegan diet or simply looking for an egg-free option, converting this Mini Muffin Pan Peanut Butter Cookie recipe is surprisingly straightforward. The traditional version calls for one large egg, but you can effortlessly replace it with ¼ cup of chickpea liquid, commonly known as aquafaba. Aquafaba, the viscous liquid from canned chickpeas, acts as a fantastic binder and leavening agent in many vegan baking applications, replicating the function of eggs beautifully.
Another excellent egg substitute that would likely work well here is a flax egg (1 tablespoon ground flaxseed mixed with 3 tablespoons water, allowed to sit for 5 minutes until gel-like). For a completely vegan cookie, you’ll also need to substitute the unsalted butter with a high-quality vegan margarine. Brands like Earth Balance are widely available and perform exceptionally well in baking, offering a similar texture and flavor profile to traditional butter. Just ensure the vegan margarine you choose is suitable for baking to achieve the best results.
With these simple substitutions, everyone can enjoy these delightful peanut butter cup cookies, regardless of dietary preferences.
Quick & Easy: The Refrigerated Dough Option
We understand that sometimes, time is of the essence, and you need a delicious treat without the fuss of baking from scratch. If you find yourself in that position, opting for refrigerated peanut butter cookie dough is an excellent shortcut for these muffin pan treats. Of all the pre-made cookie dough varieties, peanut butter dough tends to be one of the most reliable and versatile for this type of cookie, often yielding a satisfying texture and flavor.
In fact, this method can open doors to new variations. One particularly memorable recipe from the past, Ronna Farley’s old Bake-Off Choco-Peanut Butter Cups, takes the refrigerated dough concept to an entirely new level. While my first attempt at Ronna’s recipe resulted in overfilled muffin cups (they were still incredibly tasty!), it highlighted the versatility of the base. Her unique take doesn’t call for Reese’s Minis but instead features a rich mixture of peanut butter and melted white chocolate chips, which is then topped with melted regular chocolate and a sprinkle of smashed granola bars for added texture and crunch. It’s a testament to how creative you can get with these muffin pan cookies, even starting with a convenience product. Don’t hesitate to experiment with different toppings and flavor combinations if you choose the refrigerated dough route!
Tips for Baking Perfect Peanut Butter Cup Cookies
Achieving bakery-quality mini peanut butter cup cookies at home is simpler than you might think with a few key tips:
- Measure Accurately: Especially with flour, precise measurements are crucial. Too much flour can lead to dry, crumbly cookies, while too little can make them spread too much. Using a kitchen scale for flour (170 grams) is the most accurate method.
- Softened Butter: Ensure your unsalted butter is genuinely softened, not melted. This allows it to cream properly with the sugars, creating a light and airy base for your dough.
- Don’t Overmix: Once you add the flour, mix until *just* combined. Overmixing develops the gluten in the flour, which can lead to tough cookies.
- Consistent Dough Balls: Use a small cookie scoop or roll the dough into uniform 1-inch balls. This ensures even baking and consistent cookie sizes.
- Patience with Cooling: As mentioned in the recipe, these cookies are softer when they first come out of the oven. Allowing them to cool in the muffin pan for at least 20 minutes is vital. This helps them set and firm up, making them much easier to remove without breaking.
- Unwrap Reese’s Ahead: Unwrap all 48 Reese’s Miniature Peanut Butter Cups before you start baking. You’ll need to press them into the hot cookies immediately after they come out of the oven, so having them ready will save you time and prevent the cookies from cooling too much.
Serving, Storage, and Variations
These mini cookies are incredibly versatile for serving. Arrange them on a platter for a party, pack them in lunchboxes, or enjoy them as an afternoon treat with coffee or milk. They’re particularly popular during holidays or special occasions due to their festive appearance and universal appeal.
To store any leftover cookies, place them in an airtight container at room temperature for up to 3-4 days. For longer storage, you can freeze them for up to 2-3 months. Thaw them at room temperature before serving. If you want to get creative, consider these variations:
- Chocolate Drizzle: After the Reese’s Minis have softened and cooled, drizzle a little melted chocolate (milk, dark, or white) over the top for an extra touch of decadence.
- Sprinkles: Add festive sprinkles to the warm, newly pressed Reese’s Minis for holiday-themed cookies.
- Different Toppings: Instead of Reese’s Minis, try other miniature candies like Snickers Minis, caramel bits, or even a dollop of Nutella (added after baking and cooling slightly).
- Salted Caramel: A tiny dollop of salted caramel sauce on top of the Reese’s before it sets would be an amazing addition.
- Mini Pumpkin Muffins
- Mini Banana Muffins
- Mini Chocolate Chip Cream Cake
- Butterscotch Mini Muffins
- Mini Loaf Pan or Bar Cookies
Recipe

Mini Muffin Pan Peanut Butter Cookies
Anna
Pin Recipe
Ingredients
- 1 stick unsalted butter, softened (114 grams)
- ½ cup light brown sugar, packed (100 grams)
- ½ cup granulated sugar (100 grams)
- ½ cup peanut butter, lightly sweetened type (130 grams)
- 1 large egg
- ½ teaspoon salt
- ¾ teaspoon baking soda
- ½ teaspoon vanilla extract
- 1 ¼ cups all-purpose flour (170 grams)
- 48 Miniature Reese’s Peanut Butter Cups, unwrapped
Instructions
-
Preheat oven to 350 degrees F (175 C). Prepare your mini muffin pan by greasing it lightly, or if using a silicone pan, no greasing is typically needed. Make sure all your Reese’s Minis are unwrapped and ready.
-
In a large bowl, cream together the softened butter, light brown sugar, and granulated sugar until light and fluffy. Beat in the peanut butter and egg until well combined. Scrape down the sides of the bowl, then beat in the salt, baking soda, and vanilla extract. Gradually add the all-purpose flour, mixing on low speed or stirring by hand until just blended and no dry streaks remain. Be careful not to overmix.
-
Shape the dough into 1-inch balls (about 25 grams each) or use a small cookie scoop to portion them evenly. Place each dough ball into a cavity of the mini muffin pan. There’s no need to press them down; they will spread perfectly on their own as they bake.
-
Bake for 10 to 12 minutes at 350°F (175°C), or until the edges are lightly golden and the centers are set but still soft. Immediately remove the pan from the oven and gently press one miniature Reese’s Peanut Butter Cup into the center of each hot cookie. Return the pan to the oven for an additional 1-2 minutes to allow the chocolate to slightly soften.
-
Allow the cookies to cool in the muffin pan for about 20 minutes. This crucial step helps them firm up and makes them easier to handle. Carefully loosen the edges with a thin knife or offset spatula, then transfer them to a wire rack to cool completely. The longer they cool, the firmer and easier they will be to remove and enjoy.
Notes
These cookies are perfect for freezing. For storage, place cooled cookies in an airtight container with wax paper between layers. Freeze for up to 2-3 months.
Conclusion
These Mini Muffin Pan Peanut Butter Cup Cookies are more than just a dessert; they’re a delightful experience waiting to happen. Whether you’re a seasoned baker or just starting out, this recipe offers a straightforward path to creating irresistible treats that will impress friends and family alike. With our carefully adjusted flour ratio, helpful tips for pan selection and baking, and versatile options for vegan or quick versions, you’re well-equipped to bake a batch of peanut butter perfection.
So, dust off your mini muffin pan (or invest in a shiny new silicone one!), gather your ingredients, and prepare to fall in love with these bite-sized wonders. They are the perfect embodiment of comfort, convenience, and pure deliciousness. Happy baking!
