Perfect Peanut Butter Slice and Bake Cookies: Your Ultimate Guide to Easy, Delicious, and Make-Ahead Treats
Are you searching for a reliable, delicious peanut butter cookie recipe that simplifies your baking process? Look no further! This incredible peanut butter slice and bake recipe delivers everything you could want in a classic cookie. The dough is designed to remain perfectly soft and pliable even when thoroughly chilled, making it effortless to slice into uniform rounds. Once baked, these cookies boast that quintessential peanut butter sweetness, a wonderfully crumbly yet tender texture, and the iconic “slice and bake” shape that’s so satisfying. An added bonus? This recipe is naturally egg-free and easily adaptable to be completely vegan – just swap in your favorite non-dairy milk. It’s perfect for busy bakers, meal preppers, or anyone who loves having homemade cookie dough on hand for a quick treat.
Choosing Your Fat: Shortening, Butter, or Brown Butter?
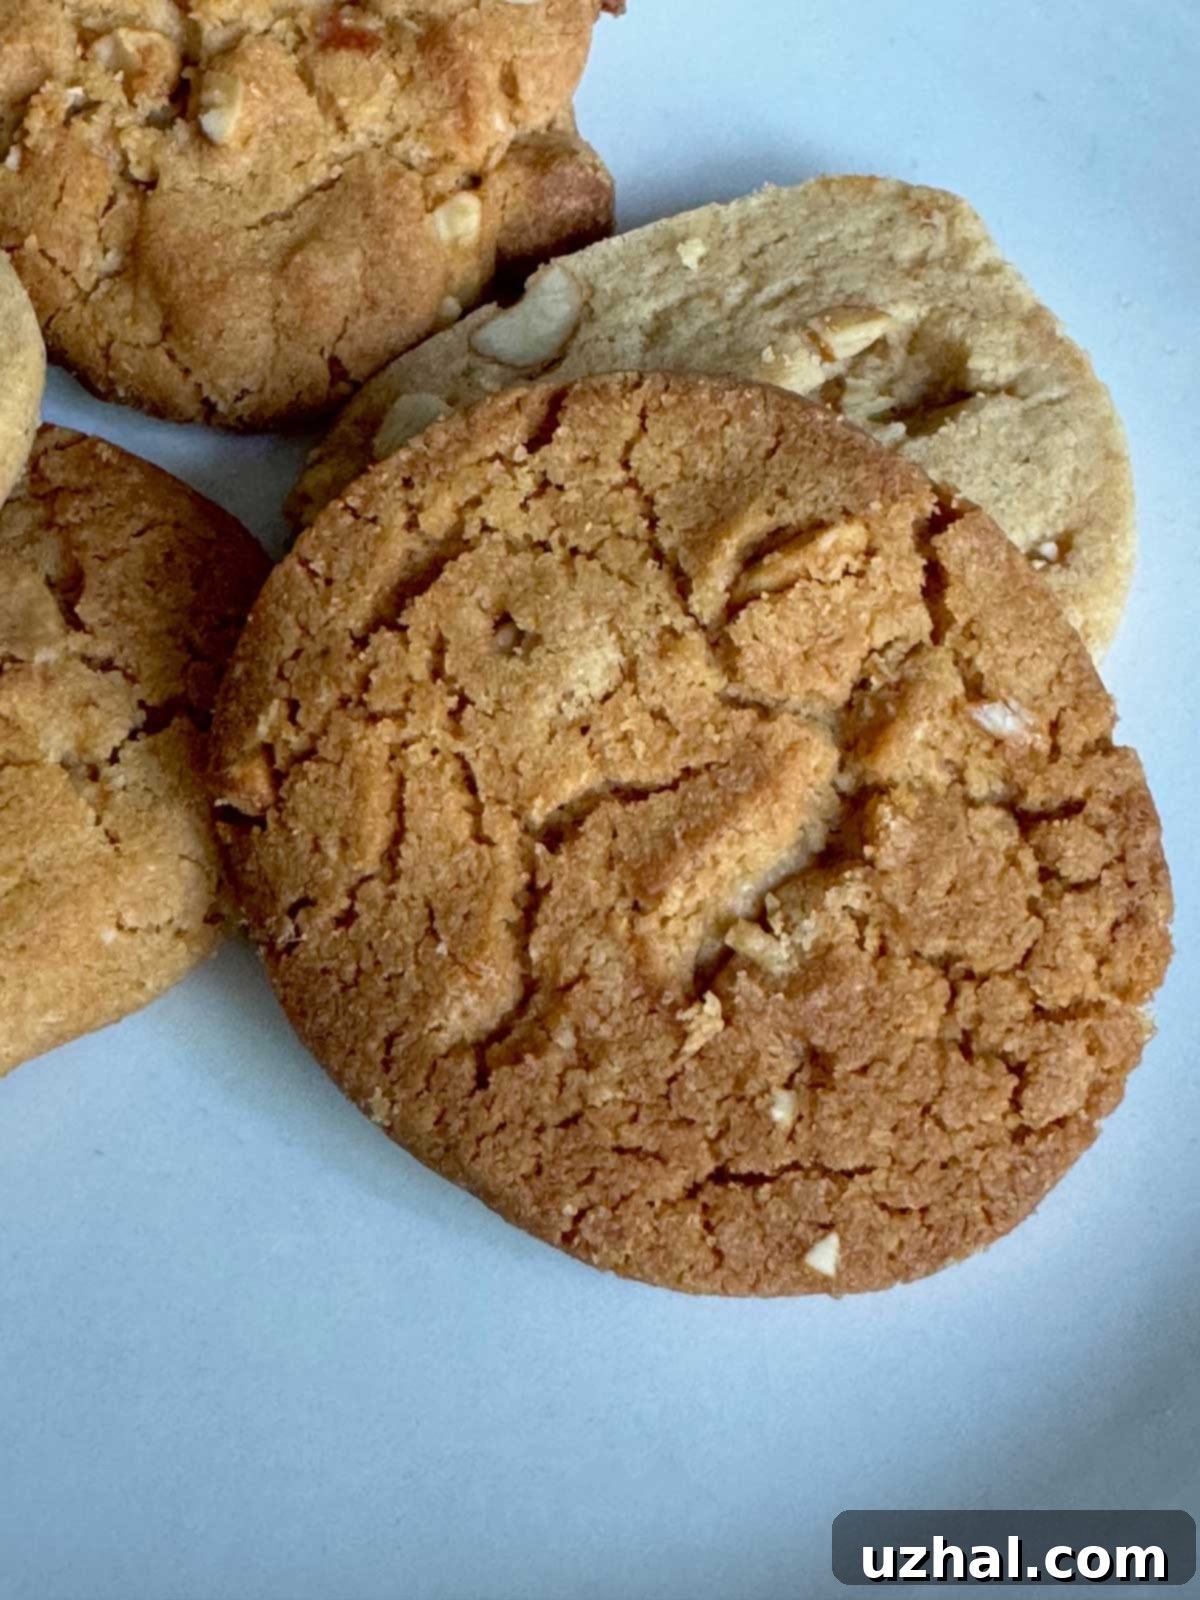
The choice between shortening and butter can significantly influence the final texture and flavor of your peanut butter slice and bake cookies. Both options work beautifully, but they offer distinct characteristics. For those opting for shortening, we highly recommend a trans-fat-free variety like Spectrum. Historically, Crisco was a go-to, but in recent years, many bakers have found Spectrum to offer a cleaner flavor profile and superior performance, particularly in creating a more tender and lighter crumb. Shortening typically results in a softer cookie with less spread, maintaining a consistent shape during baking.
Butter, on the other hand, imparts a rich, creamy flavor that shortening can’t quite replicate. If you choose butter, your cookies will likely have a slightly chewier texture and may spread a bit more, resulting in a flatter cookie. However, this isn’t necessarily a drawback; it’s a matter of preference. For an elevated flavor experience, consider browning your butter. Browned butter adds a nutty, caramelized depth that transforms classic peanut butter cookies into something truly extraordinary. To brown butter, simply melt it in a saucepan over medium heat, stirring constantly, until it turns a rich amber color and emits a nutty aroma. Be careful not to burn it! Let it cool slightly before incorporating it into the dough. While we’ve seen great success with brown butter, especially in smaller batches, it does require a bit more attention to ensure the dough consistency remains perfect. You might need to adjust the amount of liquid slightly, as butter loses some moisture during the browning process.
The Unique Mixing Method: Achieving Perfect Dough
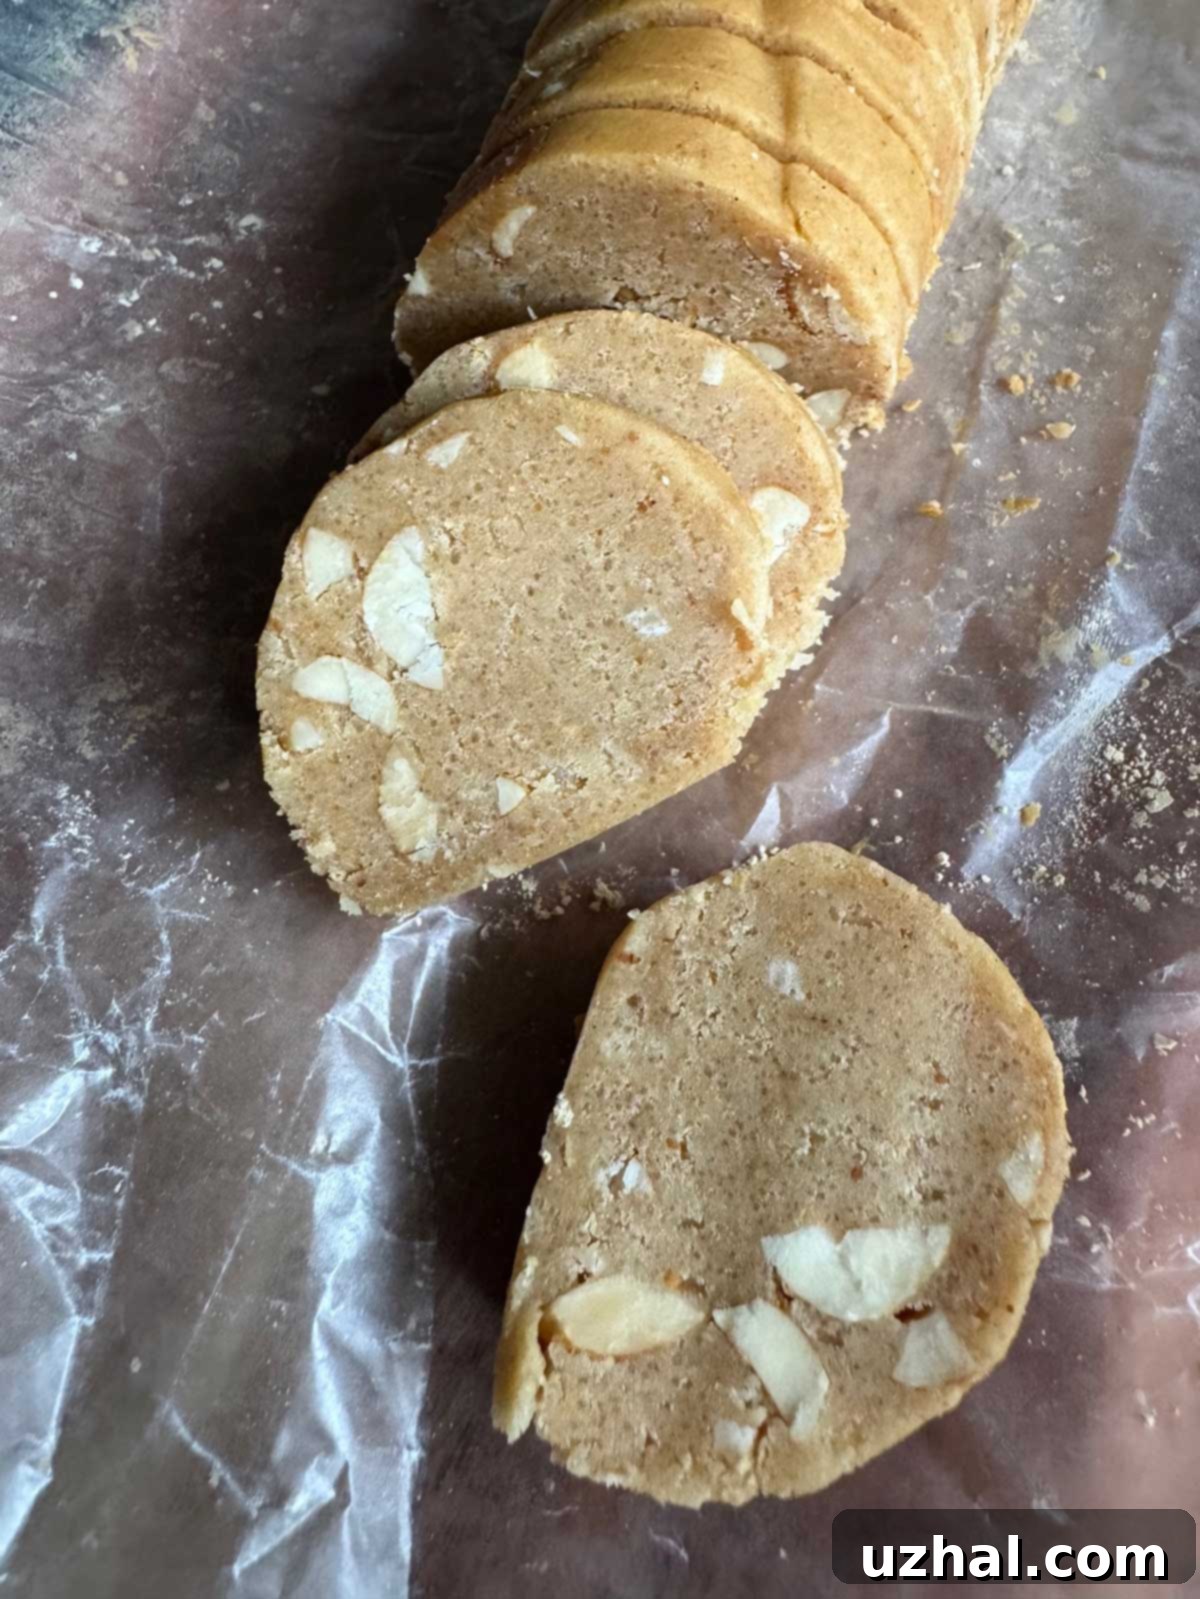
This recipe employs a mixing method that might be a little unconventional if you’re used to creaming butter and sugar first. The process begins by creating a dry mixture with the flour, sugar, baking soda, and salt. This ensures all leavening agents and flavor enhancers are evenly distributed. Next, softened fat (shortening or butter) and peanut butter are blended into these dry ingredients until a crumbly texture is achieved. This step is crucial as it coats the flour particles with fat, inhibiting gluten development and resulting in a tender cookie.
Finally, corn syrup and milk are added to bring the crumbly mixture together into a soft, cohesive dough. This method helps prevent overmixing, which can lead to tough cookies. If you’re a frequent peanut butter cookie baker, you could even prepare a dry “pre-mix” of all ingredients except the corn syrup and milk, storing it in an airtight container for future use. However, making the full dough and freezing it is often just as convenient, especially since this particular slice and bake peanut butter dough freezes exceptionally well for long-term storage. Having ready-to-slice cookie dough in your freezer means warm, homemade cookies are always just minutes away!
Exciting Slice and Bake Peanut Butter Flavor Variations
While the base recipe is wonderfully simple and delicious, it also serves as an excellent canvas for creative flavor experimentation. The original recipe doesn’t call for vanilla extract, but a teaspoon or two can enhance the overall sweetness and provide a comforting aromatic quality. For a subtle yet noticeable twist, consider adding a pinch of cinnamon – just enough to add warmth without turning them into full-blown spice cookies. About 1/8 to 1/4 teaspoon is usually perfect for a full batch.
Don’t stop there! You can entirely change the sugar profile. Replacing some or all of the granulated sugar with brown sugar will yield a chewier cookie with deeper molasses notes. Coconut sugar offers a slight caramel flavor and a beautiful golden hue, as seen in the picture below of cookies made with coconut sugar, butter, and honey. Experiment with liquid sweeteners too; corn syrup can be swapped for honey or maple syrup for different layers of sweetness and aroma. Maple syrup, in particular, pairs wonderfully with peanut butter, creating a sophisticated flavor combination.
Beyond spices and sugars, consider adding textural elements. Finely chopped roasted peanuts or other nuts will add a satisfying crunch. Mini chocolate chips (dark, milk, or white) are always a welcome addition, creating a classic peanut butter chocolate combination. Peanut butter chips can intensify the peanut flavor even further. Just be aware that adding larger mix-ins might make the dough a little trickier to slice cleanly, so fine chops are recommended for optimal slice-and-bake performance.
Baking Consistency Across Different Ovens: What You Need to Know
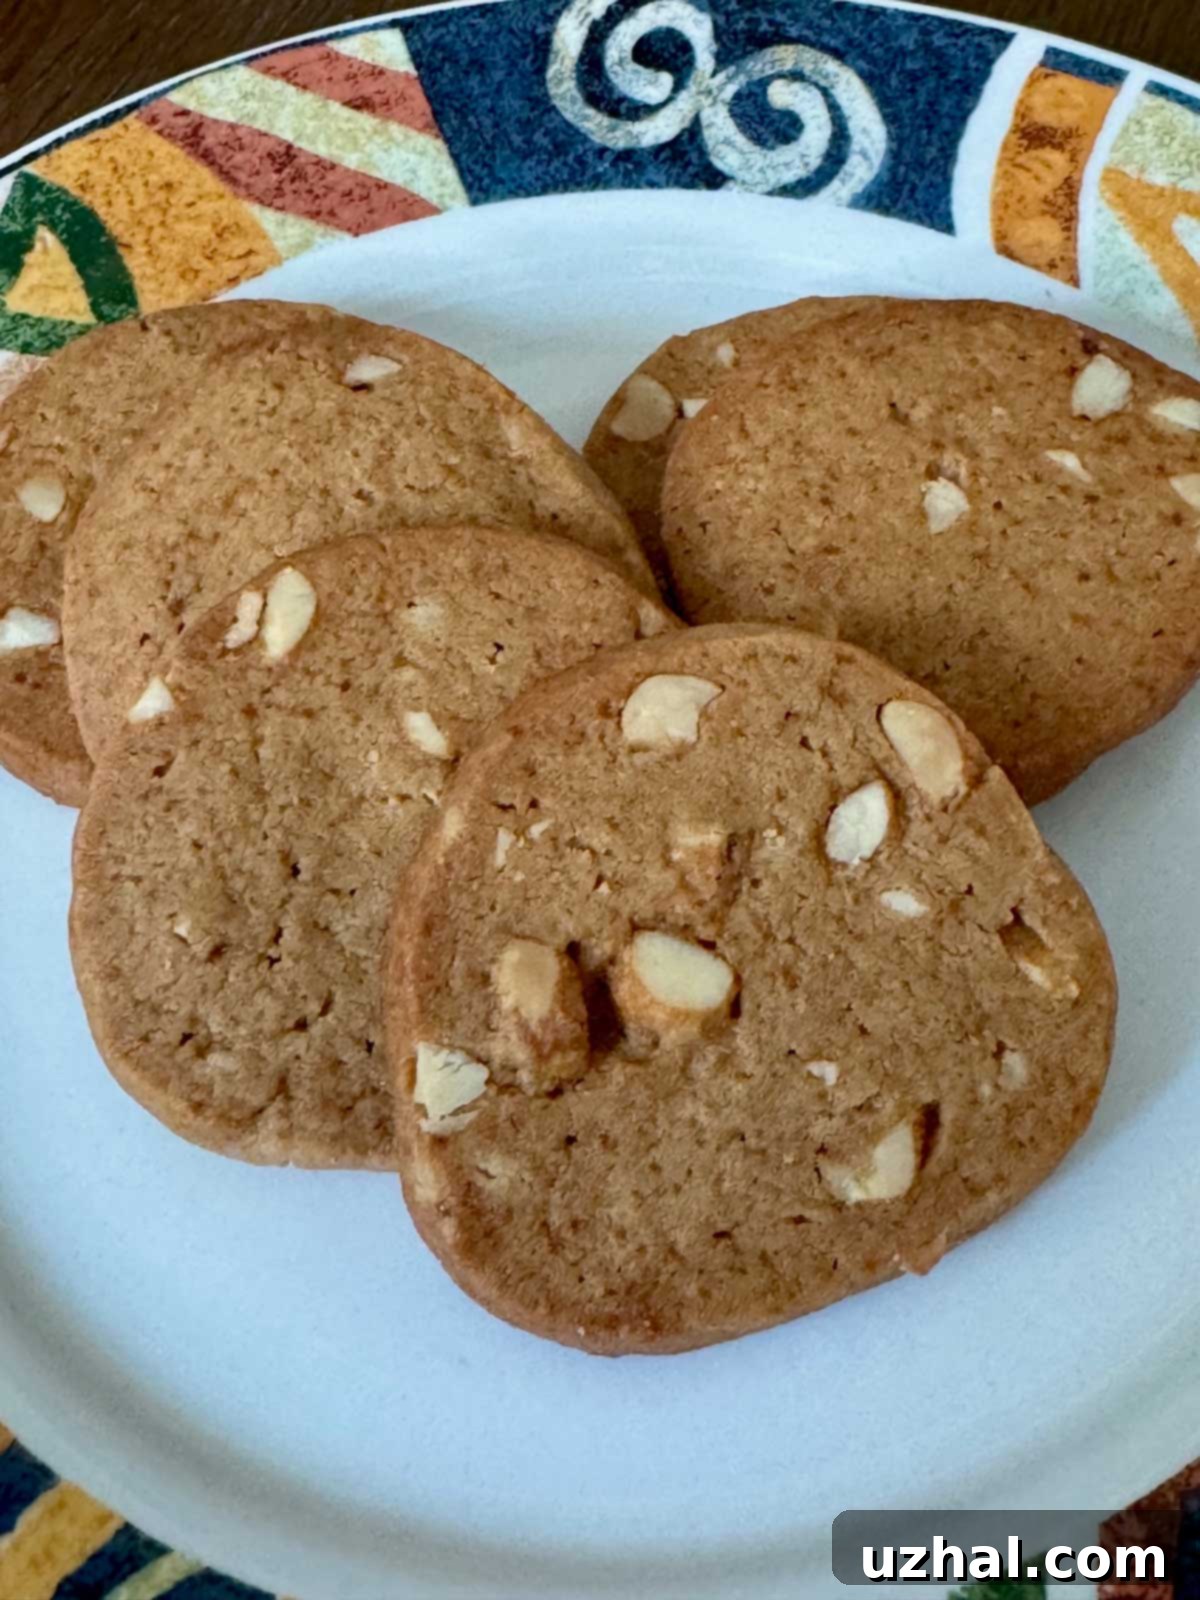
Have you ever followed a recipe to the letter, only to find your cookies look drastically different from the photos – perhaps paler or darker? The culprit is often your oven. It’s a common baking challenge, and even professional bakers face variations. I recently encountered this firsthand, baking a single batch of this peanut butter dough in two different ovens: my high-end Blue Star and a more compact Breville countertop oven. The difference was striking; the cookies from the Blue Star oven were noticeably paler, despite an oven thermometer reading a consistent 350°F in both. This highlights an important lesson: oven temperatures can vary significantly, even when they claim to be calibrated.
Factors like hot spots, oven size, insulation, and the accuracy of the internal thermometer can all impact baking results. What does this mean for you? Always trust your senses over strict timing. Pay attention to the color of the cookies (golden edges are a good sign), the way they smell, and their texture when lightly pressed. If your oven tends to run cooler, you might need to add a few minutes to the baking time. If it runs hotter, reduce the time slightly or even lower the temperature by 10-15 degrees. Investing in an inexpensive oven thermometer is a great way to verify your oven’s actual temperature. Adjusting your baking time and temperature based on your specific oven will lead to more consistent and delicious results every time.
A Blast from the Past: Microwave Peanut Butter Cookies
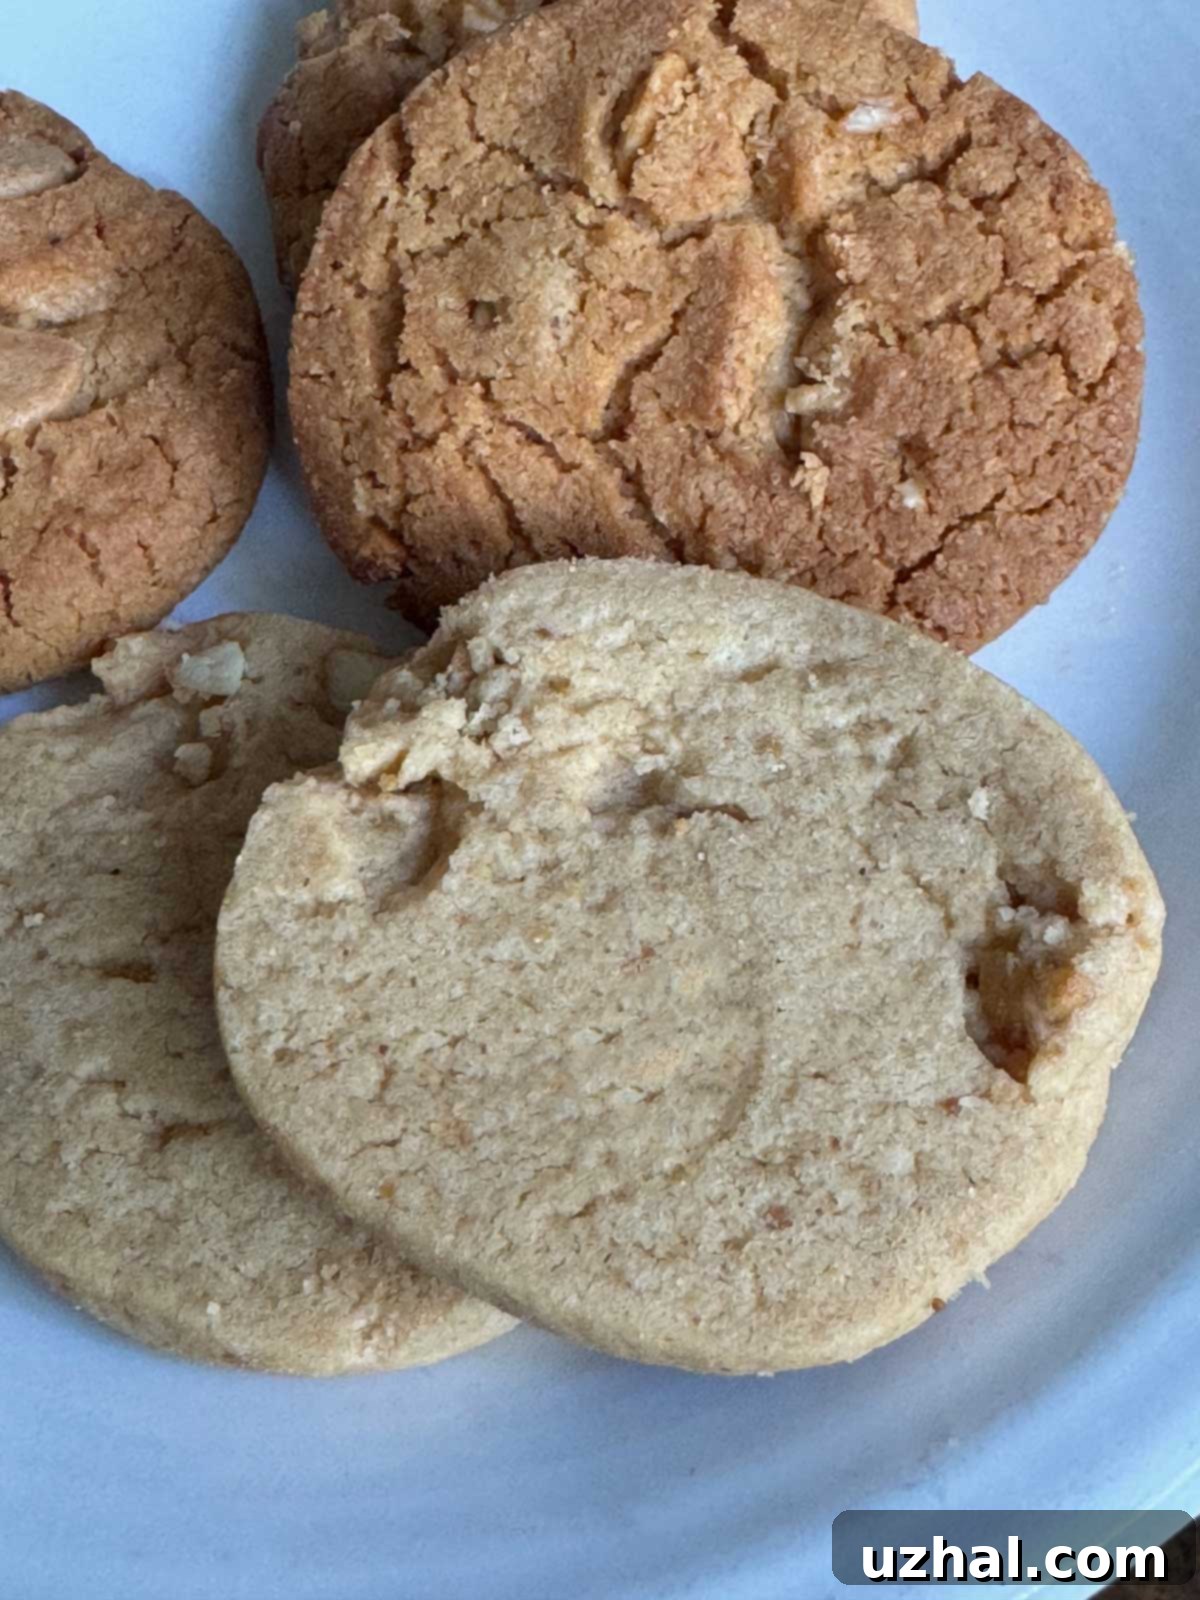
Believe it or not, these cookies can also be baked in a microwave! This particular recipe actually hails from the early 1980s, a time when microwave baking was a popular trend and a novel way to whip up quick treats. It’s a fun technique to try if you’re looking for a single-serving cookie or don’t want to heat up your entire kitchen.
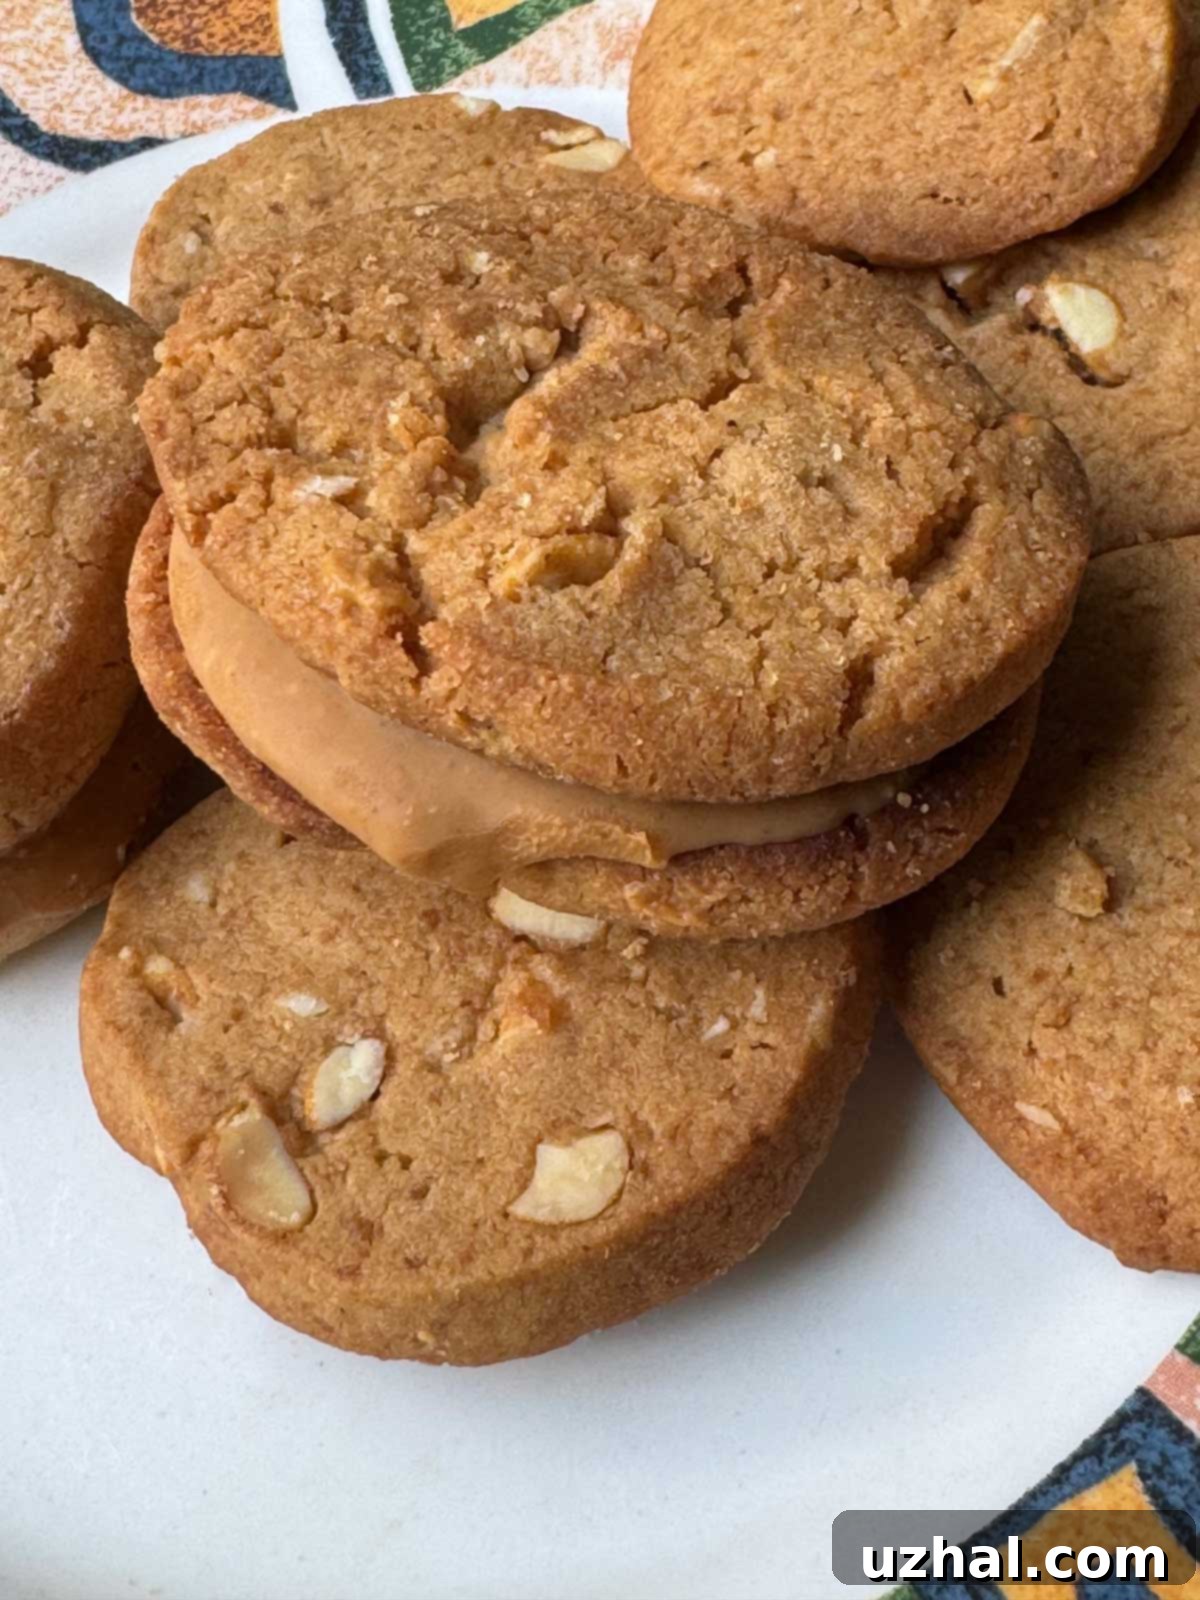
To micro-bake these cookies, simply slice the chilled dough about a quarter-inch thick. Arrange them on a microwave-safe plate and microwave at 50% power for 2 to 4 minutes. In my testing, using modern, more powerful microwaves, most cookies were perfectly done in just 2 minutes. However, microwave wattage varies significantly, so you might need to experiment with your specific appliance’s settings and timing. Keep a close eye on them during the last minute of cooking to prevent over-baking. They should appear slightly set and firm to the touch. The original ’80s recipe even suggested spreading extra peanut butter between two micro-baked cookies to create a delightful peanut butter sandwich cookie. Is that ever not a good idea? It’s a wonderfully nostalgic and indulgent treat!
Essential Notes and Tips for Perfect Dough
- Shortening vs. Butter Measurement: For the most consistent results, always measure fats like shortening and butter by weight rather than volume. Shortening is less dense than butter, meaning a cup of shortening weighs less than a cup of butter. For this recipe, if you’re using shortening, aim for 98 grams. If you’re using butter, you’ll need 114 grams. Precision in measuring fats is key to achieving the desired dough consistency and final cookie texture.
- Flour Measurement: Similar to fats, measuring flour by weight (220 grams for 1 ¾ cups) is the most accurate method. If you don’t have a kitchen scale, make sure to aerate your flour by spooning it lightly into the measuring cup and then leveling it off with a straight edge. Avoid scooping directly with the measuring cup, as this compacts the flour and can result in using too much, leading to a dry and crumbly dough.
- Mixing Technique: A stand mixer fitted with a paddle attachment on low speed is ideal for blending the fat with the dry ingredients. This ensures everything is thoroughly combined without overworking the dough. If using butter, ensure it’s sufficiently softened but not melted. Softened butter creamed with the dry ingredients creates a fine, sandy texture before the liquids are added.
- Peanut Butter Type: This recipe has been successfully tested with various types of peanut butter, including very oily, unsweetened varieties. Whether you prefer creamy, natural, or a more processed brand, most types of smooth peanut butter should work well. However, extremely thick or very thin peanut butter might require slight adjustments to the milk quantity to achieve the perfect soft dough consistency.
- Dough Roll Size: Instead of forming one large log of dough, which can be cumbersome to handle and slice, try dividing the dough into two or even four smaller rolls, each about 2 inches in diameter. Smaller rolls are much easier to manage, chill evenly, and slice without crumbling or distorting. This also allows for more flexible baking – bake a small batch at a time while keeping the rest of the dough chilled.
- Adding Inclusions: While chopped nuts (like peanuts, pecans, or walnuts) or peanut butter chips can add fantastic flavor and texture, they can make the dough slightly trickier to slice cleanly. To minimize this, ensure any additions are finely chopped. Mini chocolate chips are another excellent choice and tend to integrate well without causing slicing difficulties, offering that beloved peanut butter and chocolate pairing.
- Low Fat Chocolate Fudge Cake Cookies
- Cook’s Illustrated Fluffy Yellow Cake — Best Yet!
- Sugar Cookie Mix Black and White Cookies
- Slice and Bake Crunchy Oatmeal Cookies
- Pillsbury Double Chocolate Chip Cookies
Recipe

Slice and Bake Peanut Butter Cookies
Anna
Pin Recipe
Ingredients
- 1 ¾ cups all-purpose flour (220 grams, spooned and leveled)
- ½ cup granulated sugar (100 grams)
- ½ teaspoon baking soda
- ¼ teaspoon salt
- ⅛ teaspoon cinnamon (optional, or up to 1/4 teaspoon for more flavor)
- ½ cup shortening or softened butter (98 grams shortening or 114 grams unsalted butter)
- ½ cup creamy peanut butter (130 grams)
- ¼ cup light corn syrup or golden syrup (80 grams, can substitute honey or maple syrup for flavor variation)
- 1 tablespoon milk (dairy or non-dairy like almond milk) (14 grams)
Instructions
-
In the bowl of a stand mixer fitted with the paddle attachment, combine the flour, granulated sugar, baking soda, and salt. If you’re adding cinnamon or any other dry spices, incorporate them now as well. Mix on low speed until thoroughly combined.
-
Add the measured shortening or softened butter to the dry ingredients. Mix on low speed until the fat is fully incorporated and the mixture resembles coarse crumbs. Then, add the creamy peanut butter and continue to mix until it’s evenly blended into the crumbly mixture, ensuring no dry spots remain.
-
Pour in the corn syrup (or alternative syrup) and milk. Continue to mix on low speed until a soft, cohesive dough forms. Be careful not to overmix once the liquids are added. If you wish to add finely chopped nuts, chocolate chips, or peanut butter chips, gently fold them into the dough at this stage. Note that large inclusions may make slicing slightly more challenging.
-
Divide the dough into four equal portions and shape each into a small, uniform roll about 2 inches in diameter. Wrap each roll tightly in wax paper or plastic wrap. Chill the dough in the refrigerator for at least 4 hours, or ideally overnight, until it is very cold and firm enough to slice easily without crumbling. This chilling step is essential for perfect slice and bake cookies.
-
When you’re ready to bake, preheat your oven to 350°F (175°C). Line cookie sheets with parchment paper for easy cleanup, or leave them ungreased. Unwrap a dough roll and slice it into approximately ¼ inch thick rounds. Place the slices about 1-2 inches apart on the prepared cookie sheets. Bake for 10-12 minutes, or until the edges are lightly golden and the centers appear set. Cooking times may vary based on your oven (see notes on “Baking in Different Ovens” above).
-
Allow the cookies to cool on the cookie sheets for about one minute before carefully transferring them to a wire rack to cool completely. This helps them firm up and prevents breakage. Enjoy them warm or at room temperature!
-
For Sandwich Cookies: Once completely cooled, spread a generous amount of extra creamy peanut butter (or even a chocolate spread!) between two cookies and gently press them together to create delightful sandwich cookies.
Notes
