Irresistibly Easy No-Cook Peanut Butter Ice Cream: Your Go-To Homemade, Egg-Free Dessert
Craving a delightful, creamy, and utterly simple frozen treat? If you’re a peanut butter enthusiast, get ready for your new favorite dessert! Whether you already own an ice cream maker or it’s high on your wish list, this basic no-cook peanut butter ice cream recipe is a game-changer. What makes it truly special? It’s completely egg-free, remarkably easy to prepare, and yields a velvety-smooth texture that will have everyone asking for seconds. Forget complicated custards or tempering eggs – with this recipe, you simply mix a few staple ingredients together and let your ice cream maker do the rest.
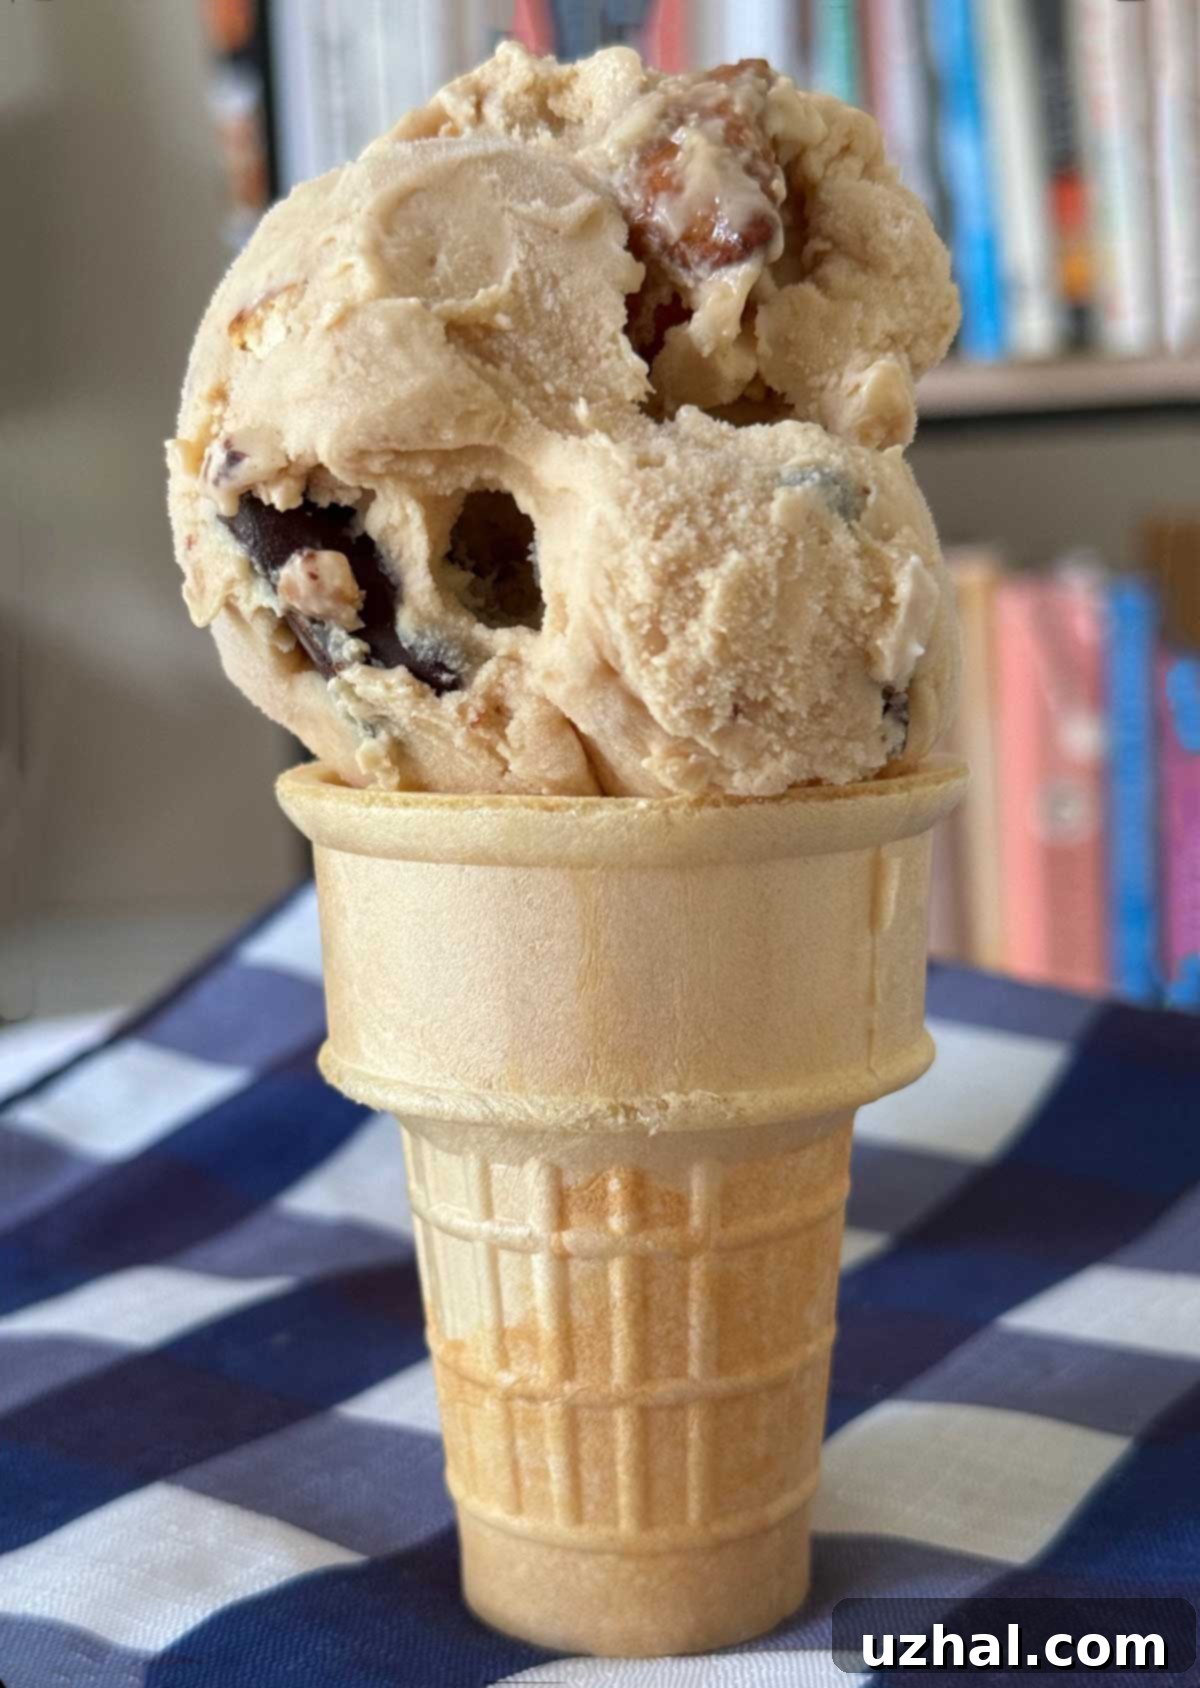
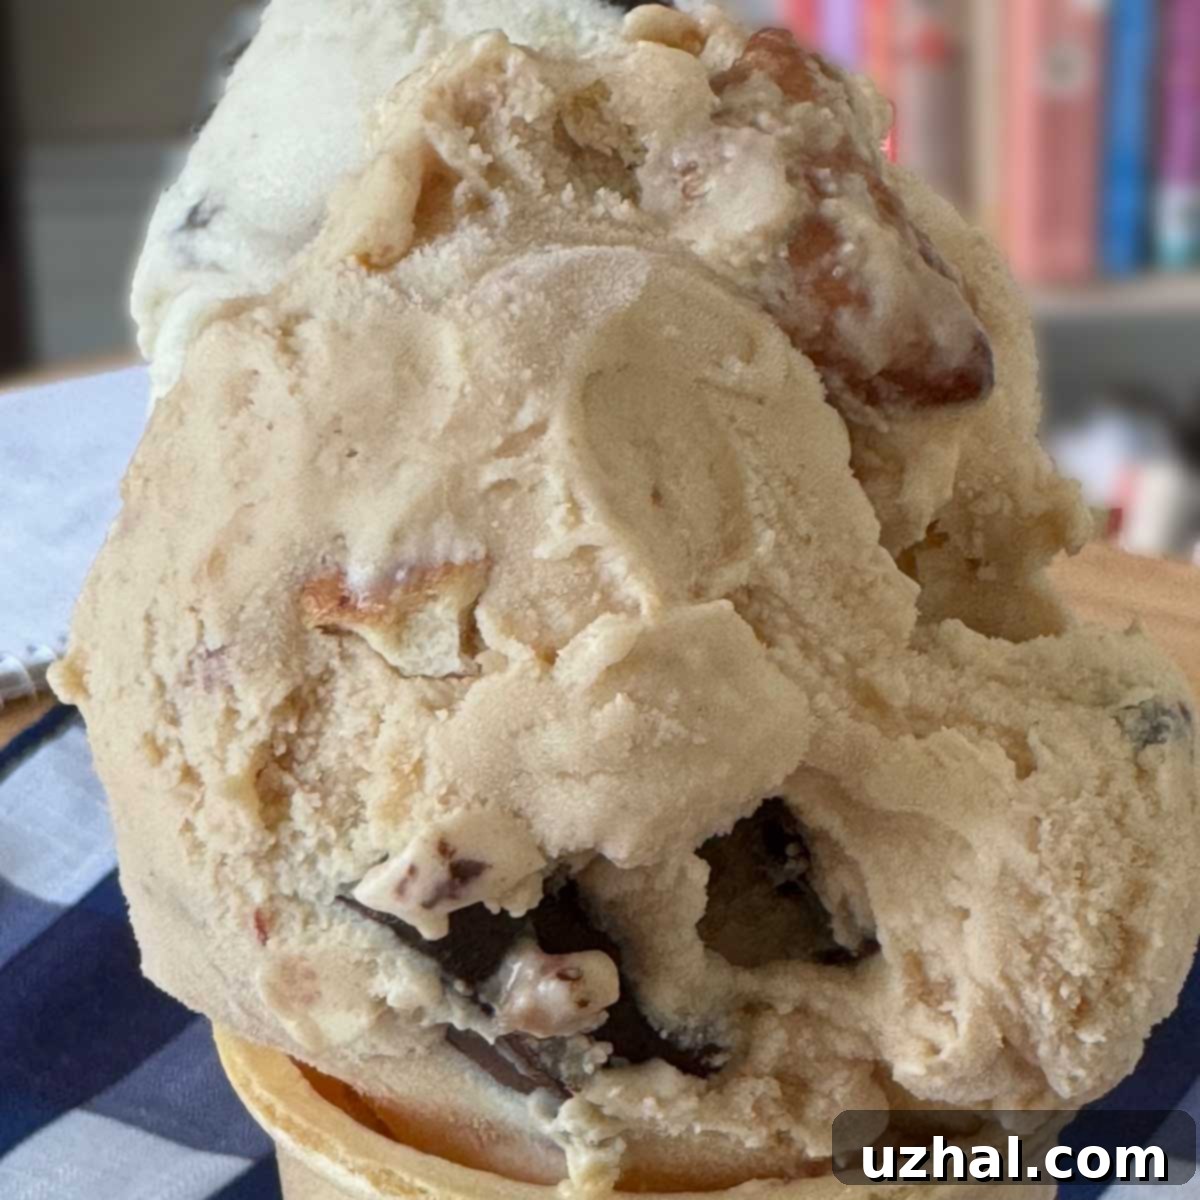
The beauty of this homemade peanut butter ice cream lies in its minimal ingredient list: just peanut butter, sugar, vanilla extract, and your choice of regular or fat-free half & half. This lean list doesn’t compromise on flavor or richness, making it an accessible and satisfying option for any home chef. But the fun doesn’t stop there! This versatile base is perfect for customizing with your favorite add-ins. I’ve personally fallen in love with the combination of chopped peanut butter cups and chocolate-coated peanut butter-filled pretzels, which add a fantastic crunch and a delightful play on sweet and salty notes. This recipe isn’t just easy; it’s a doorway to endless frozen dessert possibilities right in your own kitchen.

Choosing Your Cream Base: Half & Half and Other Options for Perfect Creaminess
One of the brilliant aspects of this no-cook peanut butter ice cream recipe is its adaptability, especially when it comes to the dairy base. Given the inherent richness and ample fat content in peanut butter, you have more flexibility than you might think. I’ve experimented extensively with different dairy options to achieve varying textures and levels of richness, all while maintaining that irresistible peanut butter flavor.
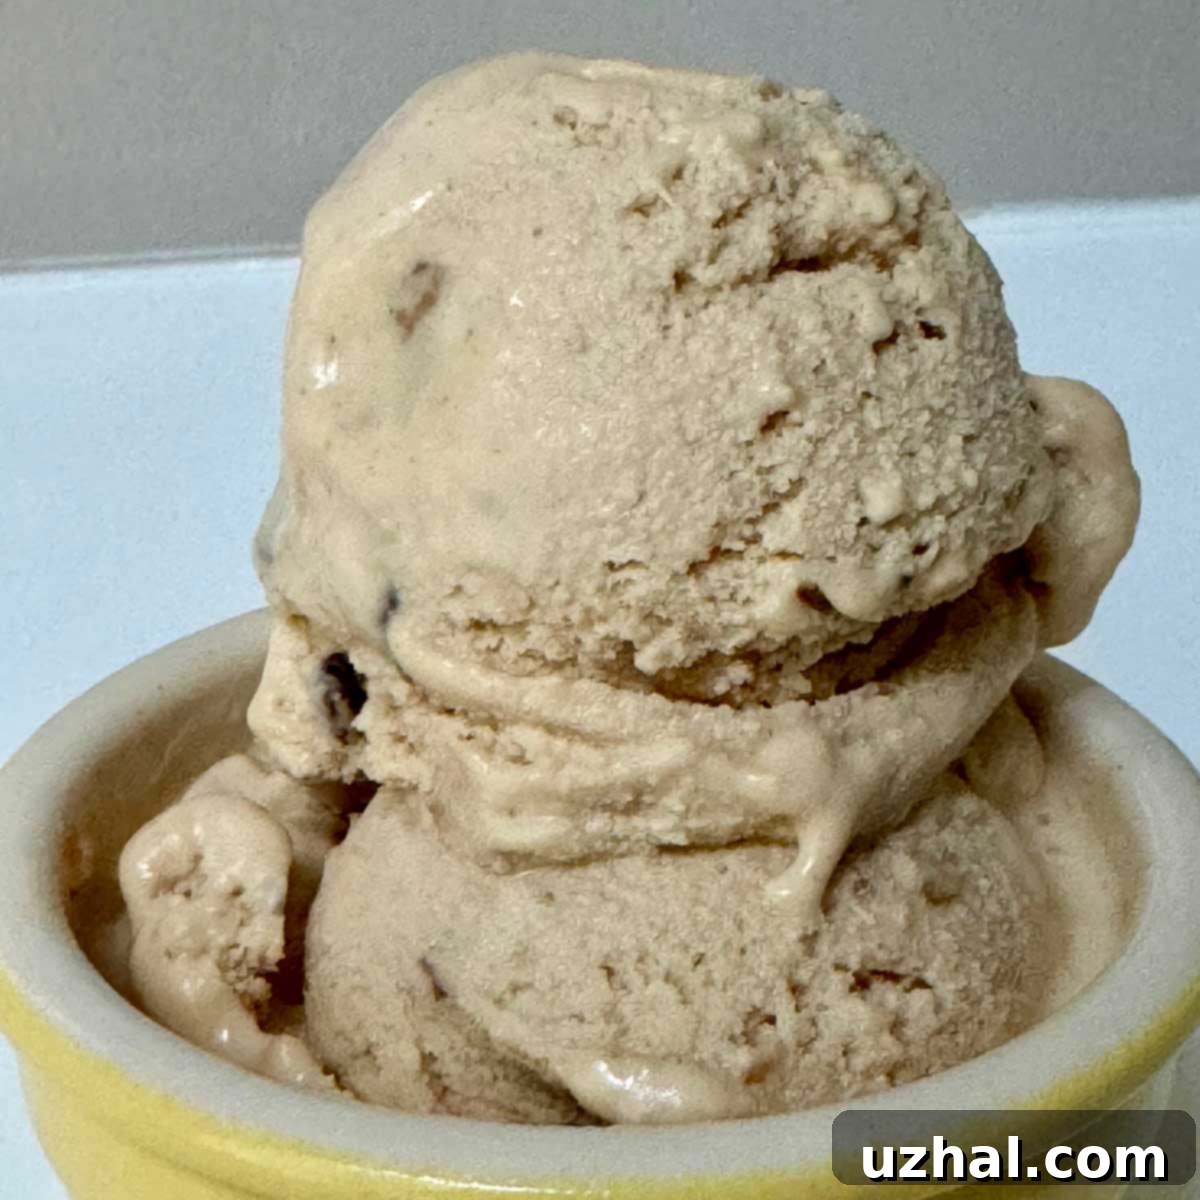
My first experiment involved using fat-free half & half. To my pleasant surprise, it worked exceptionally well! The resulting ice cream was still incredibly creamy and satisfying, proving that you don’t always need high-fat dairy to get a luxurious texture, especially when a primary ingredient like peanut butter contributes so much richness. This is fantastic news for those looking for a slightly lighter frozen dessert without sacrificing flavor or mouthfeel.
For a softer, even smoother consistency, I then tried a blend of half cream and half milk. This combination delivered an ice cream that was remarkably velvety and melted beautifully. Both versions were genuinely delicious and showcased the versatility of this egg-free ice cream recipe. It’s important to note that while freshly churned, the ice cream will be soft-serve consistency. Once transferred to the freezer, this homemade peanut butter ice cream does firm up quite a bit. Therefore, for the best serving experience, you’ll want to let it soften at room temperature for a few minutes before scooping, allowing it to return to its optimal creamy texture.
Beyond these options, you can further customize your base. For an even richer, denser ice cream, consider using heavy cream or a combination of heavy cream and whole milk. If you’re exploring plant-based alternatives, full-fat canned coconut milk can work, though it will impart a subtle coconut flavor. Almond milk or oat milk could also be used for a lighter, dairy-free version, but be aware that they might result in a slightly icier texture due to lower fat content. The key is to find the balance that suits your personal preference for creaminess and richness, knowing that the robust flavor of peanut butter will shine through regardless.

Elevate Your Ice Cream: Creative Add-ins with Peanut Butter Cups, Chocolate Pretzels & More!
While the creamy, peanut butter-packed base of this ice cream is a star on its own, adding mix-ins transforms it into an unforgettable gourmet experience. This is where you can truly let your culinary imagination soar and tailor the ice cream to your ultimate sweet tooth desires. My personal favorites, as mentioned, are mini peanut butter cups and homemade chocolate-covered peanut butter-filled pretzels, but the possibilities are truly endless.
Adding mini peanut butter cups is an absolute no-brainer for any peanut butter lover. Their soft, melt-in-your-mouth texture and intense peanut butter-chocolate flavor perfectly complement the ice cream base. You can use mini cups whole or chop regular-sized peanut butter cups into smaller pieces for easier distribution throughout the ice cream. These little pockets of joy ensure a burst of flavor with every spoonful, making your homemade treat feel even more indulgent.
However, if you’re like me and appreciate a touch of saltiness to perfectly cut through the sweetness of a rich dessert, then chocolate-dipped peanut butter-filled pretzel nuggets are a phenomenal addition. Making them at home is surprisingly simple: just melt a small amount of your favorite chocolate (milk, dark, or even white chocolate work wonderfully), dip individual pretzel nuggets or twists into the melted chocolate, allowing any excess to drip off. Lay them on a foil-lined plate or baking sheet, and freeze until the chocolate is completely firm. Once solid, you can add them to the ice cream as you pack it into your storage container. For practical purposes and to ensure an even distribution of crunch, cutting them into smaller chunks is often ideal. However, leaving some whole can be a fun surprise, especially if you’re sharing with fellow pretzel enthusiasts!
Beyond these two fantastic options, consider a wider array of add-ins to diversify your peanut butter ice cream experience. Chocolate chips, whether mini, regular, or even dark chocolate chunks, are always a welcome textural and flavor contrast. For a gooey surprise, swirl in some homemade or store-bought caramel sauce or a rich chocolate fudge ripple. Chopped roasted peanuts will amplify the peanut butter flavor and add extra crunch, while other nuts like pecans or walnuts can introduce a different nutty dimension. Imagine a “PB&J” ice cream by swirling in your favorite fruit jelly or jam! Crushed cookies, such as Oreos or Nutter Butters, can add another layer of texture and flavor complexity. Marshmallow fluff swirled throughout can create a delightful, chewy contrast. The best time to incorporate these add-ins is during the last few minutes of churning in your ice cream maker, or as you layer the soft ice cream into its freezer container, ensuring they are evenly distributed.
Embrace the freedom of customization and discover your perfect combination to elevate this already delicious peanut butter ice cream recipe into a truly personalized masterpiece!
Why Go No-Cook and Egg-Free for Your Homemade Ice Cream?
This recipe shines brightly not just for its incredible flavor but also for its simplicity and accessibility. Opting for a no-cook, egg-free base removes several common hurdles often associated with traditional homemade ice cream recipes. First and foremost, it eliminates the need for tempering eggs, a step that can be intimidating for novice cooks and adds significant time and effort. No more worrying about curdled custards or precise temperature monitoring! This streamlined process means you can whip up the base mixture in mere minutes, making it perfect for spontaneous dessert cravings or busy weeknights. Furthermore, for those with egg allergies or dietary preferences, this recipe offers a delicious and safe alternative without compromising on the luxurious texture and rich flavor that homemade ice cream is known for. It truly democratizes the art of ice cream making, proving that you don’t need to be a pastry chef to create exceptional frozen treats right in your own kitchen.
Tips for Achieving the Perfect Churn and Creamy Texture
To ensure your homemade peanut butter ice cream turns out perfectly creamy every time, a few key tips can make all the difference. Firstly, ensure your ice cream maker’s bowl is thoroughly frozen, ideally for 24 hours prior to churning. A super-cold bowl is crucial for quick freezing and preventing ice crystal formation. Secondly, chill your ice cream base mixture until it’s very cold—at least 4 hours, or preferably overnight. A well-chilled base freezes faster and results in a smoother, creamier final product. Don’t overfill your ice cream maker; always follow your manufacturer’s directions regarding maximum capacity, as the mixture will expand as it churns. Finally, once churned to a soft-serve consistency, transfer the ice cream to an airtight container and place a piece of plastic wrap directly on the surface before sealing the lid. This prevents freezer burn and keeps your ice cream fresh and delicious for longer. Patience during the chilling and freezing process will be rewarded with an irresistibly smooth and flavorful scoop.
Storing and Serving Your Delicious Peanut Butter Ice Cream
Once your easy peanut butter ice cream is churned to perfection, proper storage is key to maintaining its creamy texture and rich flavor. Transfer the soft ice cream into a freezer-safe, airtight container. To prevent ice crystals from forming on the surface and to guard against freezer burn, press a piece of plastic wrap directly onto the surface of the ice cream before securing the lid. Store it in the coldest part of your freezer for at least 2-4 hours to allow it to firm up to a scoopable consistency. When ready to serve, if the ice cream has become very firm, simply let it sit at room temperature for 5-10 minutes to soften slightly. This will ensure easy scooping and a perfectly creamy bite. Enjoy your homemade peanut butter ice cream in classic cones or bowls, topped with whipped cream, hot fudge, extra peanut butter cups, or a drizzle of caramel. It also makes an incredible base for milkshakes or a decadent addition to a brownie sundae. Leftovers can be stored in the freezer for up to two weeks, though it’s so good, it likely won’t last that long!
- Two Way Chocolate Whoopie Pies
- Chocolate Chip Pretzel Bars
- Chocolate Pretzel Toffee
- Pecan Caramel Corn with Pretzels
- Pumpkin Ice Cream Pie
Recipe

Easy Peanut Butter Ice Cream
Anna
Pin Recipe
Ingredients
- 1 cup creamy peanut butter, sweetened type (like Jif)
- ⅔ cup granulated sugar (130 grams)
- 1 teaspoon pure vanilla extract
- 3 cups half & half (fat free or regular works perfectly)
- ⅓ cup mini peanut butter cups or crushed peanut butter filled pretzels
Instructions
-
In a large mixing bowl, using a handheld mixer, beat together the creamy peanut butter, granulated sugar, and vanilla extract until well combined and smooth.
-
Gradually add the half & half to the peanut butter mixture. Beat or stir on the lowest speed of your mixer (or by hand) until everything is thoroughly incorporated and the mixture is smooth. Be careful not to overmix.
-
Cover the bowl and chill the mixture in the refrigerator until it is very cold, ideally for at least 4 hours or even overnight. This step is crucial for achieving the best creamy texture. Once thoroughly chilled, churn the mixture in your ice cream maker according to the manufacturer’s specific directions. During the last few minutes of churning, add your desired mix-ins like mini peanut butter cups or crushed pretzels.
