Easy Homemade Gluten-Free Oreo Ice Cream: Your Simplest Summer Treat
On a particularly scorching day, with the summer heat radiating all around, I found myself in a delightful predicament. I had a partial bag of gluten-free Oreos, exactly one cup of whole milk, and two cups of lush heavy cream. My usual, more involved cookies and cream recipe often calls for a Jeni’s Splendid ice cream base, which involves a bit of extra effort like tracking down cream cheese, mixing a cornstarch paste, and boiling milk. But on this hot, somewhat antsy, yet tired afternoon, the thought of any extra steps felt like a monumental task. My mission was simple: create the absolute easiest homemade gluten-free Oreo ice cream possible.
And so, a new favorite was born! This recipe takes the beloved flavor of Oreo cookies and transforms it into a smooth, refreshing ice cream with minimal effort. It skips the eggs and complex custards, relying instead on the inherent richness of cream and milk to deliver a satisfyingly scoopable texture. Whether you’re a seasoned ice cream enthusiast or a complete beginner, this streamlined approach ensures a delicious outcome every time. Get ready to indulge in a treat that’s both wonderfully simple to make and incredibly satisfying to eat, perfect for cooling down on any warm day.

Why This is the Easiest Gluten-Free Oreo Ice Cream Recipe
When it comes to homemade ice cream, many recipes can feel intimidating, often requiring a stovetop custard base with eggs, tempering, and extensive chilling. My other cookies and cream recipe, for instance, starts with a Jeni’s Splendid-style base. While delicious, it does involve a few extra steps: finding a block of cream cheese, preparing a cornstarch slurry, and carefully bringing milk to a boil. This is perfectly fine when you have the time and energy, but what about those moments when you crave instant gratification without compromising on flavor?
That’s precisely where this easy gluten-free Oreo ice cream recipe shines. It strips away all the complexities. Forget about cooking, tempering, or worrying about scrambled eggs in your base. Here, the process is incredibly straightforward: simply whisk whole milk with your desired amount of sugar until dissolved, then stir in the heavy cream and a generous splash of vanilla. Once combined, this simple mixture goes directly into your ice cream maker. The magic truly happens as it churns, and the best part? You add the crushed Oreo cookies right into the machine as it works its wonders. It’s a truly hands-off approach once the initial whisking is done, making it accessible for even the most novice of dessert makers.
This minimalist method not only saves you significant time in the kitchen but also reduces cleanup, allowing you to enjoy your refreshing, homemade treat much faster. It’s a testament to how simple ingredients, when combined correctly, can yield extraordinary results, proving that you don’t need a culinary degree to make fantastic homemade gluten-free Oreo ice cream.
Essential Equipment: Ice Cream Maker vs. No-Churn Loaf Pan Method
For the creamiest, dreamiest homemade ice cream, I wholeheartedly recommend using an ice cream maker. The continuous churning process introduces air into the mixture and prevents the formation of large ice crystals, resulting in that wonderfully smooth texture we all love. I personally rely on my trusty Cuisinart ice cream maker, which has been one of the best kitchen appliance investments I’ve ever made. It’s a workhorse that consistently delivers excellent results, even after years of use. While I often contemplate upgrading to a fancier model, this one keeps proving its worth.
That said, if an ice cream maker isn’t currently in your kitchen arsenal, don’t despair! You can still enjoy homemade Oreo ice cream using a “no-churn” method. Many people have successfully made similar recipes by simply pouring the mixture into a loaf pan, covering it tightly, and freezing it. While this method might yield a slightly icier texture compared to a churned ice cream, the high fat content from the heavy cream helps to mitigate this, still producing a very enjoyable frozen dessert. To improve the no-churn texture, you can periodically stir the mixture every 30-60 minutes during the first few hours of freezing to break up ice crystals. Whichever method you choose, the promise of a delicious, cookie-filled treat remains.
Achieving the Perfect Texture: Eggless Oreo Ice Cream Secrets
One of the most common questions about eggless ice cream recipes, especially those without a cooked custard base, revolves around texture. How does it compare to more traditional, egg-yolk-rich ice creams? This simplified gluten-free Oreo ice cream definitely has its own unique charm. Straight out of the ice cream maker, it presents as a delightful soft serve – slightly less smooth than a custard-based ice cream, but remarkably creamy and certainly not unpleasantly icy, thanks in large part to the generous amount of heavy cream. The high fat content in the cream is your secret weapon, helping to keep those pesky ice crystals at bay.
While tempting to dig in immediately (and completely acceptable!), this ice cream truly develops its ideal scoopable consistency after a few hours in the freezer. I prepared a batch around 4:00 PM and by 8:30 PM, it had firmed up beautifully, making for perfectly formed scoops. What pleasantly surprised me was its excellent texture the following day. I anticipated it might be rock hard, as some simpler ice creams can become, but it remained wonderfully scoopable. This consistent texture makes it ideal for planning ahead or enjoying leftovers. The absence of eggs means a slightly lighter, less dense mouthfeel, allowing the pure flavors of the vanilla and Oreos to really shine through.
The Secret to That Signature Oreo Ice Cream Color and Flavor
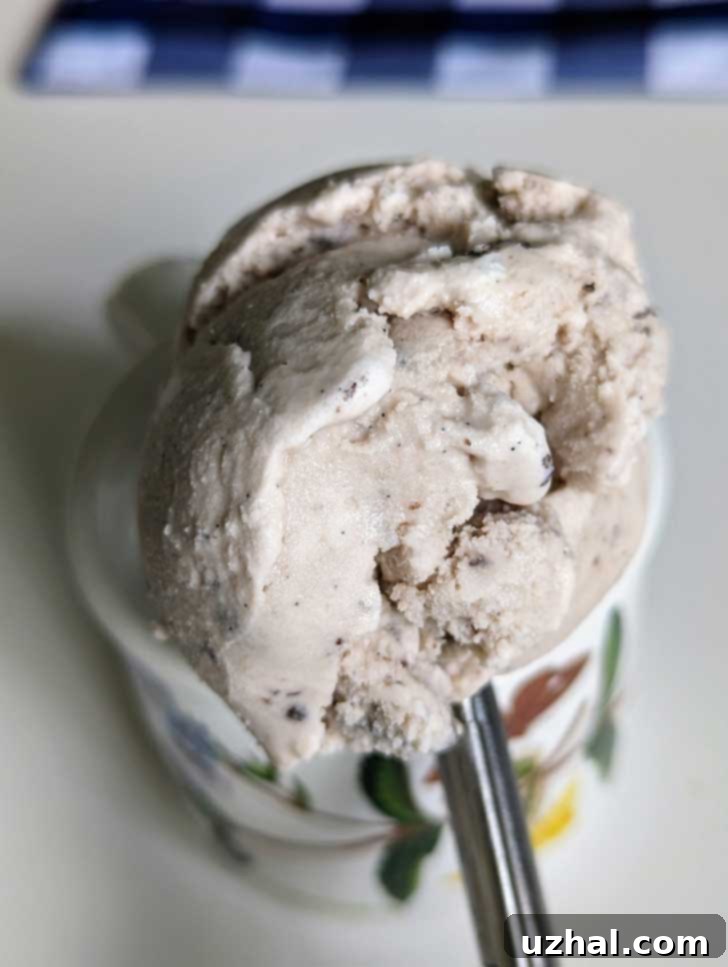
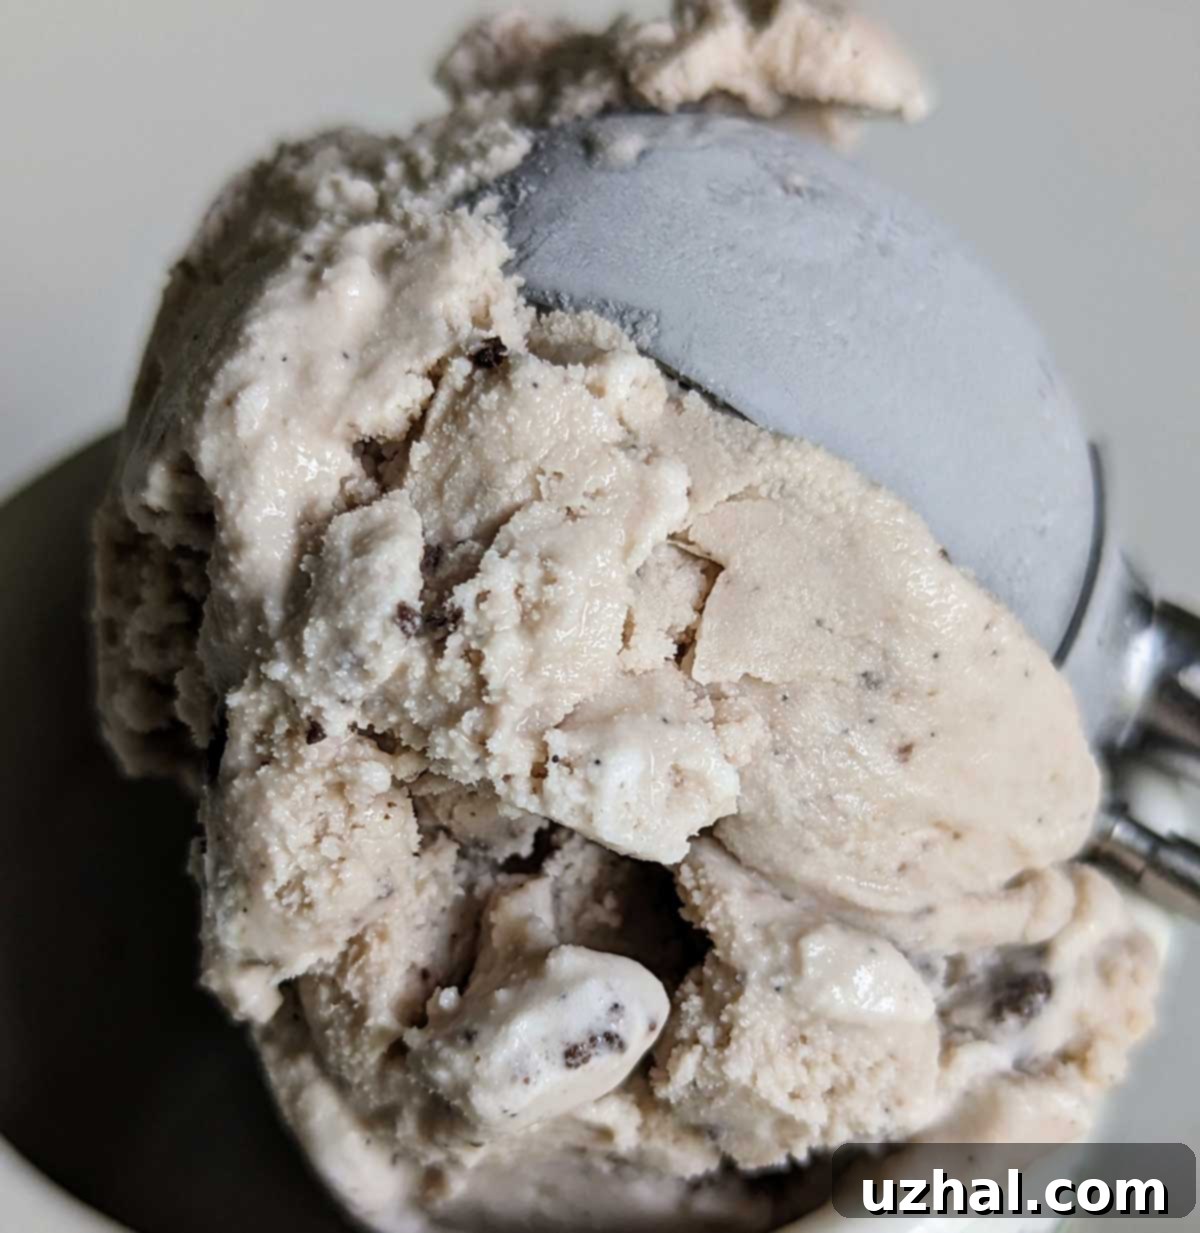
Have you ever noticed that classic Oreo ice cream often has a distinctive greyish hue? My homemade version is no exception, and it’s a color I’ve grown to love. As a child, I preferred a whiter vanilla ice cream with clearly distinct chunks of Oreos, much like adding them at the very last minute. However, my palate has evolved, and now I fully embrace the grey, which is a direct result of adding the crushed Oreos earlier in the churning process. This method allows the cookie bits to truly meld into the cream base, transforming what would simply be vanilla ice cream with mix-ins into a genuinely Oreo-flavored ice cream.
When the Oreos are incorporated early, the chocolate wafers break down and infuse the entire base with their rich cocoa flavor, turning the cream a lovely shade of grey. But it’s not just about the visual appeal. This technique ensures that the “cream” base itself carries the full essence of Oreo, not just the vanilla. The sweet, creamy filling from the Oreos also gets mashed in, and I suspect this “creme” might even contribute a subtle silkiness or an additional layer of flavor to the final texture, though I can’t definitively swear to it. I have heard of some adventurous individuals who scrape out the creme filling before adding the wafers, and they reported good results too. Ultimately, it’s a matter of personal preference, but for that authentic, full-bodied Oreo ice cream experience, letting those cookies get thoroughly incorporated is key.
Key Ingredients for Your Homemade Oreo Ice Cream
- Whole Milk: The foundation of our creamy base! Whole milk provides essential fat content that contributes significantly to the smooth texture of the ice cream. While you could potentially substitute with 2% milk, be aware that the final product might not be quite as rich or smooth. For the best results and a truly decadent experience, stick with whole milk.
- Sugar: Simple granulated cane sugar is all you need. Beyond just sweetness, sugar plays a crucial role in the texture of ice cream by lowering its freezing point, which helps prevent it from becoming a solid, unyielding block of ice. The recipe suggests ⅔ cup, but feel free to adjust down to ½ cup if you prefer a less sweet dessert. It’s one of the beauties of making ice cream at home – you control the sweetness!
- Vanilla Extract: In a recipe with so few ingredients, the quality of each one truly shines through. This is particularly true for vanilla. If you can, splurge on a high-quality vanilla extract. I’m a big fan of Sonoma Syrup’s Vanilla Bean Crush. This particular vanilla often features a hint of Tahitian vanilla, which lends a distinct, floral, and slightly fruity note that complements the deep chocolatey flavor of Oreos beautifully. A good vanilla elevates the entire flavor profile of your cookies and cream ice cream.
- Gluten-Free or Regular Oreos: The star of the show! The great news is that gluten-free Oreos perform just as exceptionally as their regular counterparts in this recipe. I’ve found absolutely no negative or positive impact on the texture or flavor by using the gluten-free variety, making this a fantastic option for those with dietary restrictions. You’ll want to break them into smaller pieces before adding them to the ice cream maker – some fine crumbs for flavor infusion and some larger chunks for textural interest are ideal.
- Quick Ice Cream with Maple Cookies
- Oreo Ice Cream Cake
- Chocolate Chip Oreo Brownie Bars
- Chocolate Banana Oreo Brownies
- Oreo Cheesecake
Recipe

Gluten-Free Oreos Ice Cream
Anna
Pin Recipe
Equipment
-
1 ice cream maker
Ingredients
- ⅔ cup sugar, but you can go as low as ½ cup if you prefer less sweet (130 grams)
- 1 cup whole milk, cold
- 2 cups heavy whipping cream
- 2 ½ teaspoons best quality vanilla (I like Vanilla Bean Crush)
- 14 or so Oreos, regular or gluten-free type
Instructions
-
In a large bowl, whisk together the cold whole milk and sugar until the sugar is fully dissolved.
-
Whisk in the heavy whipping cream and the best quality vanilla extract until well combined. The mixture should be smooth and slightly thickened.
-
Scrape the entire mixture into the canister of your ice cream maker. Begin processing according to the manufacturer’s directions. After about 10 minutes of churning, take 4 to 6 Oreos and break them into small pieces. Add these broken cookie pieces to the machine while it is still running. The churning action will further crush these Oreos and distribute them evenly, giving the ice cream its characteristic greyish hue and infusing it with deep Oreo flavor.
-
Continue churning until the ice cream reaches a soft-serve consistency. Just before you’re ready to transfer the ice cream to a freezer-safe container, add the remaining Oreos (about 8-10 more, depending on your preference), broken into your desired size. You can use all of them, use fewer, or even add more for extra cookie crunch. This is the beauty of making your own homemade Oreo ice cream – complete customization!
-
Scrape the freshly churned ice cream into two pint-size (or one quart-size) freezer-safe containers. Press a piece of parchment paper or plastic wrap directly onto the surface of the ice cream to prevent ice crystals from forming. Freeze for at least 2-4 hours, or until firm enough to scoop easily. Enjoy your perfectly creamy, homemade gluten-free Oreo ice cream!
This easy homemade gluten-free Oreo ice cream recipe is a true delight for anyone seeking a quick, delicious, and satisfying dessert, especially on a hot day. Its simplicity doesn’t compromise on flavor or texture, delivering a creamy, scoopable treat bursting with cookie goodness. Whether you’re making it for a special occasion or just to beat the heat, this recipe is sure to become a cherished favorite. So go ahead, gather your ingredients, and churn your way to a perfect summer moment!
