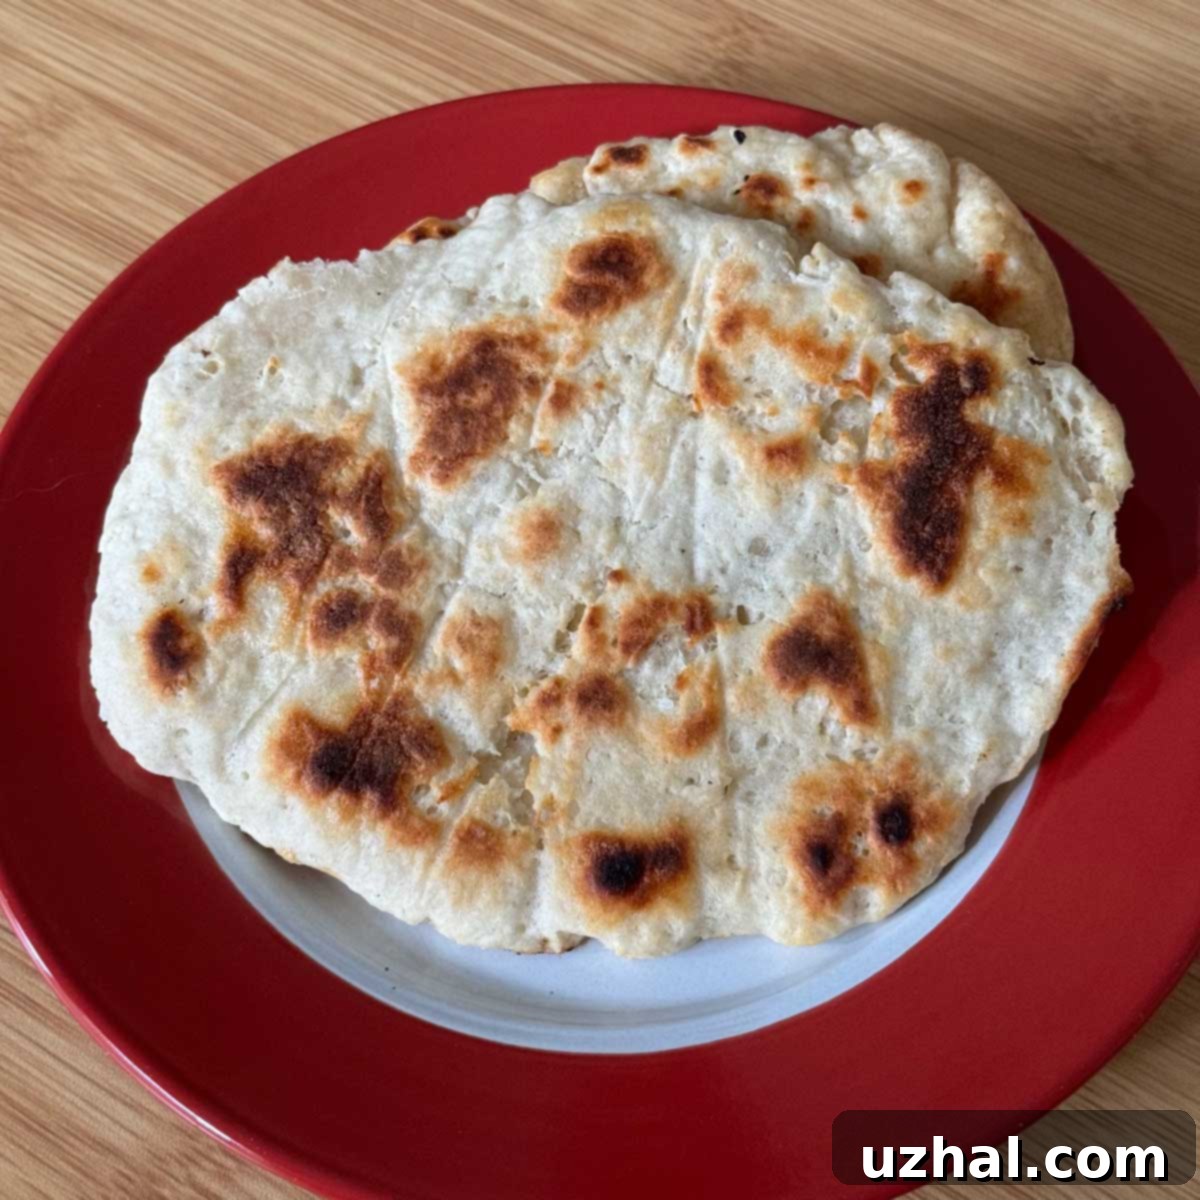
Quick 2-Ingredient Naan: Easy Greek Yogurt Flatbread with Self-Rising Flour
Imagine this: You’ve got a fantastic Indian curry simmering on the stove, the aroma filling your kitchen, but then it hits you – you forgot to make or buy naan! Panic sets in. But what if I told you there’s a rescue mission for your dinner, a secret weapon that comes together in minutes with just two simple ingredients? Enter “Naan One One,” affectionately named because it’s your emergency line for delicious, homemade flatbread. While traditional naan relies on yeast and a bit more time, this speedy version, made with self-rising flour and Greek yogurt, is a lifesaver. It’s a little stiffer than its yeasted cousin, but boasts an incredible flavor and a satisfying chew that perfectly complements any meal.

The Magic of Two Simple Ingredients
The beauty of Naan One One lies in its simplicity. You truly only need two core ingredients, making it an incredibly accessible recipe for anyone, regardless of their baking experience. Let’s delve into what makes these two components so effective in creating a delicious, no-yeast flatbread.
Self-Rising Flour: Your Built-In Leavening Agent
The first star of our recipe is self-rising flour. This isn’t just ordinary all-purpose flour; it’s a convenient blend that already contains baking powder and a pinch of salt. This means you don’t have to worry about measuring out separate leavening agents, simplifying the process significantly. When combined with a liquid and heat, the baking powder in the self-rising flour reacts, producing carbon dioxide bubbles that give our naan its characteristic airy pockets and fluffy texture, without the need for yeast fermentation. If you don’t have self-rising flour on hand, you can easily make your own by mixing 2 cups of all-purpose flour with 1 tablespoon of baking powder and ½ teaspoon of salt. It’s a quick hack that ensures you’re never far from homemade naan.
Greek Yogurt: The Secret to Tenderness and Flavor
Our second essential ingredient is Greek yogurt. This creamy, tangy component plays several crucial roles in our flatbread. Firstly, its acidity reacts with the baking powder in the self-rising flour, boosting the leavening process and creating more lift. Secondly, the yogurt adds incredible moisture to the dough, resulting in a tender and supple flatbread rather than a dry, brittle one. The slight tang from the yogurt also contributes a unique depth of flavor that complements a wide range of dishes. While low-fat Greek yogurt will work, I highly recommend using whole milk Greek yogurt. The extra fat content not only enriches the flavor but also contributes to a softer, more luxurious texture, enhancing the overall experience of your homemade naan.
The “Optional” Third Ingredient: Clarified Butter or Ghee
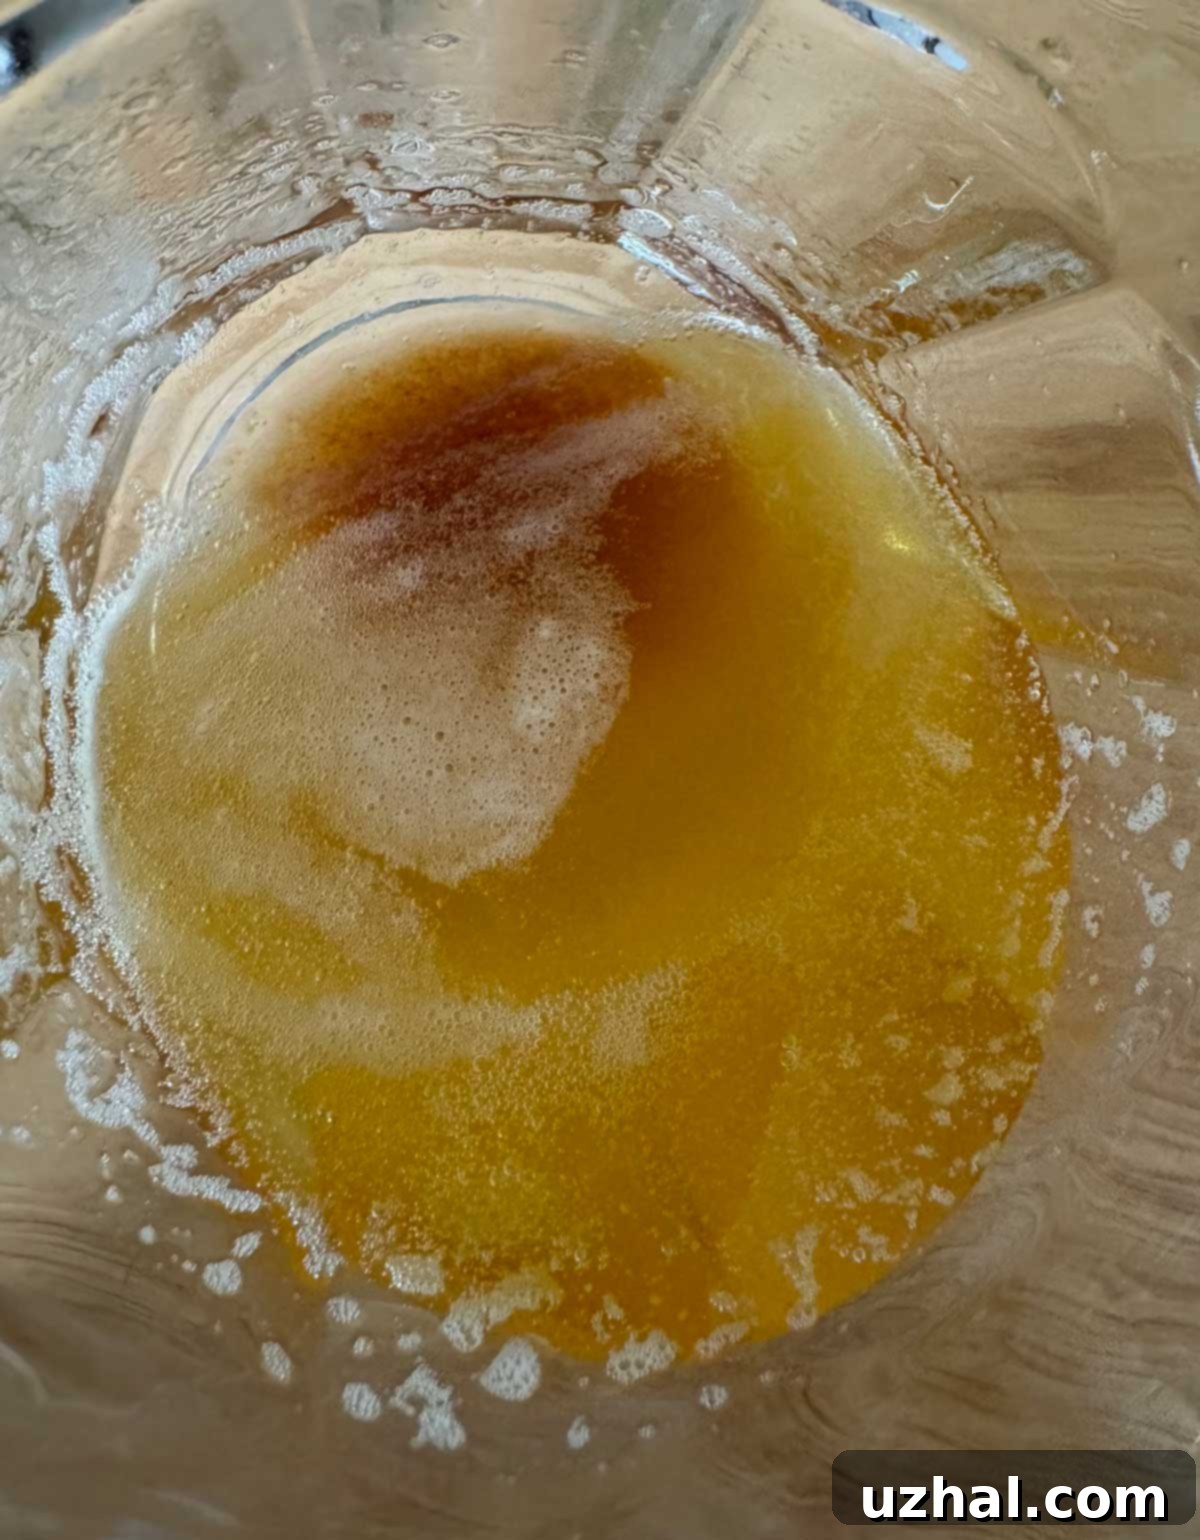
While the recipe officially calls for two ingredients for the dough, there’s a highly recommended third “helper” ingredient for cooking: clarified butter or ghee. You can certainly use olive oil or even regular butter, but there’s a reason clarified butter is preferred. Clarified butter (which is butter with the milk solids and water removed) and ghee (a type of clarified butter originating from India) both boast exceptionally high smoke points. This means they can be heated to a higher temperature before they start to smoke and burn, making them ideal for frying your flatbreads in a hot skillet. Using them significantly reduces the amount of smoke in your kitchen and imparts a beautiful, nutty flavor and golden-brown crust to your naan. If you have a spare stick of butter, clarifying it is a simple process and well worth the effort for the superior results.

Crafting Your Quick Naan Dough (on Parchment)
Making the dough for Naan One One is incredibly straightforward, requiring minimal effort and no complex kneading techniques. The goal is a soft, slightly sticky dough that yields tender flatbreads.
Mixing the Dough: Simplicity in Action
To begin, grab a spacious mixing bowl. Add 1 cup (approximately 230 grams) of your chosen Greek yogurt. Then, gradually incorporate 2 cups (approximately 260 grams) of self-rising flour. Using a sturdy spatula or a heavy-duty dough scraper, begin to stir the mixture. You’ll quickly notice the ingredients coming together to form a very soft and somewhat “raggedy” dough. The texture might seem a bit rustic, but that’s perfectly normal for this recipe. Avoid overmixing; just combine until there are no dry pockets of flour remaining.
Achieving the Perfect Dough Consistency
Dough consistency can vary slightly depending on the brand and thickness of your Greek yogurt, as well as environmental factors like humidity. If your dough feels excessively soft or sticky, sprinkle in a little more self-rising flour, a tablespoon at a time, until it reaches a manageable consistency. Conversely, if the dough appears too dry or crumbly, add a tiny bit more Greek yogurt, perhaps a teaspoon at a time, until it comes together. The ideal dough should be soft, pliable, and just slightly tacky to the touch, but not so sticky that it’s unworkable. This subtle adjustment ensures your flatbreads will be tender and easy to handle.
The Parchment Paper Technique: A Game Changer
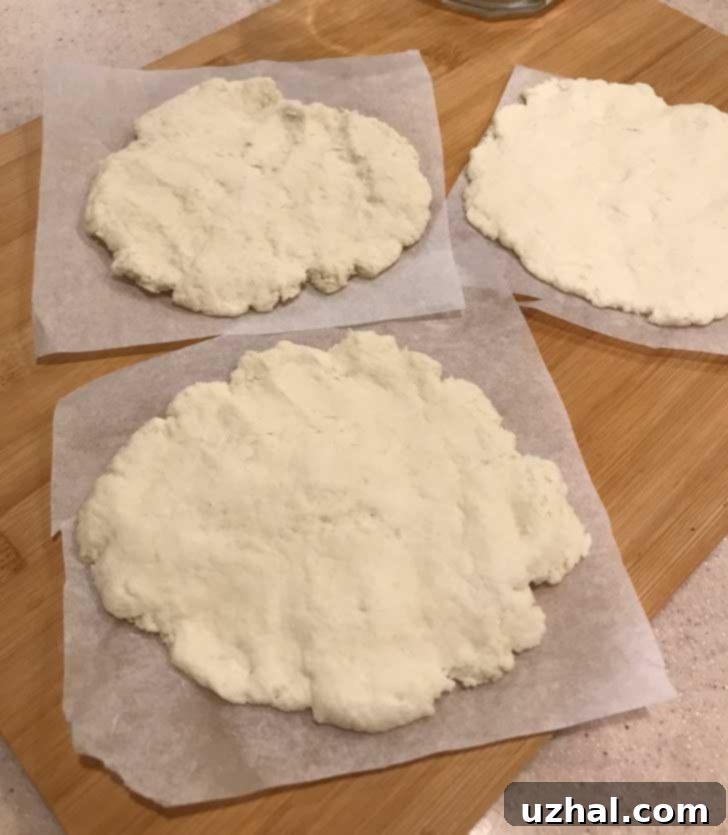
One of my favorite tricks for handling this soft dough without adding excessive flour (which can make the naan tough) is using parchment paper. Before you start shaping, cut or tear several pieces of parchment paper into squares, roughly 5 or 6 inches (12-15 cm) per side. This technique allows you to shape the dough directly on the parchment, preventing it from sticking to your work surface or hands. If you prefer not to use parchment, you can lightly flour your counter, but be mindful not to incorporate too much extra flour into the dough, as this can alter the final texture. Divide your dough into six roughly equal balls. They might look a bit rustic and uneven, but that’s part of their charm!
Shaping Your Naan: Thick or Thin, It’s Your Choice
Take one ball of dough and place it on a piece of parchment paper. To prevent sticking to your hands while shaping, lightly wet the palm of your hand with water. Then, gently but firmly press and smash the dough down into an oblong or circular shape, aiming for about 5 inches (12-13 cm) in diameter. These flatbreads are intentionally a little on the thicker side, which gives them a wonderful chewiness and allows them to puff up nicely when cooked. However, don’t hesitate to experiment! If you prefer a thinner naan, simply press the dough out further. The beauty of homemade bread is the ability to customize it to your liking.

Cooking Your Naan to Perfection
The cooking process for Naan One One is fast and requires a hot skillet, similar to making pancakes or tortillas. Getting the heat right is key to achieving that perfect golden-brown exterior and thoroughly cooked interior.
Pan Preparation: Heat is Your Friend
Set a heavy-bottomed cast iron skillet (or any good quality non-stick pan) on your stove over medium-high heat. Allow it to heat up thoroughly; you want it nice and hot. A hot pan ensures that the naan cooks quickly and develops a beautiful char without drying out. Once hot, give the skillet a light, even coat of clarified butter or ghee. A little goes a long long way here, just enough to lightly slick the surface.
The Frying Process: Step-by-Step
- First Side Cook: Carefully take one piece of parchment with the shaped dough and flip it dough-side down into the hot skillet. The parchment paper will now be on top. Let it cook for approximately two minutes. During this time, keep an eye on it; occasionally lift an edge with a spatula to check for browning. If it’s cooking too quickly and browning excessively, turn down your heat slightly. You’re looking for bubbles to form on the surface and the dough to start firming up.
- Peel and Flip: After about two minutes, carefully peel off the parchment paper from the top of the naan. It should come off easily. Then, using your spatula, gently flip the naan to cook the second side.
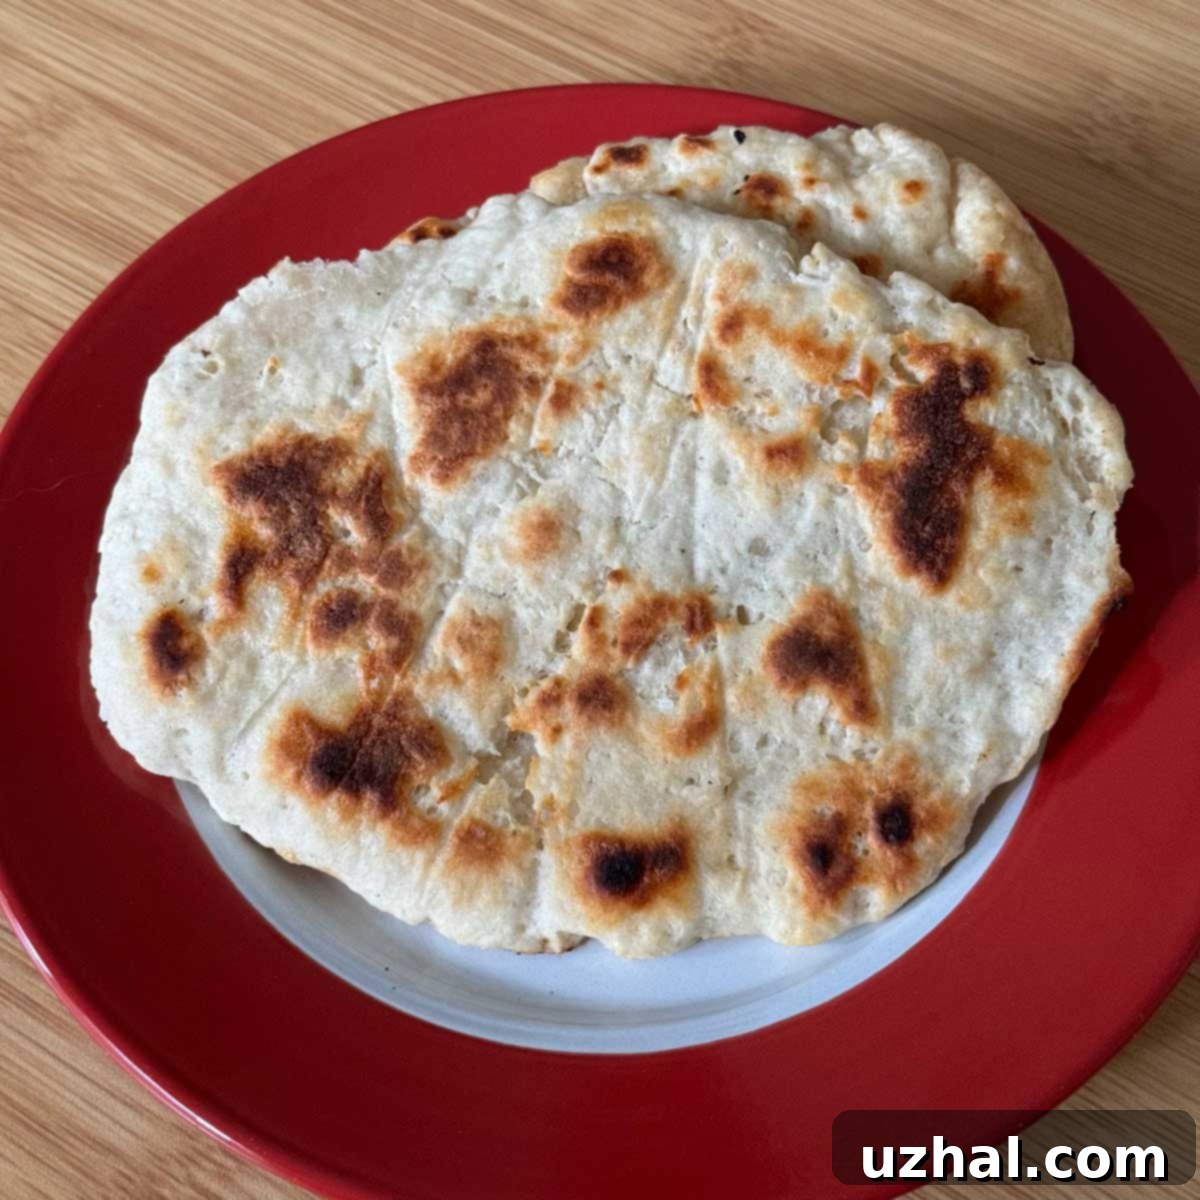
- Second Side Cook and Char: Continue cooking on the second side until it’s beautifully charred in spots and the inside is no longer doughy. This typically takes another 1-3 minutes, depending on your heat setting and preferred level of char. You’ll see it puff up even further, indicating the internal leavening at work.
- Repeat and Adjust: Repeat this process with the remaining dough balls. You’ll find yourself constantly adjusting the heat of the skillet, much like you do when making pancakes. The goal is to maintain a consistent hot temperature without burning the naan. On my stove, each naan usually takes about 5 minutes to cook through completely, but this timing can vary from kitchen to kitchen based on stove power and pan type.
Ensuring Doneness: No More Doughy Centers!
To ensure your naan is cooked perfectly all the way through and avoids a raw, doughy center, you have a couple of options. Visually, you can slice off a small edge of the first naan to check the interior. It should appear cooked and light, without any raw spots. For those who love precision, you can stick an instant-read thermometer into the side of the cooked naan; it should register around 207°F (97°C) or higher. While a thermometer isn’t essential for this recipe, it can be a fun and reassuring tool to use if you have one handy.
Serving Suggestions and Storage
Once cooked, your Naan One One is ready to be devoured! These versatile flatbreads are delicious on their own, but truly shine when paired with various accompaniments.
Warmth is Key for Optimal Enjoyment
By the time you’ve cooked all six of your yogurt flatbreads, the first ones might have cooled down a bit. For the best flavor and texture, I highly recommend serving them warm. You can easily achieve this by wrapping the finished naan in foil and letting them rest for a few minutes while you cook the remaining pieces. Alternatively, you can give them a quick reheat in the skillet for 30 seconds per side, or even pop them into a warm oven for a few minutes before serving. If you’re truly in a rush, serving them as is still yields a delicious result!
Versatile Accompaniments: Beyond Indian Cuisine
While Naan One One is a fantastic stand-in for traditional naan alongside Indian curries, dahls, and tandoori dishes, its versatility extends far beyond. These soft flatbreads are excellent for scooping up hummus, baba ghanoush, or other dips and spreads. They make a wonderful base for mini pizzas, a quick and easy wrap for leftover chicken or vegetables, or even a delightful side for soups and stews. Don’t limit yourself – experiment with different toppings and pairings to discover your favorite ways to enjoy this quick homemade bread.
Storing Leftovers and Reheating
Should you have any leftover Naan One One (a rare occurrence in my experience!), they store well. Allow them to cool completely, then place them in an airtight container or a zip-top bag at room temperature for up to 2-3 days. For longer storage, you can freeze them for up to a month. To reheat, sprinkle them with a little water, then warm them in a hot skillet for a minute or two per side, or in a toaster oven until soft and heated through. They’ll spring back to life, almost as good as fresh!
Recipe Variations and Customization
While the basic two-ingredient Naan One One is delicious, there’s plenty of room for customization to match your preferences and whatever you have in your pantry.
Flavor Boosters for the Dough
Elevate the taste of your flatbreads by incorporating additional seasonings directly into the dough. A teaspoon of garlic powder or onion powder can add a savory depth. Dried herbs like oregano, basil, or thyme can impart an aromatic quality. For an authentic touch often found in traditional naan, consider mixing in a teaspoon of nigella seeds (kalonji) or sesame seeds. These small additions won’t alter the texture but will significantly enhance the flavor profile, making your naan even more exciting.
Post-Cooking Toppings and Finishers
Once your Naan One One is hot off the skillet, it’s the perfect canvas for extra flavor. Brush the warm flatbreads with melted garlic butter for an irresistible aroma and taste. A sprinkle of fresh chopped cilantro or parsley can add a burst of freshness. For a Middle Eastern twist, try dusting them with za’atar. A light grating of Parmesan cheese over the warm naan will melt beautifully, adding a salty, umami layer. The possibilities are endless!
Experimenting with Yogurts and Flours
Feel free to experiment with different types of yogurt. While whole milk Greek yogurt is highly recommended for its richness, plain regular yogurt (not Greek) can also work, though you might need to slightly adjust the amount of flour due to its thinner consistency. For those with dietary restrictions, while this recipe is not inherently gluten-free, some success has been reported with gluten-free self-rising flour blends. Be aware that the texture might be slightly different, and you may need to adjust liquid content. Always ensure your self-rising flour is fresh for optimal leavening results.
Naan One One aka Yogurt Flatbread Ingredients
Here’s a concise breakdown of the simple ingredients needed for this fantastic quick naan recipe:
- Self-Rising Flour: This is the backbone of our dough, providing both structure and leavening. If you don’t have store-bought self-rising flour, you can easily make your own by combining 2 cups of all-purpose flour with 1 tablespoon of baking powder and ½ teaspoon of salt.
- Greek Yogurt: Essential for tenderness, moisture, and a subtle tang. While low-fat versions will work, whole milk Greek yogurt is highly recommended for a richer flavor and softer texture.
- Ghee or Clarified Butter (for cooking): While technically optional for the dough, this is highly recommended for frying. Both ghee and clarified butter have very high smoking points, making them perfect for achieving a beautiful golden crust without burning or excessive smoke. They also impart a wonderful, rich flavor. Olive oil is a suitable alternative if you don’t have these.
This Naan One One recipe is more than just a quick fix; it’s a testament to how simple ingredients can create something truly delicious and satisfying. Whether you’re in a hurry or just craving a fresh, warm flatbread, this recipe delivers every time. Enjoy the process of making your own versatile and incredibly tasty yogurt flatbread!
