Vanilla Bean Magic Cake: Bake a Decadent 3-Layer Custard Cake with One Easy Batter
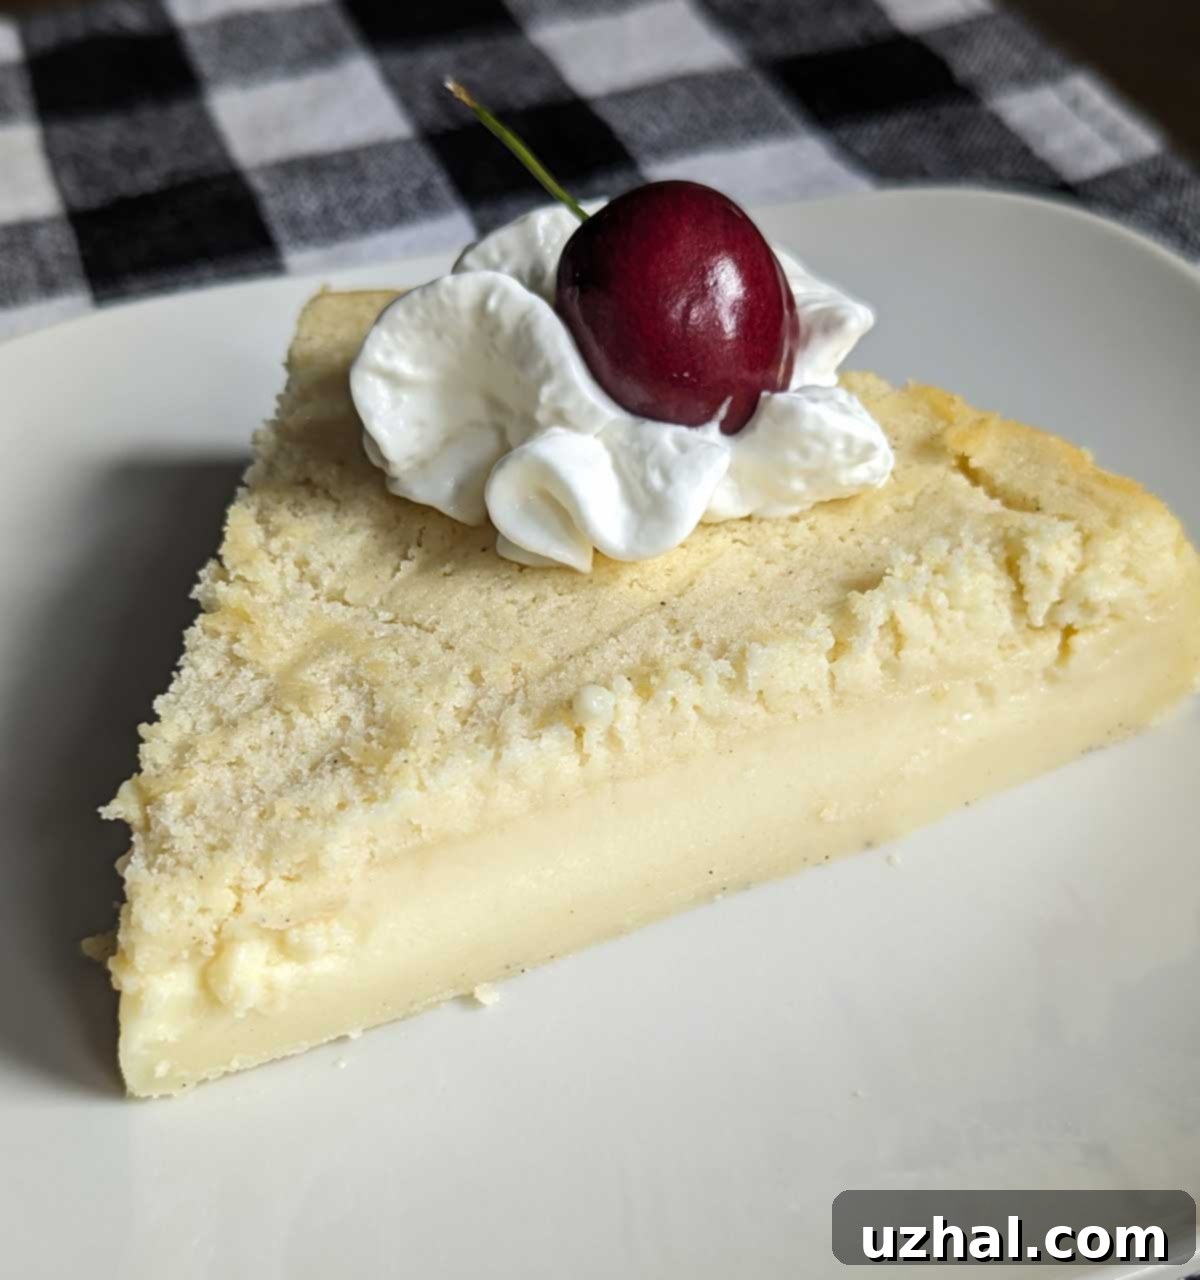
Prepare to be enchanted by the Vanilla Bean Magic Cake, a remarkable dessert that lives up to its name by “magically” separating into three distinct layers during baking. From a single, simple batter, this cake forms a rich, dense crust at the bottom, a luscious, creamy pudding-like filling in the middle, and a light, fluffy cake topping. It’s a delightful culinary illusion, reminiscent of classic Impossible Pie but elevated with an extra layer of textural complexity and pure vanilla bliss. The best part? All this magic unfolds with minimal effort, making it an incredibly rewarding baking project for any skill level.
Unveiling the “Magic”: The Science Behind the Layers
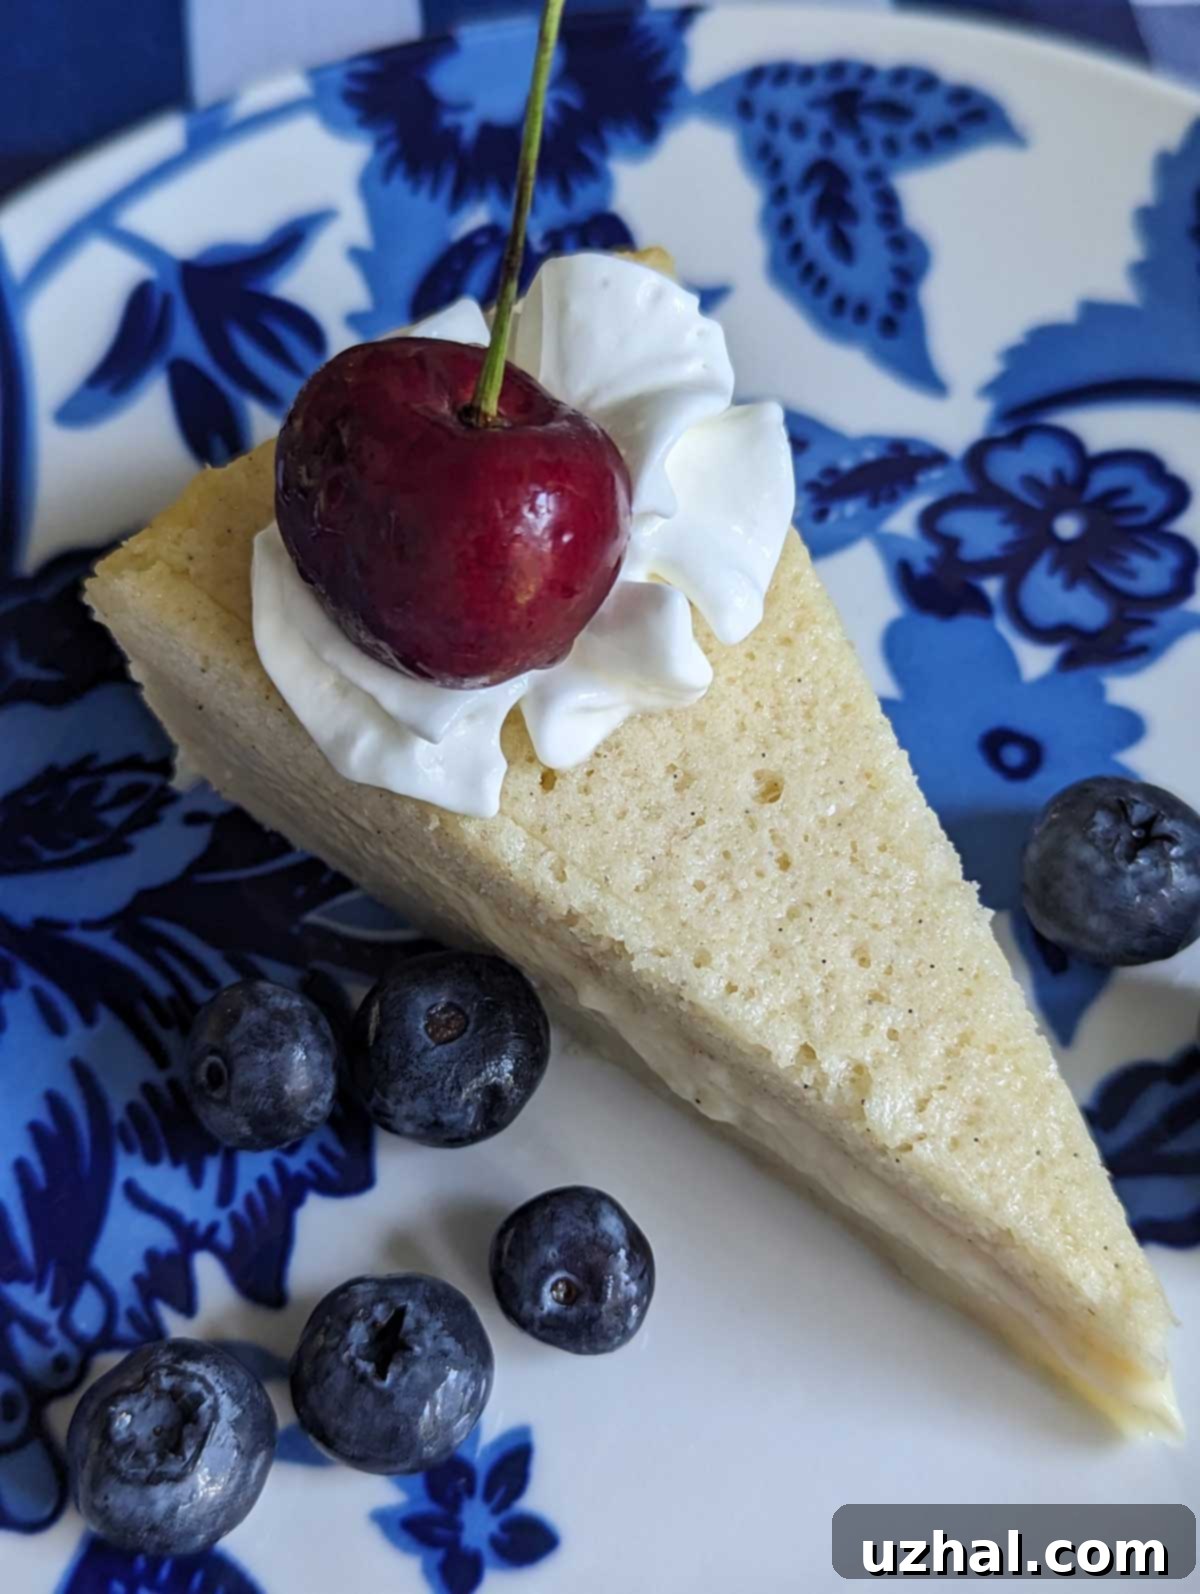
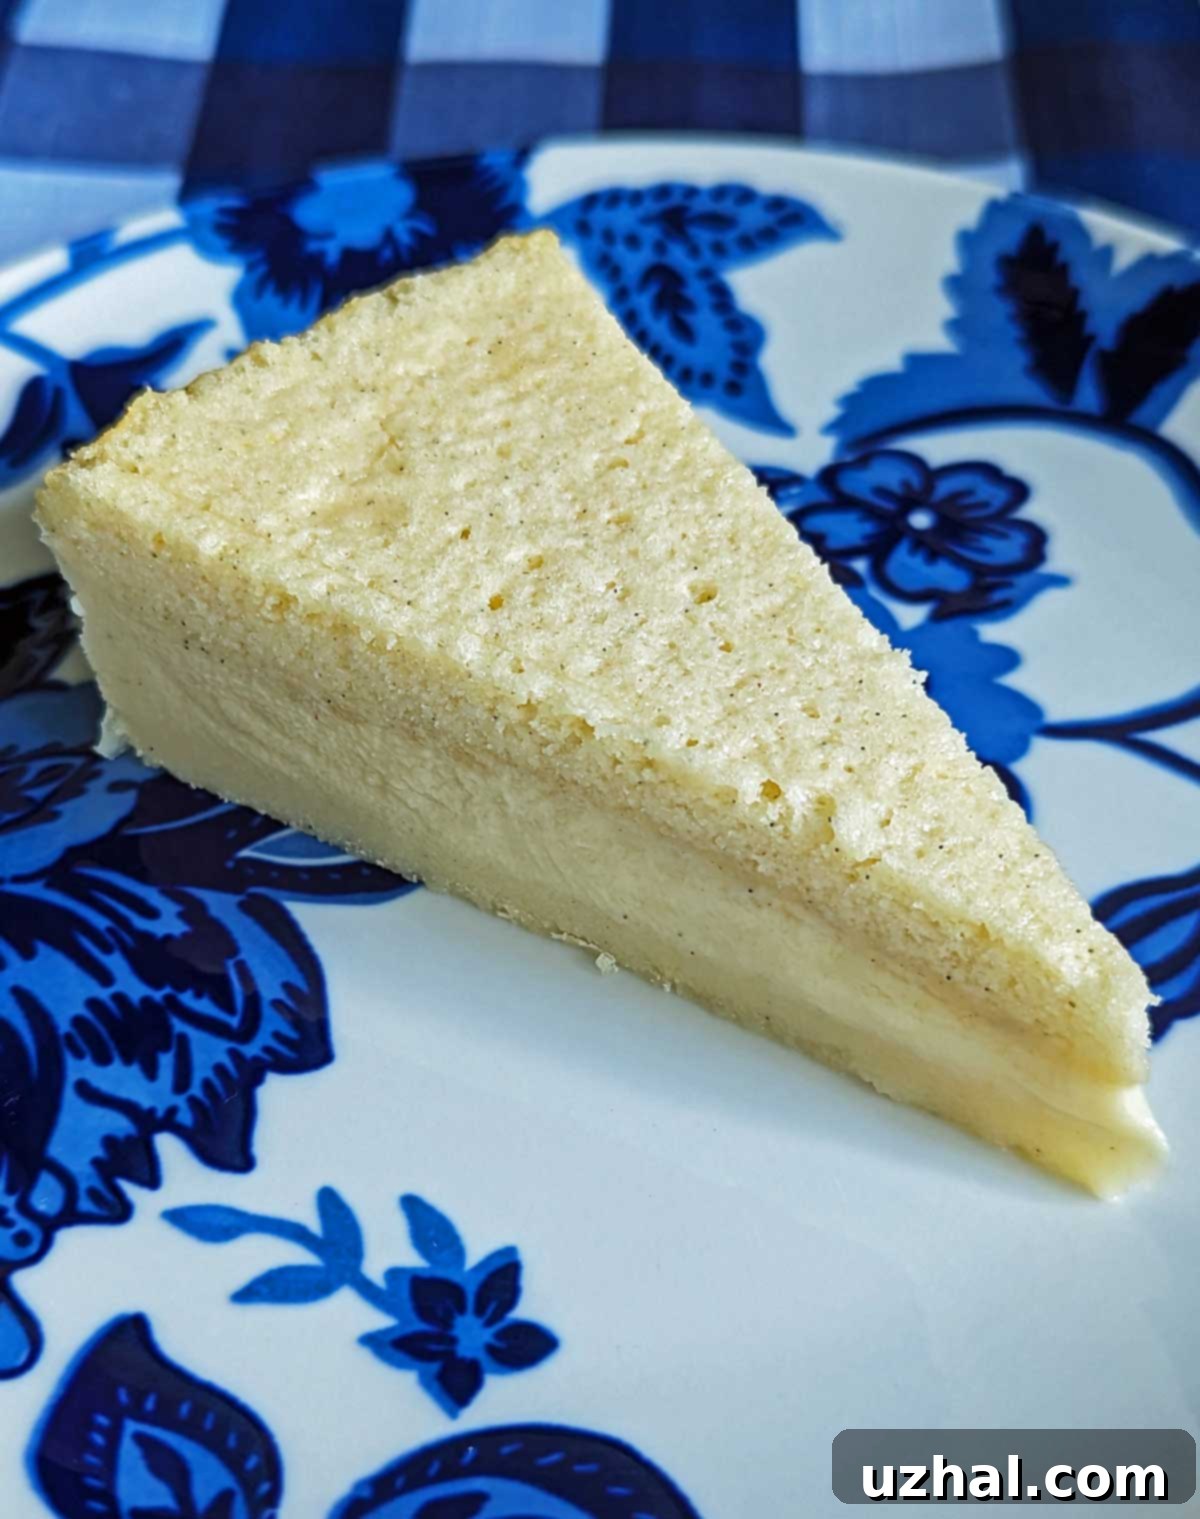
While it certainly feels like a supernatural feat, the formation of these distinct layers is a fascinating interplay of chemistry and physics. The magic cake batter is exceptionally liquidy, and when baked at a precise, low temperature, its components cleverly separate. Many theories point to the amylase in egg yolks, which remains active at lower temperatures, breaking down the starch in the very liquid custard base. This process, combined with varying densities of ingredients, causes the heavier, denser elements (like the cooked custard base) to sink, forming the crust. The middle, lighter liquid transforms into the creamy pudding filling, while the airy, whipped egg whites rise to the top, creating the delicate sponge cake layer.
This careful balance ensures that each element bakes perfectly in its designated spot, resulting in a cohesive yet multi-textured dessert. It’s truly a testament to how simple ingredients, handled correctly, can produce an extraordinary outcome. This same captivating phenomenon can be observed in other beloved recipes, such as the delightful Lemon Pudding Cake and the famous Pillsbury Vienna Chocolate Pie, proving that magic in the kitchen is more common than you might think!
The Heart of the Flavor: Choosing Your Vanilla for a Superior Taste
Given that vanilla is the star of this “Vanilla Bean Magic Cake,” the quality of your vanilla flavoring is paramount. Unlike cakes that might rely on chocolate or fruit for visual appeal, this dessert boasts a rather uniform, monotone color. This means the flavor must shine brightly to truly impress. Skimping on vanilla here would be a disservice to the entire magical experience.
You have a couple of excellent options for achieving that deep, aromatic vanilla essence. Traditionally, two vanilla beans, split and scraped, can be infused into the warm milk, imparting an unparalleled depth of flavor and those beautiful speckles. However, if vanilla beans are a rare commodity in your pantry, high-quality vanilla bean paste is an excellent, convenient alternative. It delivers a rich, concentrated vanilla flavor along with those coveted tiny black specks that signify authentic vanilla bean presence. While pure vanilla extract can work, vanilla bean paste offers a more robust flavor profile and visual appeal, which is especially important for a cake where vanilla is the sole dominant flavor.
Choosing the Right Pan for Your Vanilla Bean Magic Cake
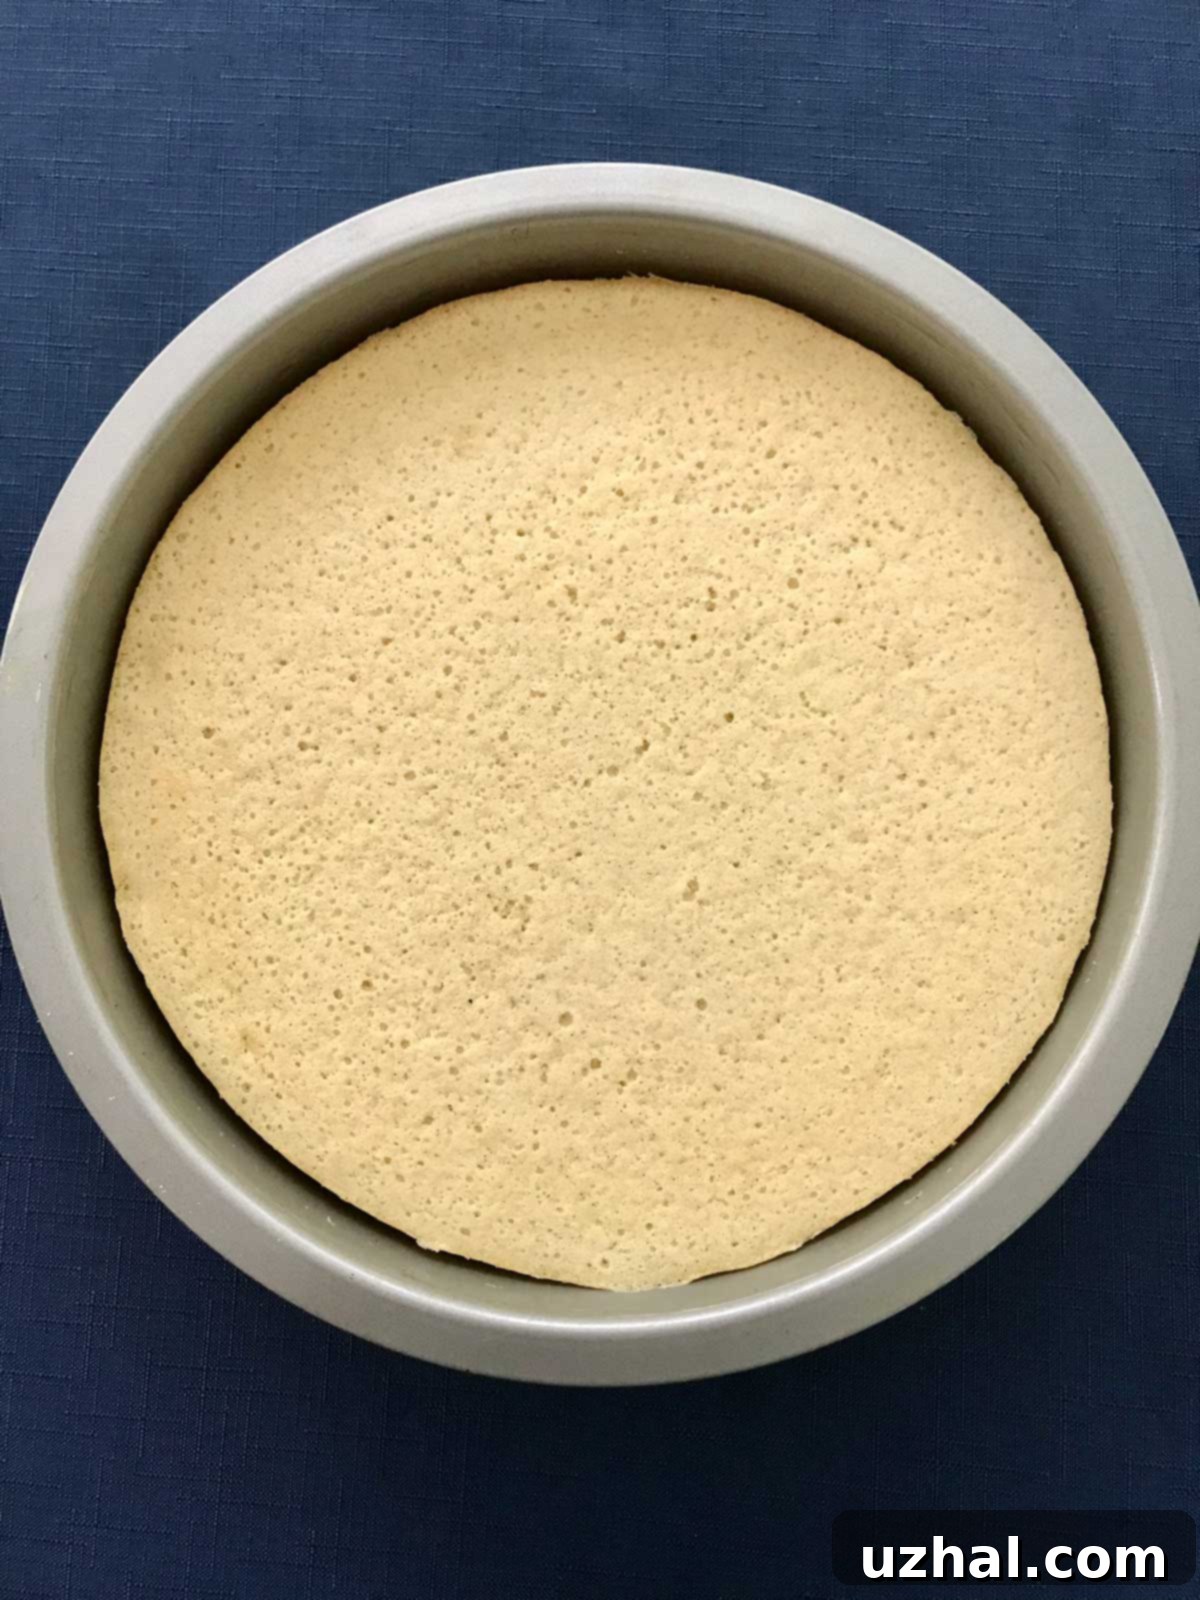
The right pan size is crucial for ensuring the layers form correctly and the cake bakes evenly. For this Vanilla Bean Magic Cake recipe, I consistently use a 9×2-inch round cake pan. It’s vital that if you opt for a 9-inch round pan, it has at least a 2-inch depth to comfortably hold all the liquidy batter and prevent overflow during baking. Using a springform pan can also be an excellent choice, as it allows for easy release of the cake without damaging the delicate layers. Just ensure the springform pan is well-sealed to prevent any leaks.
I’m fairly confident that an 8-inch square pan would also yield fantastic results, though it’s been a while since I’ve put that to the test. The slightly smaller surface area might result in a slightly taller cake with more pronounced layers, which could be an interesting variation. For those looking to make a smaller batch, perhaps a half recipe, a 6-inch round or square pan would likely be ideal. I plan to test this adaptation soon and will provide updates on the specific baking times and potential adjustments needed. For now, rest assured that a 9×2-inch round cake pan is a tried-and-true choice for a perfect Vanilla Bean Magic Cake.
Storing and Freezing Your Vanilla Bean Magic Cake for Future Enjoyment
While the Vanilla Bean Magic Cake is absolutely divine after a full night of chilling in the refrigerator, you can still achieve excellent results by allowing it to cool at room temperature for an hour, followed by a minimum of 2 hours in the fridge before serving. The extended chilling time allows the layers to fully set and the flavors to meld beautifully, creating that signature dense crust and creamy filling.
One of the great advantages of this cake is its freezer-friendliness. If you find yourself with leftovers (though that’s a rare occurrence with a cake this delicious!), you can easily freeze individual slices or the remaining portion. Simply wrap the cake tightly in plastic wrap, then a layer of aluminum foil, and store it in an airtight container. When you’re ready to enjoy it again, thaw the frozen cake in the refrigerator overnight. You might notice the pudding filling is a tiny bit less smooth after freezing and thawing, but the overall texture and exquisite vanilla flavor remain wonderfully intact, making it a perfect make-ahead dessert.
Expert Tips for Baking Your Best Vanilla Bean Magic Cake
- **Room Temperature Ingredients are Key:** For optimal emulsification and layer separation, ensure all your ingredients – especially eggs, butter, and milk – are at room temperature. Cold ingredients can cause the batter to seize or not blend properly, hindering the magical layering effect.
- **Choose the Right Egg Size:** This recipe specifically calls for large eggs. Avoid using extra-large or jumbo eggs, as the increased liquid content can throw off the delicate balance of the batter, potentially affecting the consistency and separation of your layers.
- **Beat Those Yolks Thoroughly:** When beating the egg yolks with sugar, water, and vanilla, aim for a light, pale, and slightly thickened mixture. While a handheld mixer is recommended for efficiency and consistency, a good old whisk can also do the trick with a bit more elbow grease. Proper aeration here contributes to the final cake texture.
- **Sugar Level for Perfect Sweetness:** This cake is designed to be sweet, and the sugar plays a critical role in its structure and flavor. I highly advise against reducing the sugar content unless you’re experienced in recipe experimentation and prepared for potential variations in outcome. If you find the cake too sweet for your palate, serving it with unsweetened whipped cream or a sprinkle of sea salt can beautifully balance the sweetness, enhancing the overall experience.
- **Optimal Oven Placement:** I typically bake my Magic Cakes on the lower third rack of the oven. This position tends to create less browning on the top layer, allowing the delicate cake topping to remain light. If you prefer a slightly more golden-brown top, you might experiment with a higher rack position. I’m excited to test my next batch in a Breville toaster oven for smaller-scale baking and will share my findings!
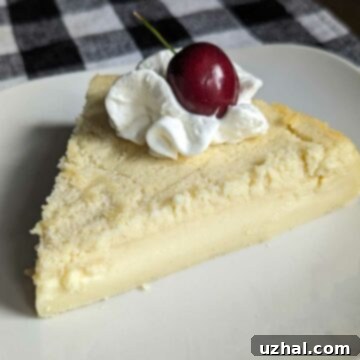
- **Embrace a Slight Wobble (Underbaking is Better!):** The cake pictured in the recipe card and featured image was slightly overbaked, resulting in a slightly less generous pudding filling. My golden rule for this cake is to lean towards underbaking rather than overbaking. When it comes out of the oven, a slight wobble in the center is perfectly normal and desired. Even if the middle seems a little runny, it will set beautifully during the chilling process and result in a much moister, creamier, and more delicious cake than an overbaked, stiff one.
- **Invest in Quality Vanilla Paste:** While good quality vanilla extract can suffice, using vanilla bean paste truly elevates this cake. The depth of flavor and the visible vanilla specks add an authentic gourmet touch that is undeniable. It’s a small splurge that makes a huge difference in a vanilla-centric dessert.
- **Butter Choices & Salt Adjustment:** I generally test with unsalted butter and then add a pinch more salt to taste, as salt helps to enhance the vanilla flavor and balance the sweetness. However, if you’re using salted butter, simply reduce the amount of added salt to a mere pinch to avoid an overly salty outcome.
- **Garnish for Visual Appeal:** Since the cake itself is a single, beautiful vanilla hue, don’t shy away from colorful garnishes! Fresh berries (strawberries, raspberries, blueberries), a dusting of powdered sugar, a dollop of vibrant fruit compote, or a sprig of fresh mint can add a stunning visual contrast and a fresh burst of flavor.
If you’ve fallen in love with the concept of this magically layered dessert, you’re in luck! There’s a wonderful little book called “Magic Cakes” from which this very recipe was adapted. The book offers a treasure trove of different Magic Cake variations and exciting flavor combinations, inviting you to explore the endless possibilities of this enchanting baking technique.
Serving Suggestions and Perfect Pairings
The beauty of Vanilla Bean Magic Cake lies not only in its unique layers but also in its versatility when it comes to serving. While it’s utterly delicious on its own, a few simple additions can elevate the experience. A dollop of freshly whipped, unsweetened cream is a classic pairing, offering a light, airy contrast to the cake’s rich texture. Fresh berries – strawberries, raspberries, or blueberries – provide a tart counterpoint to the sweetness and add a vibrant pop of color. For a more decadent touch, consider a drizzle of warm caramel sauce, a sprinkle of toasted nuts, or even a light grating of white chocolate.
This cake pairs wonderfully with a hot cup of coffee or a fragrant herbal tea, making it perfect for an afternoon treat or an elegant after-dinner dessert. For a more celebratory occasion, a small glass of dessert wine or a sparkling cider would complement its delicate vanilla notes beautifully. No matter how you choose to serve it, the Vanilla Bean Magic Cake is sure to impress both visually and gastronomically.
Recipe
Vanilla Bean Magic Cake
Anna
Pin Recipe
Ingredients
- 4 large eggs separated and room temp
- ¾ cup sugar, scant (140 grams)
- ½ tablespoon water
- 1 tablespoon vanilla bean paste
- 8 ½ tablespoons unsalted butter, melted (salted okay too) (120 grams)
- ¼ teaspoon salt plus a pinch, reduce to only a pinch if using salted butter
- ¾ cup all-purpose flour, sifted (105 grams)
- 2 cups plus 2 tablespoons whole milk at room temperature (17 oz/476 grams)
Instructions
-
Preheat the oven to 300 degrees F (150 degrees C). Ensure your oven rack is positioned in the lower third of the oven for best results.
-
Lightly grease a 9×2 inch round cake pan. For extra assurance against sticking and easy removal, line the bottom with a round of parchment paper, then grease the parchment paper again. This double-greasing and lining technique is crucial for cakes with delicate crusts.
-
In a large mixing bowl, combine the egg yolks, sugar, water, and vanilla bean paste. Using an electric mixer (or a strong whisk), beat them together for approximately one minute until the mixture is pale yellow and slightly thickened. Next, gradually whisk in the melted butter and salt until fully incorporated. Finally, gently fold in the sifted all-purpose flour. The mixture will be thick.
-
Slowly pour in the room temperature whole milk, little by little, whisking continuously until the batter is completely smooth and fully blended. It’s important to use milk that is at a warm room temperature, not straight from the refrigerator, as this helps prevent the butter from solidifying and ensures a smooth, uniform batter. You can gently warm the milk in the microwave or on the stovetop if it’s too cold.
-
In a separate, clean bowl, beat the egg whites until they form stiff peaks. Be careful not to overbeat them to the point of dryness; they should still have a slight sheen. Gently stir the beaten egg whites into the prepared batter using a balloon whisk or a standard whisk. The goal is to incorporate them fairly easily, creating a frothy batter. Don’t worry if there are a few small lumps of egg white; overbeating the whites at this stage can compromise the cake’s delicate texture. If you notice any distinct patches of white after pouring into the pan, you can gently smooth them with a knife.
-
Carefully pour the frothy batter into your prepared cake pan. Place the pan on a rimmed baking sheet (to catch any potential spills and for easier handling) and bake for 50 minutes. When the cake is done, it should still have a noticeable wobble in the center; this is normal and indicates a perfectly moist, creamy filling. Remove the cake from the oven and let it cool completely at room temperature for at least an hour. Afterward, transfer it to the refrigerator to chill thoroughly for a minimum of 2 hours, or ideally overnight, before serving. This chilling time is essential for the layers to fully set and for the flavors to develop.
-
Before serving, enhance the cake’s appearance and flavor with your favorite garnishes. A classic choice is a generous dollop of freshly whipped cream and a handful of colorful fresh berries, such as raspberries or sliced strawberries, to complement the rich vanilla flavor.
