Mastering Milk Bar’s Blueberries & Cream Cookies: The Ultimate Guide to Baking Christina Tosi’s Iconic Treats
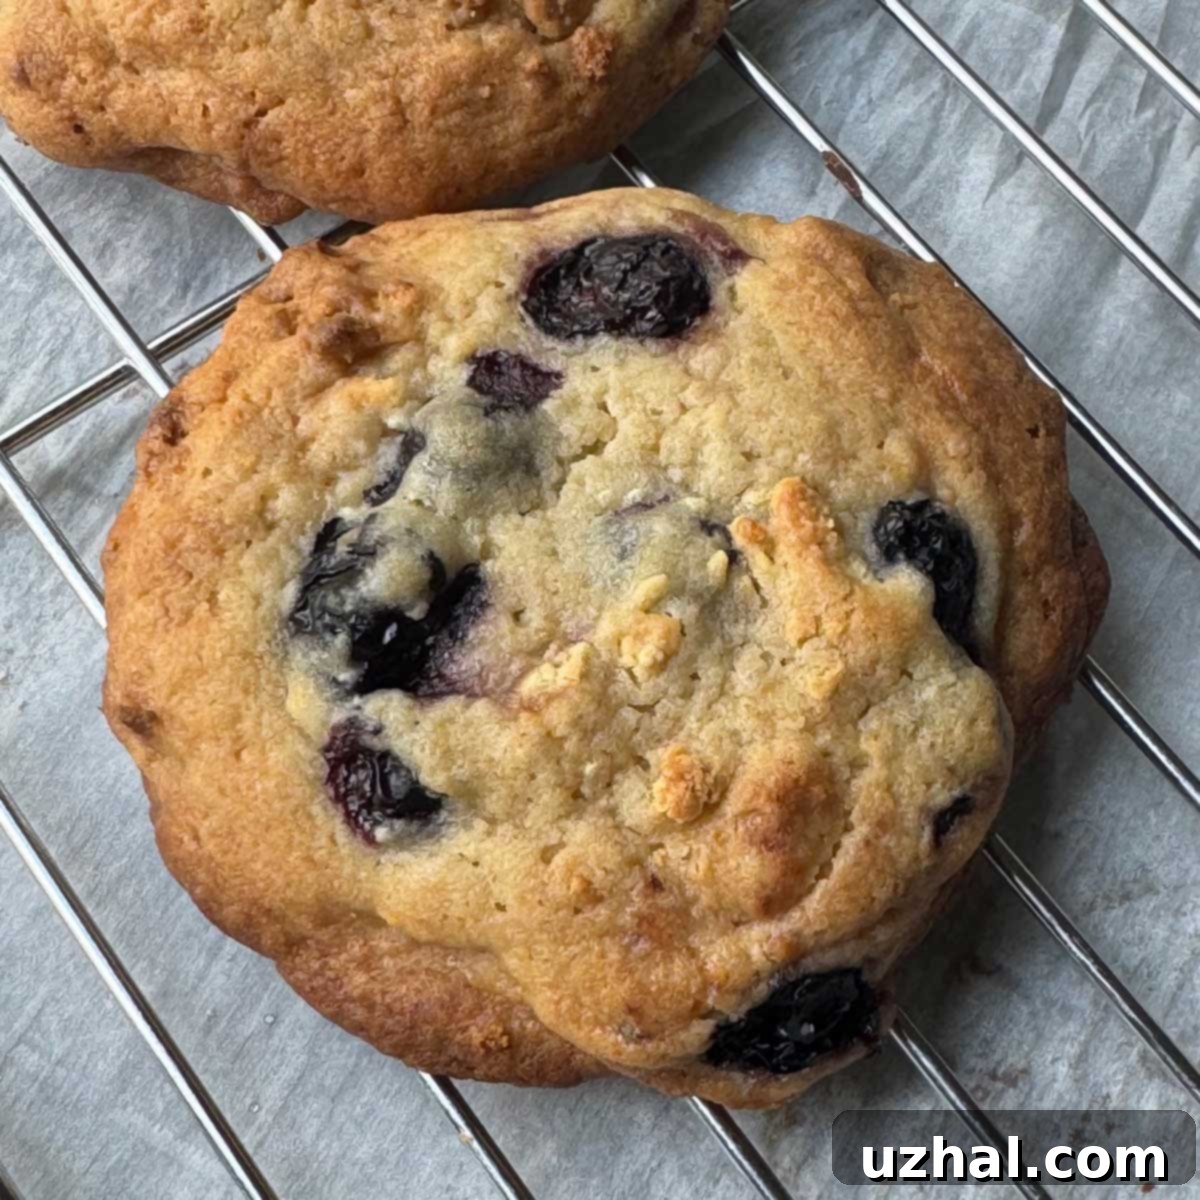
While Milk Bar’s Compost Cookies often steal the spotlight, Christina Tosi’s Blueberry-and-Cream Cookies hold a special place in the hearts of many dessert enthusiasts. These delightful treats, a beloved staple from the renowned bakery, offer a unique combination of textures and flavors that are truly unforgettable. Initially gaining attention through a video featuring Martha Stewart and Christina Tosi, the recipe has evolved over time. The version found in the official Milk Bar cookbook presents a refined and arguably superior iteration, making it more accessible for home bakers to recreate this bakery-quality experience. This comprehensive guide will walk you through every step of making these extraordinary cookies, from understanding their unique components to mastering the intricate baking techniques.
The Allure of Milk Bar’s Blueberry & Cream Cookies: What Makes Them Truly Special?
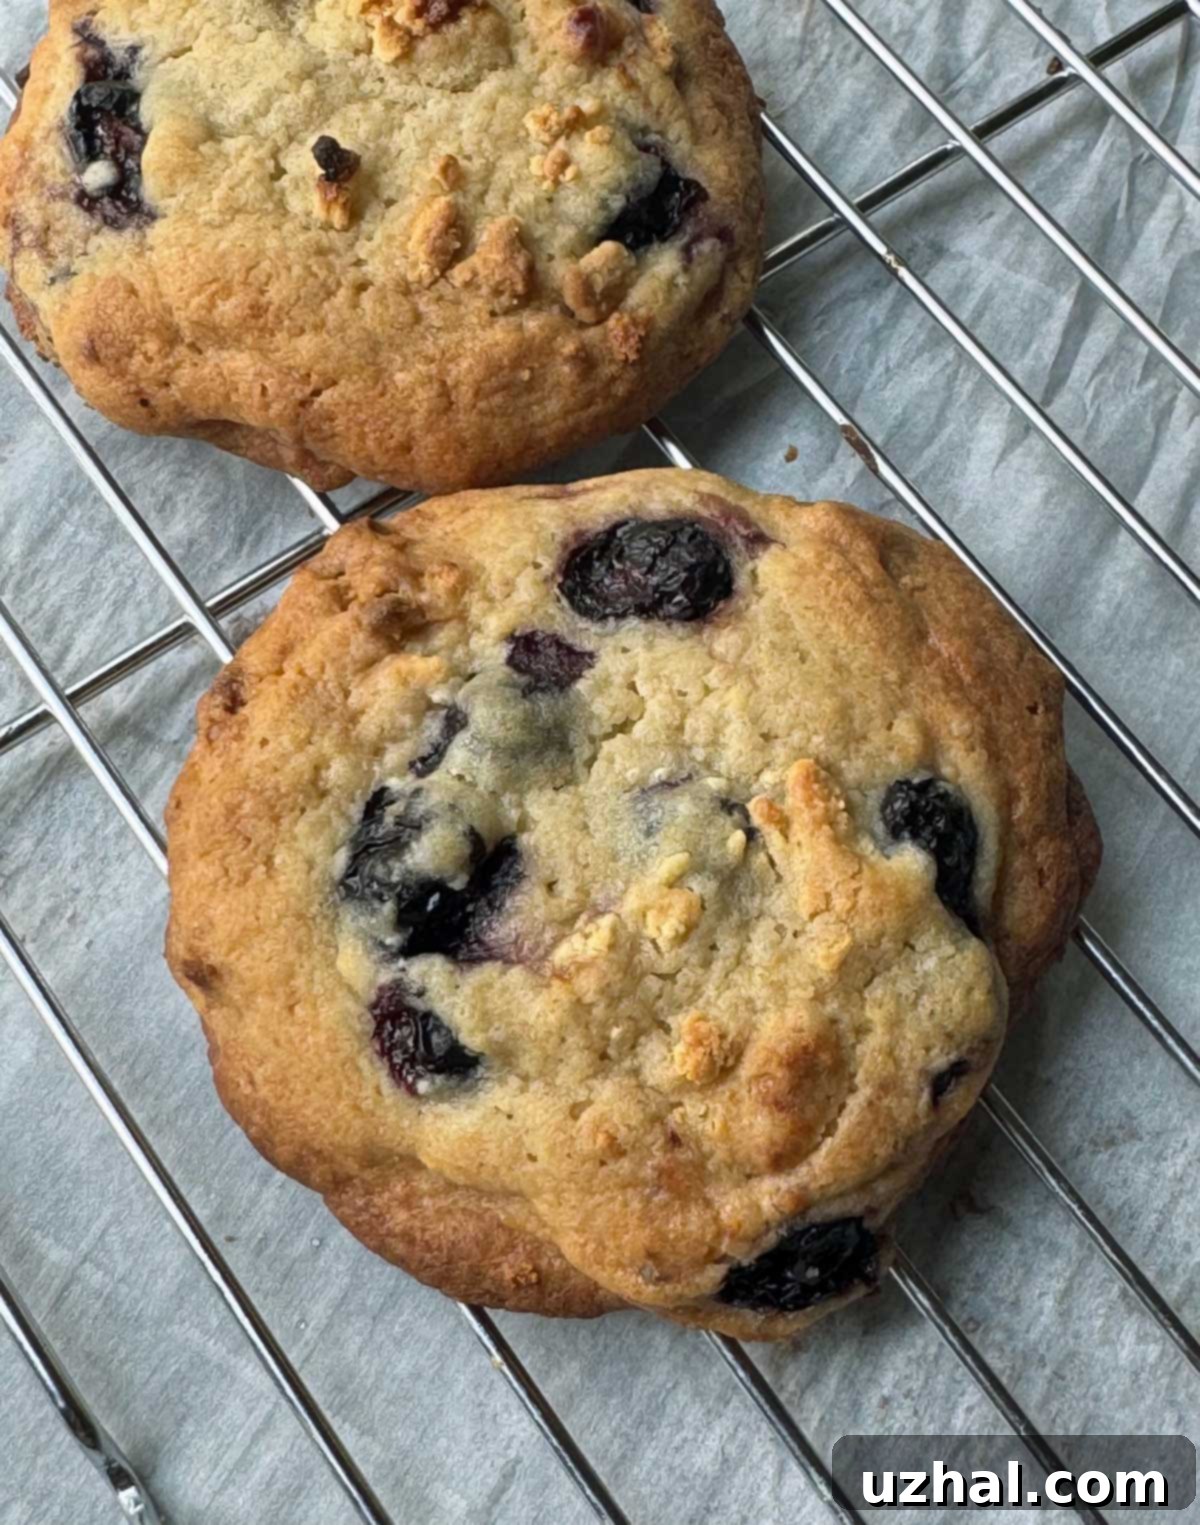
Milk Bar’s Blueberry-and-Cream Cookies are not just another cookie; they are a culinary experience, distinguished by several signature elements that set them apart. Understanding these key characteristics is crucial to appreciating the magic behind Christina Tosi’s innovative approach to baking.
The Signature Milk Crumb
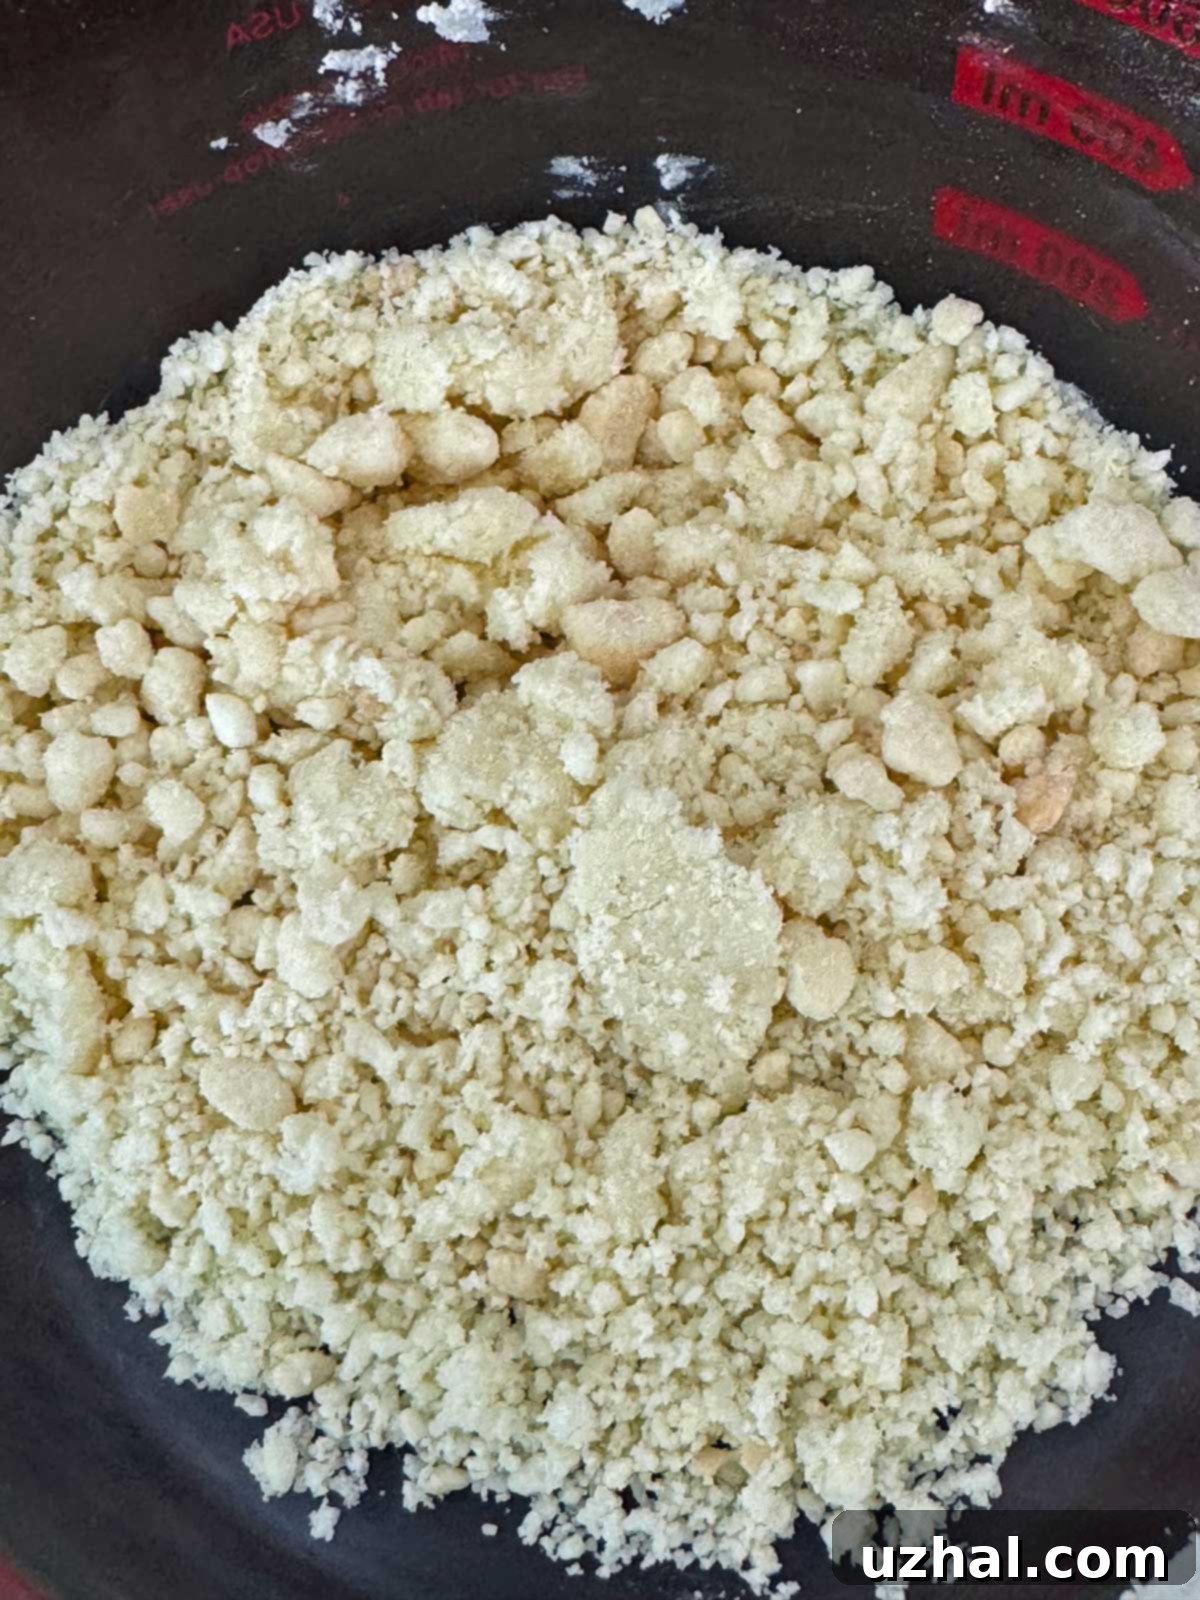
Firstly, these cookies proudly feature Milk Bar’s iconic “milk crumb.” This unique inclusion is far from a simple addition; it’s a foundational element that imparts a distinct texture and depth of flavor. The milk crumb, a carefully crafted mixture of dried milk powder, flour, cornstarch, sugar, and butter, baked until golden and then tossed with more milk powder and white chocolate, introduces a delightful crunch and a subtle, milky sweetness that elevates the entire cookie. It’s a genius component that creates layers of sensory enjoyment, making each bite an adventure.
Indulgent Size
Secondly, these cookies are famously large! Replicating the bakery’s generous portions at home adds to the fun and authenticity of the baking experience. While you certainly have the option to make them smaller, embracing their substantial size is part of the Milk Bar tradition. These generous cookies offer a satisfying chew and spread, making them feel like a substantial treat rather than a fleeting snack. Baking them large means more of that incredible texture and flavor in every single cookie.
Unmatched Texture: Crispy Edges, Soft Interior
Thirdly, and perhaps most importantly, their texture is truly unparalleled. These cookies boast a beautifully crispy exterior, giving way to an incredibly soft, chewy, and tender interior. This coveted texture isn’t achieved by chance but is the direct result of an extensive mixing process, particularly the long creaming of butter and sugar, followed by prolonged beating after adding the egg. This intensive mixing incorporates a significant amount of air and develops the gluten in a way that contributes to their unique structure and chewiness. A stand mixer is virtually indispensable for this recipe, ensuring you achieve the airy, yet dense, consistency required for the perfect Milk Bar cookie.
Crafting the Perfect Milk Crumb: A Step-by-Step Guide
As highlighted, the Milk Crumb is a cornerstone of the Blueberry-and-Cream Cookies’ distinctive profile. This crunchy, sweet, and slightly savory element is what gives the cookies a textural complexity that is truly Milk Bar. Preparing it ahead of time is highly recommended, as it allows the crumb to cool completely and firm up, ready to be incorporated into your cookie dough. The process involves combining a unique blend of dried milk powder, all-purpose flour, cornstarch, sugar, and a touch of salt with melted butter. This mixture is then baked until lightly golden and dry, creating a wonderfully crisp base. After cooling, it’s further enhanced by tossing it with additional dried milk powder and melted white chocolate, adding another layer of sweetness and a rich, creamy undertone. This thoughtful preparation ensures that the milk crumb retains its integrity and contributes maximum flavor and crunch to the final cookie.
Assembling the Cookie Dough: Tips for Success
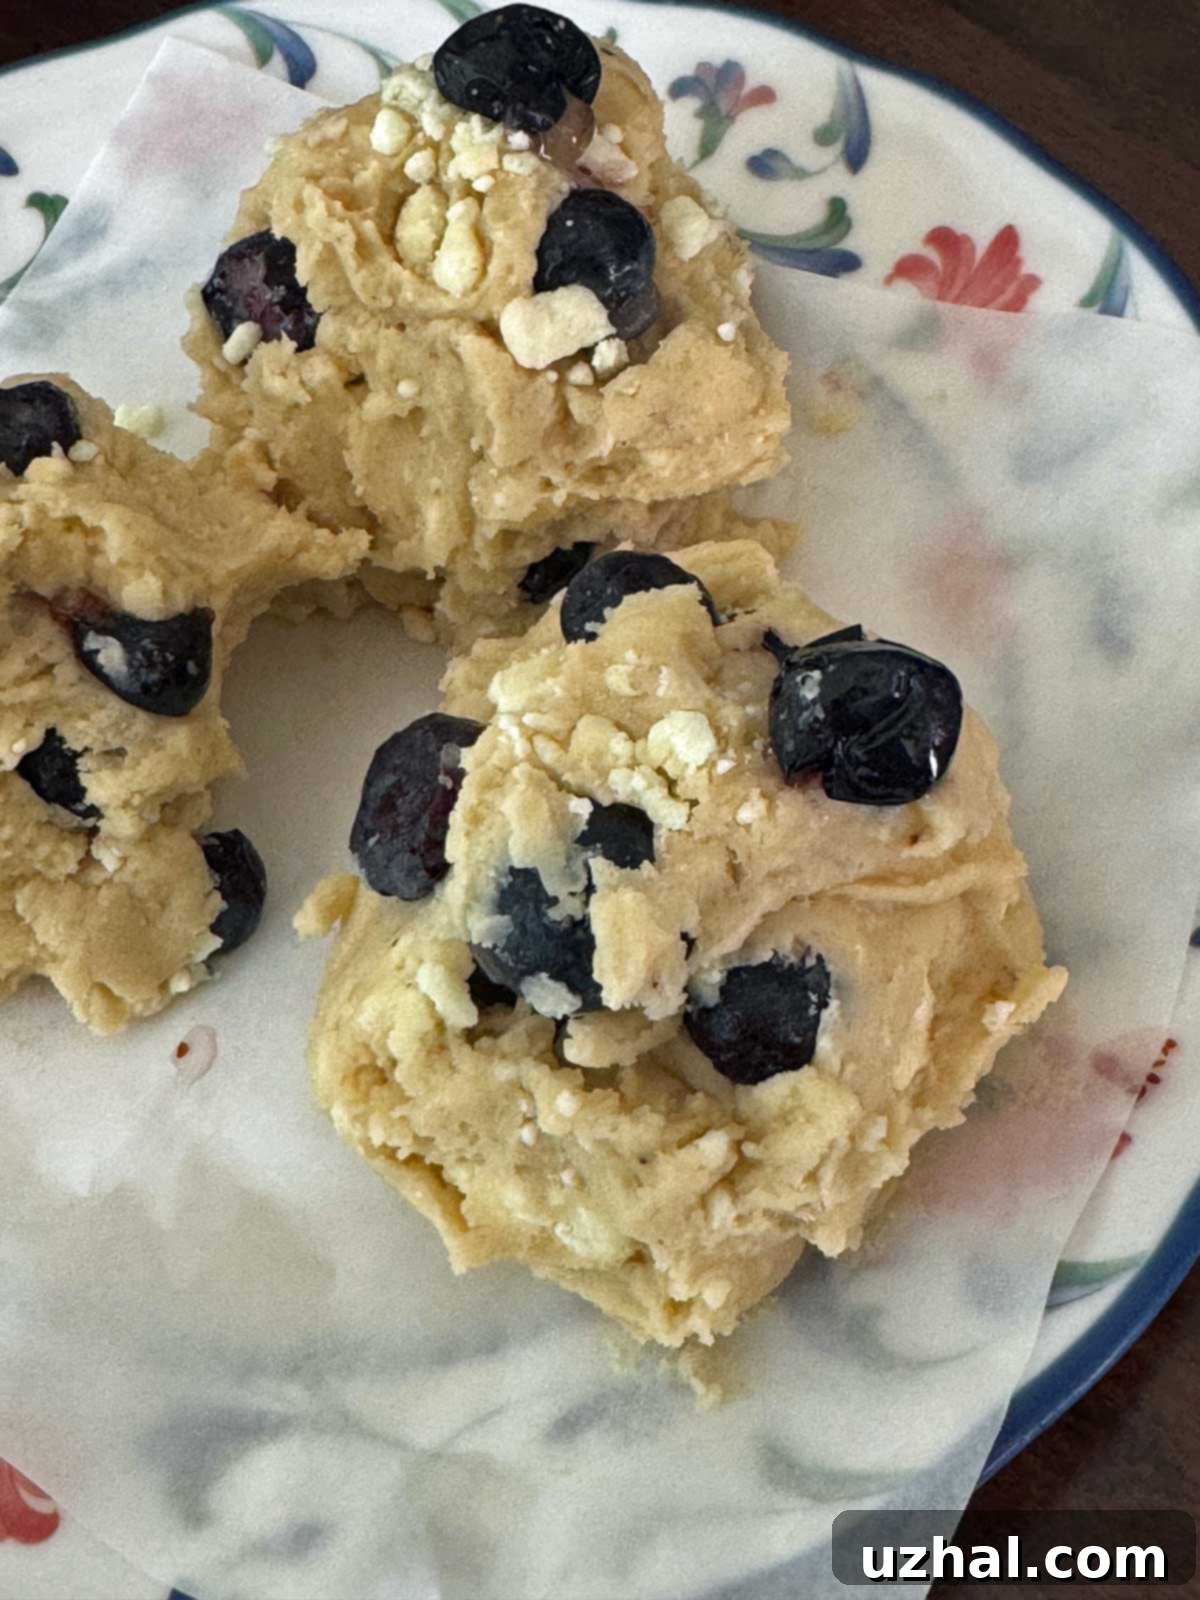
The cookie dough itself is thick, sturdy, and designed to be chilled before baking. This robust consistency allows for shaping generous portions, typically yielding 12 to 17 cookies depending on your preferred size. I personally favor making 12 very large, bakery-style cookies, often baking them directly from a frozen state for convenience and consistent results. A particularly convenient aspect of this recipe is its relatively short chilling requirement: just one hour is usually sufficient. While chilling dough generally enhances flavor and texture by allowing the ingredients to meld and the fats to solidify, even a brief chill makes a noticeable difference here. Longer chilling periods often result in a richer flavor and a more developed chew, but for these specific cookies, the one-hour minimum still delivers excellent results, maintaining that coveted crispy-chewy balance without an excessive wait.
The Art and Science of Mixing: Achieving the Perfect Texture
One of the most crucial, yet often overlooked, steps in achieving the signature Milk Bar cookie texture is the extensive mixing process. Christina Tosi’s Milk Bar cookbook meticulously details the scientific rationale behind the recommended mixing times, and it’s truly enlightening. The recipe calls for creaming the butter and sugars together for an impressive 3 to 4 minutes, followed by an astonishing 7 to 8 minutes of beating after the eggs are added. While I personally tend to shorten the post-egg beating time to 3 to 4 minutes, I still consistently achieve that special texture: delightfully crispy on the outside, with a soft, smooth, and wonderfully chewy interior. This long mixing process serves multiple purposes: it thoroughly emulsifies the ingredients, incorporates a significant amount of air, and helps to develop the gluten in the flour. The result is a cookie with an incredible structure that holds its shape while baking, yielding those characteristic crispy edges and a deeply satisfying chew. For an even more enhanced texture, a neat trick is to cool the baked cookies completely, then freeze them, and finally thaw them before enjoying. This process further refines their chewiness and overall appeal.
Ingredient Spotlight: What You Need to Know for Best Results
The quality and type of ingredients significantly impact the outcome of your Milk Bar Blueberries & Cream Cookies. Here are some detailed thoughts and recommendations to help you make the best choices:
- Dry Milk Powder: This ingredient is absolutely essential for the milk crumb, contributing a rich, caramelized, and slightly savory flavor profile unique to Milk Bar. I’m a strong advocate for Bob’s Red Mill brand, as I find its taste superior to other milk powders on the market. While I haven’t personally tried Judee’s, their other products are highly rated, and it consistently receives excellent reviews, making it a potentially fantastic alternative.
- White Chocolate: The recipe calls for melted white chocolate in the milk crumb. While high-quality white chocolate will yield the best flavor and melt beautifully, I’ve successfully made these cookies using melted white chocolate chips. While perhaps not as refined, chips are a perfectly acceptable substitute and will still contribute the necessary sweetness and creamy texture to the crumb.
- All-Purpose Flour: The choice of flour plays a crucial role in the cookie’s structure and chewiness. Opt for a good quality, strong all-purpose flour, such as King Arthur. The Milk Bar cookbook specifically states that this type of flour was used during the development of their cookie recipes, suggesting it provides the ideal protein content for their desired texture.
- Plugra Butter: If you’re seeking truly thick and substantial cookies, look for Plugra butter. This European-style butter has a higher butterfat content and lower water content compared to standard American butter, which translates to a richer flavor and contributes to a better structure in baked goods, resulting in “fatter” or thicker cookies. If Plugra isn’t available, Land O’Lakes is a reliable second choice. Cheaper, lower-fat butters may lead to flatter, less satisfying cookies.
- Glucose Syrup or Corn Syrup: These syrups are humectants, meaning they attract and retain moisture, which contributes to the cookies’ chewiness and helps prevent crystallization of sugars. Glucose syrup is worth investing in if you’re serious about experimenting with advanced baking, as it can offer a slightly stiffer texture. I’ve used it once and enjoyed the results, but I typically use corn syrup, which is more readily available and still yields fantastic cookies. The book’s instruction to substitute “2 tablespoons of corn syrup (35 grams) for ¼ cup corn syrup (100 grams)” seems like a clear typo, as 2 tablespoons is nowhere near 100 grams. Given that corn syrup weighs approximately 20 grams per tablespoon, a quarter cup (4 tablespoons) would be closer to 80 grams. I always use ¼ cup (about 80 grams) of corn syrup in my recipe.
- Dried or Frozen Blueberries: The original recipe calls for dried blueberries, which I’ve found to be excellent. I’ve experimented with both dried and fresh/frozen blueberries. While fresh blueberries offer a burst of natural sweetness, they can make the cookie interiors a bit mushier and reduce their shelf life. Dried berries, on the other hand, maintain their structure better and are ideal if you plan on freezing the cookies for later enjoyment. If you’re going to devour the cookies immediately, fresh berries are a delightful choice; however, for longevity and optimal texture, dried blueberries are often the superior option. If using fresh, toss them lightly in a teaspoon of cornstarch to absorb excess moisture.
Baking and Storage Tips for Perfect Cookies
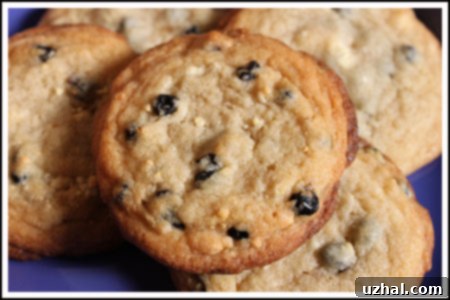
Achieving the ideal Milk Bar cookie involves more than just the right ingredients and mixing. Ensure your oven is accurately preheated to 375°F (190°C). Always use parchment paper on your baking sheets to prevent sticking and promote even browning. When baking, rotate your pans halfway through to ensure consistent cooking. Cookies are done when they are golden brown around the edges and the tops begin to crack, but the centers still look slightly soft. For storage, cooled cookies can be kept in an airtight container at room temperature for up to 3-4 days. For longer storage, both baked cookies and unbaked dough balls freeze beautifully, ready for a quick thaw and bake whenever a craving strikes.
Recipe
Milk Bar Blueberries and Cream Cookies
Anna
Pin Recipe
Ingredients
Milk Crumb Mixture
- 5 tablespoons dry milk powder, divided use
- 2 tablespoons all-purpose flour
- 1 tablespoon cornstarch
- 1 ½ teaspoons sugar
- ⅛ teaspoon salt omit if using salted butter
- 1 ½ tablespoons butter melted
- 2 oz white chocolate, melted
Cookie Dough
- 2 ½ cups all-purpose flour (320 grams)
- ¼ teaspoon baking powder
- ⅛ teaspoon baking soda
- 1 teaspoon salt ( 1 ½ if using Diamond Kosher)
- 8 oz unsalted butter, such as Plugra (228 grams)
- ¾ cup granulated sugar (150 grams)
- ⅔ cup light brown sugar, tightly packed (150 grams)
- ¼ cup glucose or corn syrup (80 grams)
- 2 large eggs
- ⅔ cup milk crumb mixture (from above)
- ¾ cup dried blueberries or 1 cup fresh, tossed in a teaspoon of cornstarch
Instructions
-
Make the Milk Crumb first. This can be done well in advance and stored.
-
Preheat oven to 225°F (107°C) and prepare a baking sheet by lining it with parchment paper.
-
In a medium bowl, whisk together 2 ½ tablespoons of the dry milk powder, all-purpose flour, cornstarch, sugar, and salt (if using). Pour in the melted butter and stir until all the dry ingredients are thoroughly coated. Spread this mixture evenly onto the prepared parchment-lined baking sheet and bake for approximately 10 minutes, or until the crumb is dry and lightly golden. Remove from the oven and allow it to cool completely. Once cool, transfer the crumb to a clean bowl and stir in the remaining dry milk powder and the melted white chocolate. Mix well to combine. Refrigerate the milk crumb until you are ready to use it in the cookie dough.
-
Increase the oven temperature to 375°F (190°C) for the cookies.
-
In a separate medium bowl, whisk together the flour, baking powder, baking soda, and salt until thoroughly combined.
-
Using a stand mixer fitted with the paddle attachment, cream together the softened butter, granulated sugar, light brown sugar, and glucose (or corn syrup) on medium speed for 3 to 4 minutes. The mixture should be light and fluffy. Scrape down the sides of the bowl to ensure everything is incorporated. Add the large eggs, one at a time, and beat for another 7 to 8 minutes (or 3 to 4 minutes if you prefer a slightly less chewy texture, as I do). This long mixing time is key for texture. Gradually add the whisked flour mixture to the wet ingredients and mix on low speed until just combined, being careful not to overbeat. Finally, gently fold in the prepared milk crumb mixture until evenly distributed, then carefully mix in the dried or cornstarch-tossed fresh blueberries.
-
Using a large ice cream scoop (about ¼ cup capacity), scoop the dough into generous balls. Arrange them on parchment-lined baking sheets, spacing them approximately 2 inches apart to allow for spreading. Bake for about 15 minutes, rotating the pans halfway through the baking time. Note that baking time may be longer, especially if your dough is very cold or frozen. Continue baking until the cookies are golden brown around the edges and the tops have started to crack.
-
Allow the cookies to cool on the baking sheets for a few minutes before transferring them to a wire rack to cool completely. This helps them set and develop their final texture.
Embracing the unique techniques and carefully selected ingredients of Christina Tosi’s Milk Bar Blueberries & Cream Cookies recipe will undoubtedly yield a batch of truly special treats. From the delightful crunch of the milk crumb to the satisfying chewiness of the dough and the bursts of sweet blueberries, every element works in harmony to create a cookie that stands out. Don’t be intimidated by the detailed steps or the mixing times; each one contributes to the magic that makes these cookies so beloved. So, gather your ingredients, fire up your stand mixer, and prepare to enjoy a taste of Milk Bar right in your own kitchen!
