The Ultimate Clarified Butter Chocolate Chip Cookies: Crispy Edges, Chewy Centers & Rich Buttery Flavor
There’s an undeniable magic to the perfect chocolate chip cookie. That elusive balance of crispy edges, a delightfully chewy center, and a rich, buttery flavor often seems reserved for professional bakeries or nostalgic childhood treats. For many, that benchmark is set by the iconic Otis Spunkmeyer Chocolate Chip Cookies. While replicating an exact clone of those industry-specific treats might remain a distant dream due to their proprietary baking fats, the journey to recreate that experience led me to a remarkable discovery: Clarified Butter Chocolate Chip Cookies. These cookies are not just a pretty good stand-in; they elevate the classic to new heights, delivering a depth of flavor and texture that will make them an instant favorite.

The Science of Clarified Butter: Why It’s Your Secret Ingredient
Clarified butter, often known as ghee in South Asian cuisine, is essentially pure butterfat. It’s made by melting regular butter and separating the milk solids and water, leaving behind a golden, transparent liquid. This process significantly enhances butter’s properties for both cooking and baking, making it a truly invaluable ingredient in your kitchen.
For baking, clarified butter offers several distinct advantages. By removing the water content, you reduce the moisture in your cookie dough, which can lead to a crisper exterior. The milk solids, which are responsible for butter browning quickly, are also removed. This means the butterfat can reach higher temperatures without burning, contributing to a more even bake and a beautifully golden-brown finish on your cookies. Furthermore, the purification process intensifies the buttery flavor, giving these chocolate chip cookies an incredibly rich and nutty taste that simply cannot be achieved with regular butter alone.
While often praised for its higher smoking point in sautéing and frying (making it ideal for cooking at higher temperatures), its role in baking, particularly in cookies, is equally transformative. It provides a cleaner, more pronounced butter flavor and can impact the texture of your baked goods in a wonderfully unique way. If you’ve never worked with clarified butter before, don’t be intimidated! It’s a straightforward process, and the rewards in terms of flavor and texture are well worth the minimal effort.
Achieving Perfect Texture and Flavor
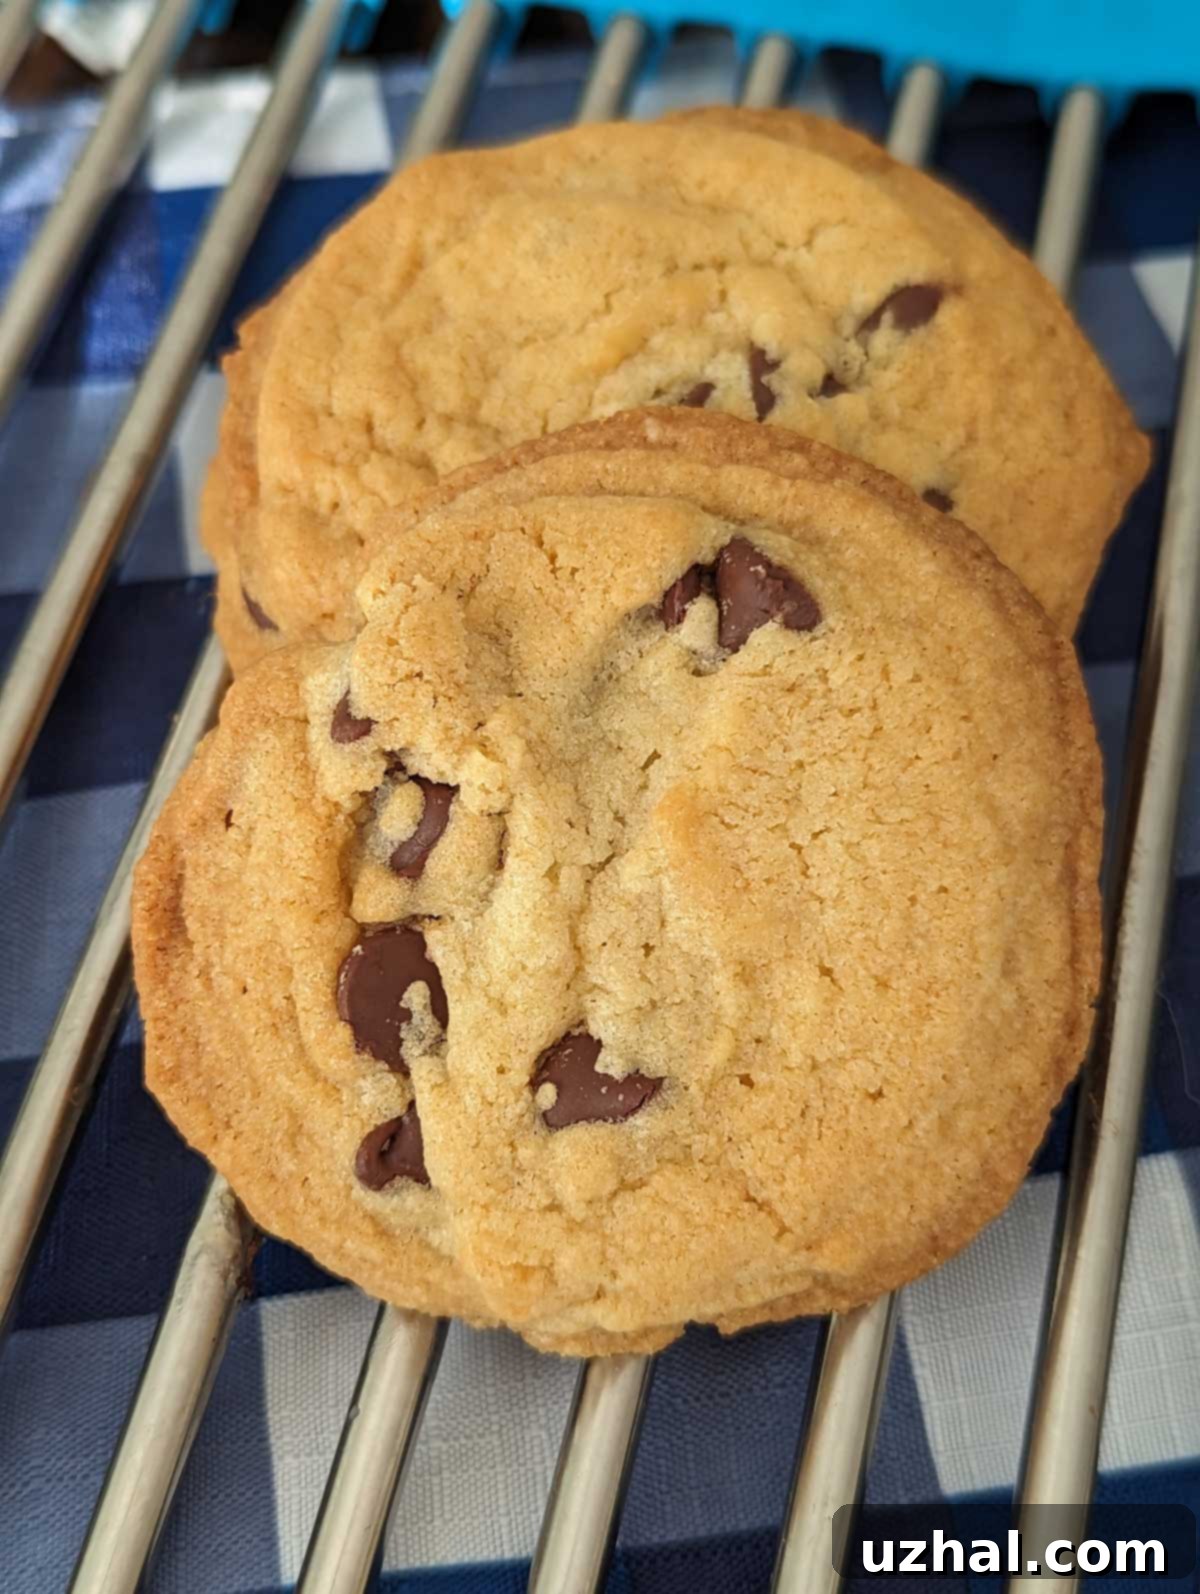
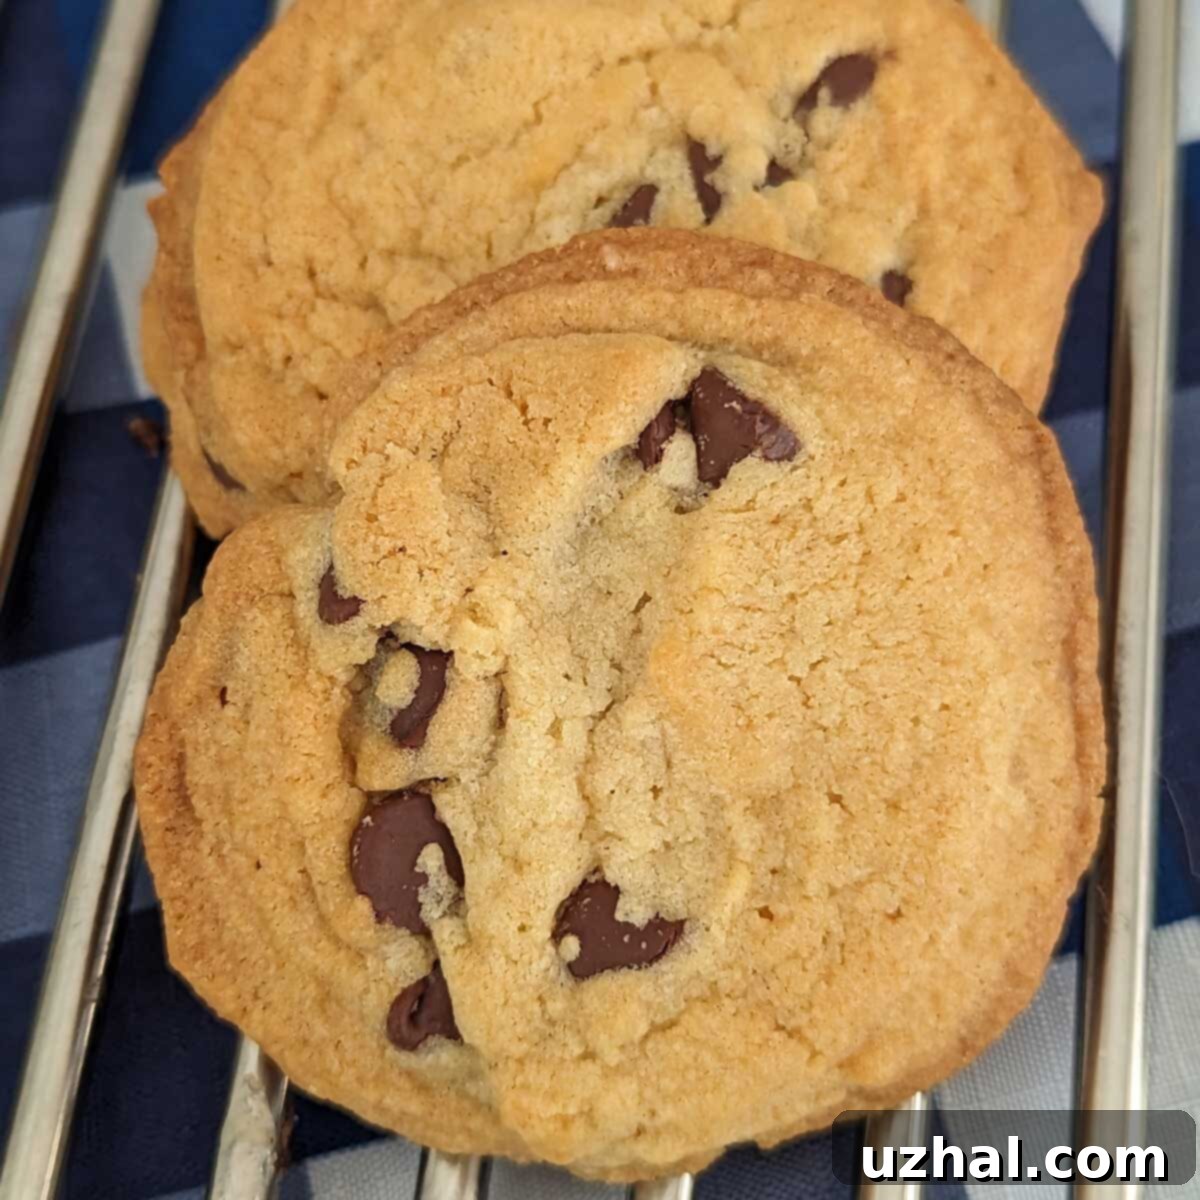
The hallmark of a truly great chocolate chip cookie lies in its texture – and these Clarified Butter Chocolate Chip Cookies deliver on all fronts. Each bite promises beautifully crispy edges that give way to wonderfully chewy centers. They possess an overall “handsome” appearance, with a lovely golden hue that hints at the rich flavors within. And yes, that undeniable, intense buttery flavor is absolutely central to their appeal. The clarified butter contributes to this specific texture profile by reducing the overall water content in the dough, which in turn helps achieve that desirable crispness around the edges, while the remaining fat ensures a soft and pliable interior.
However, if the idea of clarifying butter seems like an extra step you’re not ready for, or if you’re looking for an alternative, you can still achieve delicious results with a slight modification. Follow the recipe below, but substitute the clarified butter with a mixture of ⅓ cup shortening and ⅓ cup regular unsalted butter. Shortening can also contribute to a tender, chewy cookie due to its higher fat content and lack of water. That being said, I’ve personally found myself gravitating back to the clarified butter and regular butter mixture lately. The depth of flavor it provides is truly unparalleled, and once you get the hang of clarifying butter, it becomes a simple and rewarding step in your baking process.
Making Your Own Clarified Butter at Home
As mentioned, clarified butter is excellent for various culinary applications. While it’s fantastic for high-heat cooking because clarifying butter significantly lowers its smoking point, its contribution to baking is where it truly shines in this recipe. For smaller amounts, like the few tablespoons needed for cooking, I typically make it on a whim. If you’re looking for a more in-depth tutorial on how to make larger quantities, I recommend checking out helpful videos online. Chef Pierre, for instance, offers a really good YouTube video demonstrating the process comprehensively. However, if you’re only clarifying one stick of butter for this specific cookie recipe, the process will be much quicker than shown in most comprehensive tutorials.
For a single stick of butter (½ cup or 4 ounces), the process is quite simple:
- Melt the unsalted butter over medium-low heat in a small saucepan. Do not stir it too vigorously.
- As the butter melts, it will begin to separate into three layers: a foamy layer of milk solids on top, clear liquid butterfat in the middle, and heavier milk solids at the bottom.
- Once fully melted and bubbling gently, skim off the foamy milk solids that rise to the surface using a spoon.
- Continue to simmer gently until the bubbling subsides and the clear butterfat is visible. The milk solids at the bottom will start to turn a light golden brown. Be careful not to let them burn, as this will impart an undesirable flavor.
- Carefully pour the clear butterfat into a heatproof bowl or jar, leaving the browned milk solids at the bottom of the saucepan. A fine-mesh sieve lined with cheesecloth can be used for extra clarity, but for cookies, it’s often not strictly necessary as long as you pour carefully.
- Let the clarified butter cool before using it in your recipe. You will need approximately ⅓ cup (about 75 grams) of clarified butter from one stick of regular butter.
An even quicker method exists using cornstarch, which can accelerate the separation process. Whichever method you choose, the goal is to obtain that pure, golden butterfat for your cookies.
Important Recipe Updates and Baking Tips for Success
Over time, I’ve refined this recipe to ensure consistently perfect results. Here are some key updates and tips to keep in mind:
- Oven Temperature: While 375 degrees F works wonderfully, if you know your oven tends to run hot, you might consider baking at 350 degrees F. The higher temperature (375 F) can sometimes help prevent excessive spreading, resulting in thicker cookies, but this also heavily depends on whether you’ve chilled your dough. Experiment with your oven to find its sweet spot.
- Chilling the Dough: This step is non-negotiable for the best possible cookies. Chilling the dough does wonders for flavor development, allowing the ingredients to meld together and the butter to re-solidify. This also significantly reduces cookie spread during baking, ensuring a chewier texture and more even browning. Aim for at least 30 minutes, but several hours or even overnight is ideal.
- Flour Measurement: Precision in baking is key. I’ve found that using a kitchen scale for flour yields the most accurate results. The measurement is 1 ½ cups, but the optimal weight is 204 grams, rather than the more common 190 grams sometimes cited for this volume. This slight adjustment can impact the dough’s consistency and the final cookie’s texture.
- Yield and Size: When using a medium-sized scoop, this recipe typically yields about 20 cookies. This size is perfect for achieving that ideal crispy-edge, chewy-center balance. However, if you prefer smaller cookies, feel free to adjust the scoop size; they are equally delicious when made petite.
- Ingredient Quality: Always use high-quality chocolate chips. Extra dark chocolate chips provide a wonderful contrast to the buttery sweetness of the cookie. If adding nuts, ensure they are toasted beforehand to enhance their flavor and crunch.
These detailed notes and tips are designed to guide you to cookie perfection. Don’t rush the process, especially the chilling step, and pay attention to your oven’s nuances.
- 8 Inch Pan Baklava
- Crispy Mini Chocolate Chip Cookies
- Peanut Butter Cookies Without Eggs
- White Chocolate Macadamia Cookies
- Dark Chocolate Chip Oatmeal Cookies
Recipe

Clarified Butter Chocolate Chip Cookies
Anna
Pin Recipe
Ingredients
- 1 ½ cups all-purpose flour (205 grams, precisely measured for best texture)
- ½ teaspoon baking powder
- ¾ teaspoon baking soda
- ½ teaspoon salt
- 5 ½ tablespoons clarified butter (weighed after clarifying**) (75 grams)
- 5 ½ tablespoons unsalted butter, room temperature (75 grams)
- ½ cup firmly packed brown sugar (100 grams, contributes to chewiness)
- ½ cup granulated sugar (100 grams, for crispness and spread)
- 1 large egg
- ¾ teaspoon vanilla extract
- 1 ⅓ cups extra dark chocolate chips
- ½ cup toasted nuts optional, adds delightful crunch and flavor
Instructions
-
Prepare Your Oven: Preheat your oven to 375 degrees F (190 degrees C). Ensure you have a couple of ungreased cookie sheets ready for baking. An ungreased surface helps the cookies spread slightly and develop those desired crispy edges.
-
Combine Dry Ingredients: In a medium bowl, thoroughly whisk together the all-purpose flour, baking powder, baking soda, and salt. Make sure these dry ingredients are well combined to ensure even leavening and seasoning throughout the dough.
-
Cream Wet Ingredients: In a separate large mixing bowl, using an electric mixer, beat together the clarified butter (or the shortening/butter mixture if using) and the room temperature regular unsalted butter until the mixture is light and creamy. This typically takes about 2-3 minutes. Next, add both the brown sugar and granulated sugar, continuing to beat on medium speed just until they are well blended and incorporated, about 1-2 minutes. Finally, add the large egg and vanilla extract, beating only until they are just combined into the butter-sugar mixture. Avoid overmixing at this stage.
-
Form the Dough and Chill: By hand, gently stir in the dry flour mixture until just combined. Be careful not to overmix, as this can lead to tough cookies. Once the flour is blended, fold in the extra dark chocolate chips and toasted nuts (if you’re using them) until they are evenly distributed throughout the dough. Scoop out measuring tablespoons of dough, forming them into balls, and arrange them on the prepared baking sheets, spacing them about 2 ½ inches apart to allow for spreading. Alternatively, and for superior results, place the scooped dough balls on a plate, cover them tightly with plastic wrap, and chill in the refrigerator until you are ready to bake. Chilling the dough is crucial as it improves the flavor, helps the cookies brown more beautifully, and significantly helps them spread more evenly and retain their shape.
-
Bake and Cool: Bake the cookies on the ungreased cookie sheets for 10-14 minutes, or until the edges are lightly golden brown and the centers are set but still look slightly soft. Baking times can vary depending on your oven, so keep a close eye on them. Once baked, remove the cookie sheets from the oven and let the cookies cool on the sheets for approximately five minutes. This allows them to firm up before you move them. After five minutes, carefully transfer the cookies to a wire rack to cool completely. Enjoy the irresistible aroma and taste of your homemade clarified butter chocolate chip cookies!
Notes
