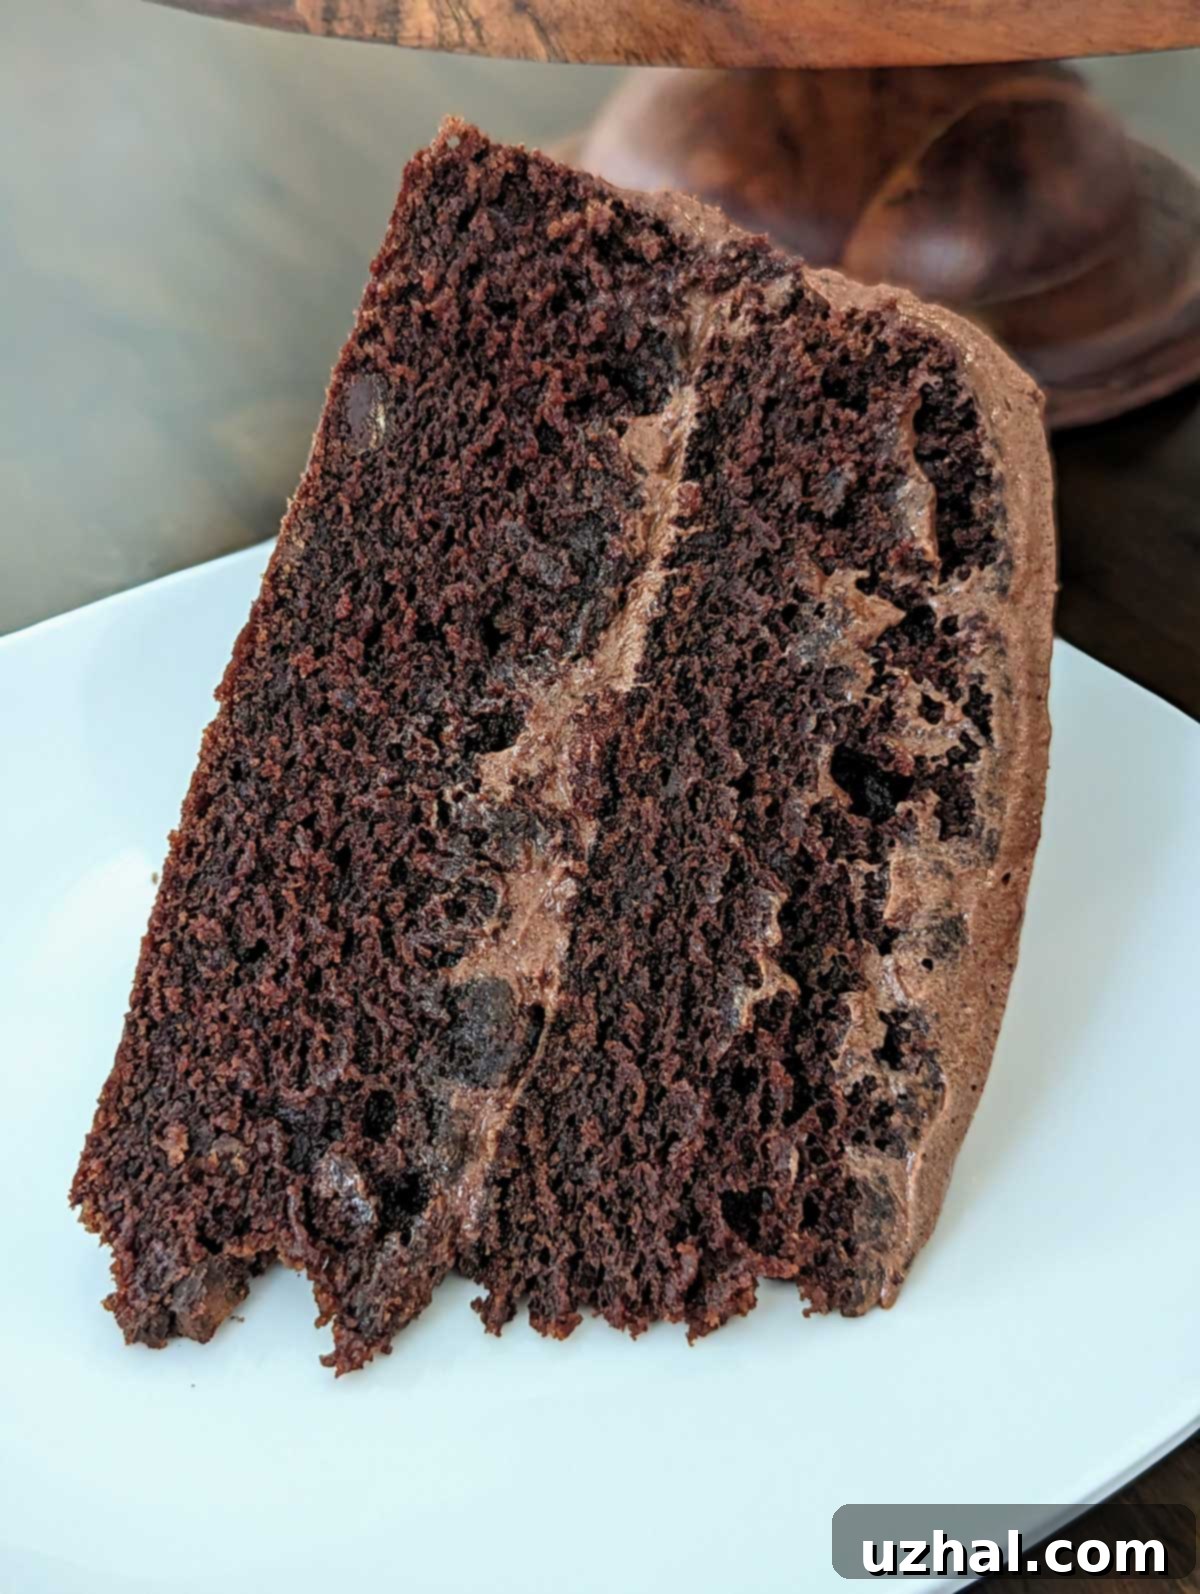
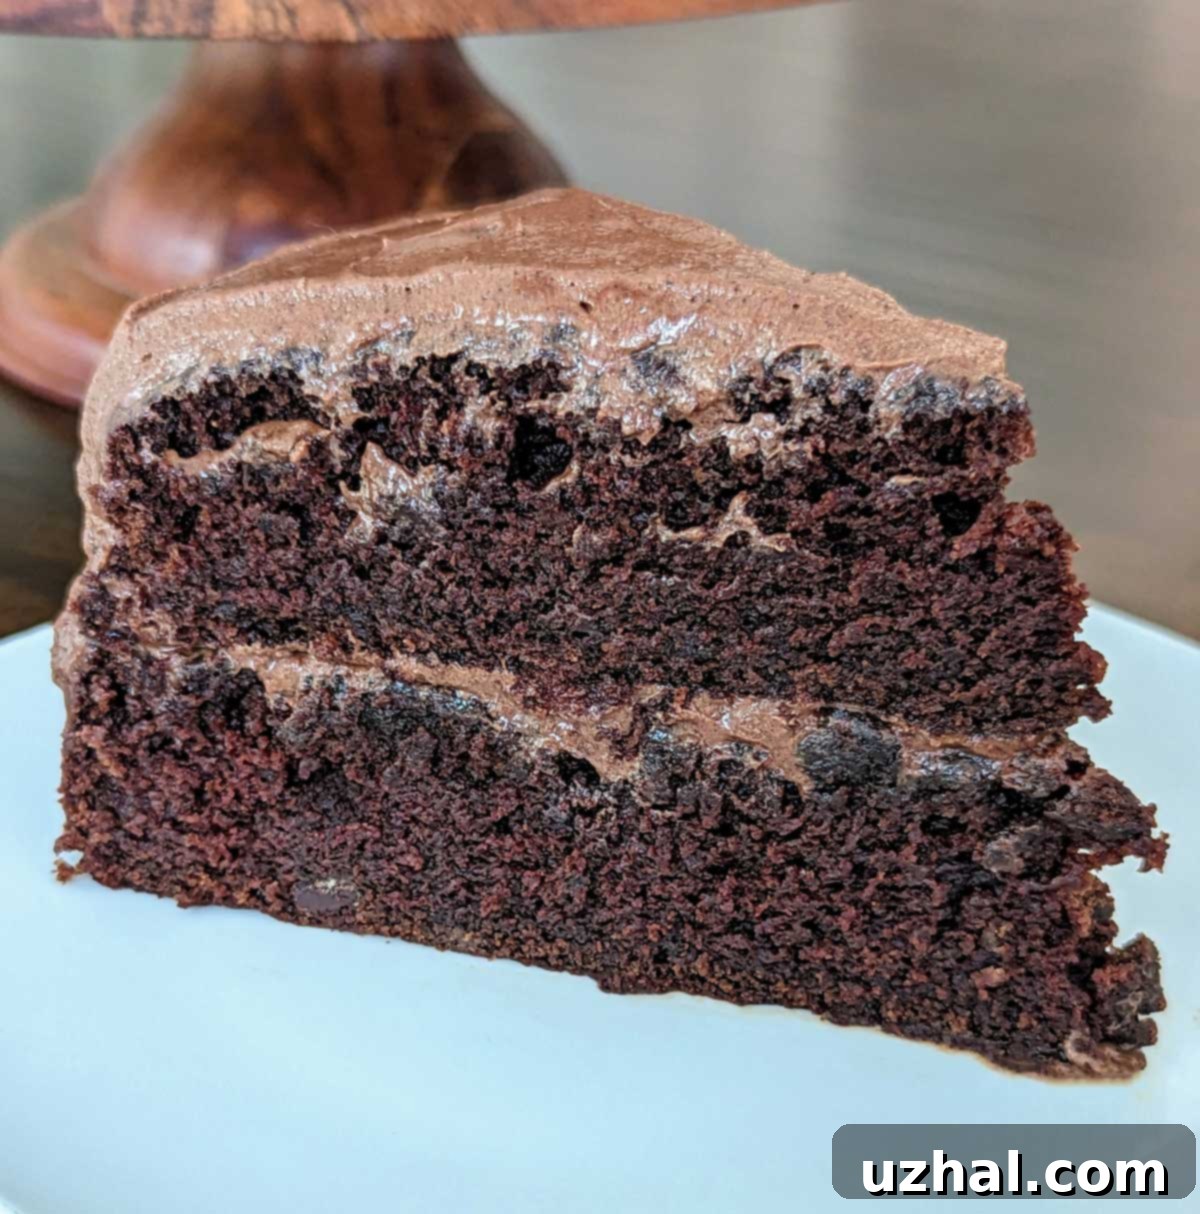
The Ultimate Moist Vegan Chocolate Cake: Rich, Dairy-Free, and Irresistibly Delicious
Embarking on a vegan baking adventure, especially during traditional holiday seasons like Christmas, might seem unconventional for someone who isn’t fully vegan. However, my recent obsession with creating the perfect vegan chocolate cake has led to this phenomenal recipe. This isn’t just *any* vegan cake; it’s a dairy-free and egg-free rendition of the beloved classic Hershey’s Perfectly Chocolate Cake, elevated with a few unique twists that have made it a resounding favorite with my family, even over its non-vegan counterparts.
This recipe promises a cake that is exceptionally moist, deeply flavorful, and incredibly satisfying. Forget notions of a “diet cake” or a “healthy” dessert; this is pure indulgence, reimagined for a plant-based lifestyle without compromising on taste or texture. Whether you’re a seasoned vegan baker or simply looking to explore delicious plant-based alternatives, this cake is sure to impress.
Jump to Recipe

The Secret to Unparalleled Moisture: Adding Boiling Water to Vegan Cake Batter
Just like its classic inspiration, this vegan chocolate cake recipe incorporates a crucial step: adding a cup of very hot water or hot coffee at the final stage of batter preparation. This technique is more than just a quirky tradition; it’s a scientific marvel in baking. The theory behind this hot liquid addition is twofold. Firstly, it “blooms” the cocoa powder. When hot liquid is introduced, it helps to dissolve the cocoa solids and release volatile compounds, intensifying the chocolate flavor dramatically. This results in a richer, more profound cocoa taste that truly shines through in the final cake.
Secondly, the hot liquid aids in emulsifying the batter. This process creates a smoother, more uniform batter consistency, which in turn leads to a remarkably moist cake with a finer, less crumbly texture. The heat also helps to activate the leavening agents slightly, contributing to a tender crumb. This cake is a testament to the effectiveness of this method, consistently delivering both an incredibly chocolatey and exceptionally moist experience. While some might worry about the hot liquid melting mini chocolate chips if added, this cake’s inherent rich chocolate flavor makes additional chips unnecessary. This simple, yet powerful technique is key to achieving that desirable, melt-in-your-mouth vegan chocolate cake texture.
Choosing the Right Cocoa Powder: Natural vs. Dutch-Processed for Vegan Baking
When it comes to crafting a truly exceptional chocolate cake, the type of cocoa powder you choose plays a pivotal role, especially in vegan baking. For this recipe, natural unsweetened cocoa powder is the star, favored over Dutch-processed varieties. While Dutch-processed cocoa is wonderful for its dark color and milder flavor, natural cocoa powder offers a more enticing, sharper, and distinctly bitter chocolate note that truly elevates the cake’s profile. This vibrant flavor is precisely what gives this vegan chocolate cake its signature rich taste.
Beyond flavor, there’s a critical chemical reason for using natural cocoa. Natural cocoa powder is acidic, and it reacts with alkaline leavening agents like baking soda, creating carbon dioxide gas that helps the cake rise. Dutch-processed cocoa, on the other hand, has been treated with an alkali to neutralize its acidity. If you were to substitute Dutch-processed cocoa for natural cocoa in this recipe without adjusting the leavening agents, you could encounter issues with the cake sinking or failing to rise properly. I haven’t tested this recipe with Dutch-processed cocoa, but the difference in pH makes it a risky substitution. To ensure the best results and the most robust chocolate flavor, I highly recommend using a high-quality natural cocoa powder. Brands like Navitas offer excellent natural cocoa that will deliver the deep, rich flavor this cake deserves.
The Unexpected Hero: Gerber Prune Puree for Enhanced Moisture and Flavor
To infuse this vegan chocolate cake with an extra layer of intrigue and an incredible boost of moisture, I’ve incorporated a small, yet mighty ingredient: 1 ½ ounces of pureed prune baby food. This might sound unusual, but it’s an inexpensive and widely available ingredient that works wonders. Prune puree is rich in pectin and fiber, which not only contribute to the cake’s exceptional moisture but also act as natural stabilizers, potentially extending its freshness. It’s not a fat replacer; rather, it’s a cake enhancer, subtly altering the crumb and overall eating experience.
While dried plums (prunes) do have a distinct flavor, the amount used here is just enough to add a subtle character without overpowering the chocolate. Most people in my family couldn’t pinpoint the prune, but they consistently chose this vegan chocolate cake over a similar version that lacked this secret ingredient. It adds a nuanced depth that complements the cocoa beautifully, making the cake even more irresistible and unique. Don’t skip this ingredient; it’s one of the “twists” that truly sets this recipe apart!
Precision in Baking: The Importance of Measuring Sifted Flour
Accuracy in ingredient measurement is paramount in baking, and flour is no exception. This recipe specifically calls for 250 grams, or 2 cups, of *sifted* all-purpose flour. The term “sifted” is crucial because it directly impacts the flour’s density and, consequently, its weight when measured by volume. Two cups of sifted flour typically weigh around 250 grams, whereas two cups of unsifted flour can be significantly heavier, closer to 260 or even up to 280 grams. This difference, though seemingly small, can significantly alter the cake’s texture, leading to a denser or drier result if too much flour is used.
For the most consistent and best results, I strongly recommend using a digital kitchen scale to weigh your flour. Weighing ensures precise measurement every time, regardless of whether your flour is compacted or fluffy. If you’re weighing, sifting is only strictly necessary if your flour is visibly lumpy, but it never hurts to give it a quick pass through a sieve to aerate it and prevent any small clumps. This simple act of precision will ensure your vegan chocolate cake achieves the perfect crumb structure and tenderness.
The Best Non-Dairy Choice: Soy Milk in Vegan Chocolate Cake
The choice of non-dairy milk can greatly influence the outcome of your vegan baked goods, and in this chocolate cake, soy milk truly shines. I’ve found that soy milk, particularly a brand like Silk Original, works exceptionally well in this recipe. Its richer texture and higher fat and protein content mimic dairy milk more closely than many other plant-based alternatives. This contributes to a more luxurious mouthfeel and a sturdier cake structure, preventing the cake from becoming too fragile or dry.
While almond milk is a popular choice, its thinner, more watery consistency can sometimes lead to a less rich final product in baking. Oat milk and cashew milk are also excellent options that could work, though I haven’t experimented with them for this specific recipe. If you have allergies or other dietary considerations, feel free to substitute with your preferred non-dairy milk, but be mindful of its fat content and thickness. Regardless of your choice, ensure the milk is at room temperature. Cold milk can cause the frosting to curdle slightly, affecting its smooth consistency, and can also impact the batter’s emulsion, potentially leading to a less uniform crumb.
Optimizing Freshness: Storing Your Vegan Chocolate Cake
One of the delightful aspects of this vegan chocolate cake is how beautifully it stores, even improving over time. While the cake is absolutely delicious on the day it’s baked, many find it to be even better on day two. This is because the moisture from the frosting has a chance to fully sink into the cake’s crumb, making it incredibly tender and flavorful. However, for peak aesthetic appeal, especially if you’re serving it for a special occasion, presenting it on day one after frosting is usually best.
For convenience and long-term storage, the unfrosted cake layers freeze exceptionally well. You can bake the layers a few days or even a week or two in advance, allow them to cool completely, then wrap them tightly in plastic wrap and aluminum foil before freezing. When you’re ready to assemble, simply thaw the layers at room temperature and then proceed with frosting. If the cake is already frosted, store it under a cake dome at room temperature for up to 3 days, or in the refrigerator for up to 5 days, bringing it back to room temperature before serving for the best texture. Lately, I’ve simply been leaving it on the counter under a cake dome, where it tempts everyone throughout the day with its irresistible aroma and delicious presence.

Crafting the Perfect Companion: Vegan Chocolate Frosting
No decadent chocolate cake is complete without a luscious frosting, and this vegan chocolate frosting perfectly complements our dairy-free masterpiece. This is a classic American-style powdered sugar chocolate frosting, but it’s made with plant-based butter, specifically Miyoko’s Kitchen Cultured Vegan Butter, which I highly recommend. Miyoko’s butter brings a rich, slightly tangy flavor that translates into an intriguing depth in the frosting. Initially, I was a bit hesitant because its flavor profile is distinct from traditional butter frostings or even my usual chocolate frosting, but I quickly grew to appreciate its unique characteristics. It almost has a subtle caramel-like undertone that pairs beautifully with the natural cocoa cake.
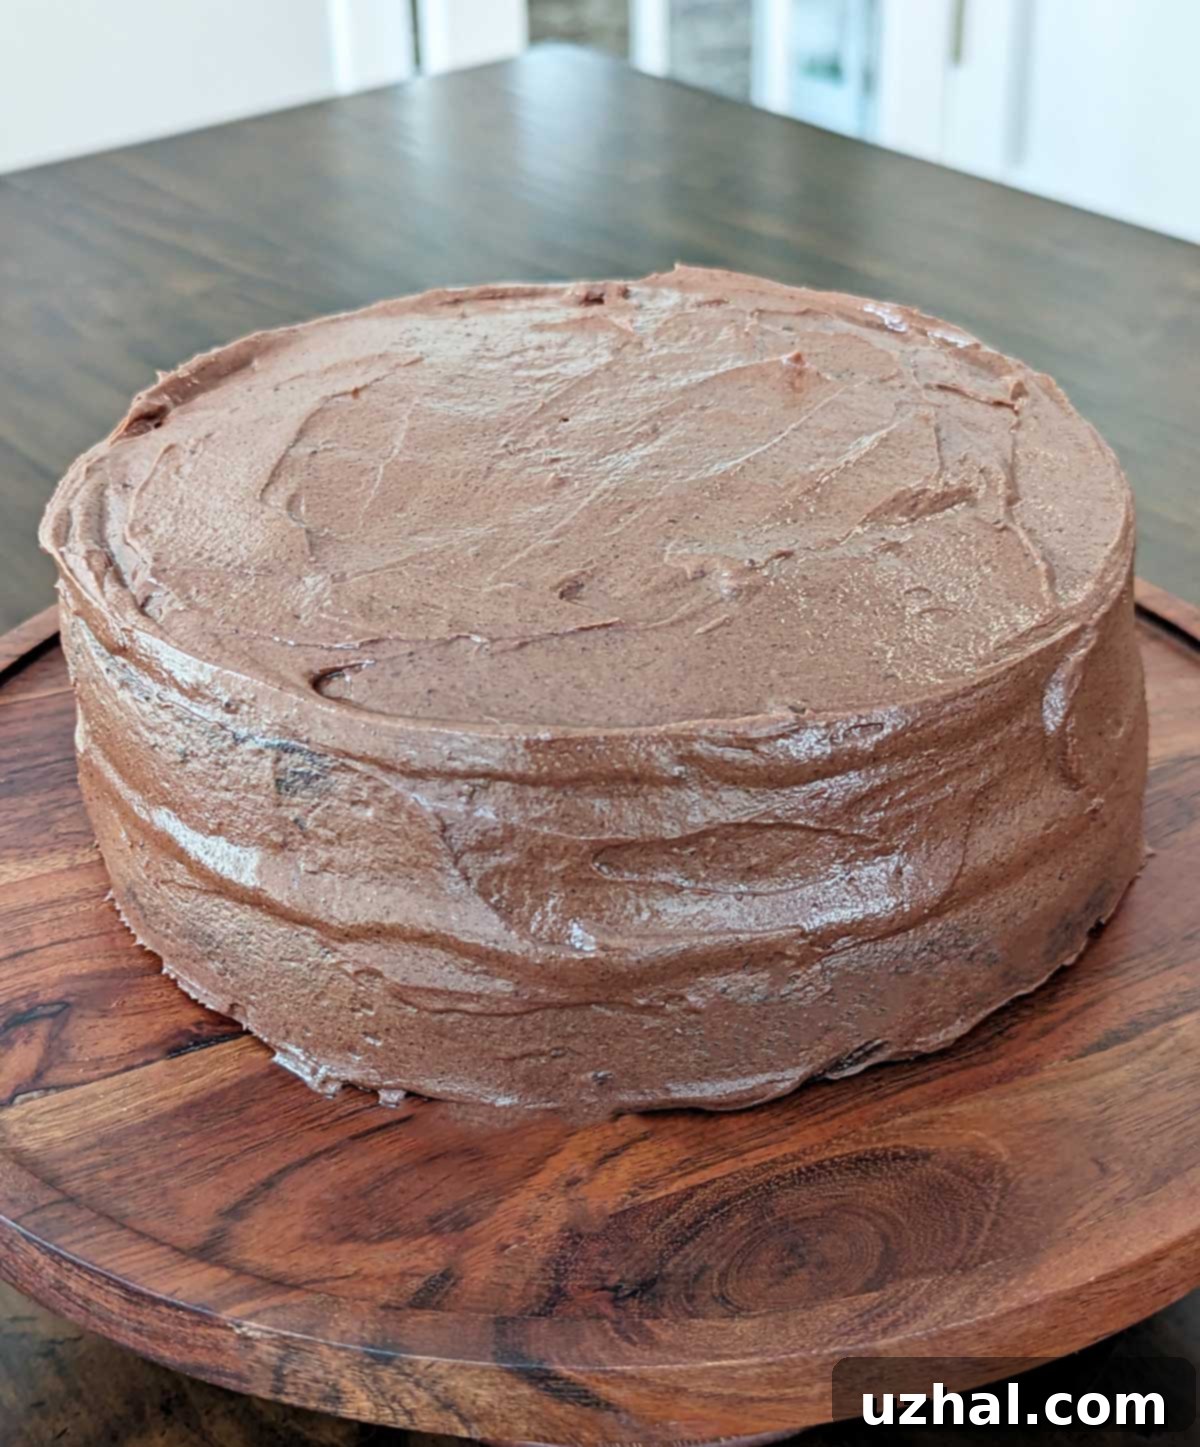
The flavor of your vegan chocolate frosting can vary depending on the brand of vegan butter or margarine you choose. Earth Balance is another reliable option, but experimenting with different brands can lead to delightful discoveries. The key is to use room temperature vegan butter for optimal creaminess. This frosting is incredibly smooth and easy to work with, making it perfect for spreading between layers and generously coating the cake. While my cake decorating skills might not be award-winning, as evidenced by the photo, the taste of this cake and its frosting more than makes up for any aesthetic shortcomings. It’s a truly wonderful cake that proves vegan desserts can be every bit as indulgent and satisfying as their traditional counterparts.
- Prune Baby Food Brownies
- Double Chocolate Oat Flour Brownies
- Vegan Double Chocolate Muffins
- Vegan Cherry Muffins
- Breakfast Cookies
Recipe: Decadent Vegan Chocolate Cake with Natural Cocoa Powder

Vegan Chocolate Cake with Natural Cocoa Powder
Anna
Pin Recipe
Ingredients
- 1 cup soy milk (with fat and protein) sweetened okay too
- 1 ½ teaspoons apple cider vinegar
- 2 cups sifted all-purpose flour, measure after sifting (250 grams)
- ½ teaspoon salt
- 1 teaspoon baking powder
- 1 ½ teaspoon baking soda
- ⅔ cup natural unsweetened cocoa powder (66 grams)
- 1 cup white granulated sugar (200 grams)
- ¾ cup packed light brown sugar (150 grams)
- ½ cup PLUS 2 tablespoon of a neutral oil (130 grams)
- 1 ½ ounces prune baby food (42 grams)
- 2 teaspoon vanilla
- 1 cup boiling water
Traditional Vegan Chocolate Frosting
- 1 cup salted butter or vegan butter (Miyoko’s or Earth Balance), room temperature (230 grams) or use ¾ cup
- 2 ½ to 3 cups powdered sugar, sifted (300 to 360 grams)
- ⅔ cup natural cocoa powder, sifted or any lumps whisked out (66 grams)
- 1 teaspoon vanilla extract
- 2-4 tablespoons almond or soy milk or as needed and NOT ice cold
- ⅛ teaspoon salt or more to taste
Instructions
-
Preheat your oven to 350 F (175 C). Thoroughly grease and flour two 8×2-inch round baking pans. Alternatively, you can use one 13×9 inch pan. If you’re halving the recipe, opt for two 6-inch round pans.
-
Pour the soy milk into a large mixing bowl. Add the apple cider vinegar and let the mixture sit for 5 to 10 minutes; this allows it to curdle, creating a vegan “buttermilk” effect essential for the cake’s tenderness. During this time, you can proceed with mixing the dry ingredients.
-
The boiling water is added at the very end, but it’s a good idea to measure out the cup of water now and set it aside. This ensures you don’t forget this crucial ingredient during the rapid mixing stage.
-
In a separate medium bowl, whisk together the sifted all-purpose flour, salt, baking soda, baking powder, and natural cocoa powder. Whisk thoroughly to ensure all dry ingredients are evenly blended and no lumps remain.
-
Return to the mixing bowl with the curdled soy milk. Add the white granulated sugar, packed light brown sugar, neutral oil, prune puree, and vanilla extract. Whisk these wet ingredients together until the mixture is smooth and well combined. Gradually add the dry flour mixture to the wet ingredients, beating with a heavy-duty scraper or electric mixer on low speed until the batter is smooth. Be sure to scrape down the sides and bottom of the bowl to incorporate any clinging flour.
-
Heat the measured cup of water in the microwave or a small saucepan until it is very hot, just barely beginning to boil. Immediately pour this hot water into the cake batter and stir gently but quickly until it is evenly blended and the batter is smooth. The batter will become quite thin.
-
Divide the batter evenly between your prepared pans. Each 8-inch round pan should receive approximately 22 ounces of batter.
-
Bake at 350 F (175 C) for 30 to 35 minutes, or until the cake appears set. A toothpick inserted into the center should come out clean or with moist crumbs. The cakes should bake with fairly flat tops and should not sink in the middle.
-
Allow the cakes to cool in their pans for at least 10 minutes before attempting to invert them onto a wire rack. This is a very moist cake, and a longer cooling period in the pan helps prevent it from breaking. During this cooling time, gently run a knife around the edges of the pan to loosen the cake. Once slightly cooled, invert onto a wire rack to cool completely before frosting.
Vegan Chocolate Frosting
-
Ensure your vegan butter is at room temperature. Weigh it and place it into the bowl of a stand mixer fitted with the paddle attachment.
-
Beat the softened vegan butter until creamy. Gradually add about half of the sifted powdered sugar. Once partially combined, add the sifted natural cocoa powder and beat until thoroughly blended, stopping frequently to scrape down the sides of the bowl. Incorporate the vanilla extract, then gradually add the remaining powdered sugar, alternating with 1 tablespoon of room temperature non-dairy milk at a time, until the frosting is smooth and reaches your desired consistency. Finally, add the salt; this small amount is crucial for balancing the sweetness and enhancing the chocolate flavor. Taste as you go and adjust sugar to your preference. I typically stop at just over 2 ½ cups of powdered sugar, but the frosting remains excellent with up to 3 cups.
Notes
