Mastering Crazy Cake: The Ultimate Egg-Free Chocolate Wacky Cake Recipe & Decadent Frosting
In the world of baking, some recipes stand out not just for their taste, but for their fascinating origins and sheer simplicity. The Crazy Cake, often known by its charming aliases “Wacky Cake” or “Depression Cake,” is a perfect example. This delightful chocolate cake defies conventional baking wisdom by requiring no eggs, no milk, and no butter. It’s a true marvel of pantry baking, making it an ideal choice for anyone, whether you’re dealing with dietary restrictions, a last-minute craving, or simply don’t want a pile of dishes to wash. Just yesterday, a friend was on the hunt for delicious egg-free cake options, and my immediate recommendation was this very recipe.

The Humble Origins of Wacky Cake: A Delicious History
The Crazy Cake’s enduring popularity dates back to the Great Depression era when ingredients like eggs, milk, and butter were often scarce and expensive. Resourceful home bakers developed this ingenious recipe, relying on basic pantry staples: flour, sugar, cocoa, oil, water, and, crucially, vinegar and baking soda. The combination of vinegar (an acid) and baking soda (a base) creates a chemical reaction that produces carbon dioxide gas, effectively leavening the cake without the need for traditional dairy or eggs. This makes it naturally egg-free, dairy-free, and vegan-friendly, long before “vegan” was a common culinary term.
The name “Wacky Cake” likely stems from this unconventional method – mixing everything right in the baking pan and witnessing the “wacky” bubbling reaction. “Depression Cake” directly references its historical context, while “Crazy Cake” simply speaks to how surprisingly good it is despite its minimalist ingredient list. No matter what you call it, this cake proves that deliciousness doesn’t always require a complicated ingredient list or a professional baker’s touch.
Crazy Cake with Raspberry Vinegar: A Flavorful Twist
I honestly can’t pinpoint the last time I whipped up a Crazy Cake, but I’ve always had fantastic results. Traditionally, I’ve used plain white distilled vinegar, which activates the baking soda without imparting any noticeable flavor of its own. However, this time, I decided to experiment with raspberry vinegar. Given my deep affection for fruit and chocolate combinations, I was incredibly curious to see if this substitution would translate into a subtle, or even pronounced, chocolate-raspberry flavor in the finished cake. It felt like a small, exciting culinary adventure.
The recipe we followed this morning is perfectly portioned for an 8×8 inch square pan, yielding a modest yet satisfying cake. My younger helper, Fuzzy, thoroughly enjoyed the interactive process of digging three distinct “wells” in the dry ingredients – one for the oil, one for the vinegar, and one for the vanilla. And as the baker, I greatly appreciated the minimal cleanup that comes with a “mix-in-the-pan” recipe. Watching the baking soda react with the vinegar as we stirred was truly fascinating; it bubbled up into a light, frothy texture before settling down just prior to going into the oven. This effervescent reaction is not just a scientific wonder; it’s the secret to the cake’s light and airy crumb.
This particular cake variation proved to be a delightful success. The raspberry vinegar indeed added a noticeable and pleasant raspberry essence to the chocolate, creating a lovely depth of flavor. This experience has certainly inspired me to explore more fruit-vinegar pairings in future batches. I’m already envisioning ways to further elevate the raspberry theme next time, perhaps by adding fresh raspberries on top, swirling raspberry preserves into the batter, or even layering them within the frosting. And imagine the possibilities with cherry vinegar for a Black Forest-inspired Crazy Cake!
While the “mix-in-the-pan” method is part of this cake’s charm and heritage, for those who prefer a tidier approach, I highly recommend stirring all the ingredients together in a large mixing bowl first and then pouring the batter into your ungreased 8×8 inch pan. Either way, the results are consistently delicious.
Cook’s Illustrated Chocolate Frosting: The Perfect Pairing
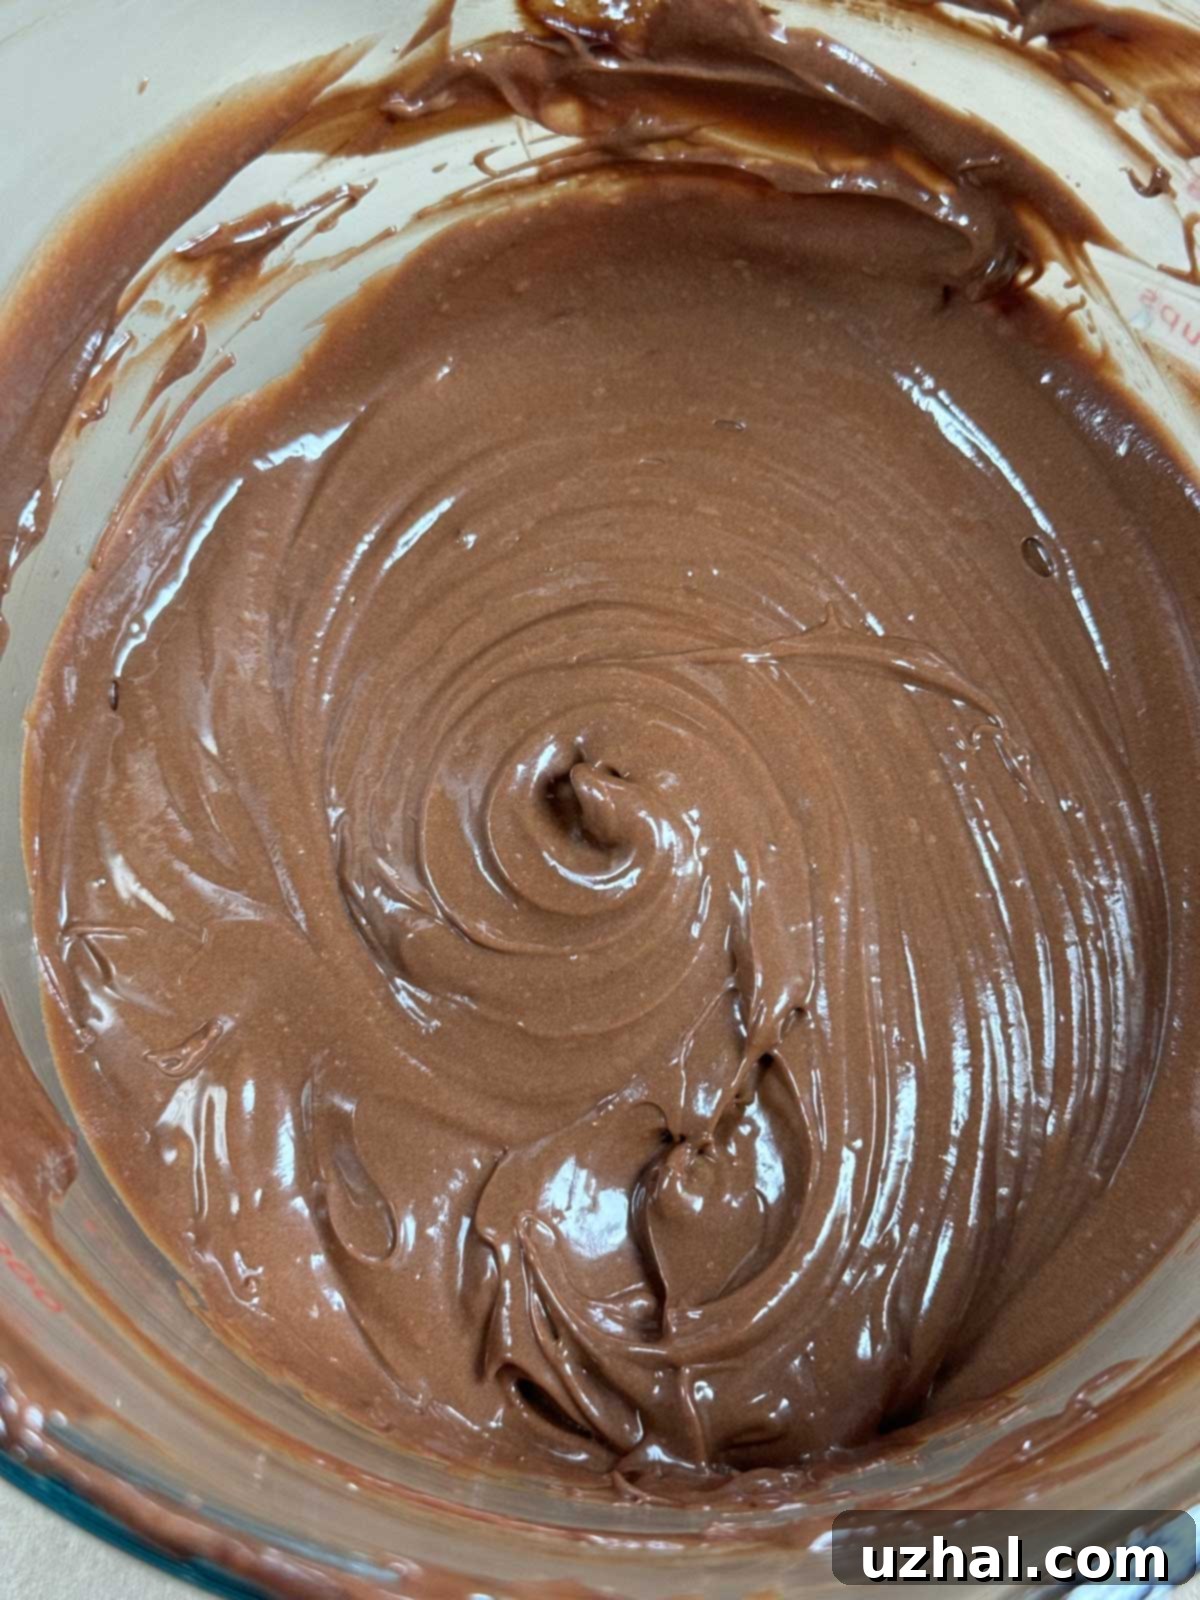
One of the beauties of such a simple cake is that it frees up time and mental energy to get a little more creative with the frosting. For this Crazy Cake, I opted for a streamlined version of a Cook’s Illustrated chocolate frosting recipe. This isn’t your average buttercream; it’s a remarkably light, almost truffle-like icing with a gorgeous sheen, making it feel far more luxurious than its straightforward preparation suggests. It’s incredibly easy to make and offers a fantastic base for various flavoring options, allowing you to tailor it to your specific cake or palate.

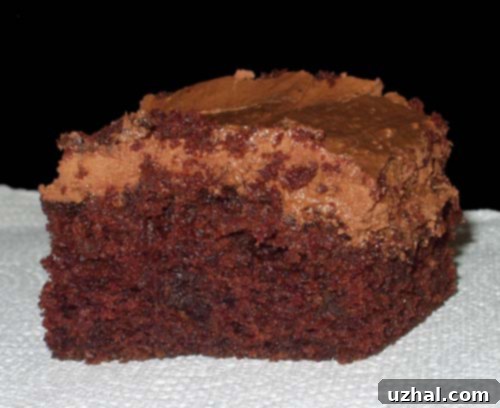
The combination of the moist, chocolatey Crazy Cake and this rich, yet light, frosting was absolutely superb. It’s definitely a pairing I plan to revisit time and again. The frosting’s smooth texture and deep chocolate flavor complement the cake’s subtle tang from the vinegar beautifully. While this recipe is fantastic as is, don’t hesitate to experiment with the frosting too. A pinch of espresso powder can intensify the chocolate, or a splash of orange extract could create a delightful chocolate-orange profile. Its versatility is truly one of its greatest assets.
Baking Tips for a Perfect Crazy Cake
To ensure your Crazy Cake turns out perfectly every time, here are a few additional tips:
- **Do not grease the pan:** Unlike most cakes, Crazy Cake adheres slightly to the pan as it bakes, which helps it rise. Greasing can cause it to collapse.
- **Measure accurately:** Especially for the baking soda and vinegar, as their precise balance is crucial for the leavening reaction.
- **Don’t overmix:** Stir just until combined. Overmixing can develop the gluten in the flour too much, leading to a tougher cake. The batter will be slightly lumpy, which is perfectly fine.
- **Oven temperature:** Ensure your oven is preheated to the correct temperature. An oven thermometer can be a great tool for accuracy.
- **Check for doneness:** A toothpick inserted into the center should come out clean, with no wet batter attached. A few moist crumbs are acceptable.
- **Cooling:** Allow the cake to cool completely in the pan before frosting. This prevents the frosting from melting and ensures the cake maintains its structure.
This humble cake continues to be a go-to for many, including myself, for its sheer reliability and delightful results. It’s a testament to the fact that sometimes, the simplest recipes are the most satisfying. And remember, while this cake is excellent, if you’re ever looking to expand your chocolate cake repertoire, be sure to check out the Troy Chocolate Cake as well for another fantastic option!
Recipe
Chocolate Crazy Cake or Wacky Cake
Anna
Ingredients
- 1 ½ cups all-purpose flour (190 grams)
- 1 cup white sugar (200 grams)
- ½ teaspoon salt
- 1 teaspoon baking soda
- ¼ cup unsweetened cocoa powder (20-25 grams)
- 6 tablespoons vegetable oil
- 3 teaspoons distilled white vinegar (or raspberry vinegar for a flavored twist)
- 1 teaspoon vanilla extract
- 1 cup cold water (228 grams)
Cook’s Illustrated Chocolate Frosting
- ⅓ cup heavy cream
- 4 ounces bittersweet chocolate (– or semisweet, 114 grams, chopped)
- 2 tablespoons corn syrup (dark — or light, 40 grams)
- 4 tablespoons unsalted butter (cut into chunks, soft, 56 grams)
- ½ teaspoon vanilla extract
- ¼ cup confectioners sugar (30 grams – Add more to taste as needed)
Instructions
-
Preheat oven to 350 degrees F (175 C). Have an 8×8 inch pan ready; **do not grease** it.
-
In a large mixing bowl (or directly in your ungreased 8×8 inch pan for minimal cleanup), stir together the all-purpose flour, white sugar, salt, baking soda, and unsweetened cocoa powder until well combined. Create three separate wells in the dry mixture. Pour the vegetable oil into the first well, the distilled white vinegar (or raspberry vinegar) into the second, and the vanilla extract into the third. Pour the cold water over all the ingredients. Stir everything together thoroughly with a fork until just combined and the batter is smooth, but do not overmix. The batter will be slightly frothy from the vinegar-baking soda reaction.
-
Bake in the preheated oven for 30 to 40 minutes, or until a wooden toothpick inserted into the center of the cake comes out clean. Let the cake cool completely in the pan on a wire rack for at least 1 hour before frosting.
-
**For the Cook’s Illustrated Chocolate Frosting:** Place the heavy cream in a heavy-bottomed saucepan and bring it to a gentle simmer over medium heat. Remove from heat immediately. Add the chopped bittersweet (or semisweet) chocolate to the hot cream and stir until the chocolate is completely melted and the mixture is smooth and glossy. Transfer this chocolate mixture to a mixing bowl (either a stand mixer bowl or a regular bowl if using a handheld mixer). Let it cool to room temperature, which will take approximately one hour.
-
Once the chocolate mixture is cool, add the corn syrup and the softened, chunked unsalted butter. Begin beating on low speed to incorporate. Gradually add the confectioners’ sugar and continue beating on medium-high speed until the frosting becomes light, fluffy, and spreadable, which should take about 5 minutes. Finally, beat in the vanilla extract.
Once the cake is fully cooled, spread the frosting evenly over the 8-inch cake. Enjoy!
