Bake the Perfect Loaf: Easy Homemade Basic White Bread Recipe (No Bread Machine Needed!)
There’s nothing quite like the aroma of freshly baked bread filling your home. This recipe for basic white bread consistently produces a high, beautifully risen loaf that is both wonderfully fluffy and surprisingly sturdy. It’s the ideal foundation for sandwiches, toast, or simply tearing apart with butter. Designed to fit perfectly in a standard 8½ by 4½ inch loaf pan, this versatile recipe gives you the option to use a stand mixer with a dough hook or enjoy the satisfying process of hand-kneading. Forget store-bought loaves filled with unfamiliar ingredients – once you master this simple recipe, you’ll wonder why you ever bought bread again!
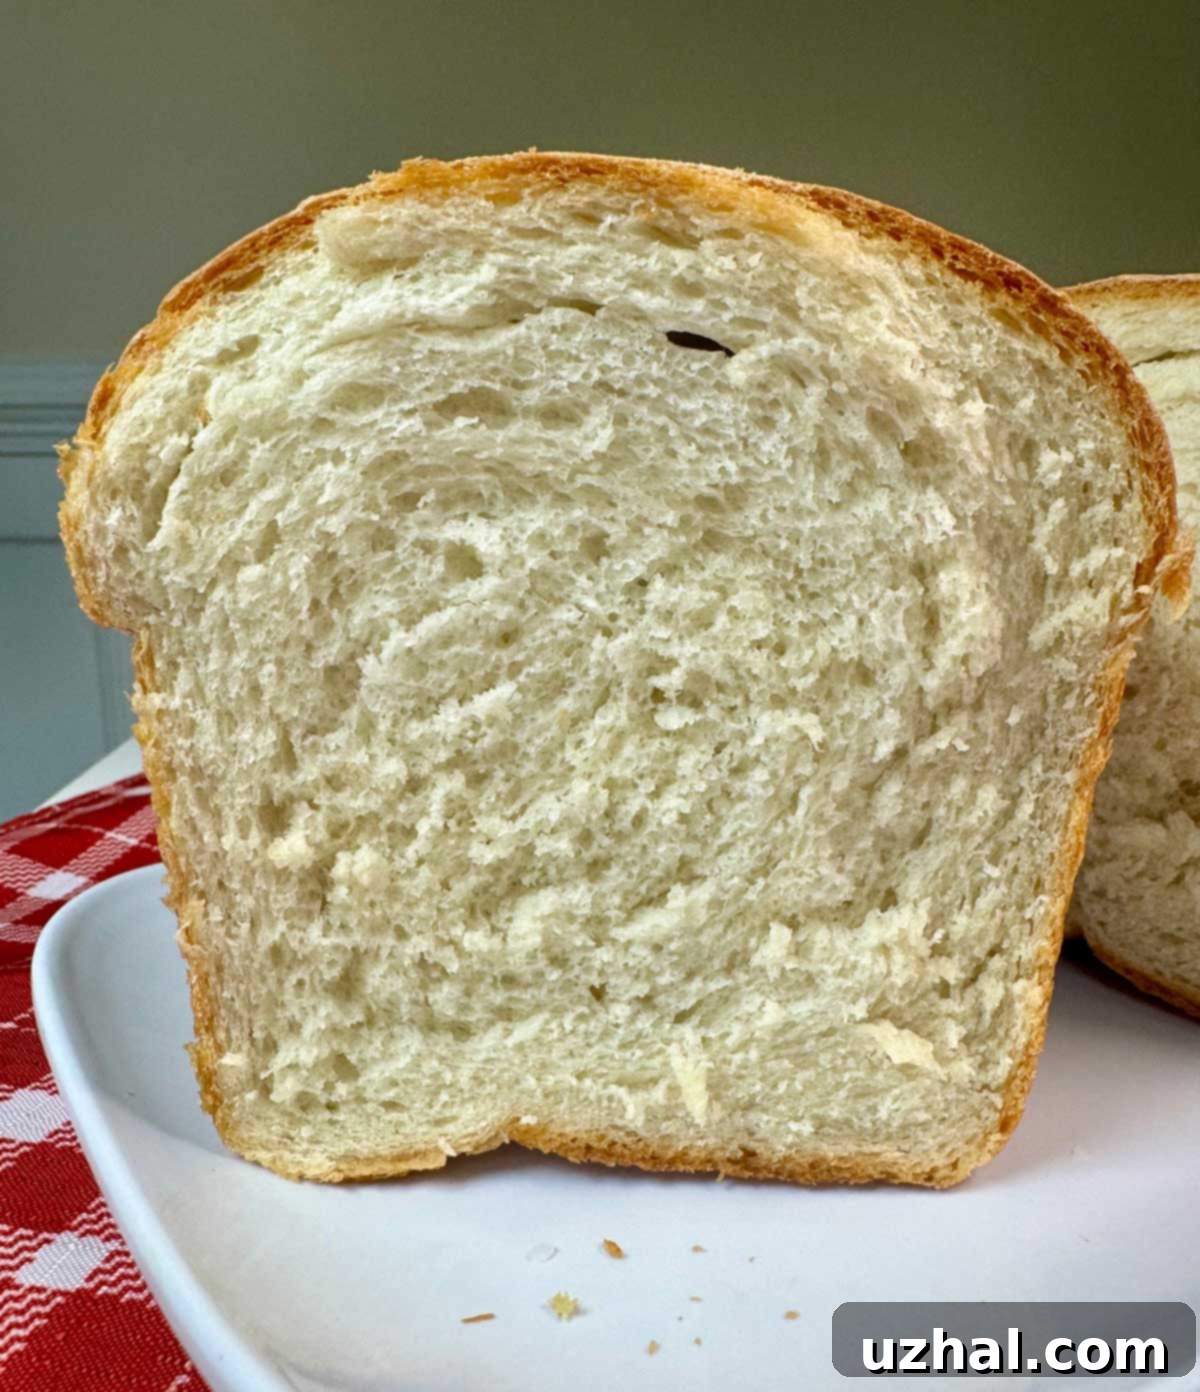
I’ve honed this recipe over several years, making small refinements to achieve the perfect balance of texture and flavor. The result is a consistent, reliable loaf that’s become a household favorite. Here’s a look at a recent loaf, freshly cut, allowing you to appreciate its beautiful cross-section and even crumb. It was baked in my go-to 8½ by 4½ inch loaf pan.

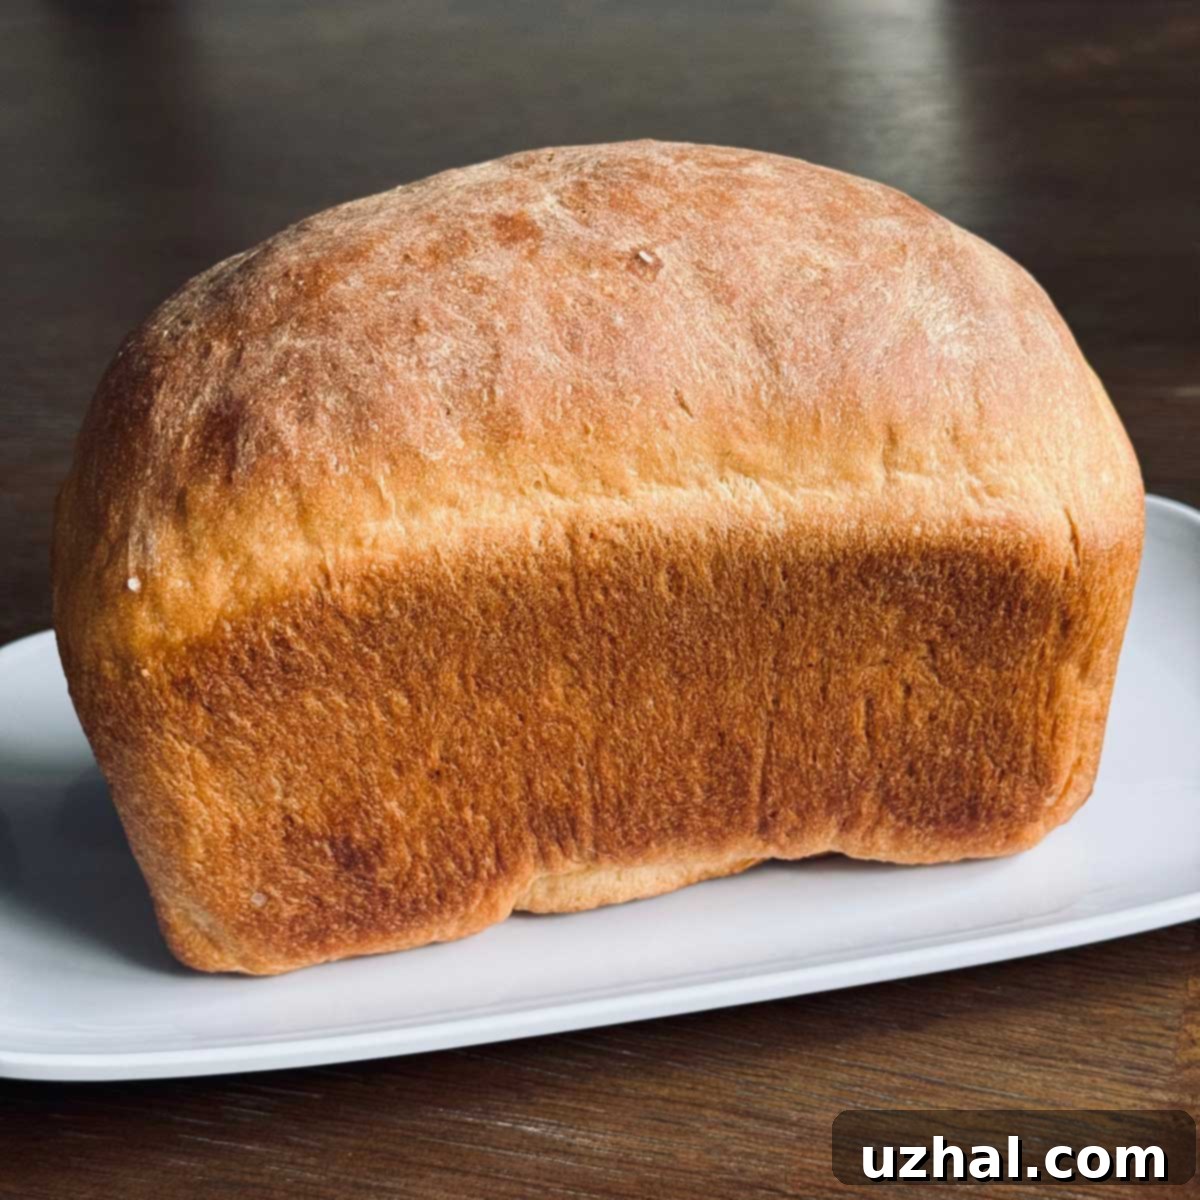
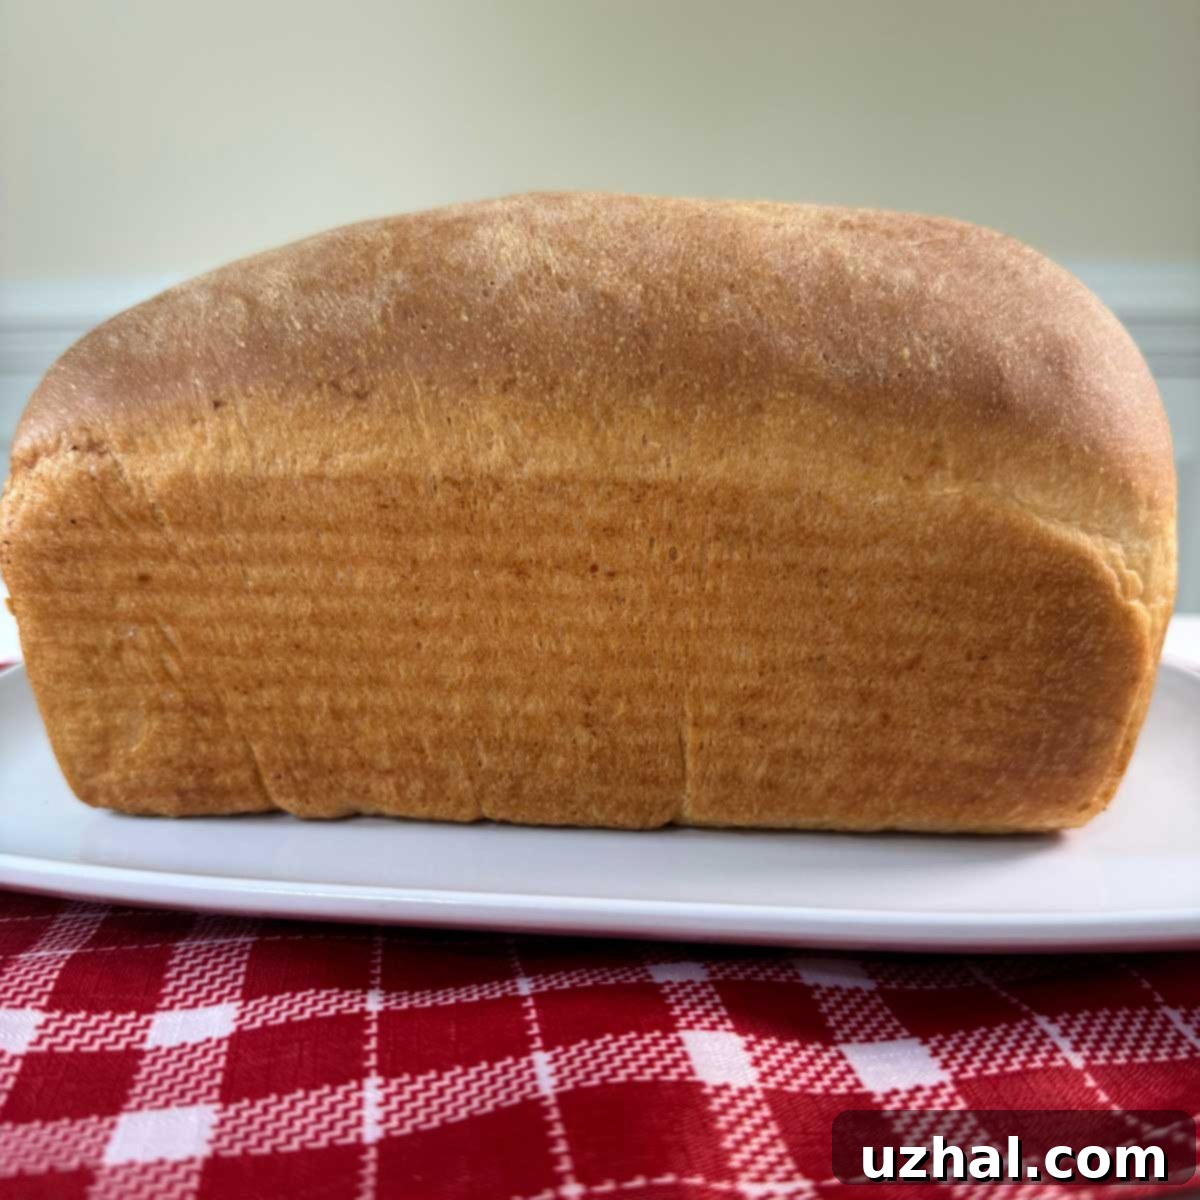
And for another perspective, here’s an earlier photo of a baked loaf, demonstrating the consistent quality of this recipe over time.
Understanding Ingredients: Flour, Yeast, and Liquids
Successful bread baking often comes down to understanding your ingredients and how they interact. Over time, I’ve made a few adjustments to this recipe to simplify it and enhance flavor. For instance, while granulated sugar works perfectly, using honey is an excellent alternative that adds a subtle sweetness, extra moisture, and a lovely depth of flavor to your loaf. I’ve also streamlined the liquid component, opting for just 1 cup of water instead of milk, which still yields fantastic results.
Crucially, not all flours are created equal. Different brands and types of flour can absorb varying amounts of liquid. This means you might need to make minor adjustments to the water content, even when precise gram measurements are provided. For this recipe, I typically use a total of 420 grams of bread flour (which is roughly 3 cups) and 1 cup of water, often with an additional 2-3 tablespoons. Bread flour, with its higher protein content, is generally recommended for its ability to produce a strong, elastic dough and a good rise. If you opt for all-purpose flour, you might find you need slightly less water or a little more flour to achieve the right dough consistency. The best way to tell is by observing the dough as you knead it with a dough hook or by hand – it should be smooth, elastic, and slightly tacky, but not sticky.
Yeast Types: Active Dry vs. Instant
Yeast is the magic ingredient that makes bread rise, and understanding its different forms is key. I’ve experimented with both active dry yeast and instant yeast in this recipe. While I once used active dry yeast mixed directly with the flour, I now almost exclusively rely on instant yeast (specifically SAF brand, which is excellent). Instant yeast is incredibly convenient because it doesn’t require proofing (dissolving in warm water before mixing with dry ingredients). You can simply add it directly into your flour mixture. The hotter-than-usual water (around 125°F / 52°C) in this recipe then helps to activate it efficiently.
If you prefer to use traditional active dry yeast, you have a couple of options. The classic method is to “proof” it: dissolve it in a small amount of warm water (around 105-115°F / 40-46°C) with a pinch of sugar for 5-10 minutes until it becomes foamy, then add it to your dry ingredients. Alternatively, you can try adding active dry yeast directly to the flour mixture, similar to instant yeast. While proofing is generally recommended for active dry to ensure it’s alive and active, many bakers find success adding it directly, especially if the liquid temperature is warm enough to kickstart its activity. Either way, ensure your yeast is fresh for the best rise!

Shaping Your Loaf for the Perfect Rise
Properly shaping your bread dough is more than just aesthetics; it significantly impacts the final texture and rise of your loaf. A well-shaped loaf helps create an even crumb structure and prevents large air pockets from forming, especially between the top crust and the interior. My preferred method, which consistently produces excellent results, involves rolling the dough into a tight cylinder.
Here’s a breakdown of this effective shaping technique:
- Flatten the Dough: Once your dough has completed its first rise (bulk fermentation), gently press it down onto a lightly floured surface to deflate it. Shape it into a rectangular form.
- Fold Corners Inward: Take the two top corners of the rectangle and fold them inward towards the center, creating a slightly tapered top edge. This helps create tension.
- Roll Downward: Starting from the folded top edge, begin to roll the dough downward towards you, like rolling up a rug. As you roll, use the palms of your hands to gently press out any trapped air bubbles. This step is crucial for an even crumb.
- Seal and Tighten: Continue rolling until you have a neat, tight log. Pinch the seam firmly along the bottom to seal it, and gently tuck in the ends to create a smooth, taut surface. This tension is what encourages a high, even rise in the oven.
This cylinder method helps distribute the yeast’s gas production evenly throughout the dough, minimizing those undesirable large air gaps. It also creates a strong gluten structure on the outside, which acts like a skin, holding the loaf’s shape as it bakes.
A Flavorful Twist: Baking with Whey
For those who enjoy experimenting with their baking, using whey instead of water is a fantastic variation to try. I recently made a batch of homemade ricotta cheese, which left me with a generous amount of leftover whey. Instead of discarding it, I decided to use it in this basic white bread recipe. The results were quite surprising!
While I didn’t notice a dramatically different flavor profile – the bread still had its classic, comforting taste – the whey seemed to contribute significantly to the loaf’s rise. The proteins and lactoserum in whey can actually boost yeast activity, leading to a lighter, airier texture and an impressive oven spring. It’s an excellent way to add nutritional value and avoid waste, turning a byproduct into a key ingredient for an even better loaf of bread. If you ever find yourself with leftover whey from cheesemaking or yogurt straining, I highly recommend giving this variation a try!
Whether you’re new to bread baking or a seasoned pro, this recipe offers a reliable and enjoyable experience. The process itself is therapeutic, and the reward of a warm, homemade loaf is truly unmatched. Dive in and experience the joy of baking your own bread!
- Double Striped Peanut Butter Cookies
- Pudding Mix Black and White Cookies
- Barry Callebaut’s Chocolate Crumb Cream Pie
- Fiber One Crunchy Fudge Cookies
- Pineapple Sour Cream Pie
The Ultimate Basic White Bread Recipe

Basic White Bread Without a Bread Machine
Anna
Pin Recipe
Ingredients
- 1 cup water, plus another 2-3 tablespoons (240 grams – ensure water is warm for yeast activation, around 120-125°F/49-52°C)
- 2 tablespoons of unsalted butter (28 grams, melted)
- 3 to 3 ½ cups bread flour (or all-purpose flour) (380 to 420 grams, depending on flour type and absorption)
- 2 tablespoons of granulated sugar OR honey (24 grams of sugar or 36 grams honey, for yeast food and flavor)
- 1 ⅛ teaspoon salt (Morton Kosher recommended, adjust for other types)
- 2 teaspoons quick rising yeast (SAF instant preferred)
Instructions
-
In a small saucepan, combine 1 cup of water with the 2 tablespoons of butter. Heat gently over medium-low heat until the butter is completely melted. Remove from heat and let it cool until it reaches approximately 125 degrees F (52 degrees C). This temperature is crucial for activating the yeast without killing it.
-
While the liquid mixture is cooling, prepare your dry ingredients. In the bowl of a stand mixer (or a large mixing bowl for hand-kneading), combine 2 cups of the flour (approximately 280 grams), the sugar or honey, salt, and instant yeast. Give them a quick whisk to distribute evenly. Gradually add the cooled 125-degree water/butter mixture to the dry ingredients and stir well using a sturdy spoon or spatula until just combined. At this stage, the dough will be very soft and shaggy.
-
If using a stand mixer, attach the dough hook. Gradually add the remaining 1 to 1½ cups of flour (100-140 grams) in small increments. Begin kneading on low speed. As the dough comes together, assess its consistency. If it seems too dry and stiff, add the extra 2-3 tablespoons of water, one tablespoon at a time, until the dough starts to gather around the hook. If it’s too wet and sticky, add a little more flour, a tablespoon at a time. Knead with the mixer for about 8 minutes, or until the dough is smooth, elastic, and pulls away cleanly from the sides of the bowl. If kneading by hand, turn the dough out onto a lightly floured surface and knead vigorously for 10-12 minutes until smooth and elastic.
-
Once kneaded, lightly grease a second large bowl with butter or oil. Transfer the dough to the greased bowl, turning it once to coat all sides. Cover the bowl tightly with plastic wrap or a clean kitchen towel and let it rise in a warm, draft-free place for about 1 hour, or until it has doubled in size. After the first rise, gently punch down the dough to release the air. Turn it out onto a lightly floured surface and pat it into a rough rectangle. Now, shape it into a cylinder as described in the “How to Shape a Bread Loaf” section above, pressing out air as you roll. Place the shaped dough into a greased 8½ by 4½ inch loaf pan.
-
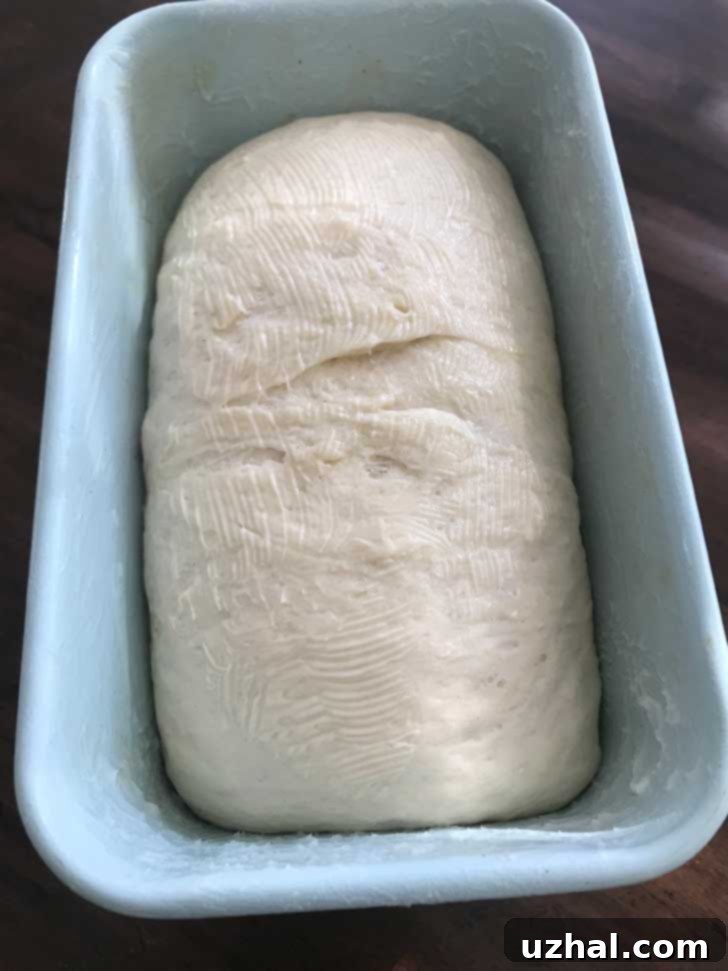
Place the loaf pan in a warm, draft-free spot for its second rise (proofing). Let it rise for approximately 45 minutes, or until the dough has risen about an inch over the top of the pan. Be careful not to overproof at this stage, as it can lead to a collapsed loaf during baking. The dough should look visibly puffy and light.
-
About 15 minutes before the second rise is complete, preheat your oven to 375 degrees F (190 degrees C). Once the oven is preheated and the loaf has risen sufficiently, bake the dough for 45 minutes. The bread is done when the crust is beautifully browned and, when tapped on the bottom, it sounds hollow. For absolute certainty, an internal temperature of 190-200°F (88-93°C) indicates doneness. Immediately remove the loaf from the oven and carefully turn it out onto a wire rack. Let it cool completely before slicing and serving. This allows the internal structure to set and prevents a gummy texture.
Nutrition
Baking homemade bread is a rewarding experience that brings warmth and a delicious aroma to your kitchen. With this detailed guide and easy-to-follow recipe, you’re well on your way to mastering the art of basic white bread. Enjoy your freshly baked loaf!
