Easy & Delicious Gluten-Free Whole Grain Bread Recipe: Your Everyday Loaf
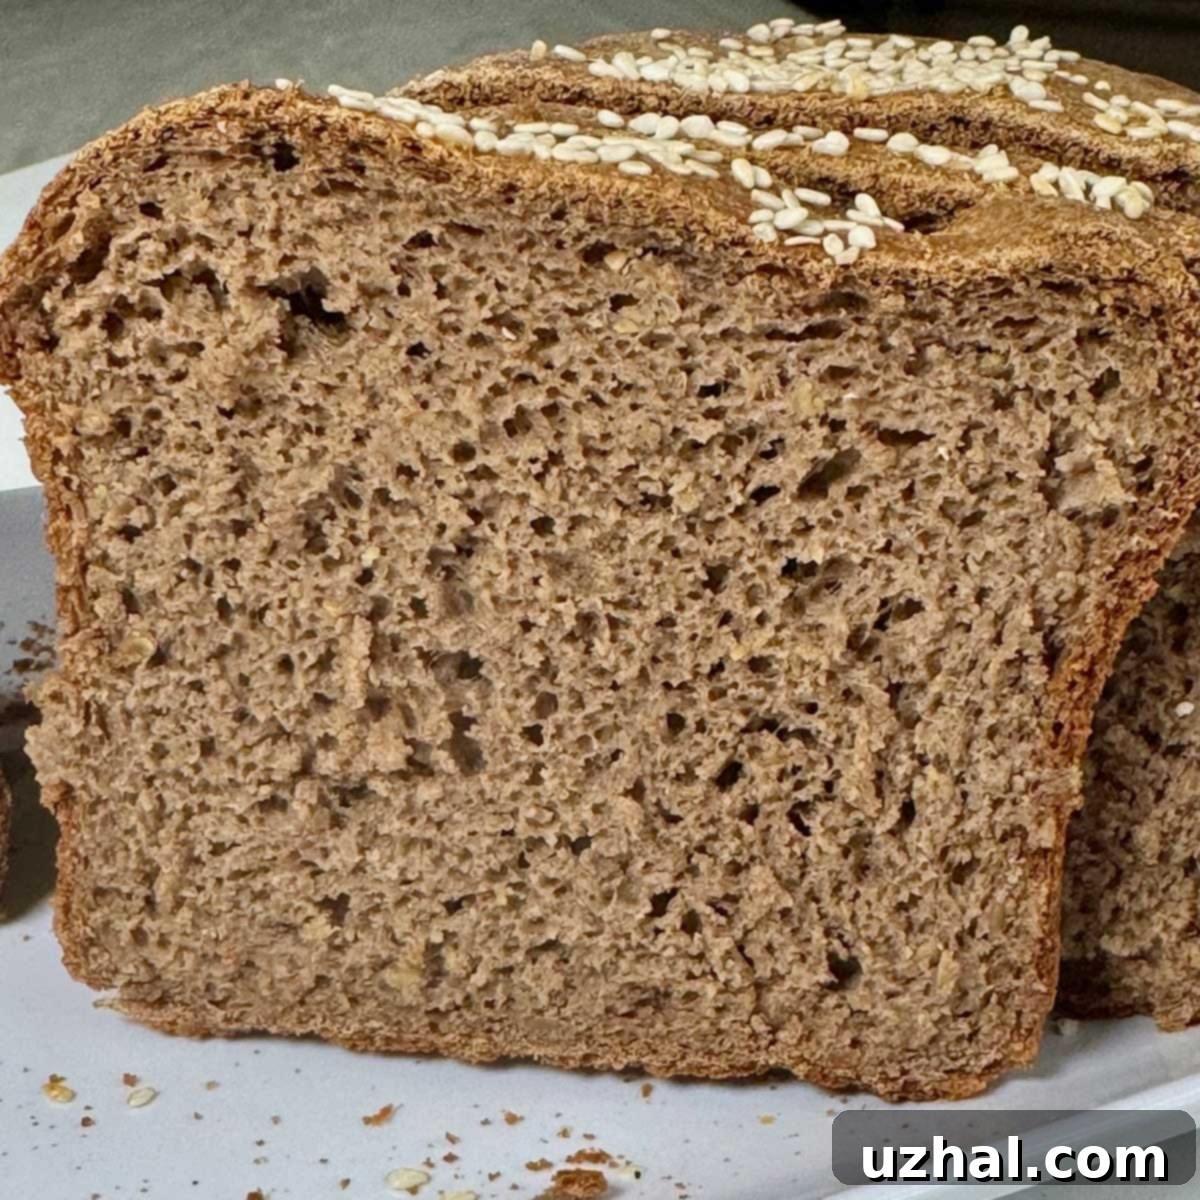
Finding a reliable, delicious, and easy-to-make gluten-free bread recipe can feel like searching for a hidden treasure. Many recipes either fall short on taste, have a challenging texture, or require an extensive list of ingredients and complex techniques. However, this recipe for gluten-free whole grain bread is a true gem, designed to be your go-to for daily enjoyment. It combines a carefully selected blend of flours, including teff, brown rice, sweet rice, flax, and psyllium, ensuring not only a wonderful flavor and texture but also a significant boost of fiber. This bread is incredibly versatile, perfect for toasting and serving with your favorite spreads like peanut or almond butter, thanks to its delightful, subtle sweetness. While the process is straightforward, there’s one small detail that makes all the difference, which we’ll dive into.
The Essential Gluten-Free Whole Grain Flour Blend
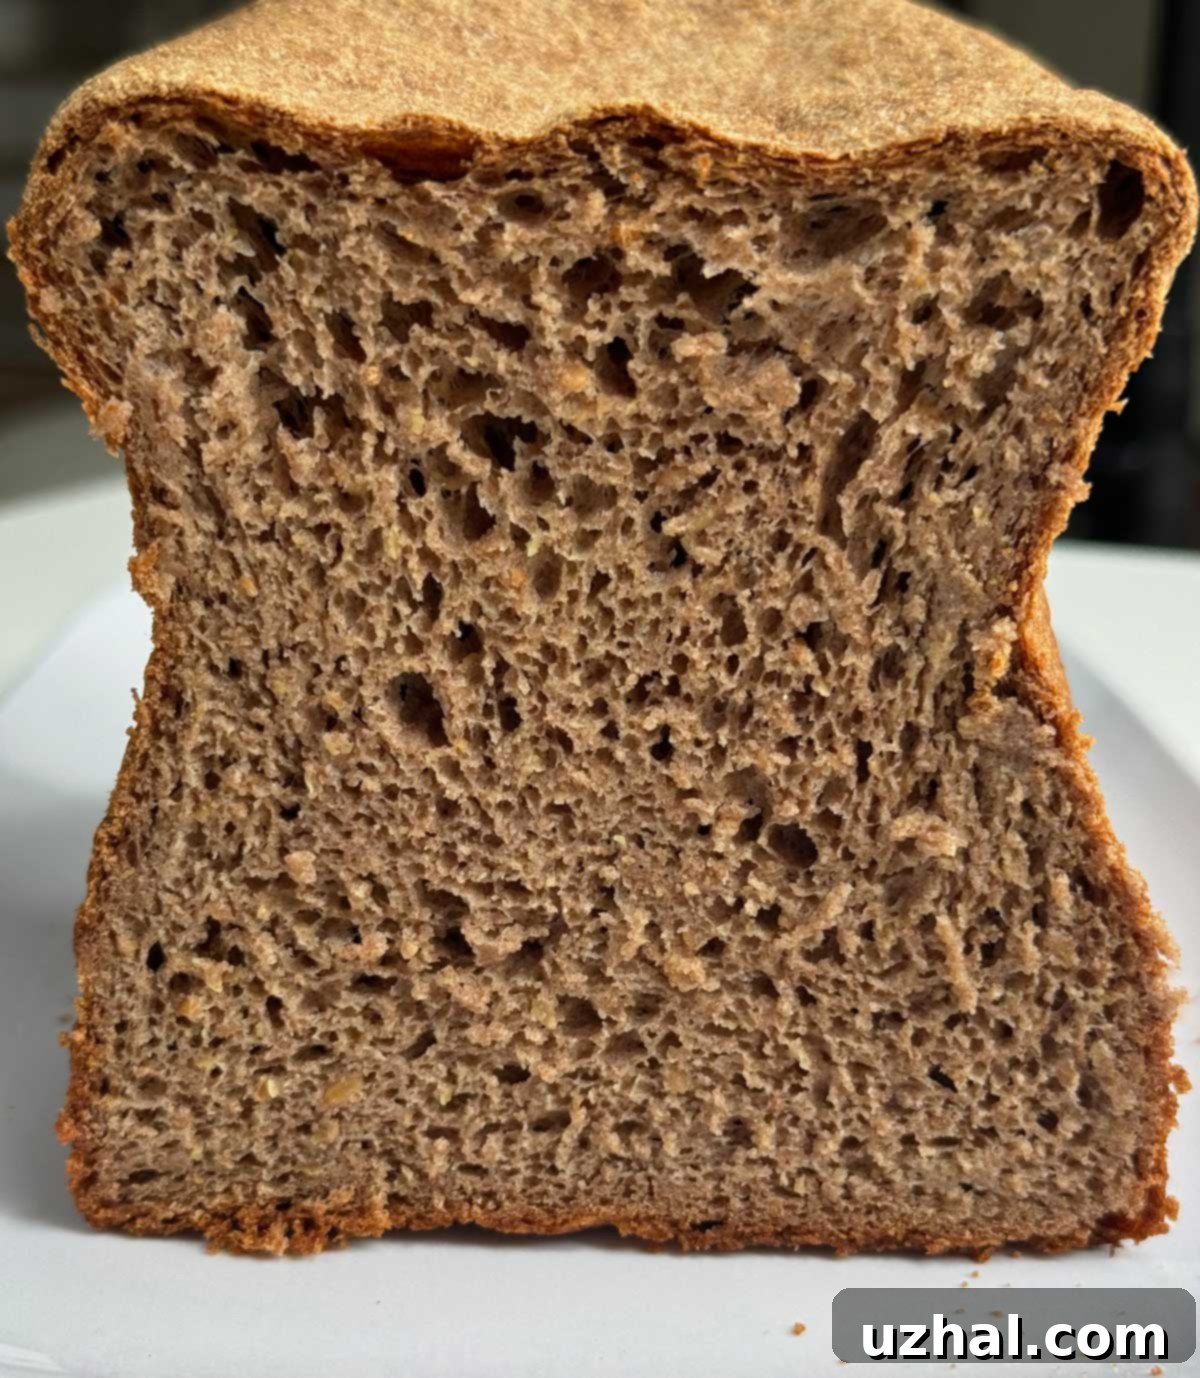
The secret to this bread’s success lies in its unique whole-grain, gluten-free flour blend. This isn’t your average store-bought mix; it’s a custom combination that provides the structure, flavor, and nutritional benefits essential for a truly exceptional loaf. The “catch,” as mentioned, is that you’ll need to gather these specific flours, many of which aren’t typically found in your local grocery store aisle. But don’t let that deter you! Sourcing these ingredients online or from specialty stores is easier than you think and well worth the effort for the superior results you’ll achieve. Creating your own blend ensures optimal freshness and control over your ingredients, setting your bread apart from any commercial alternative.
Crafting Your Whole-Grain Gluten-Free Flour Blend (Flax Blend)
This carefully formulated blend provides the ideal balance of protein, starch, and fiber needed to create a sturdy yet tender gluten-free loaf. Each flour contributes unique characteristics:
- Teff Flour: A tiny, ancient grain, teff flour brings a slightly nutty, earthy flavor and a rich, dark color. It’s incredibly nutritious, high in iron and protein, and provides excellent binding properties, which are crucial for gluten-free baking.
- Brown Rice Flour: This is a staple in gluten-free baking, offering a mild flavor and contributing to the bread’s structure. It’s a whole grain flour, adding to the overall fiber content.
- Ground Golden Flaxseeds: Flaxseeds are a powerhouse of nutrition, packed with omega-3 fatty acids and soluble fiber. When ground, they act as a natural binder (mucilage) and add a lovely texture and flavor to the bread, enhancing its whole-grain appeal.
- Sweet White Rice Flour: Also known as glutinous rice flour (despite being gluten-free), sweet white rice flour is high in starch and provides a desirable chewiness and softness to the final loaf. It helps create a more cohesive and less crumbly texture.
By blending these flours yourself, you gain complete control over the quality and ratios, ensuring your bread consistently turns out perfectly. This blend makes approximately 48 oz (or 10 cups), far more than you’ll need for a single loaf, so you’ll have plenty ready for future baking adventures. Here’s the specific breakdown:
24 ounces (5 ¼ cups)teff flour
8 ounces (1 ¾ cups) brown rice flour
8 ounces (2 ⅓ cups) ground golden flaxseeds
5 ounces (1 cup) sweet white rice flour
Once you’ve assembled these flours, give them a thorough whisk to ensure they are evenly combined. Store any leftover blend in an airtight container in a cool, dry place, or for longer freshness, in the refrigerator or freezer.
Mastering the Gluten-Free Dough: Simplicity and Precision
Making this gluten-free bread dough is surprisingly simple, especially once you embrace the precision of weighing your ingredients. Unlike traditional baking where volume measurements are common, gluten-free baking thrives on accuracy. Using a kitchen scale ensures consistent results every time and minimizes errors that can lead to a dense or crumbly loaf. The process begins by placing your mixing bowl directly on a scale and adding the dry ingredients one by one: the gluten-free flour blend, followed by psyllium powder, yeast, sugar, baking powder, and salt. This method is not only foolproof but also incredibly efficient, saving you from washing multiple measuring cups.
The psyllium in this recipe plays a crucial role. In gluten-free baking, psyllium husk powder acts as a natural binder, mimicking the elasticity and structure that gluten provides. It helps create a dough that is manageable, pliable, and capable of rising, rather than a loose batter. After combining the dry ingredients, you’ll introduce very warm water (temperature is key for activating the yeast), an egg, and soft butter. The mixture is then beaten to form a dough that is just slightly sticky. What’s unique about this gluten-free dough, thanks to the psyllium, is its thickness. Unlike many gluten-free bread recipes that result in a pourable batter, this dough is substantial enough to be scraped onto a mat and shaped by hand into a beautiful loaf. This hands-on shaping process makes the experience feel much more like traditional bread making, a comforting step for any baker.
The Unique Single-Rise Process for Gluten-Free Bread
One of the distinguishing features of this recipe is its single-rise method, which simplifies the process without compromising on quality. For many gluten-free breads, a single rise is often sufficient because the structure relies less on extensive gluten development (which isn’t present) and more on the leavening agents and binders. This particular bread begins its rise immediately after the dough is pressed into the pan. This means less waiting and more streamlined baking!
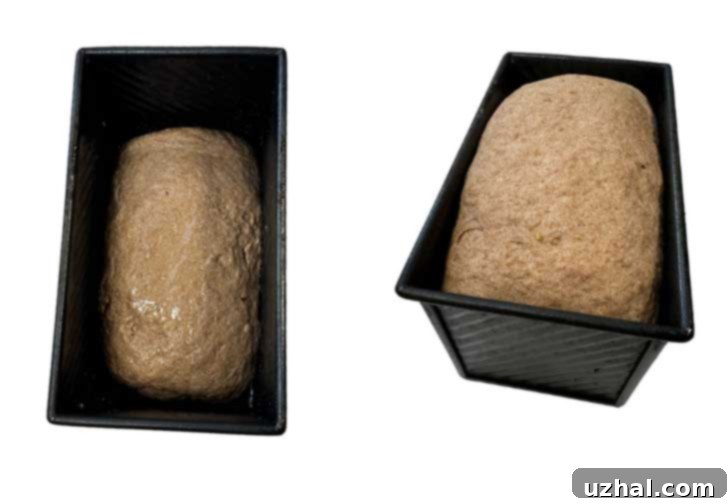
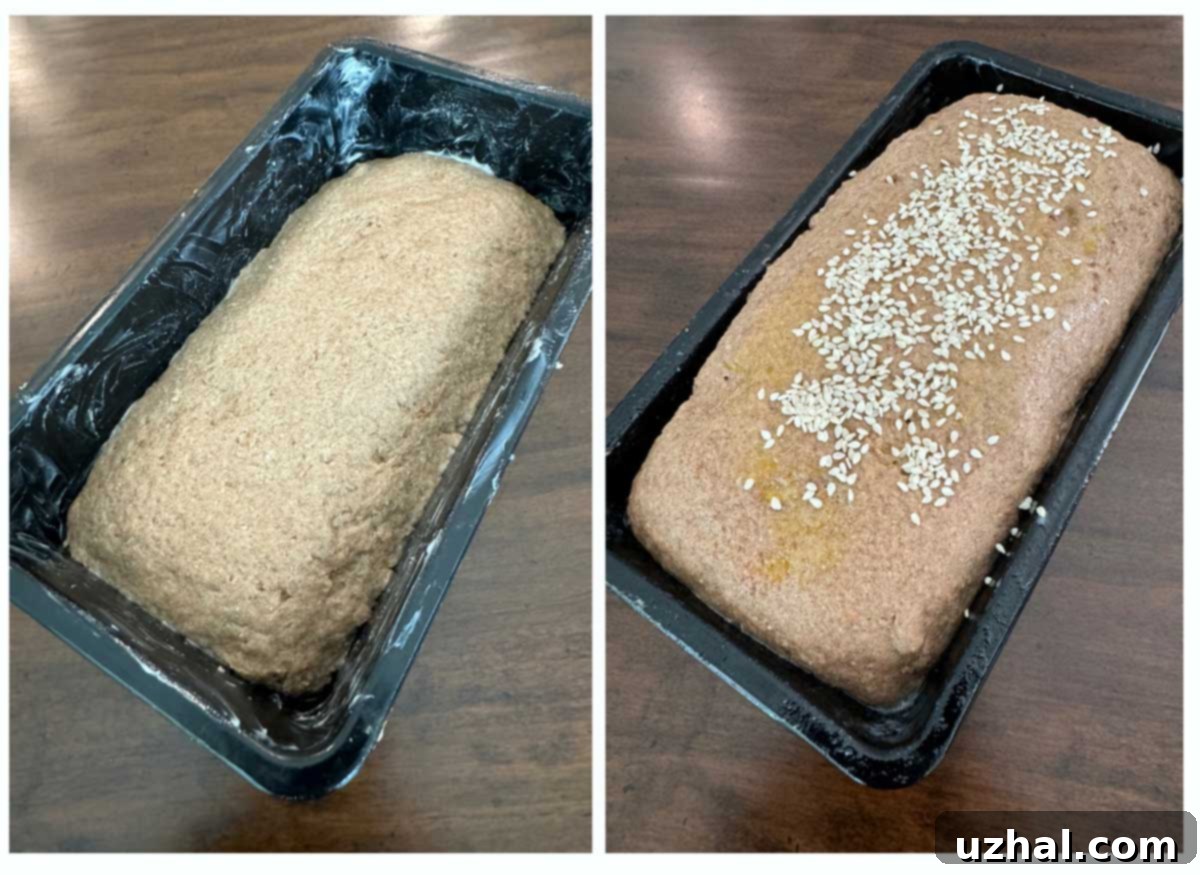
After mixing, the dough is carefully transferred and pressed into your chosen loaf pan. It then undergoes a crucial rising period, ideally in a warm, draft-free environment. You can create a “proofing box” by briefly heating your oven to a low temperature (around 200°F) and then turning it off, allowing the residual warmth to encourage the yeast. The images below clearly illustrate the transformation of the dough: first, after it’s mixed and pressed into the pan, and then after approximately 40 minutes of rising. You’ll observe a noticeable expansion; for best results, allow the dough to rise almost to the very top of your Pullman pan. It’s important to note that unlike wheat-based breads, gluten-free loaves often do not experience a significant “oven spring” (a final burst of rising) once baking begins. In fact, it’s common for them to slightly sink or hold their shape, so achieving a good rise before baking is key.
Achieving the Perfect Bake: Gluten-Free Whole Grain Bread
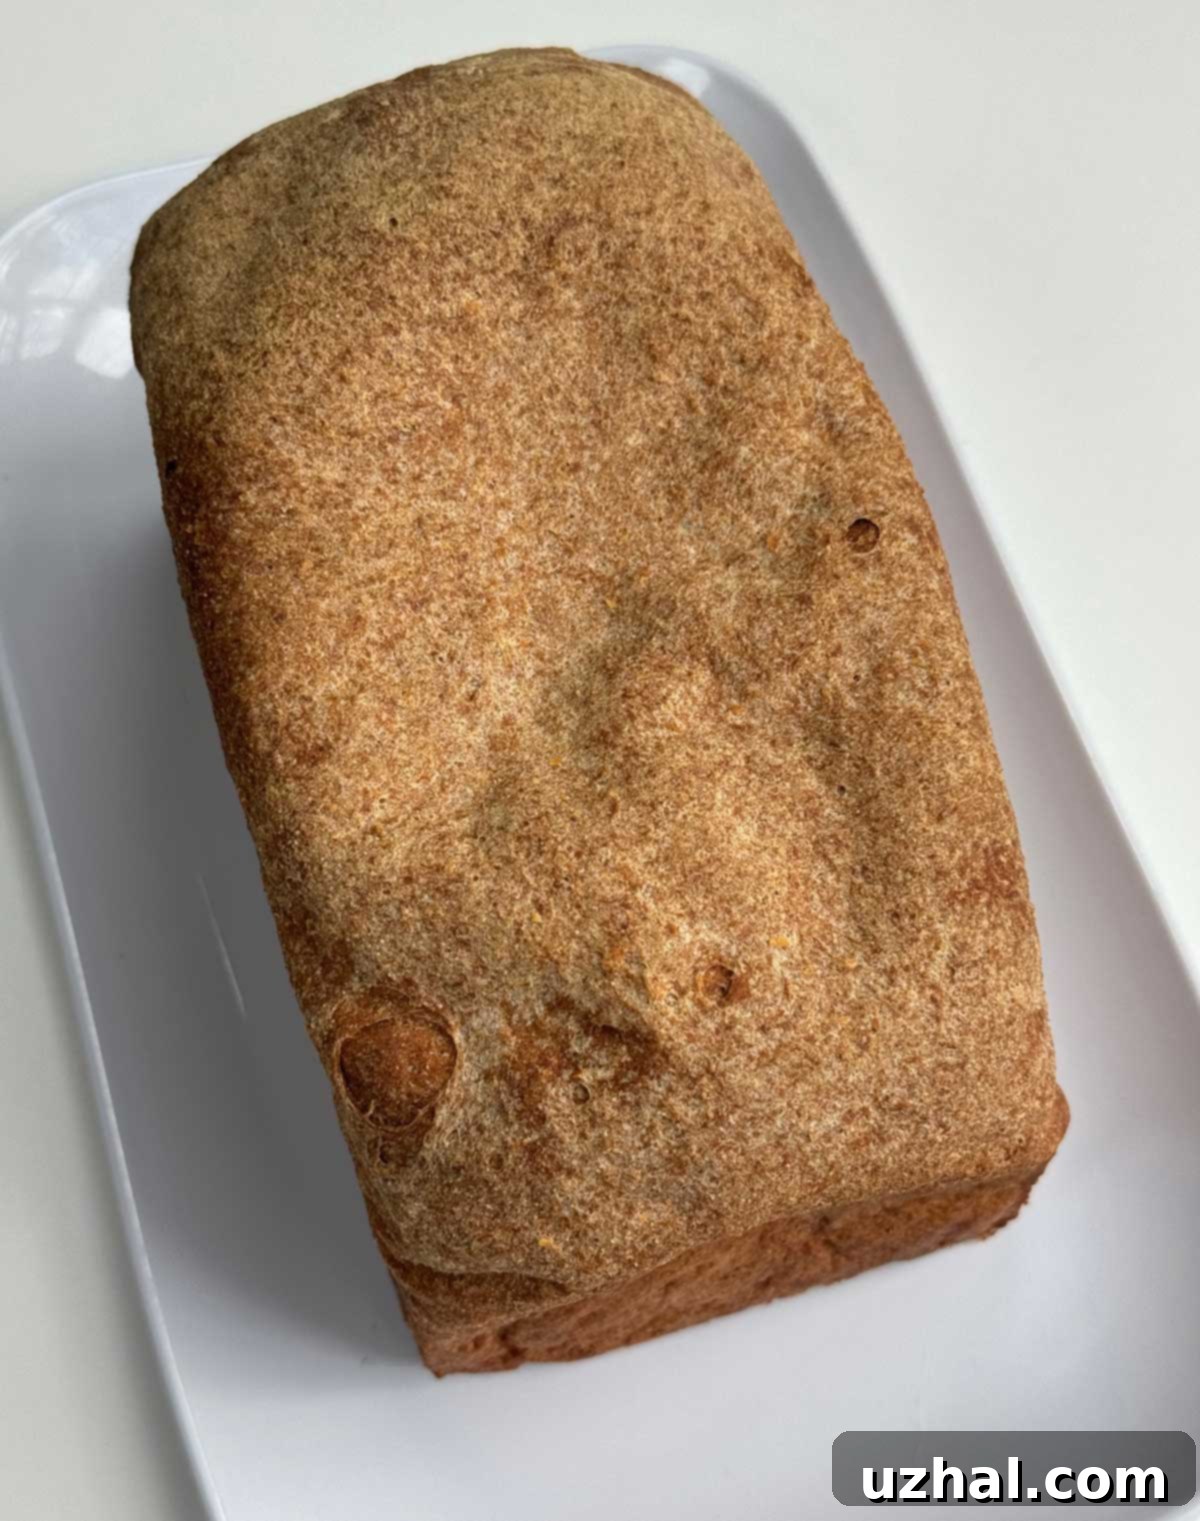
Baking this gluten-free whole grain bread requires patience, as it bakes for a substantial 70 minutes. This extended baking time is not a mistake; it’s a deliberate step critical for achieving the ideal texture in gluten-free loaves. Gluten-free doughs, especially those rich in whole grains and psyllium like this one (and similar to our sorghum bread), tend to retain more moisture than traditional wheat breads. The long baking duration allows this excess moisture to properly evaporate, resulting in a bread that is cooked through, firm, and less gummy. Resist the urge to shorten the baking time, as an underbaked gluten-free bread can be disappointingly dense and wet.
Upon initial removal from the oven, the bread will be soft to the touch. As it cools, it undergoes a transformation, gradually becoming firmer and more structured. This cooling process is just as important as the baking itself. For optimal slicing and texture, it’s often best to let the bread cool completely, even for several hours. After a day in the refrigerator, you’ll find it becomes even firmer and remarkably easy to slice, making it perfect for sandwiches. While you can certainly enjoy a warm slice right out of the oven, many find that the flavor and texture of this bread truly improve with a little age. It’s similar to how a fine wine develops character over time. After the first day, a great tip is to slice the entire loaf and freeze half. This ensures you always have delicious, ready-to-toast gluten-free bread on hand, minimizing waste and maximizing convenience.
Choosing Your Loaf Pan: Pullman vs. Standard for Gluten-Free Bread
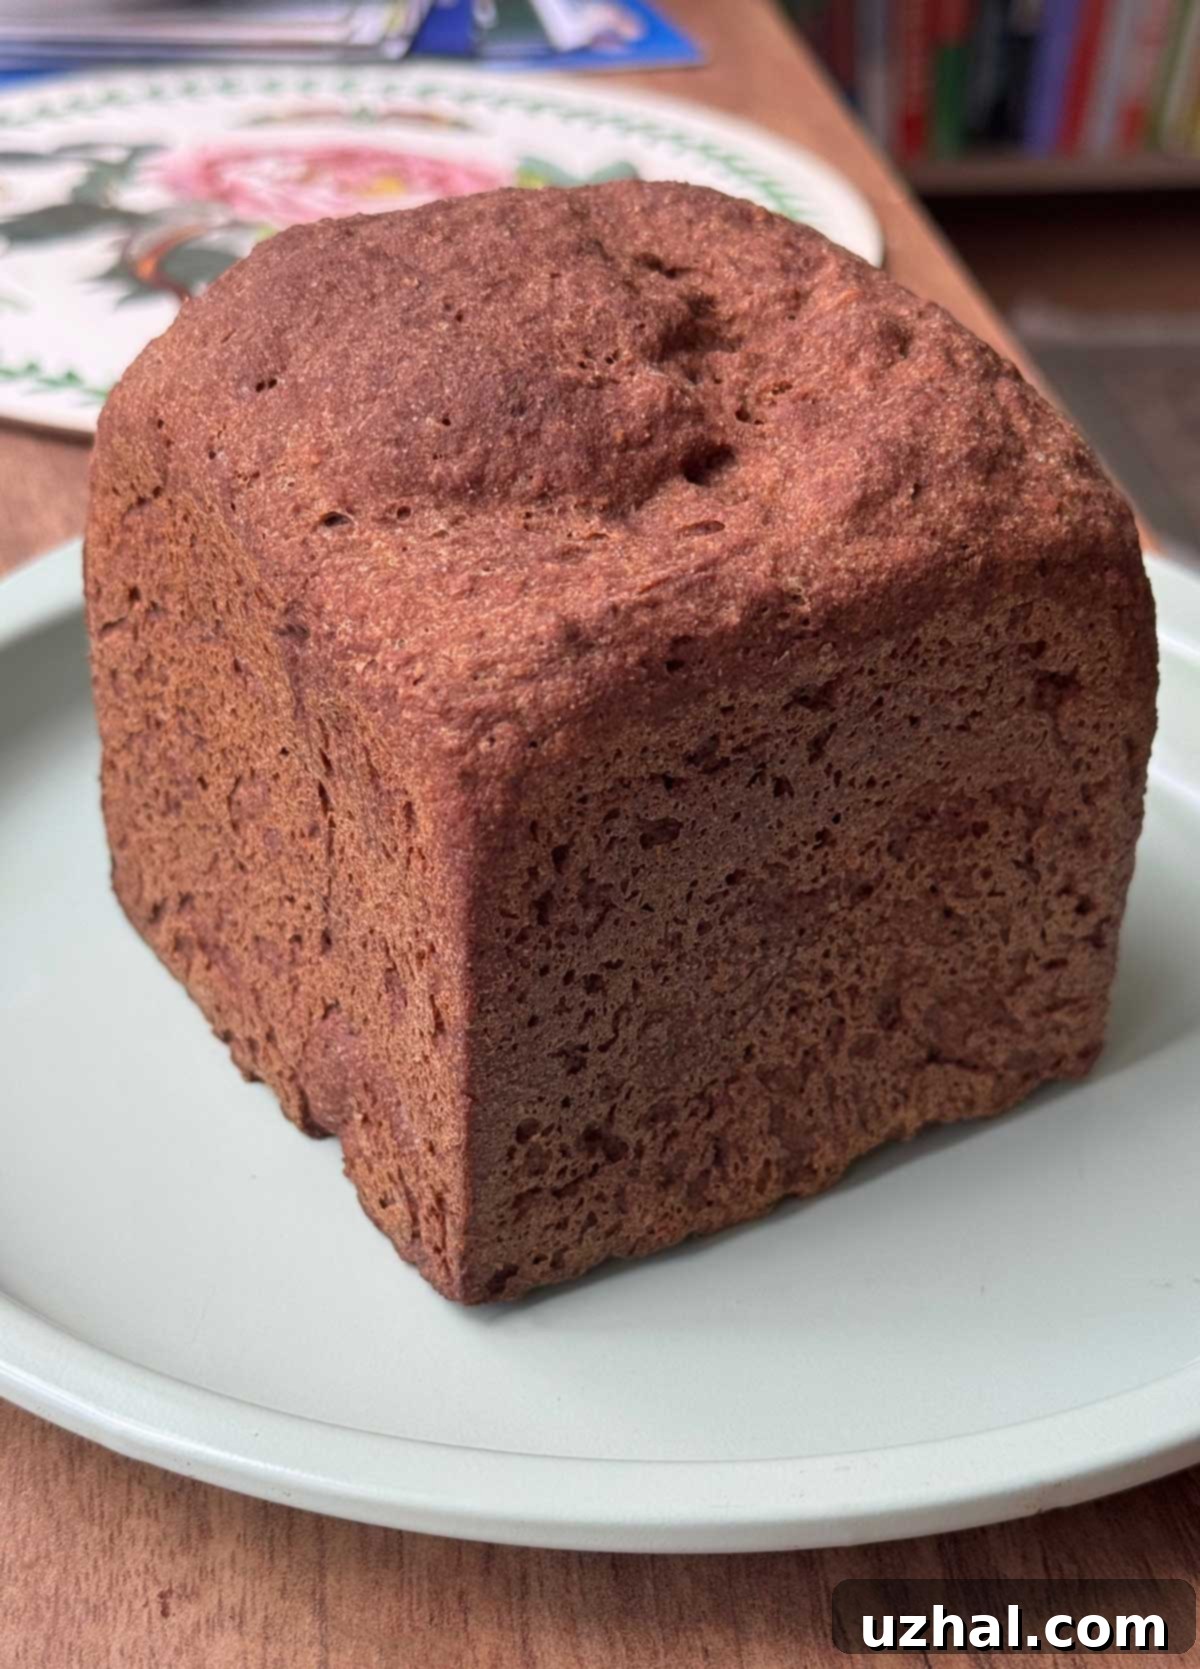
The choice of loaf pan can significantly influence the final shape and texture of your gluten-free bread. This particular recipe yields excellent results in a Pullman pan, and for good reason. A Pullman loaf pan, with its distinctive rectangular shape, straight sides, and often a sliding lid, is specifically designed to create a uniform, square loaf. For gluten-free bread, which tends to rise differently and can sometimes be prone to spreading or uneven baking, the Pullman pan’s narrow bottom and high, supportive sides provide crucial structure. It helps the dough rise high and evenly, preventing it from collapsing, even if it slightly sinks during baking. The result is a beautifully shaped, consistent slice, perfect for sandwiches and toast.
While a Pullman pan is highly recommended for achieving that iconic square loaf and optimal rise, you can absolutely make this bread in a standard 8 ½ by 4 ½ inch loaf pan. If you opt for a regular pan, anticipate a loaf that is equally tasty but will likely be slightly denser and shorter. The lack of the high, enclosed sides means the dough has less external support as it rises, leading to a different, though still satisfying, crumb structure. Both options produce delicious bread, so choose the pan that best suits your preferences and what you have available. I personally use two Pullman pans: a standard size Chefmade Pullman for full-sized loaves and a charming little cubical Pullman for sample sizes or smaller batches. The nonstick coating on both is fantastic, ensuring easy release, especially if you handwash them and keep them out of the dishwasher.
Tips for Gluten-Free Bread Success
Baking gluten-free bread, while different from traditional baking, can be incredibly rewarding. Here are some extra tips to ensure your success with this recipe:
- Measure by Weight: Reiterate the importance of using a kitchen scale for all dry ingredients. This is the single most important tip for consistent gluten-free baking.
- Water Temperature: The “very warm water” specified (125 degrees F) is crucial for activating the yeast without killing it. Use a thermometer to be precise.
- Don’t Rush the Rise: Even though it’s a single rise, patience is key. A warm environment helps, but let the dough take its time. If your kitchen is cold, the proofing box method is ideal.
- Full Cooling is Essential: Resist the temptation to cut into the hot loaf. Gluten-free bread needs to cool completely to set its structure and achieve the best texture. Slicing too early can result in a gummy crumb.
- Storage: Store cooled bread in an airtight container at room temperature for a day, then transfer to the refrigerator for up to 3-4 days. For longer storage, slice and freeze.
- Adaptation: Feel free to experiment with add-ins like seeds (sunflower, pumpkin, sesame) or a sprinkle of oats for extra texture, but start with the basic recipe first to get a feel for the dough.
This gluten-free whole grain bread recipe offers a straightforward path to a delicious, healthful, and satisfying loaf. With its rich fiber content and delightful taste, it’s sure to become a staple in your kitchen. Enjoy the process and the incredible aroma that fills your home as it bakes!
- Gluten-Free Raisin Bread
- Cottage Cheese Bread
- Easy Gluten-Free Dutch Oven Bread
- Sweet Potato Yeast Bread
- Food Processor Pound Cake in a Pullman
Recipe
Gluten-Free Whole Grain Bread For Pullman
Anna
Pin Recipe
Ingredients
- 2 ⅔ cup gluten-free flax blend from above (12.8 oz/358 grams)
- 2 tablespoons psyllium powder (20 grams)
- 1 ¾ teaspoons instant yeast
- 2 ½ tablespoons granulated sugar (30 grams)
- 1 teaspoon salt
- 1 ½ teaspoons baking powder
- 1 ½ cups water (12 oz)
- 1 large egg
- 1 large egg white OR 2 tablespoons beaten egg
- 1 tablespoon unsalted butter, very soft but not melted (14 grams)
Instructions
-
Heat the oven to 200 degrees and then turn it off. The goal is to create a very warm proofing box. You don’t have to do this, but it sometimes speeds things up.
-
In the bowl of a stand mixer, combine the gluten-free flax blend, psyllium powder, instant yeast, sugar, baking powder and salt. Stir until blended.
-
Heat the water in the microwave for about a minute and a half or just boiling, and let it cool down to 125 degrees F.
-
Add the 12 oz of 125 degree water to the flour mixture and stir just until moistened, then add the egg, egg white and the butter. Using the paddle attachment, beat on medium speed for about 3 minutes. The dough should clear the sides of the bowl and form a mass on the paddle. If it sticks to the side of the bowl, just scrape it off. It should still be slightly moist, but dry enough so that you can scrape it onto a mat and bounce it a little.
-
Scrape onto a pastry mat (you may or may not need a tiny bit of flour, I never do) and press down. Fold over on itself once or twice and shape into a compact loaf. Transfer to a greased Pullman pan.
-
Cover with greased plastic wrap, then put in the warm oven (make sure you turned it off) for 20 minutes. Remove from oven and let rise for another 20 minutes or until loaf has risen to the top of the Pullman. Meanwhile, preheat oven to 350 degrees F.
-
Bake risen loaf at 350 degrees F. for about 70 minutes. Turn off the oven. Let cool slightly and carefully remove the loaf from the pan. At this point, if it feels kind of heavy (which is usually will), let it sit in the oven with the door closed to further dry out the crumb for about 20 minutes. Remove from the oven and let cool completely.
-
The loaf might seem heavy at first, but as it stands and cools it will tend to solidify more. Once cool, you should be able to slice it. It should be firm enough to hold light sandwich fillings only, but it’s mostly best for toast.
Nutrition
