Indulge Guilt-Free: The Ultimate Smooth & Creamy Allulose Ice Cream Recipe (No Eggs!)
Sometimes, the best culinary adventures are born out of unexpected circumstances. This week, as snow blanketed everything outside, I found myself with the perfect excuse to dive into a new kitchen experiment: crafting delicious, sugar-free ice cream using allulose. I’d previously purchased allulose for a keto brownie recipe, but its potential in ice cream remained unexplored. To my delight, the results were absolutely fantastic – a truly smooth and incredibly creamy treat that’s almost entirely guilt-free!
What is Allulose and Why It’s Perfect for Ice Cream
Allulose is often referred to as a “rare sugar” because it’s naturally found in small quantities in foods like wheat, figs, and raisins. What makes it a game-changer for health-conscious dessert lovers, and especially for ice cream, is its unique properties. It has roughly 70% of the sweetness of table sugar but with only about 10% of the calories, and it doesn’t significantly raise blood sugar or insulin levels. For those on keto, low-carb, or diabetic-friendly diets, allulose is a fantastic alternative.
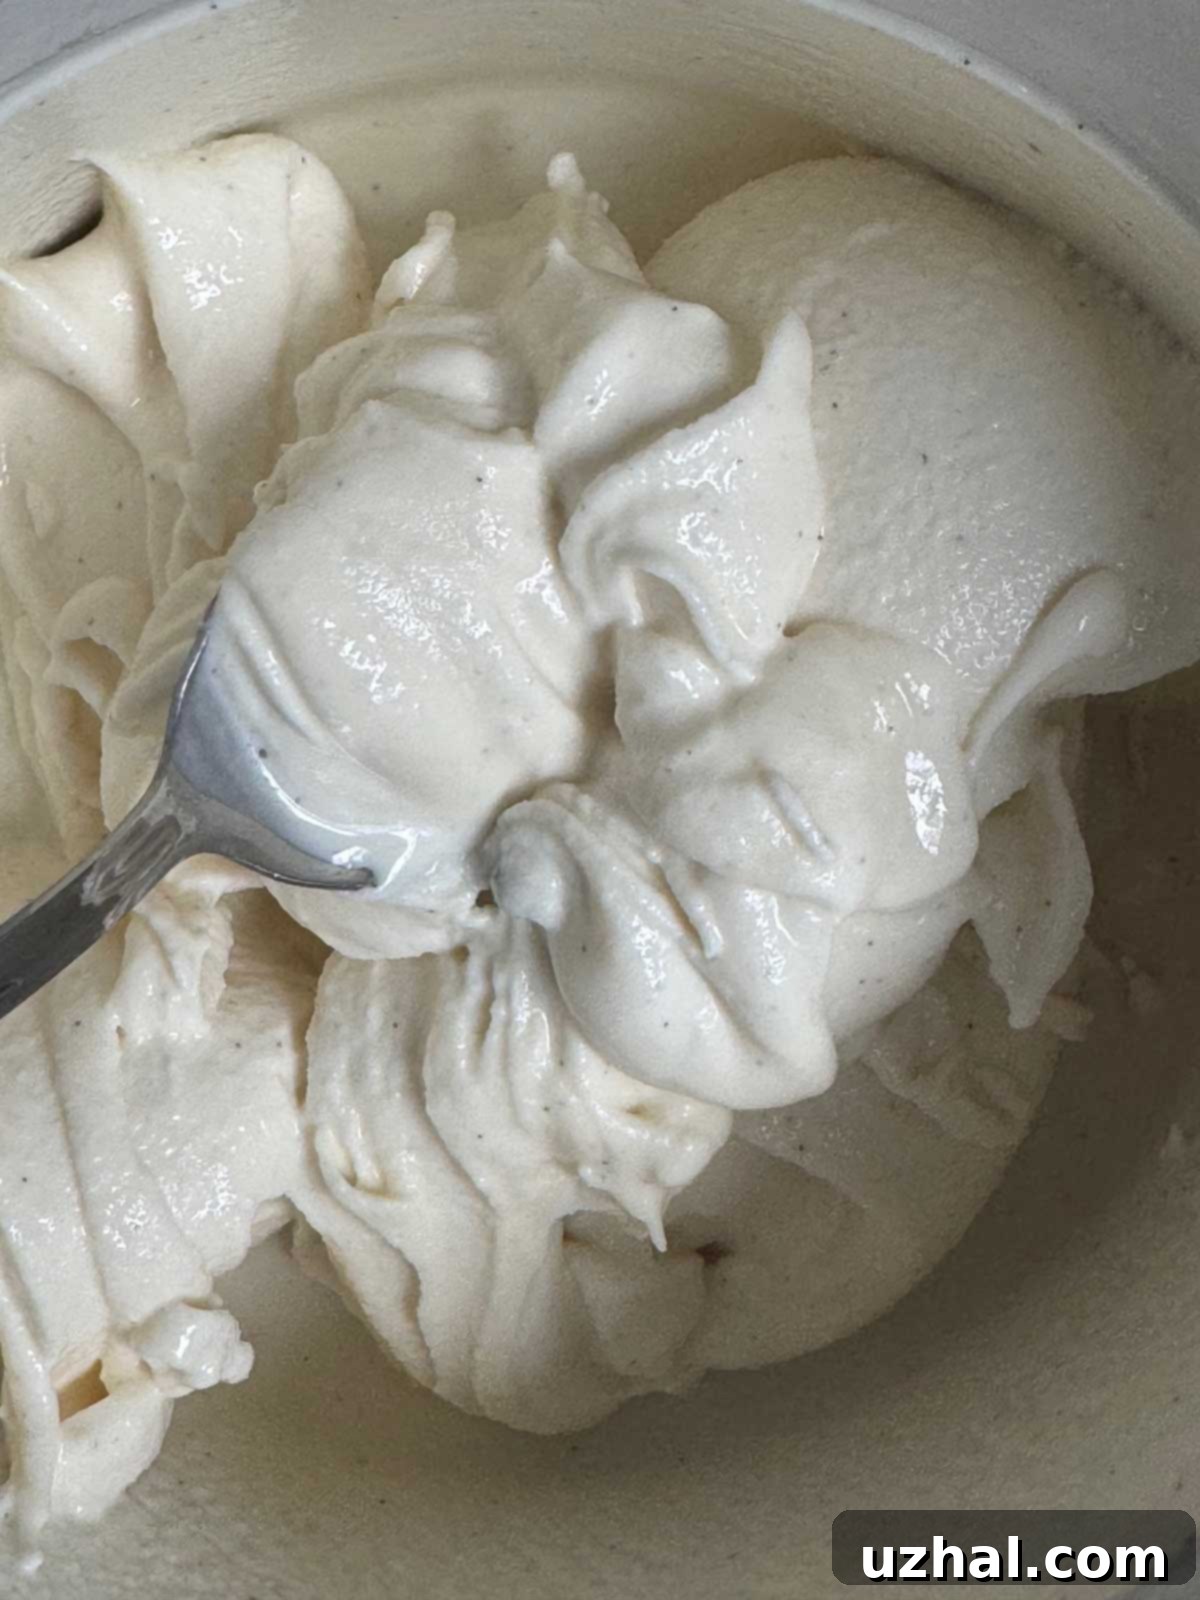
Beyond its health benefits, allulose boasts a remarkable ability to mimic the functional properties of sugar, which is crucial in ice cream making. It helps to depress the freezing point, preventing the ice cream from becoming rock-hard and icy. Instead, it contributes to a wonderfully soft, scoopable texture even straight from the freezer, just like traditional sugar-laden ice cream. This quality is what truly elevates an allulose-sweetened frozen dessert from merely “sugar-free” to “deliciously satisfying.”
The Jeni’s Inspired Base: Smoothness Without Eggs
My allulose ice cream base is a personal adaptation, taking inspiration from the acclaimed Jeni Britton Bauer of Jeni’s Splendid Ice Creams. Jeni’s method ingeniously involves boiling the milk in her ice cream base. This isn’t just a simple simmer; it’s a deliberate process designed to remove excess water and concentrate the milk’s proteins and natural sugars. The result is a richer, more concentrated milk mixture that significantly minimizes the formation of ice crystals – the bane of homemade ice cream.
This boiling technique is a revelation because it creates an incredibly smooth and creamy texture, so much so that it allows you to completely forgo eggs in the recipe. Traditional custards rely on egg yolks for richness and emulsification, but Jeni’s base achieves a similar luxurious mouthfeel through this clever boiling process. When combined with allulose, which further enhances the soft texture, you get an egg-free ice cream that truly rivals its conventional counterparts in both taste and consistency.
Achieving ‘Almost’ Sugar-Free Perfection
While this recipe is designed to be largely sugar-free thanks to allulose, it’s important to note the “almost” qualifier. There’s a natural presence of lactose, a sugar, in milk itself. Additionally, to enhance the texture and subtly mask any potential aftertaste that some might detect from allulose, I’ve incorporated 1 ½ tablespoons of honey. This small amount not only adds a delicate flavor but also contributes to the ice cream’s overall smooth consistency.
For those who prefer a completely neutral flavor profile or aren’t fond of honey, feel free to substitute it with other liquid sweeteners like maple syrup, corn syrup, or agave syrup. The key is to use a small amount of a viscous syrup to aid in texture without significantly impacting the sugar content. This syrup, along with your chosen flavoring (I used vanilla bean paste for its rich, fragrant notes), is added right before the custard takes its refreshing ice bath. This step ensures all flavors are perfectly integrated into the base.
The Chilling Game: Ice Bath or Snow Bath!
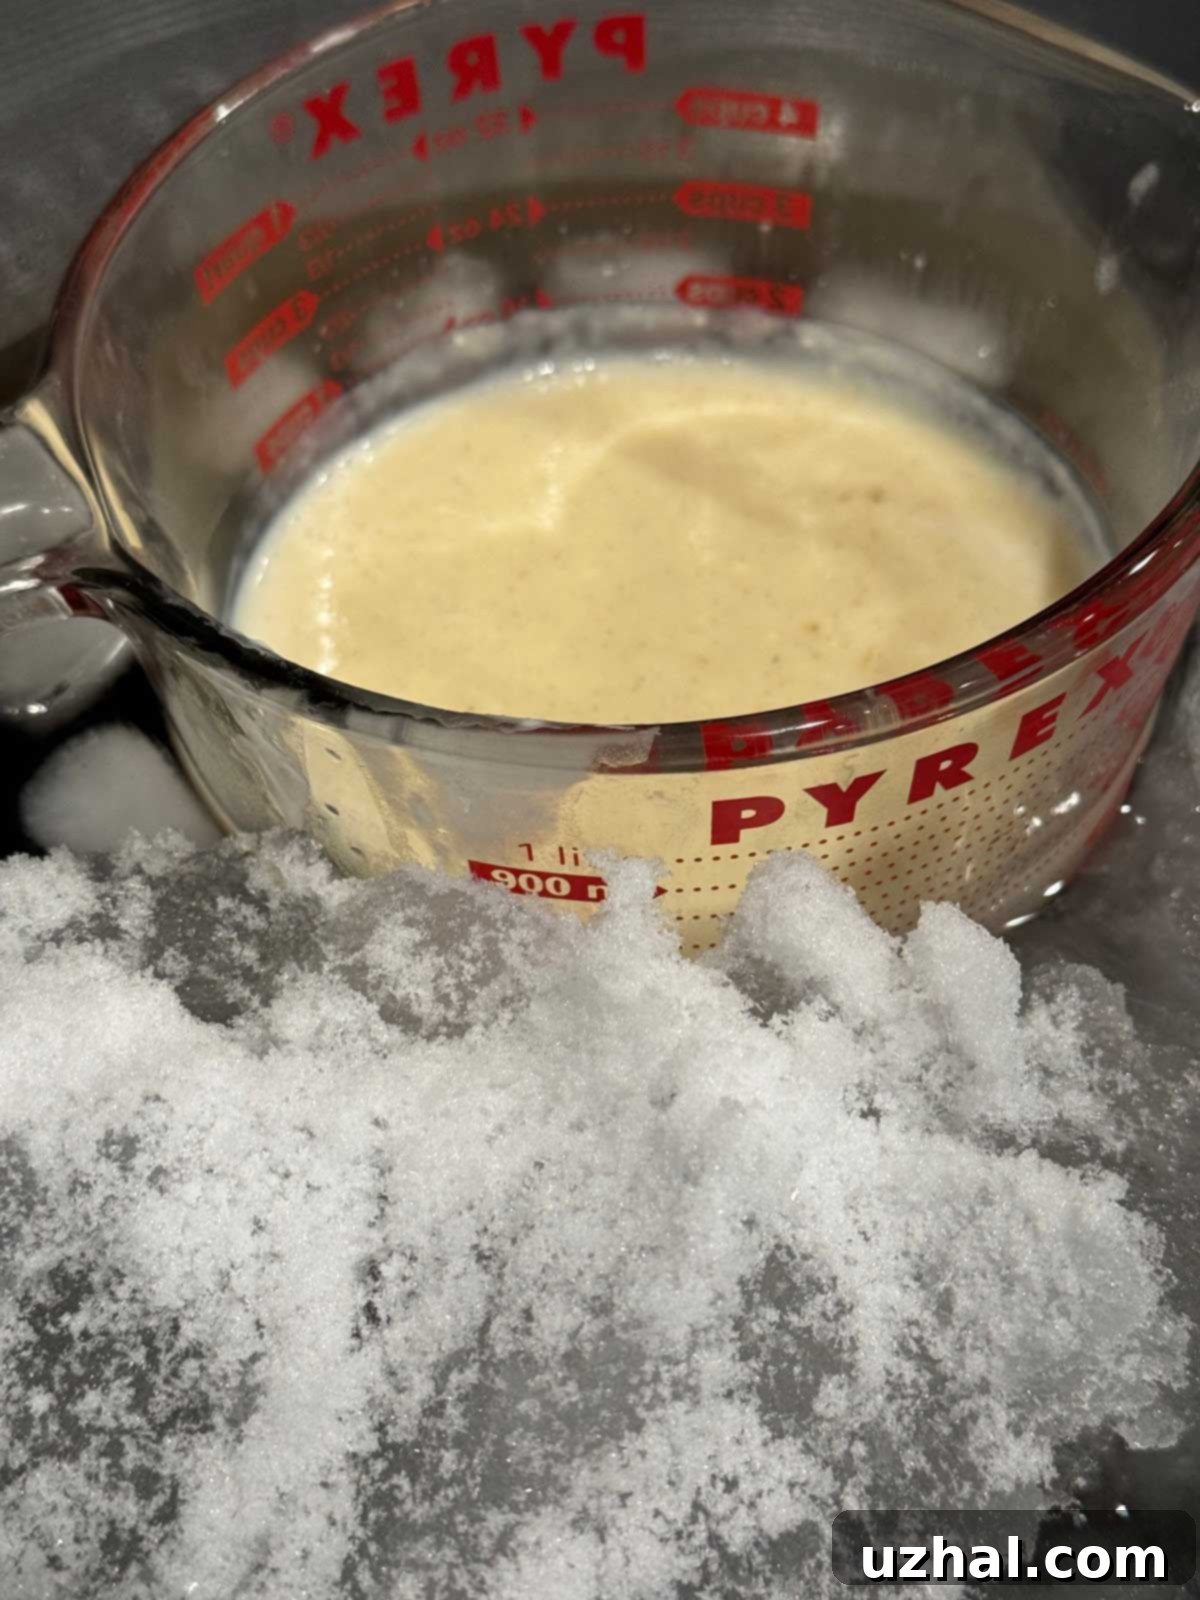
Speaking of ice baths, while they are technically optional for making ice cream, I highly recommend them if you want to speed up the process and achieve the best possible texture. Rapid cooling helps the mixture thicken properly and prevents the formation of large ice crystals, which can make your ice cream grainy. Half the time, I admit, I don’t use a formal ice bath simply because I can never seem to find enough ice!
However, thanks to this week’s snowy weather, I had an abundance of natural “ice” right outside my door! I improvised a snow bath using my trusty wok – its wide shape makes it perfect for cradling almost any mixing bowl. An ice or snow bath significantly accelerates the chilling process, allowing the custard to cool down enough to churn in about 2 hours, rather than the typical 4-6 hours or overnight chill in the refrigerator. A well-chilled custard is paramount for a successful churn and a wonderfully smooth end product.
Creative Add-Ins & Flavor Variations
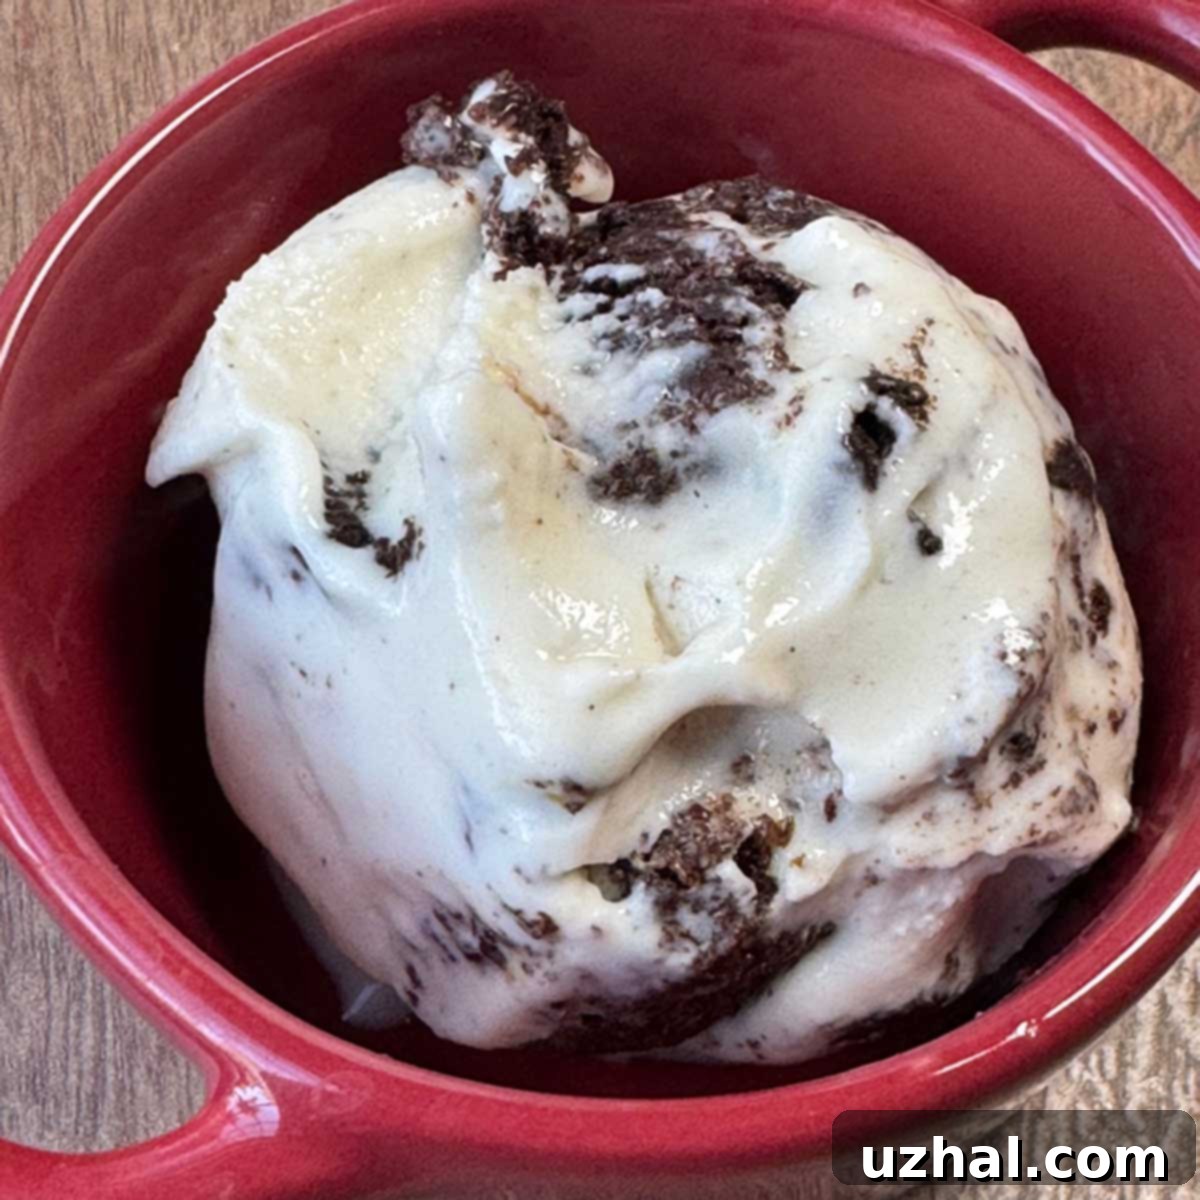
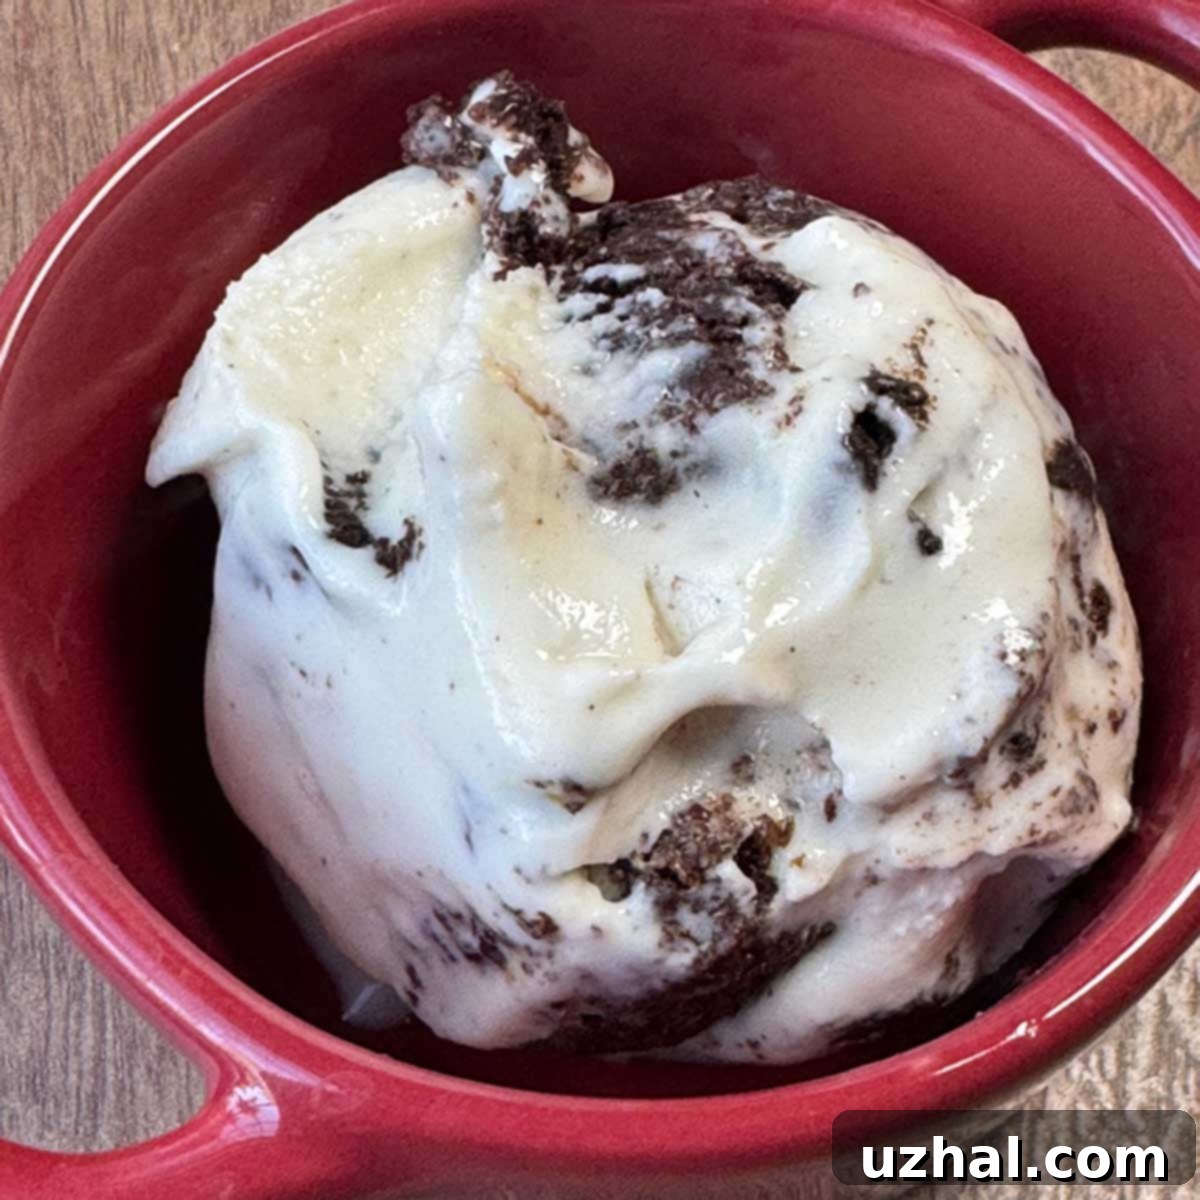
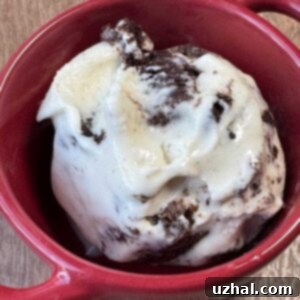
While this allulose-sweetened vanilla ice cream is absolutely divine on its own, it also serves as an excellent blank canvas for your creative additions. If you happen to have some keto brownies on hand, consider tossing in some generous chunks towards the end of the churning process. The soft brownies complement the creamy ice cream beautifully, adding a delightful textural contrast and a rich, chocolatey depth.
Another fantastic variation is to make a chocolate version directly. I experimented with adding Dutch-processed cocoa powder to a portion of the vanilla base, and the results were even more spectacular! Unfortunately, I didn’t measure the cocoa powder precisely during my snowy day experiment, but I promise to update the recipe with exact quantities when I make the next batch. You can also explore other add-ins like sugar-free chocolate chips, toasted nuts, a swirl of sugar-free caramel sauce, or even a low-carb fruit compote for a different flavor profile.
My Experience: The Final Scoop on Allulose
Allulose, like any sugar substitute, comes with its own set of pros and cons. The most significant advantage is undoubtedly its remarkably low calorie count and its minimal impact on blood sugar, making it an excellent choice for those managing their sugar intake. On the flip side, I do find it to have a slight aftertaste, which is common with many alternative sweeteners. However, the benefits in terms of health and the incredible texture it imparts to ice cream make it a worthwhile trade-off for me.
While traditional sugar still holds a special place for its unparalleled taste, allulose is an ingredient I will continue to enthusiastically experiment with in my ice cream recipes. Perhaps next time, I’ll try it purely on its own, or in combination with a small amount of sugar to achieve a balanced flavor. I’ve made this specific ice cream base many times with sugar only, and it always yields a smooth result. But with allulose, the texture reaches an entirely new level of smoothness and creaminess. What truly impressed me was its ability to stay soft and easily scoopable straight out of the freezer, as you can see in the very first picture – no softening time required!
Tips for Homemade Allulose Ice Cream Success
Making homemade ice cream, especially with alternative sweeteners, can be a delightful experience if you follow a few key tips:
- Measure Accurately: Precision is important, especially with allulose, as its properties directly affect the final texture. Using a kitchen scale for ingredients like allulose, milk, and cream can yield the most consistent results.
- Don’t Skip the Boil: The 4-minute boil in this recipe is not optional. It’s crucial for concentrating the milk and cream, which is the secret to the incredibly smooth, egg-free texture. Keep a close eye on it to prevent boil-overs!
- Chill Thoroughly: Whether you use an ice bath or just the refrigerator, ensure your custard is thoroughly chilled before churning. A colder base will churn faster and result in smaller ice crystals, leading to a creamier ice cream.
- Don’t Overchurn: Once the ice cream reaches a soft-serve consistency, stop the churn. Overchurning can incorporate too much air, leading to a grainy texture, or even cause the fat to separate.
- Proper Storage: Transfer your freshly churned ice cream to an airtight container. For extra protection against ice crystals, press a piece of plastic wrap directly onto the surface of the ice cream before sealing the container. Store in the coldest part of your freezer.
Using Sugar as an Alternative
If you’ve read this far and, despite the allure of allulose, decided you’d prefer to use traditional sugar, that’s perfectly fine! This remains a fantastic ice cream recipe either way, renowned for its incredible creaminess and ease of preparation. Simply swap out the full cup of allulose for ⅔ cup (approximately 130 grams) of granulated sugar. The process remains the same, and you’ll still achieve a wonderfully smooth and delicious homemade ice cream.
- Oatmeal Cake with Streusel Topping
- Chipotle Brownies
- Keto Chewy Chocolate Chip Cookies
- Deep Dish Keto Brownies with Allulose
- Lower Calorie Bran Muffins
Recipe
Allulose Ice Cream
Anna
Pin Recipe
Ingredients
- 3 tbsp. cream cheese, softened (42 grams)
- 2 cups whole milk (480 grams)
- 4 tsp. cornstarch (10 grams)
- 1 ¼ cups heavy cream (280 grams)
- 1 cup allulose (200 grams)
- ¼ teaspoon salt
- 1 ½ tbsp. honey, corn syrup, agave or maple syrup (30 grams)
- 2 teaspoons vanilla bean paste or vanilla plus more as needed**
Instructions
-
Put the cream cheese in a microwave-safe mixing bowl and soften it by heating for 10 seconds. Stir it well, making sure it’s very soft.
-
In a small bowl or custard cup, stir together the cornstarch and 2 tablespoons of the milk to make a slurry. Set aside.
-
Add the remaining milk to a large pot. I use an 8 quart pot which is overly large, but it helps prevent boil overs. Along with the milk, add the cream, allulose and salt.
-
Bring to a boil over medium high. Once it’s at a boil, maintain a rolling boil for 4 minutes, keeping a close eye on it and adjusting heat as necessary to prevent a boil over. You can give it a stir occasionally if you need to. It should be a steady, rolling boil, and you should start to smell the cooked milk. Please don’t skip the 4 minute boil.
-
Remove from heat and whisk in the cornstarch mixture. Return to the heat and bring to a boil again, still being mindful of boilovers and whisking just until thickened, about 2 minutes. It won’t be as thick as pudding, but more like a thin gravy or white sauce.
-
Remove the pot from the stove. Measure out about ¼ cup of the hot milk and add to the softened cream cheese. Whisk until smooth, then gradually whisk in the remaining hot milk mixture. Let cool just slightly and stir in the honey (or syrup) and vanilla.
-
Now it’s time to let it cool down and you have some options. You can quick cool it in a tub of ice water or just let it cool in the refrigerator. I typically do a combination of both. Submerge the bowl in a larger bowl (I use a wok) and let sit, whisking often, for 20 minutes. Cover, then transfer to the refrigerator until it is chilled. The ice bath should give you a good head start so the custard should be cold within two hours.
-
Pour mixture into an ice cream maker. Churn according to manufacturer directions. Towards the very end, add brownie chunks or any other add-ins.
Notes
Nutrition
