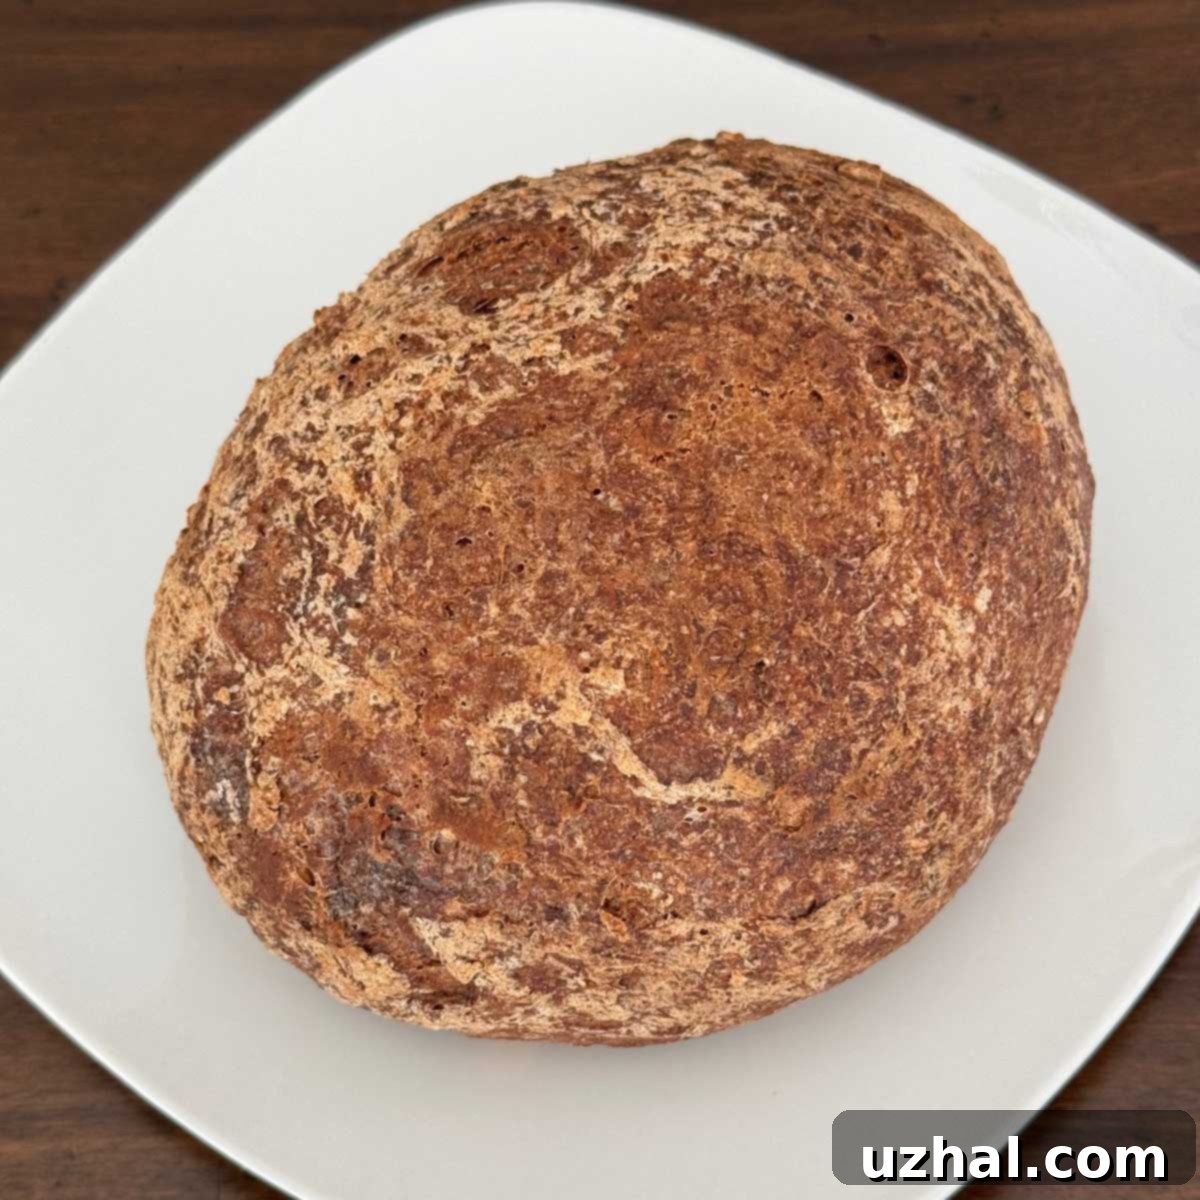
Mastering Gluten-Free Teff Bread: A Chewy Artisan Boule Recipe
Embark on a delightful baking journey with this recipe for a truly exceptional gluten-free teff bread. This isn’t just any ordinary loaf; it’s a round, artisan-style boule boasting a wonderfully chewy texture and the distinct, earthy notes of teff flour. Achieving that coveted artisan quality in gluten-free baking can be a challenge, but with the right blend of flours and careful technique, you can create a loaf that’s both satisfying and incredibly flavorful. Our recipe combines teff flour with tapioca starch, brown rice flour, and the essential psyllium husks, working in harmony to mimic the elasticity and chewiness often found in traditional wheat breads.
Beyond its remarkable texture, this teff bread offers an intriguing flavor profile. You’ll distinctly taste the unique earthiness of teff, complemented by a subtle richness from peanut butter, and in some variations, a delicate hint of molasses. It’s a versatile bread that’s perfect for everything from morning toast to hearty sandwiches, and it’s sure to become a staple in your gluten-free kitchen.
Jump to Recipe
The Magic of Teff Flour in Gluten-Free Baking
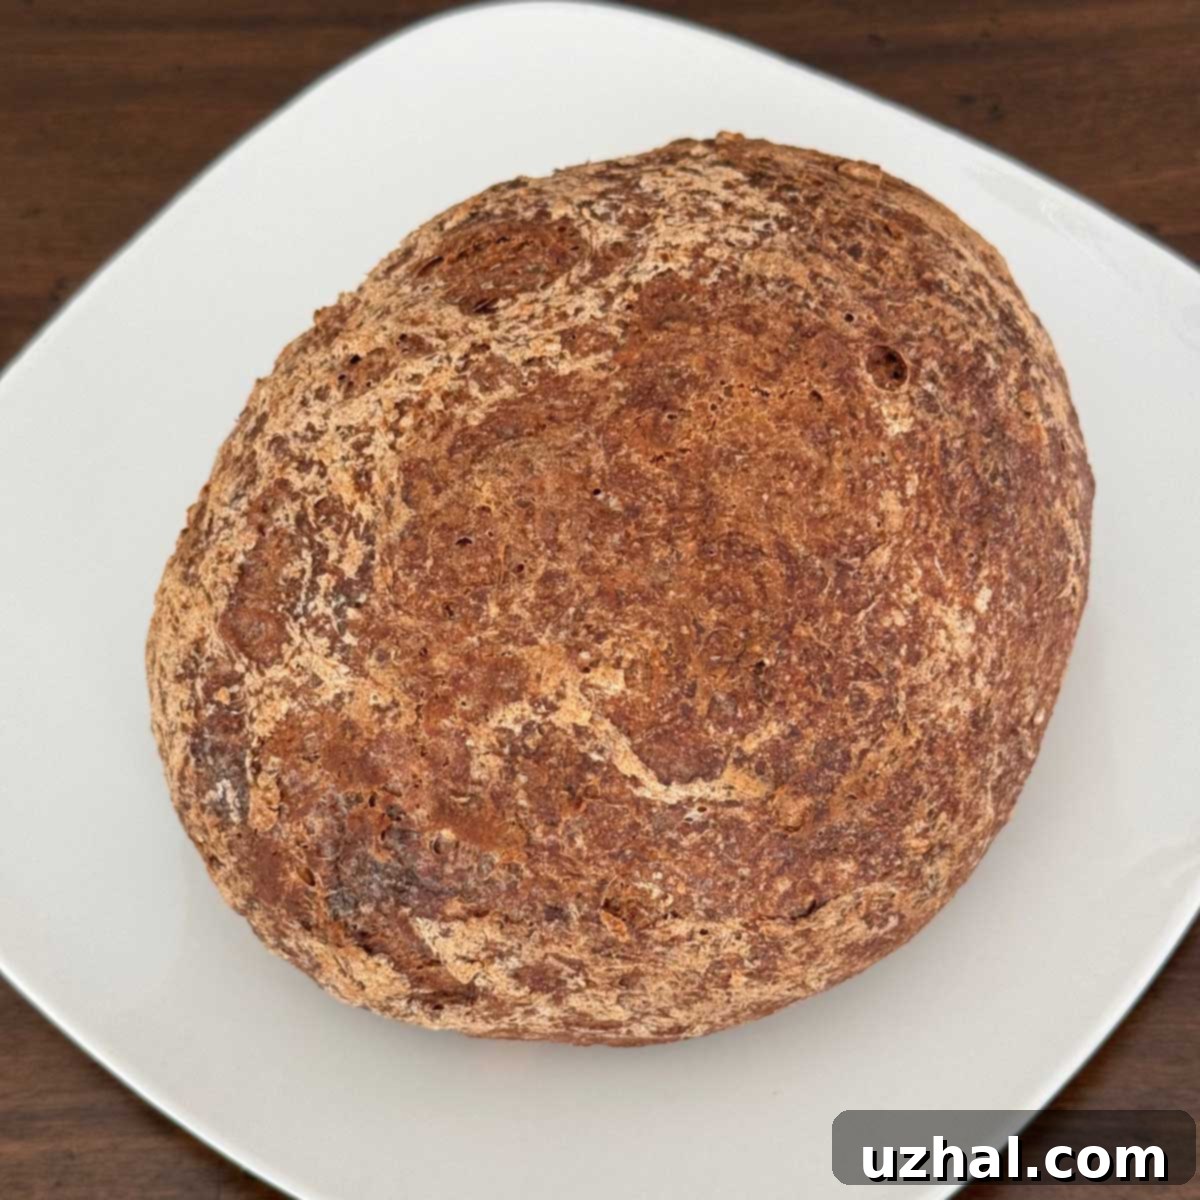
Teff, an ancient grain originating from Ethiopia and Eritrea, is a nutritional powerhouse and a fantastic addition to gluten-free baking. Naturally gluten-free, this tiny grain is packed with protein, fiber, iron, and calcium, making it a healthy alternative to more common flours. Beyond its nutritional benefits, teff flour brings a distinctive, slightly nutty and earthy flavor to bread, which pairs beautifully with many savory and sweet toppings. Its unique composition also contributes to a sturdy yet tender crumb in baked goods, a quality highly sought after in gluten-free recipes that often struggle with structural integrity.
In this recipe, teff flour is the star, providing not only its signature taste but also a foundational structure for our boule. Combined with other gluten-free flours and binders, it helps create a bread that doesn’t crumble or fall apart, offering a satisfying mouthfeel that truly rivals traditional wheat loaves. Learning to harness the power of teff flour opens up a world of possibilities for delicious and healthy gluten-free creations.
Crafting the Perfect Gluten-Free Texture: Avoiding Gumminess and Flat Loaves
One of the most common hurdles in gluten-free bread making is achieving a texture that is both chewy and light, without becoming gummy or dense. Many bakers face challenges with loaves that fall flat or have an unappetizingly gummy interior. Through extensive testing, we’ve identified key techniques to overcome these issues, ensuring your teff boule turns out perfectly every time. The secret lies in a precise balance of hydration, thorough mixing, optimal baking temperature, and crucial resting time.
Optimal Hydration and Mixing for Elasticity
Getting the hydration just right is critical. Too little liquid can result in a dry, crumbly dough, while too much can lead to a sticky, gummy loaf. Our recipe specifies gram measurements for precision, which is highly recommended for gluten-free baking where accuracy makes a significant difference. Furthermore, the method of mixing plays a vital role. Using a stand mixer with a paddle attachment helps to thoroughly combine the ingredients and, importantly, enhances the elasticity of the psyllium gel. Psyllium husks are a game-changer in gluten-free baking, acting as a powerful binder and providing structure that gluten normally would. Vigorous mixing helps the psyllium to fully hydrate and form a robust gel, contributing to that desirable stretchy, chewy texture.
The Importance of High Heat Baking and Proper Cooling
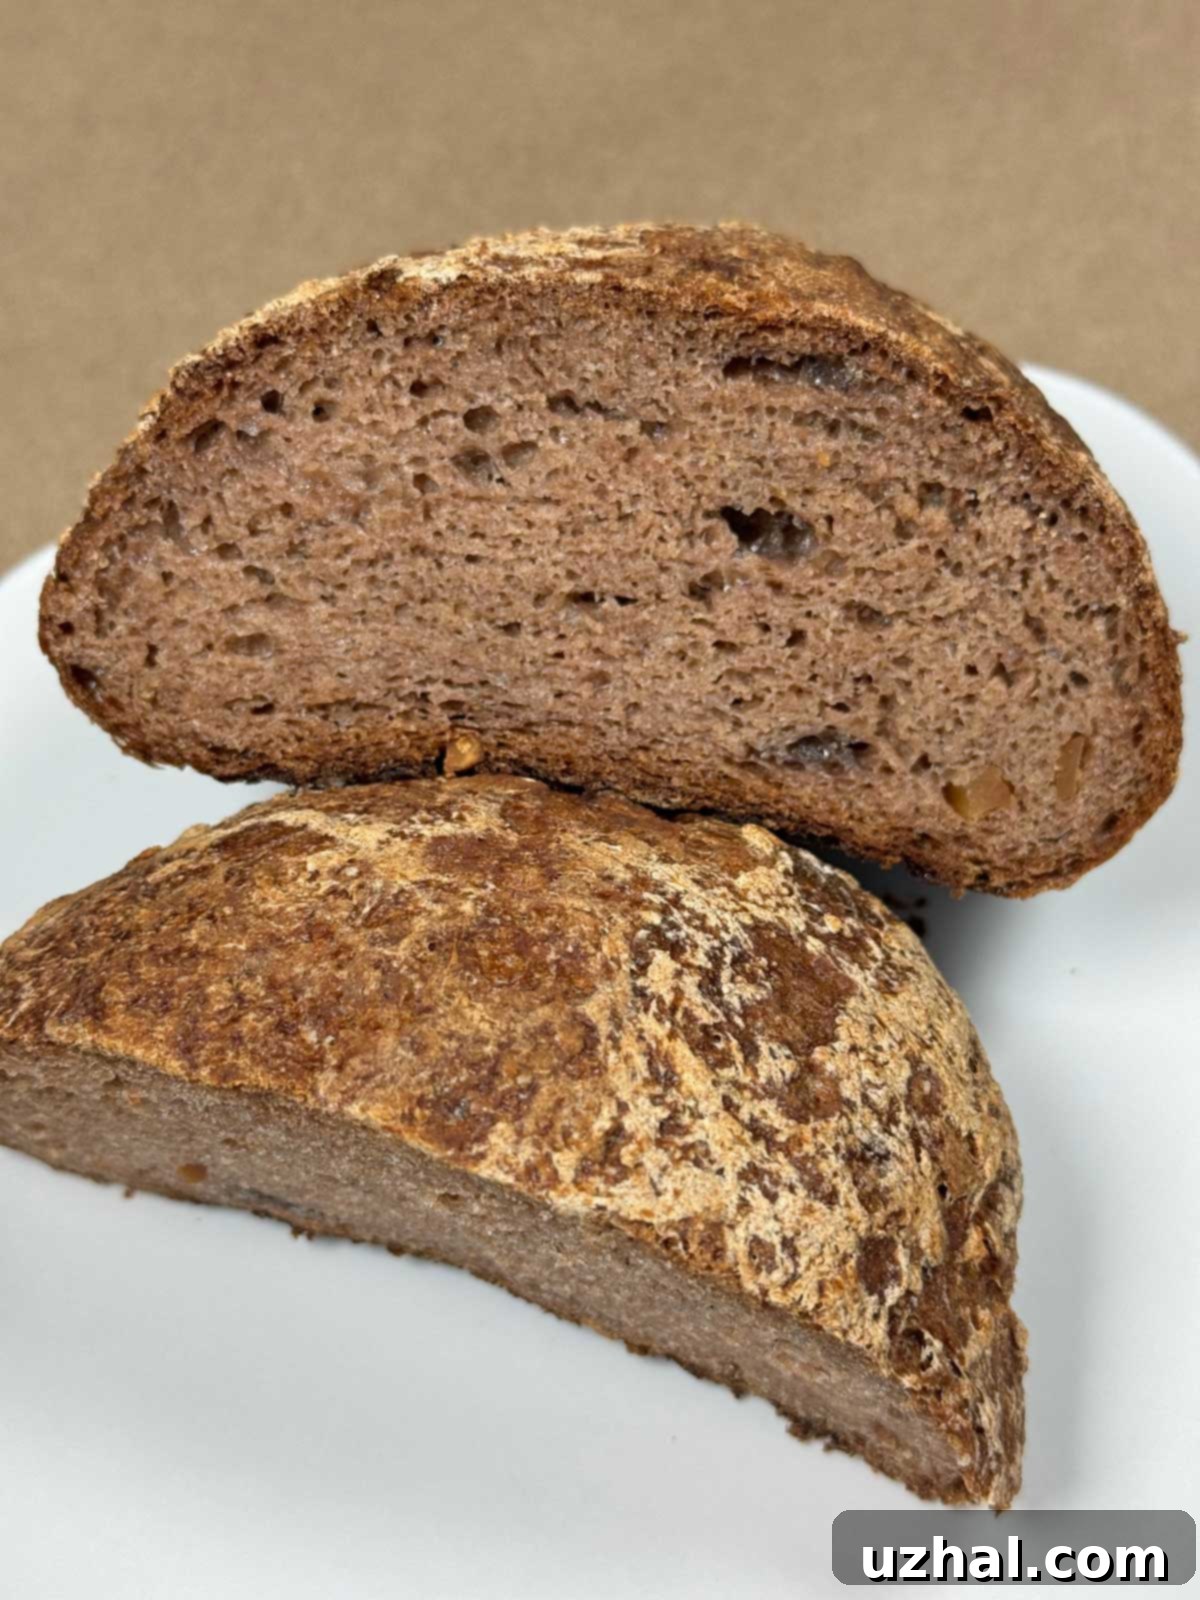
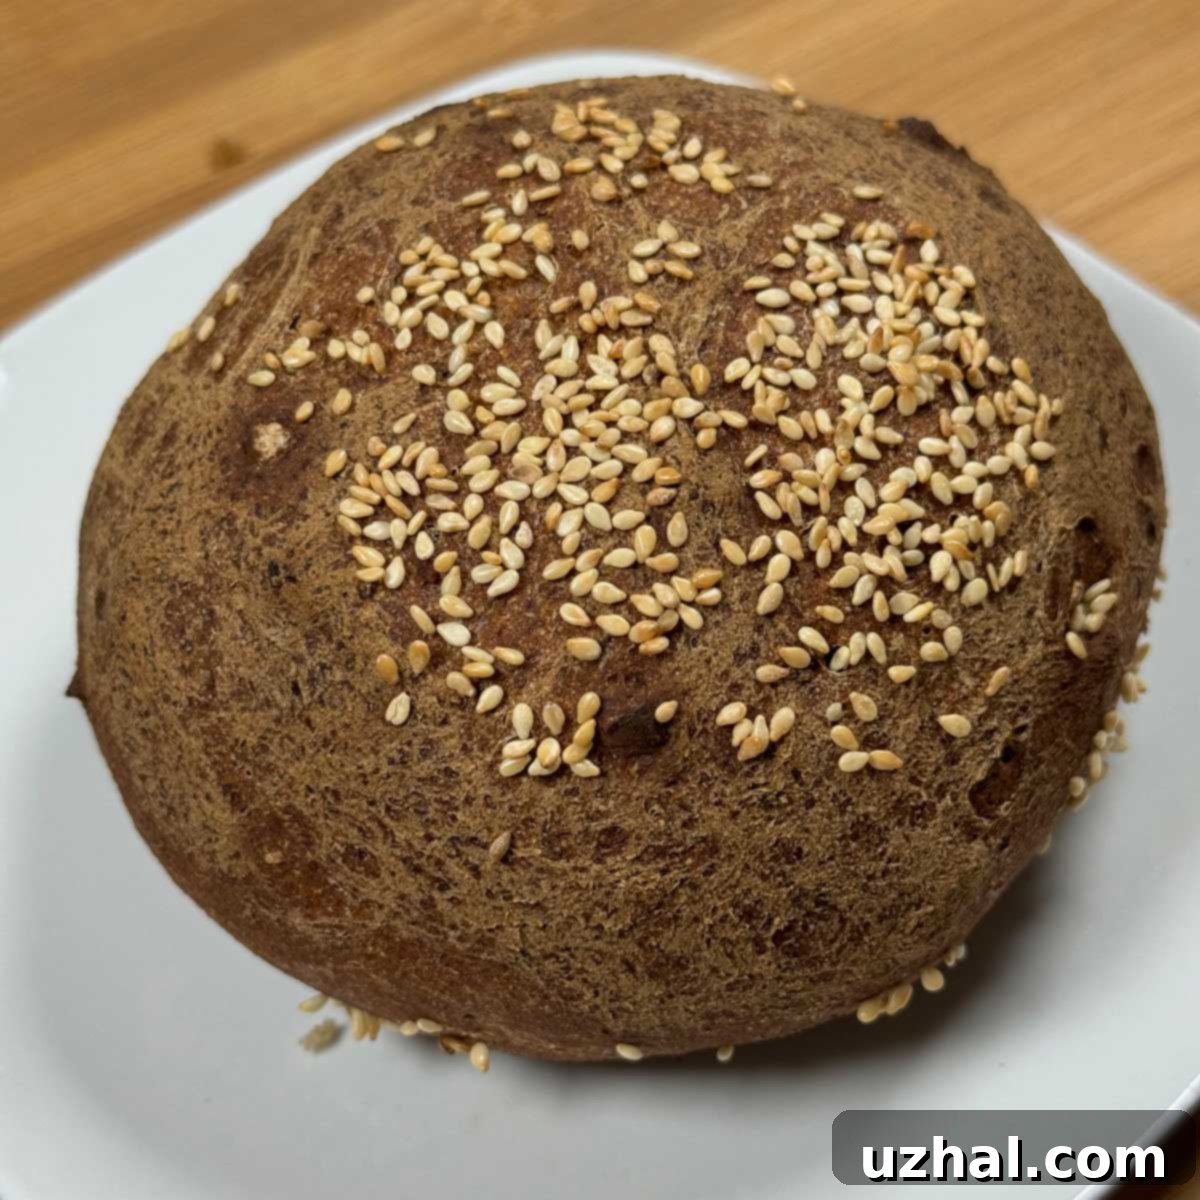
Baking at a high initial temperature, typically in a preheated Dutch oven, is essential for creating a beautiful, crusty exterior and promoting a good rise in gluten-free bread. The enclosed environment of the Dutch oven traps steam, which keeps the crust soft initially, allowing the loaf to expand before it sets. After the initial bake, removing the lid allows the crust to crisp up beautifully. Equally important, and often overlooked, is the standing and cooling time. This extended period, directly on the oven rack after baking, helps to dry out any residual moisture in the loaf, which is a primary culprit for gumminess. Patience during this stage will be rewarded with a fine-crumbed, soft, and chewy bread, often featuring delightful little chunks of peanut if you’ve opted for crunchy peanut butter.
Essential Ingredients Beyond the Flour Blend
While the combination of teff flour, tapioca starch, brown rice flour, and psyllium husks forms the structural backbone of this bread, several other ingredients are crucial for both flavor and texture. Each plays a specific role in creating a well-rounded and delicious loaf.
- Brown Sugar: Adds a touch of sweetness that balances the earthy teff and aids in crust browning.
- Salt: Essential for enhancing all the flavors in the bread and regulating yeast activity.
- Quick Rising Yeast: Ensures a good rise and an airy texture. Proper activation is key.
- Vinegar: A common secret ingredient in gluten-free baking, vinegar helps to activate the leavening agents and can contribute to a softer crumb.
- Peanut Butter: Just one tablespoon makes a significant difference! It adds a unique nutty flavor and extra richness. If you use crunchy peanut butter, you’ll get delightful little peanut bits throughout the bread, as visible in the photos. If you prefer to avoid peanut flavor, you can substitute with ½ tablespoon of olive oil.
- Molasses: Lately, I’ve found that adding 2-3 grams of molasses (especially if using white sugar instead of brown) significantly deepens the flavor profile, adding a subtle, complex sweetness and a lovely darker hue.
- Sesame Seeds (Optional): For a beautiful finish and an extra layer of nutty flavor and crunch, a sprinkle of sesame seeds on top before baking is highly recommended.
Essential Equipment for Your Gluten-Free Teff Bread
Having the right tools can make your gluten-free baking experience much smoother and more successful. While some adaptations are possible, certain pieces of equipment are highly recommended for this teff bread recipe.
- Stand Mixer with Paddle Attachment: This is my preferred method for mixing the dough. The paddle attachment is excellent for beating the dough thoroughly, which is crucial for hydrating the psyllium husks and developing their elasticity. This mechanical action ensures the psyllium gel forms properly, contributing to the bread’s structure and chewiness.
- Digital Scale: In gluten-free baking, precision is paramount. Using a digital scale to measure ingredients in grams (as provided in the recipe) will yield the most consistent and best results. Volume measurements can be less accurate, especially with flours.
- Dutch Oven: A heavy-bottomed Dutch oven with a lid is invaluable for baking this boule. It creates a steamy environment that helps the bread rise beautifully and develop a crisp, golden crust, mimicking the effects of a professional baker’s oven.
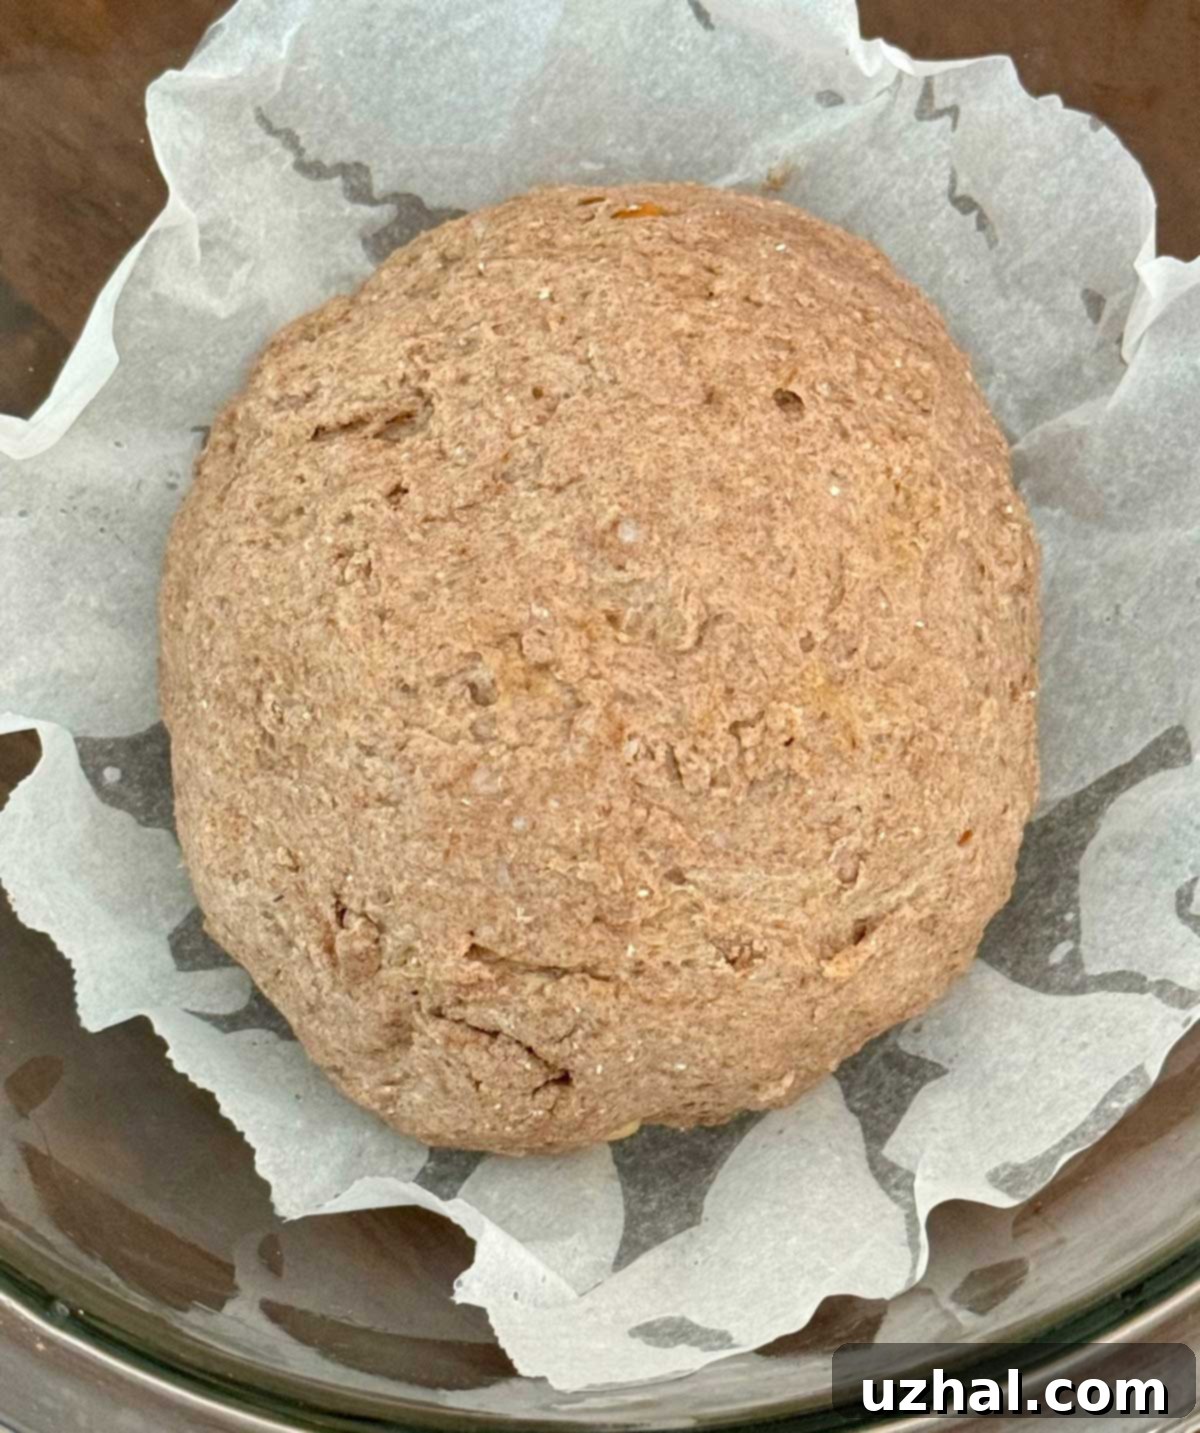
- Parchment Paper: Useful for lifting the delicate dough into the hot Dutch oven safely and preventing sticking.
- Pastry Mat or Oiled Surface: Gluten-free dough can be sticky. A lightly dusted pastry mat with rice flour or an oil-slicked surface will make shaping the dough much easier if you prefer not to handle it directly with oiled hands.
If you don’t have a stand mixer, you can work the dough with your hands, but be prepared for it to be quite sticky. Working it over a mat dusted with rice flour or using oiled hands will help manage the stickiness.
Troubleshooting Common Issues: Why Your Loaf Might Fall Flat
Even with the best intentions, gluten-free bread can sometimes be tricky. Flat loaves are a common disappointment, and there are a few primary culprits behind this issue. Understanding them can help you prevent future baking mishaps.
- Too Much Moisture: An overly wet dough can prevent the bread from holding its structure, leading to a flat result. This is why precise measurement, especially of water, is crucial. Pay close attention to the dough’s consistency as you add the final ounces of water; it should be cohesive but not overly sticky or runny.
- Over-Proofing the Yeast: Yeast, while essential for rise, needs to be managed carefully. Over-proofing occurs when the yeast ferments for too long, depleting its energy before the bake. This can cause the dough to rise too much initially and then collapse in the oven. For this recipe, a rise time of approximately 35-40 minutes is ideal.
- Inactive Yeast: Conversely, if your yeast isn’t active, your bread won’t rise at all. Always check the expiration date of your yeast and proof it in warm (not hot!) water to ensure it’s alive and kicking. I personally recommend using active dry yeast, which I proof in 115°F (46°C) water before adding it to the psyllium mixture.
- Dough Size & Doubling: I’ve personally experienced the challenge of scaling this recipe. After making dozens of perfect small loaves, I tried to double the recipe, only to get a delicious but flat bread. My solution involved switching to active dry yeast (proofed correctly) and strictly adhering to the 35-minute rise time. If you plan to double the recipe, I strongly advise making a single, smaller loaf first to get a feel for the dough, and then consider implementing these changes for larger batches.
Gluten-Free Teff Bread Recipe
Gluten-Free Teff Bread
Anna
Pin Recipe
Ingredients
- ½ cup teff flour (85 grams)
- ½ cup tapioca starch (60 grams)
- ¼ cup brown rice flour (30 grams)
- 1 ½ tablespoons brown sugar or use white sugar and add 2-3 grams of molasses (16 grams)
- ½ teaspoon salt plus a pinch
- 1 teaspoon quick rising yeast (I use SAF gold label) (4 grams)
- 2 tablespoons psyllium husks (not powder, but whole husks) (12 grams)
- 1 teaspoon vinegar
- 6 to 7 oz water (130 F) (182 grams)
- 1 tablespoon peanut butter OR ½ tablespoon olive oil
- ½ tablespoon sesame seeds (optional)
Instructions
-
In the bowl of a stand mixer, combine the teff flour, tapioca starch, brown rice flour, sugar, salt, and yeast. If you are using white sugar and molasses, just put in the white sugar and put your dab of molasses on top.
-
Put the psyllium in a second medium size bowl.
-
Heat 7 oz of water to 130 degrees F. Pour exactly ½ cup (4 oz/114 grams) of warm water into the bowl with the psyllium and stir to make a gel. Add the vinegar to the gel.
-
Add the psyllium gel to the flour mixture along with the peanut butter. Give the mixture a stir. It should be dry and crumbly. Add 2 oz water gradually, stirring by hand until it’s cohesive, but still dry and crumbly. You should have an oz or so of water left at this point.
-
Put the mixer on the stand and use the paddle to mix. It should come together and will most likely still be a little dry. If mixture seems dry, add the last tablespoon or 2 of water and continue to mix with the paddle. It should pull away from the sides of the bowl and be thick enough to shape, but shouldn’t feel dry and crumbly. It might snap into two pieces, which is fine. You should be able to hold it in your hand and slap them together. If this is impossible, add a little more water.
-
Turn the dough onto a pastry mat lightly dusted with rice flour or just an oil slicked mat. You can even skip the mat if you want to and just shape in your hands. Shape into a ball the best you can.
-
Knead the ball gently. It should be bouncy and only slightly sticky.
-
Scrunch up a piece of parchment paper and press it into a 1 ½ liter or so glass bowl. Cover with a piece of greased plastic wrap and let rise for about 35 minutes. It will not double, but it will puff up substantially. If you are using the sesame seeds, pat them gently on the top of the boule.
-
While the dough is rising, place a Dutch oven and its lid on in the oven and preheat the oven to 450 degrees F. Note: If your oven is really slow to preheat, you will need to do this earlier in the process since the dough only needs 35 to 40 minutes to rise.
-
Carefully remove the hot Dutch oven from hot oven and set on a cooling rack or safe spot. Lift the parchment paper with the dough and set it in the hot Dutch oven. Cover with the lid and return pot to the oven. Close door and set timer for 25 minutes. After 25 minutes, remove lid from the pot and bake for another 20 minutes or until bread is browned and crusty.
-
Turn off oven. Remove the loaf from the Dutch oven and set the loaf (no parchment) directly on the oven rack. If you are worried about sesame seeds falling off, you can put a baking sheet on the lower rack. Leave it in the closed oven for about an hour. This helps dry up any excess moisture that could contribute to gumminess.
-
Let cool completely before slicing. This is very important.
Notes
Nutrition
Serving and Storage Tips for Your Teff Bread
Once your gluten-free teff bread has cooled completely, it’s ready to be enjoyed! This bread makes an excellent foundation for a variety of meals and snacks.
- Perfect Toast: Slice and toast it for a delightful crunch, then spread with butter, jam, or your favorite avocado smash.
- Savory Sandwiches: Its sturdy texture makes it ideal for holding up to hearty sandwich fillings, from grilled vegetables to deli meats.
- With Soups & Stews: The earthy flavor pairs wonderfully with warm, comforting soups and stews.
- Sweet Treats: A slice with a drizzle of honey or a sprinkle of cinnamon sugar can make for a simple yet satisfying dessert.
To keep your teff bread fresh, store it in an airtight container at room temperature for 2-3 days. For longer storage, slice the cooled bread and freeze the slices in a freezer-safe bag. You can then toast individual slices directly from the freezer, ensuring you always have fresh-tasting gluten-free bread on hand.
Customize Your Teff Boule
This recipe provides a fantastic base, but don’t hesitate to experiment and make it your own! Here are a few ideas for customization:
- Seed Boost: Besides sesame seeds, try adding poppy seeds, sunflower seeds, or flax seeds to the dough or sprinkled on top for extra nutrition and texture.
- Herb & Spice Infusion: Incorporate dried herbs like rosemary or thyme for a savory loaf, or a pinch of cinnamon for a subtly sweet bread.
- Sweetener Swap: While brown sugar and molasses provide a lovely depth, you could try maple syrup or date sugar for different sweet notes.
- Nutty Variations: Experiment with almond butter or cashew butter instead of peanut butter for a different flavor profile, or mix in some chopped nuts for added crunch.
Final Thoughts: Enjoy Your Homemade Teff Bread!
Baking gluten-free bread from scratch, especially an artisan-style boule, can be incredibly rewarding. This teff bread recipe is designed to guide you through the process, helping you achieve a delicious, chewy, and flavorful loaf that you’ll be proud to share. Remember the key tips: precise measurements, proper mixing for psyllium hydration, hot oven baking, and most importantly, patient cooling. Each of these steps contributes to a successful, gummy-free, and truly enjoyable gluten-free teff bread experience. So, preheat your oven, gather your ingredients, and get ready to savor the rich, earthy goodness of your homemade teff boule!
- Gluten-Free Whole Grain Bread
- Sweet Potato Yeast Bread
- Easy Gluten-Free Dutch Oven Bread
- Gluten-Free Raisin Bread
- Cup4Cup Gluten-Free Bread
