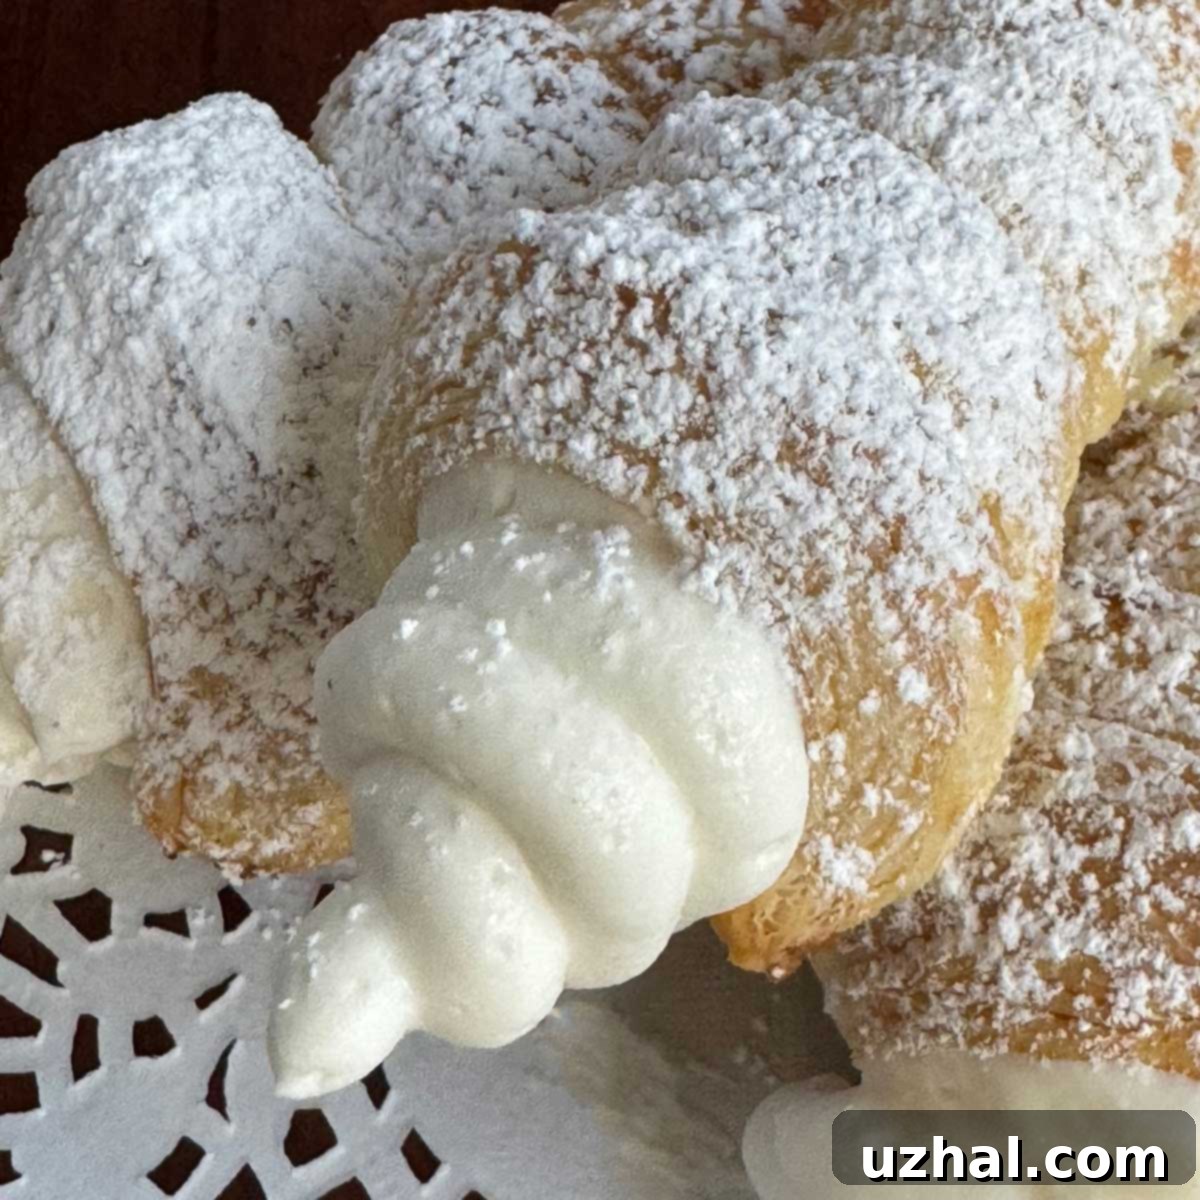
Easy & Elegant Puff Pastry Cream Horns: A Guide to Homemade Perfection
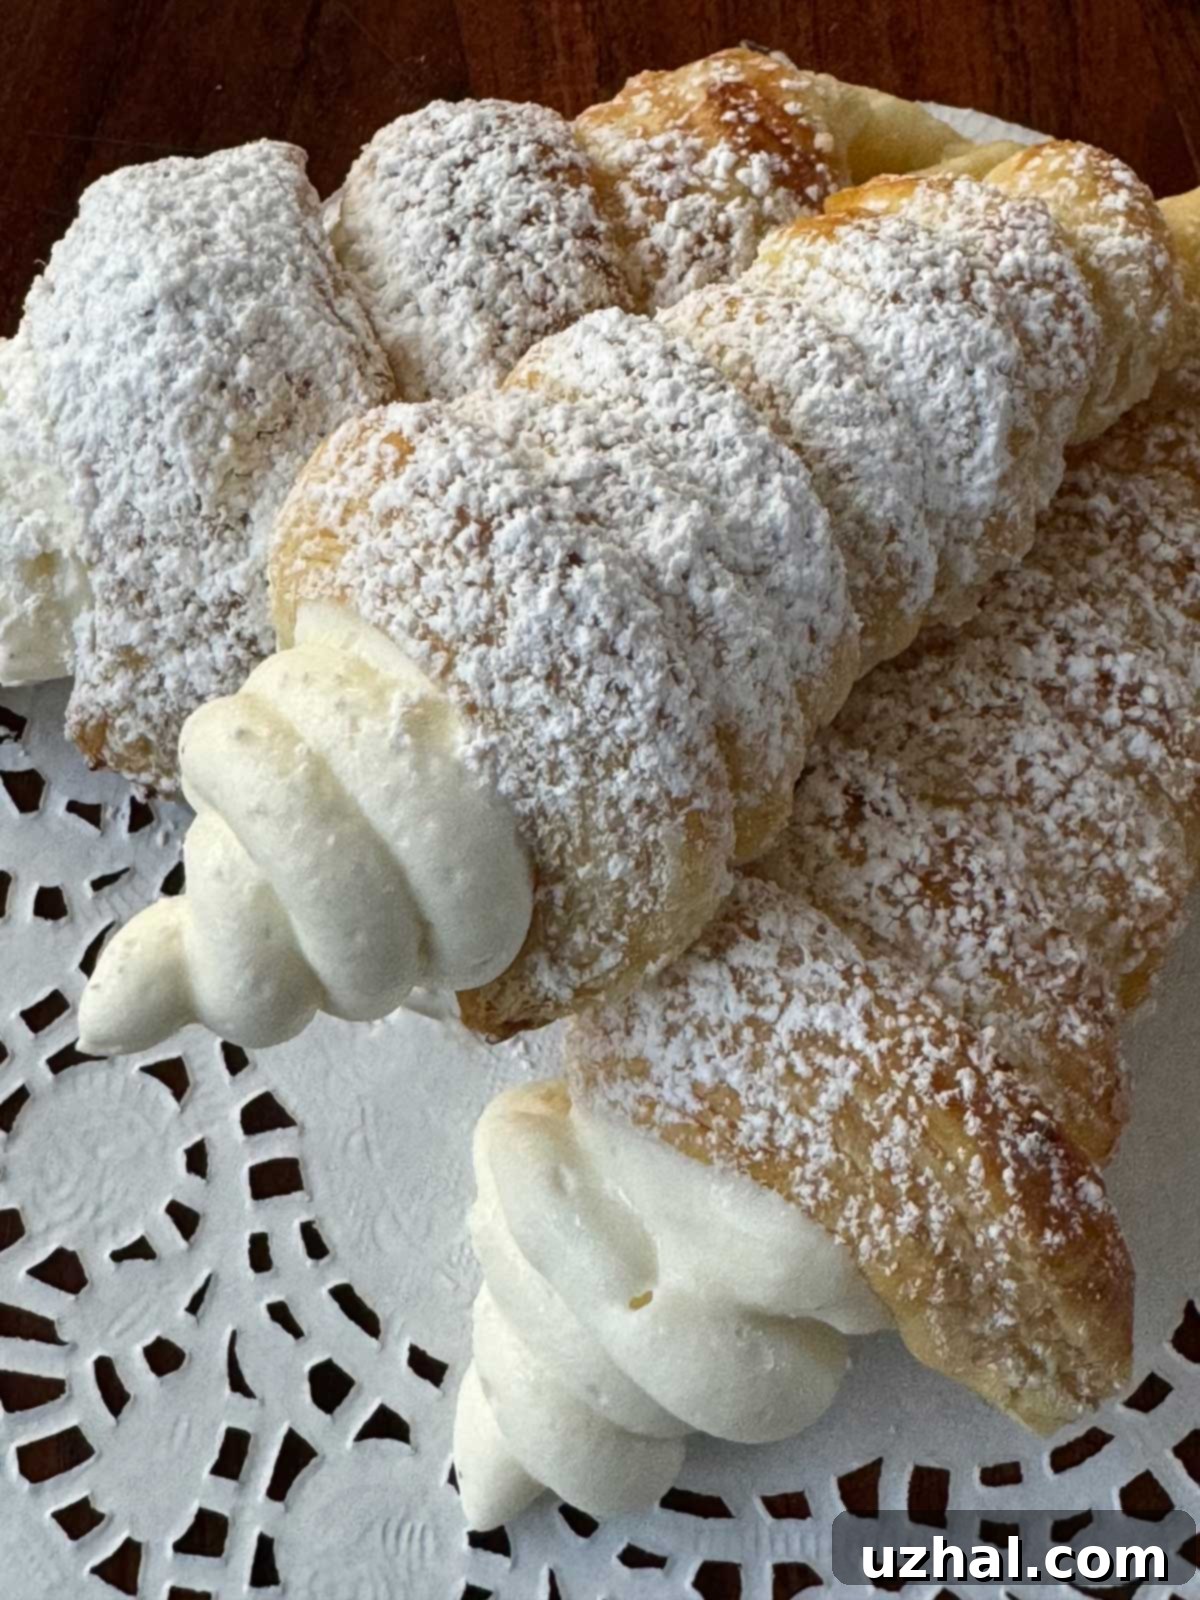
Imagine a light, flaky pastry shell, perfectly golden and crisp, filled with a cloud of creamy, sweet delight. That’s precisely what you get with these incredible Puff Pastry Cream Horns. While they might look like something you’d find in a high-end patisserie, the truth is, they’re surprisingly simple to make at home. You don’t need to be a pastry chef or possess advanced baking skills to achieve these stunning results. With just a few basic ingredients and some clever techniques, you’ll be creating these showstoppers in your own kitchen.
This recipe transforms readily available frozen puff pastry into an elegant dessert that’s perfect for any occasion – from a casual family gathering to a fancy dinner party. Whether it’s a special celebration or just a craving for something sweet and satisfying, these cream horns are always a good idea. The real magic lies in their delicate texture and the endless possibilities for fillings. For this particular recipe, we’re diving into the luxurious world of whipped white chocolate ganache, a truly exquisite and surprisingly easy-to-make cream that elevates these horns to an unforgettable treat.
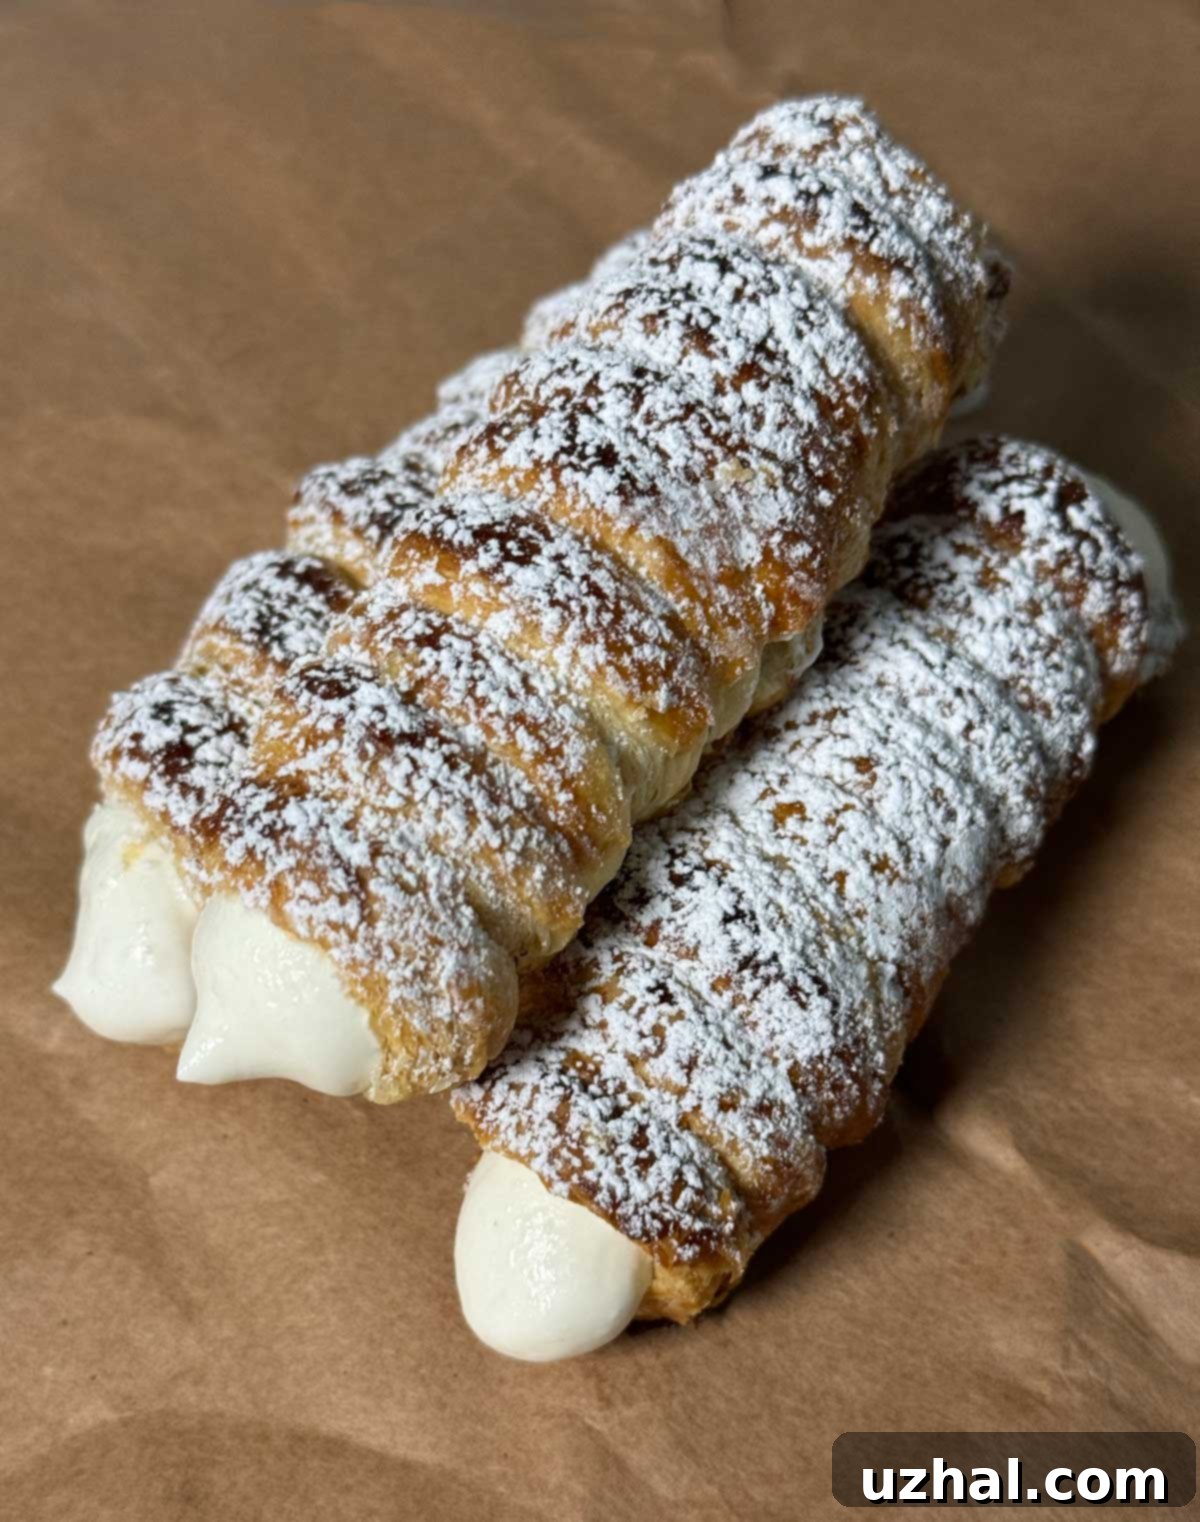
Let’s walk through the steps to create these easy Puff Pastry Cream Horns, ensuring every bite is a perfect blend of crispy and creamy.
Crafting the Perfect Whipped White Chocolate Ganache Filling
The heart of any cream horn is its filling, and while there are countless delicious options, the whipped white chocolate ganache used here is a true standout. Forget plain old sweetened whipped cream – this ganache offers a richer, more stable, and utterly decadent experience. I first learned this brilliant technique from the renowned pastry chef Dominique Ansel, and its simplicity belies its incredible flavor and texture. It’s a method that consistently delivers a light, airy, yet deeply satisfying cream.
The process begins with gently heating heavy cream, then incorporating a touch of softened gelatin. The gelatin is a key ingredient here; it provides stability to the ganache, ensuring it holds its shape beautifully when piped and prevents it from weeping or deflating, especially important if you plan to make these ahead or freeze them. Once the gelatin is dissolved, this warm mixture is poured over finely chopped white chocolate. The heat from the cream melts the chocolate, and a gentle stir transforms it into a smooth, glossy emulsion. A hint of vanilla extract or vanilla bean paste adds an extra layer of aroma and flavor, enhancing the sweetness of the white chocolate.
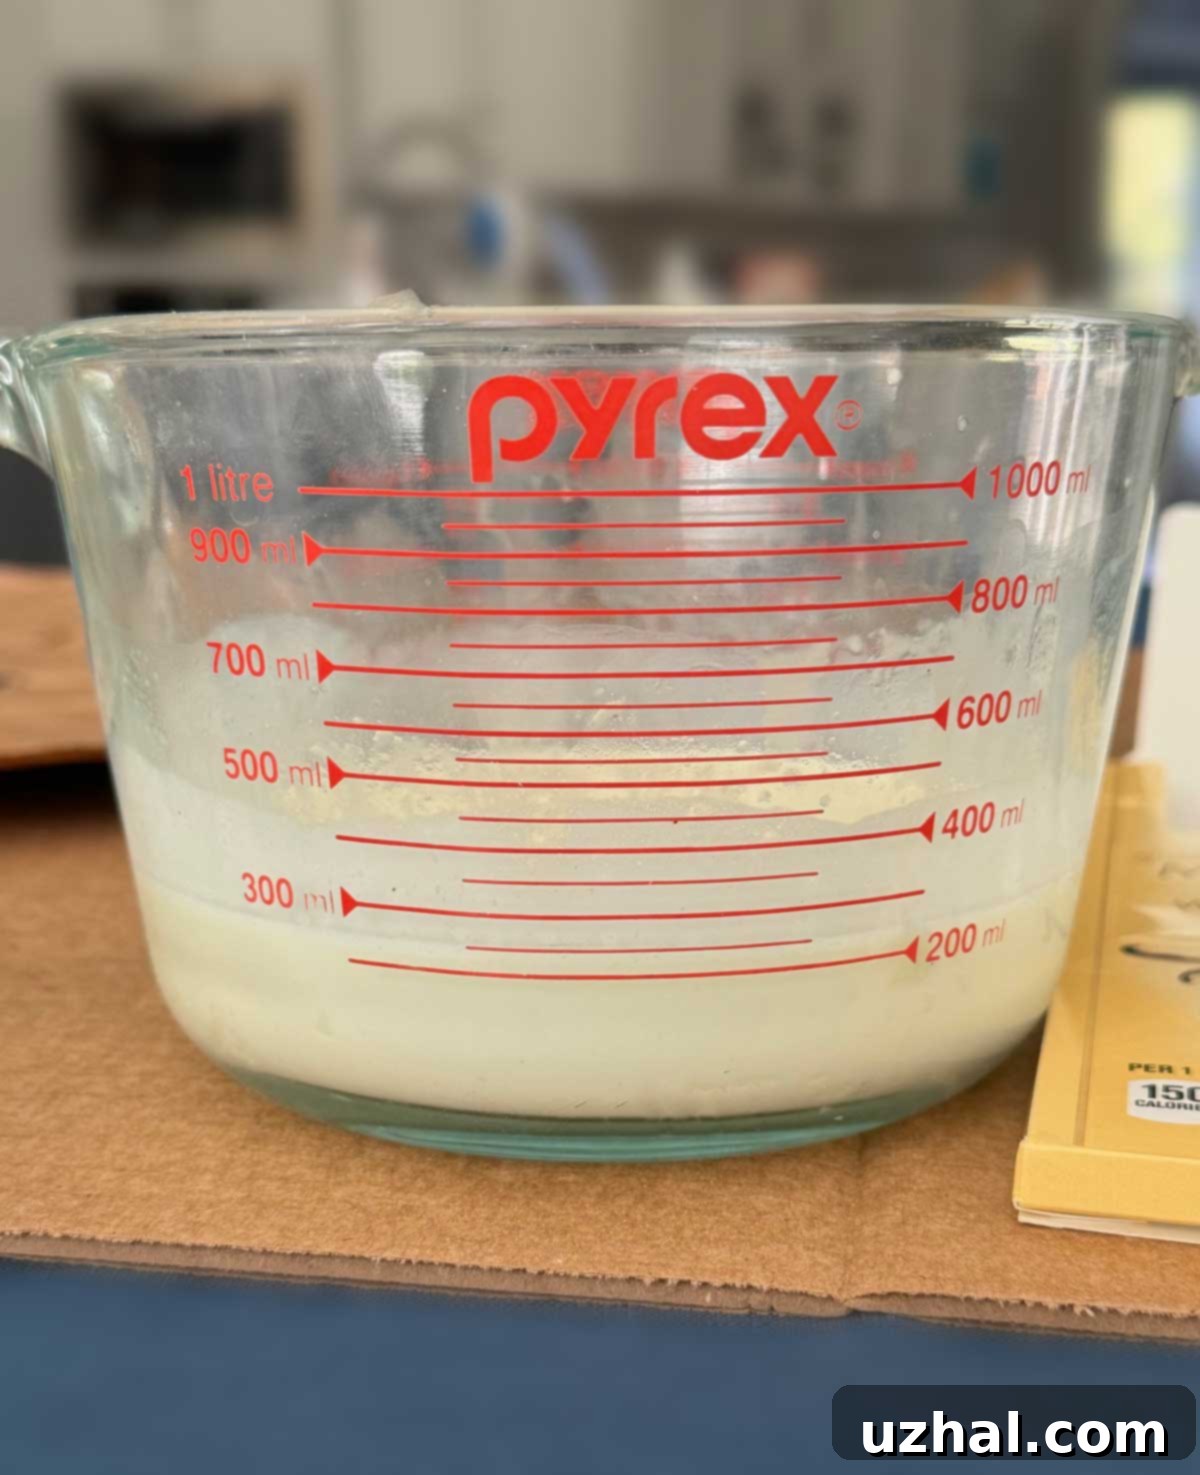
One of the beauties of this recipe is how manageable it is. I often prepare the ganache using just a microwave for heating the cream and a 1-quart Pyrex bowl for melting the chocolate and chilling the mixture. This minimizes cleanup and streamlines the process. After a few hours of chilling in the refrigerator, the ganache will be firm and ready to be whipped. Using a handheld electric mixer, you’ll whip it until it becomes light, fluffy, and thick enough to pipe. While white chocolate is naturally sweet, I like to add a couple of tablespoons of powdered sugar during the whipping stage to adjust the sweetness to perfection. You can, of course, taste and decide if you want to add more or less, or even none at all.
Of course, this is just one fantastic filling option. For those who prefer alternatives, a classic pastry cream (crème pâtissière), an easy pudding mix filling (like the one used in Eclairs), or even a vibrant lemon curd would be equally delightful. The beauty of cream horns is their versatility, allowing you to customize them to your taste or the season.
Preparing the Puff Pastry Horns
The pastry component of these cream horns is made by wrapping thin strips of puff pastry around specialized molds. This is where the magic of store-bought puff pastry really shines; it’s incredibly convenient and consistently delivers a beautifully flaky result without the arduous process of making puff pastry from scratch. The key is to handle the pastry carefully, keeping it cold to maintain its delicate layers.
After thawing your puff pastry according to package directions, you’ll unroll it and cut it into even strips. The ideal thickness is about ½ inch, and you’ll typically need two strips per horn to ensure full coverage and a sturdy structure. Alternatively, you can opt for slightly wider strips (around ¾ inch to 1 inch) and use a single, longer strip if your molds are smaller or if you prefer a less intricate wrap. The most important thing is to ensure a slight overlap as you wrap, creating a continuous spiral that will puff up perfectly in the oven.
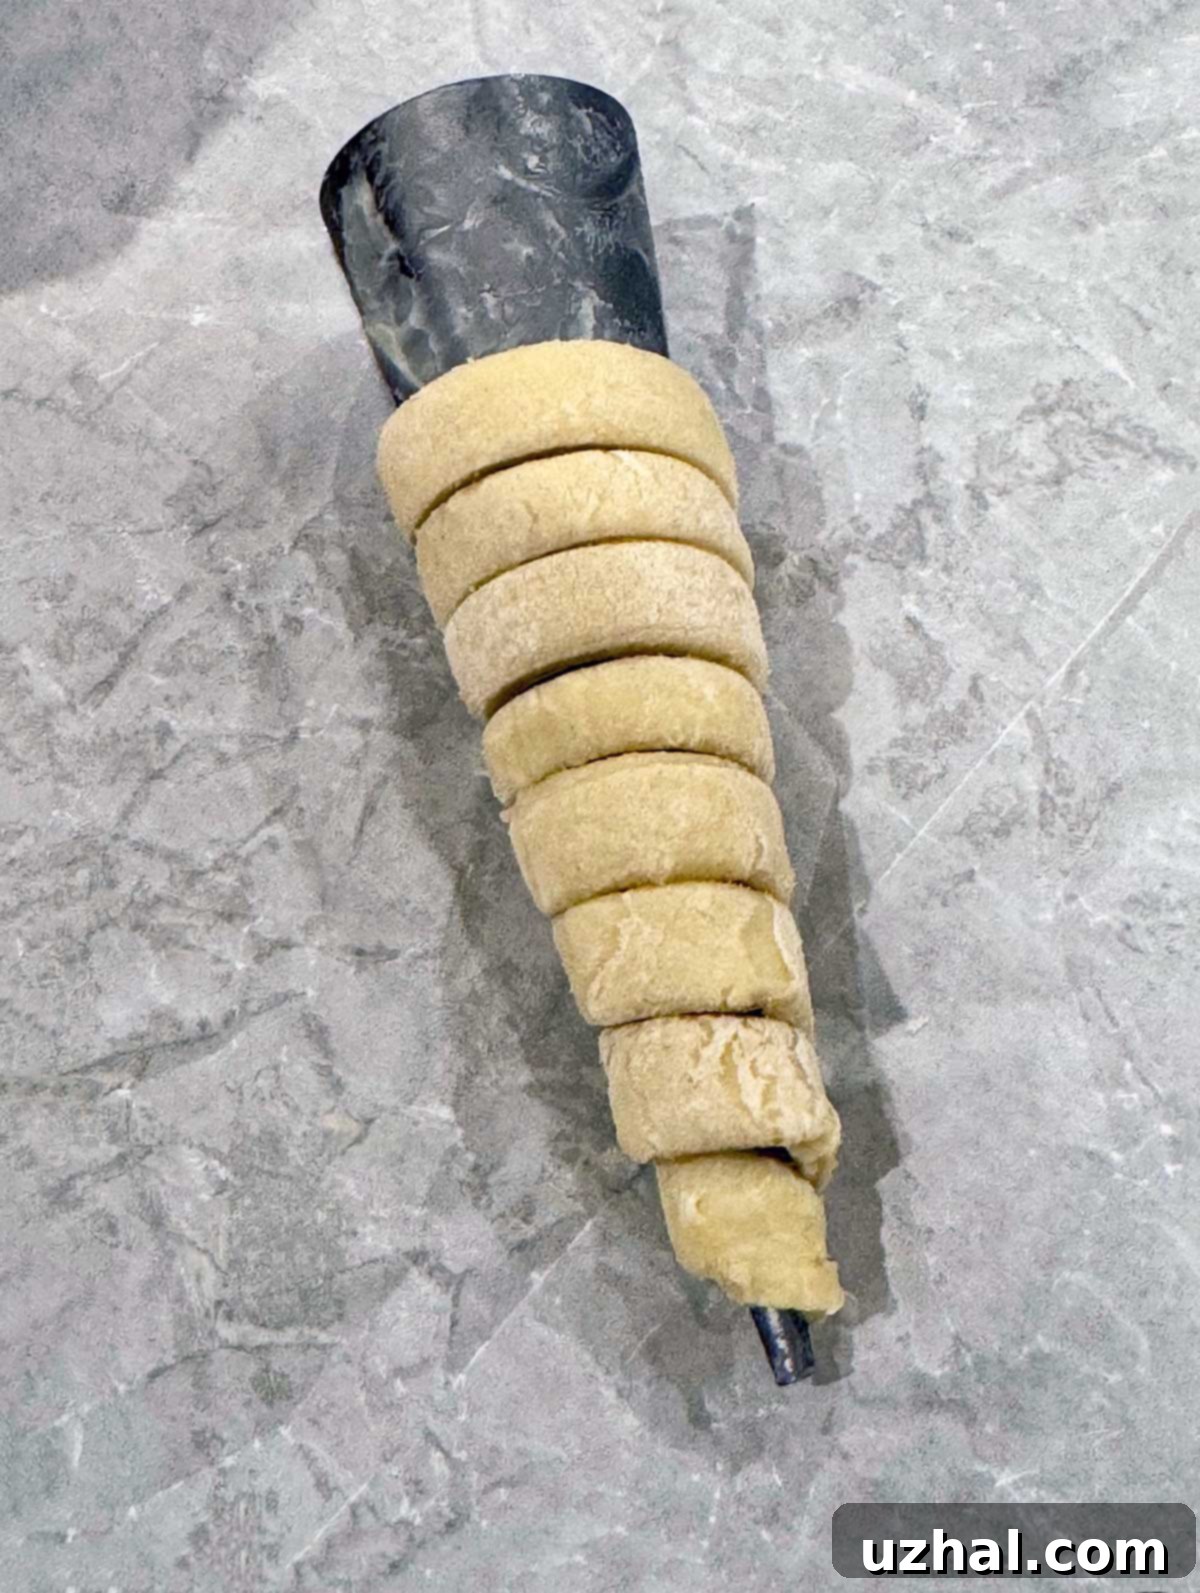
Before wrapping, it’s crucial to grease your molds very well with butter or a non-stick spray. This step is non-negotiable, as it ensures the baked pastry shells slide off easily without breaking. Starting at the pointy end of the conical mold, begin coiling the pastry strip around it, keeping the edges touching and slightly overlapping. When the first strip runs out, gently pinch a second strip onto the end of the first, ensuring a good seal, and continue wrapping until the mold is mostly covered. Don’t worry if there are tiny gaps; the pastry will expand as it bakes. Once wrapped, transfer the molds to a parchment-lined tray and pop them into the freezer for about 20 minutes. This quick chill helps the pastry maintain its shape in the hot oven and contributes to that desirable flaky texture.
Essential Equipment for Cream Horn Success
While making these cream horns is straightforward, having the right tools can make the process even smoother. The most crucial item is, of course, the cream horn mold itself. As I mentioned, I initially used cannoli molds, which worked in a pinch, but the conical cream horn forms are definitely superior for achieving that classic horn shape. These metal cones are widely available online and in specialty baking stores, and they are a worthwhile investment if you plan to make these often.
For those who enjoy a bit of kitchen ingenuity and prefer not to invest in single-purpose tools, you can absolutely fashion your own molds. A popular and effective method I’ve seen involves wrapping aluminum foil tightly around wine corks or small conical objects to create a sturdy, reusable form. Just ensure they are well-greased before wrapping your pastry. Another excellent DIY approach is to roll heavy-duty aluminum foil into a cone shape, pinching the ends to secure them. Make sure the foil cones are robust enough to withstand handling and baking without collapsing.
Beyond the molds, the rest of the equipment is fairly standard kitchen fare. You’ll need mixing bowls (microwave-safe ones are a bonus for the ganache), a handheld electric mixer for whipping the ganache, a baking sheet, and either non-stick foil or parchment paper to prevent sticking. A piping bag fitted with a large round or star tip will give your cream horns a professional finish, making it easy to fill them neatly. While I often skip equipment lists in cookbooks, I’ve included a detailed one in the recipe card below, as I’ve found that different bakers prefer different levels of guidance. Whether you’re a visual learner who processes instructions as you go, or someone who likes to gather all tools beforehand, this list should prove helpful.
Expert Tips for Perfect Puff Pastry Cream Horns
Achieving perfect cream horns is easier than you think, especially with a few insider tips:
- Puff Pastry Brand Matters: I’ve consistently had the best results with Pepperidge Farm puff pastry. It’s widely available in the freezer section of most grocery stores, usually near frozen desserts or pie crusts. Its consistent quality and flakiness make it ideal for this recipe, and you won’t even need to roll it out further. While other brands might work, Pepperidge Farm is my trusted choice for reliability.
- Choosing Your White Chocolate: The quality of your white chocolate directly impacts the flavor of your ganache. Look for a white chocolate with a higher cocoa butter content for a richer, smoother result. Aldi’s Madagascar Vanilla white chocolate is a surprisingly good and inexpensive option that performs beautifully in this filling. However, feel free to use your favorite high-quality white chocolate brand for an even more luxurious taste.
- Make-Ahead Magic: Both the puff pastry horns and the ganache filling can be prepared in advance. The baked, unfilled horns can be stored in an airtight container at room temperature for a day or two, or even frozen for longer storage. The chilled, unwrapped ganache can be made a day ahead and stored in the refrigerator, ready to be whipped just before filling.
- Heating Cream Wisely: When heating the heavy cream for the ganache, keep a very close eye on it, especially if using a microwave. You want it to be very hot, just steaming, but not at a full rolling boil. Boiling cream can sometimes affect the delicate proteins and, more importantly, can make the gelatin less effective or cause the ganache to become grainy.
- Baking for Flakiness: I typically bake puff pastry at a relatively high temperature, 400°F (200°C), for about 18 to 20 minutes. This high heat encourages a rapid puff and a beautifully golden-brown, crispy exterior. However, oven temperatures can vary significantly. If your oven tends to run hot, consider baking at 375°F (190°C) instead. If you’re new to baking puff pastry, don’t hesitate to bake a couple of “practice horns” first to dial in your oven’s ideal temperature and timing. They’re delicious even if not perfect!
- Freezer-Friendly Delights: These cream horns freeze exceptionally well, especially due to the stabilizing effect of the gelatin in the ganache. Once filled, arrange them in a single layer on a tray and freeze until solid, then transfer them to a freezer-safe bag or airtight container. To enjoy, simply thaw them at room temperature for about 30 minutes. The gelatin prevents the filling from becoming overly hard or icy in the freezer, ensuring a creamy texture upon thawing.
- Loaf Pan Homemade Kit Kat Bars with Ritz
- Homemade Cannoli
- Cannoli Poke Cake
- Small Batch Gingerbread Scones
- Oven Ready Bran Muffins
Recipe
Puff Pastry Cream Horns
Anna
Pin Recipe
Equipment
-
1 ramekin or custard cup for gelatin
-
2 microwave-safe mixing bowls or 1 microwave-safe bowl and a small saucepan
-
1 handheld electric mixer
-
10 cannoli or cream horn molds (I only have 6, so I had to work in batches)
-
1 small tray or 2 large platea that fits in the freezer
-
1 large baking sheet for baking the pastry
-
non-stick foil or parchment paper
-
plastic wrap
-
piping bag
-
large round or star tip for piping cream
Ingredients
- ½ box puff pastry
- 1 large beaten egg (for egg wash), you won’t use all of it
- sparkling sugar (optional)
Cream Horn Filling
- 2 ½ teaspoons cold water
- ¾ teaspoon plain gelatin
- 1 ½ ounces white chocolate (you can go a little over) (45 grams)
- 7 ounces heavy whipping cream (210 grams)
- 1 teaspoon good vanilla extract or vanilla bean paste
- 2 tablespoons powdered sugar (optional)
Instructions
Filling
-
In a small ramekin or custard cup, combine the cold water and gelatin. Stir briefly and let it sit for 5 minutes to fully soften. This is known as “blooming” the gelatin.
-
Finely chop or break the white chocolate into small pieces and place it in a microwave-safe glass bowl. A quart-sized Pyrex measuring cup works perfectly for this.
-
Pour the heavy cream into a small saucepan or a 2-cup Pyrex measuring cup. Heat the cream over medium heat on the stovetop or in the microwave. Watch it very closely and remove it from the heat just as it begins to steam and simmer around the edges – do not let it come to a full boil. Add the softened (bloomed) gelatin to the hot cream and stir vigorously until it is completely dissolved. Immediately pour this hot cream mixture over the white chocolate in the glass bowl. Let it stand undisturbed for about 30 seconds to allow the chocolate to melt. Then, stir gently with a whisk or spatula until the mixture is completely smooth and emulsified. If there are any stubborn lumps of white chocolate, you can microwave it for an additional 10 seconds, but the heat from the cream should typically be sufficient. Do not add the powdered sugar at this stage.
-
Cover the ganache surface directly with plastic wrap to prevent a skin from forming. Chill in the refrigerator for at least 3 hours, or preferably overnight, until it is very cold and firm.
Preparing Puff Pastry Horns
-
Thaw the puff pastry (Pepperidge Farm brand recommended) according to the package directions. This usually takes less than 40 minutes at room temperature, and many packages also provide quick microwave thawing instructions if you’re in a hurry.
-
Unfold the puff pastry sheet onto a clean cutting board. Position it so the 9.75-inch side is horizontal and the 10.5-inch side is vertical. Using a sharp knife or pizza cutter, cut the pastry sheet into approximately 20 vertical ½-inch wide strips. You will need two strips for each cream horn. Alternatively, if you prefer thicker pastry or have smaller molds, you can cut wider strips and use just one per horn, ensuring it’s long enough to cover the mold.
-
Prepare a large baking sheet by lining it with parchment paper or non-stick foil. If your freezer is small, you might need two smaller plates that fit. Have a small bowl with one large beaten egg ready for the egg wash. For an extra touch of sparkle and crunch, you can also prepare some sparkling sugar for sprinkling, but this is entirely optional.
-
Very generously grease your cream horn or cannoli molds with butter or a non-stick cooking spray. This is a critical step to ensure the baked pastry shells slide off easily.
-
Take one strip of puff pastry. Starting at the pointy end of a greased mold, begin coiling or looping the pastry strip around it, slightly overlapping each layer to create a continuous spiral. The first strip will likely only cover about halfway. Take a second strip, firmly pinch its end onto the end of the first strip to create a seamless connection, and continue looping until the mold is mostly covered. It’s okay if a small portion at the wide end isn’t completely covered. Place the puff pastry-wrapped mold onto your prepared tray. Continue this process, making as many horns as your molds allow (if you have fewer molds than horns, you’ll need to bake in batches). Place each completed horn on the parchment-lined tray or plate. Once all available molds are wrapped, transfer the tray to the freezer for approximately 20 minutes. This quick chill helps the pastry hold its shape during baking.
-
While the horns are chilling, preheat your oven to 400 degrees F (200°C). Once the oven is hot, remove the frozen puff pastry horns from the freezer. Brush them lightly with the beaten egg (egg wash) using a pastry brush. If desired, sprinkle them lightly with sparkling sugar for extra crunch and visual appeal. Bake the puff pastry-wrapped molds for about 18-20 minutes, or until they are beautifully golden brown and puffed. The exact time may vary slightly depending on your oven. Carefully remove them from the oven and let them cool on a wire rack for a few minutes. While still warm but cool enough to handle, gently slide the baked pastry horns off the molds. Allow them to cool completely before filling.
-
Once the pastry horns are completely cool, retrieve your chilled white chocolate ganache from the refrigerator. It will be very firm. Using an electric mixer fitted with a whisk attachment, beat the ganache on medium-high speed until it becomes light, fluffy, and thick enough to pipe. This might take a little longer than whipping plain heavy cream due to the chocolate and gelatin, but it will eventually reach the desired consistency. As it begins to form soft peaks, taste test it. Now is the time to add 2 tablespoons of powdered sugar (or more/less to your preference) and beat until fully incorporated and the ganache holds stiff peaks.
-
Transfer the whipped ganache to a piping bag fitted with a large round or star tip. Carefully squeeze the ganache into the cooled pastry horns, starting from the wide end and working your way to the tip, ensuring an even and generous fill. For a final flourish, sift a light dusting of powdered sugar over the filled pastries just before serving. These cream horns are absolutely divine when served fresh, as the pastry is at its puffiest and crunchiest, contrasting perfectly with the soft, creamy filling. However, they hold up well for a few hours.
-
Store any leftover filled cream horns in an airtight container in the refrigerator for up to 1-2 days. For longer-term storage, the baked, unfilled horns can be frozen. The filled horns can also be frozen in a freezer-safe bag; the gelatin in the filling helps maintain its texture, preventing it from getting too hard. Thaw frozen filled horns at room temperature for about 30 minutes before enjoying.
