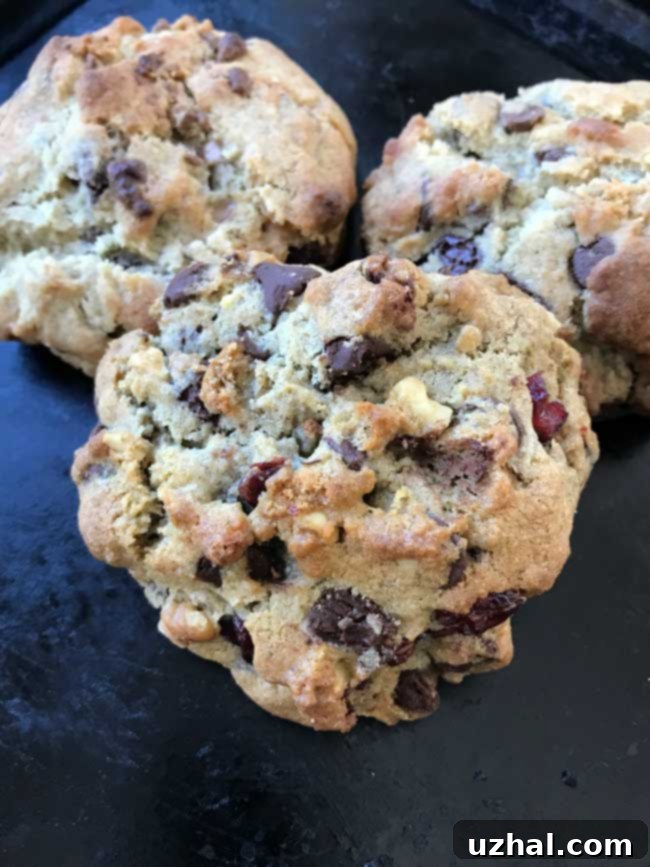
Ultimate Giant Walnut Rye Flour Chocolate Chip Cookies: A Unique Baking Adventure
Following a delightful experiment with rye flour in yesterday’s cookie batch, I was inspired to push the boundaries further, leading to these magnificent Giant Walnut Rye Flour Chocolate Chip Cookies. This recipe strategically incorporates a smaller, yet impactful, fraction of rye flour. The genius of rye flour here lies in its dual contribution: it masterfully absorbs moisture within the dough, which significantly helps in preventing excessive spreading, resulting in thicker, chewier cookies. Beyond its textural magic, rye flour imparts a subtle, earthy depth of flavor that elevates the classic chocolate chip cookie to a sophisticated new level. My initial attempts used a much larger quantity of rye flour, which proved overwhelming in both taste and consistency. Through careful calibration, reducing the rye flour to just over half a cup achieved the perfect balance, allowing its unique characteristics to shine without dominating.
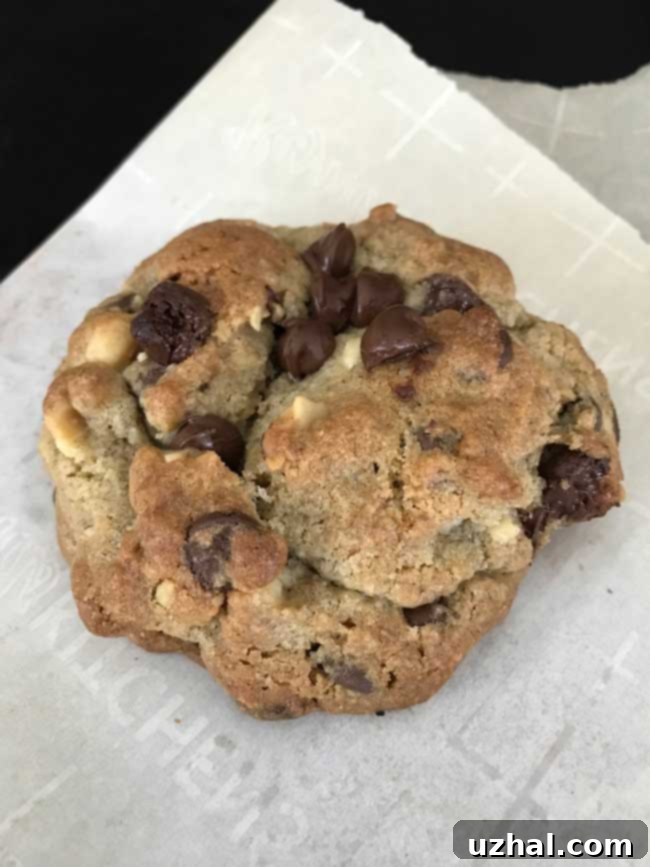
Creating these impressively sized cookies begins with a robust dough that truly benefits from the power of a stand mixer. Due to its inherent thickness, a stand mixer equipped with a paddle attachment is your best ally in achieving a uniformly mixed dough without overworking it. After the initial mixing, I transfer the dough onto a clean pastry mat, where it’s gently shaped into individual balls. This pre-forming step is crucial before the chilling process. Chilling the dough balls for at least a few hours, or ideally overnight, isn’t just about convenience; it allows the flavors to meld and the butter to firm up, resulting in a richer taste and a cookie that holds its shape beautifully during baking. Once chilled, these beauties can be baked in either a traditional oven or a convection oven, each offering slightly different, yet equally delicious, results.
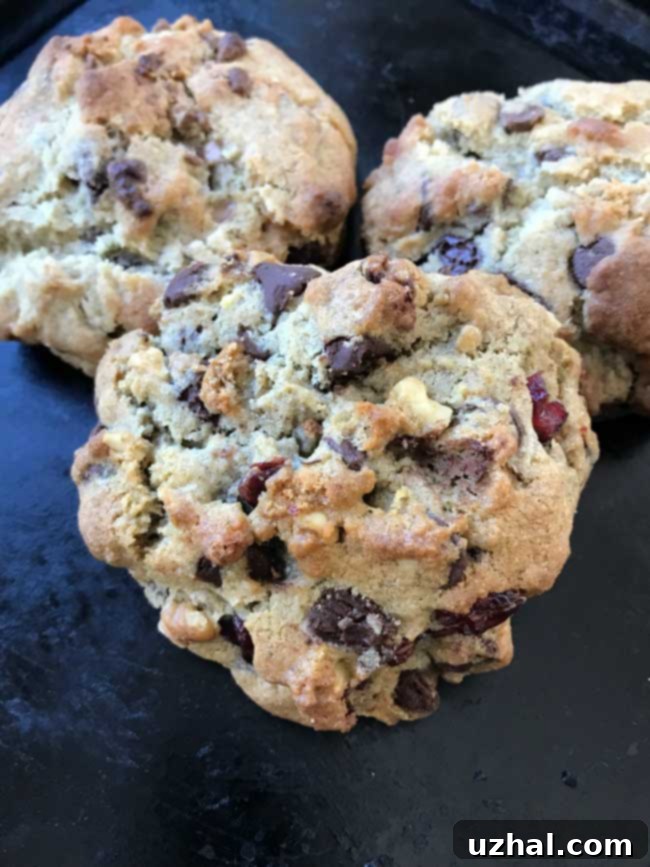
The Unique Appeal of Rye Flour in Baking
Rye flour is not merely an alternative; it’s an enhancement. Unlike common all-purpose or bread flours, rye contains less gluten and more soluble fiber, contributing to a denser, chewier texture in baked goods. In these giant chocolate chip cookies, its moisture-absorbing properties are key to preventing a flat, overly spread-out cookie. It helps create a cookie that is satisfyingly thick and robust. Furthermore, the subtle, nutty, and slightly tangy notes of rye flour beautifully complement the sweetness of chocolate and the earthy crunch of walnuts, adding a layer of complexity that you won’t find in a standard chocolate chip cookie. It transforms a familiar comfort food into something truly gourmet and memorable.
From Cookies to Biscotti! Extend the Deliciousness
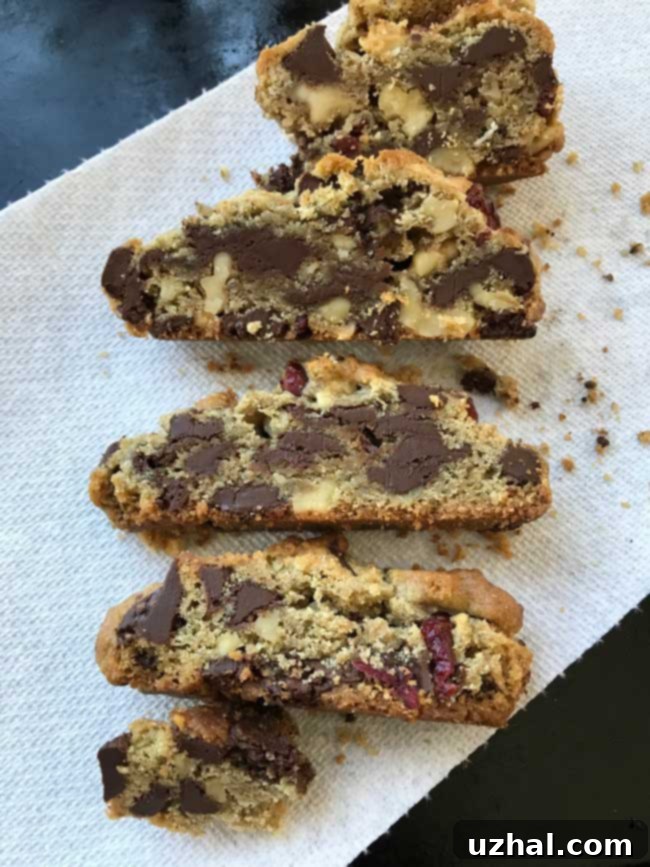
While these cookies are undeniably large – affectionately dubbed “All Day Cookies” by a friend because you can enjoy breaking off little pieces throughout the day – they are also incredibly fun to share as gifts. Their generous size makes them a statement piece, perfect for any occasion. However, given their substantial nature, they are best enjoyed fresh or consumed within a day to fully appreciate their texture. For any leftover cookies, I highly recommend two excellent preservation methods: freezing them for future enjoyment or, for a truly unique treat, transforming them into delicious biscotti. To do this, simply slice the cooled cookies as depicted in the photo below and dry them out in a 250-degree Fahrenheit oven for approximately 20 minutes. This process not only extends their shelf life but also creates a delightful, crunchy snack perfect for dipping in coffee or tea.
Customizing Your Cookies: Rye, Walnuts, and Beyond
For those who adore the concept of a giant chocolate chip cookie but prefer a more traditional flavor profile, you can easily adapt this recipe. Simply substitute an equivalent amount of bread flour for the rye flour. This modification will still yield wonderfully large and satisfying cookies. However, I strongly advise against omitting the walnuts. Similar to how rye flour contributes to the cookie’s structure, walnuts play a crucial role in maintaining the dough’s desired thickness and preventing excessive spreading. Their natural oils and texture provide stability, ensuring your cookies remain wonderfully thick and chewy. The walnuts also add a complementary crunch and earthy flavor that balances the sweetness of the chocolate chips, making them an indispensable ingredient in this particular recipe.
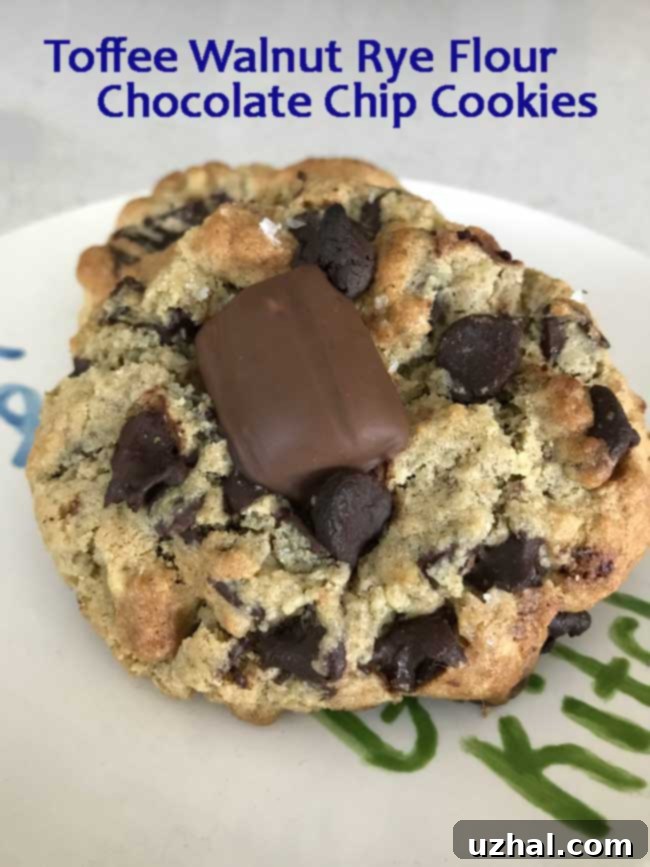
A Sweet Twist: Heath Toffee Update
Always experimenting with ways to enhance these already incredible cookies, I made another batch and introduced a delightful variation. Immediately after pulling the warm cookies from the oven, I pressed pieces of a Heath toffee bar onto their tops. The residual heat from the freshly baked cookies gently melts the toffee, allowing it to become one with the cookie, creating pockets of buttery, crunchy, and slightly salty caramel goodness. This simple addition provides an extra layer of flavor and texture, perfectly complementing the rich chocolate, robust walnuts, and subtle rye notes. It’s a game-changer for anyone who loves that irresistible combination of chocolate and toffee!
Mastering the Giant Cookie Bake: Tips for Perfection
Achieving the perfect giant cookie involves more than just mixing ingredients. Pay close attention to the creaming process for butter and sugar; this incorporates air, contributing to a lighter texture despite the cookie’s density. The chilling period is non-negotiable – it allows the flour to fully hydrate, the butter to solidify, and flavors to deepen, all preventing your cookies from spreading too thin. When baking, positioning the oven rack in the upper third ensures even browning without burning the bottoms. For convection ovens, adjusting the temperature and time, as suggested in the recipe, can result in a slightly rounder, more uniformly baked cookie. Always allow these large cookies ample time to cool and set; they will continue to bake slightly from residual heat, and their texture will improve significantly as they firm up.
Storage and Serving Suggestions
Once cooled, these giant cookies can be stored in an airtight container at room temperature for up to 2-3 days, though their peak freshness is within the first day. To extend their life, especially if you have a large batch, wrap individual cookies tightly in plastic wrap and freeze them. They can be thawed at room temperature or gently reheated in a microwave or oven for a “freshly baked” experience. Beyond serving them simply as a standalone treat, consider pairing them with a scoop of vanilla bean ice cream for an indulgent dessert, or crumbling them over yogurt or oatmeal for a decadent breakfast twist. Their robust flavor also makes them a fantastic accompaniment to a strong cup of coffee or a glass of cold milk.
- Light Corn Muffins
- Rye Flour Chocolate Chip Cookies
- Dark Chocolate Rye Flour Cookies
- Mary’s Rye Quick Bread
- Marble Rye Bread
Recipe

Giant Walnut Rye Flour Chocolate Chip Cookies
Anna
Pin Recipe
Ingredients
- 2 cups bread flour (260 grams)
- ½ cup plus 1 tablespoon dark rye flour (70 grams) — or just use ½ cup more bread flour for a traditional cookie
- ¾ to 1 teaspoon salt (use ¾ if sprinkling with sea salt)
- 1 teaspoon baking soda
- 2 sticks unsalted butter, cut into small chunks, still cold (230 grams)
- ½ cup granulated sugar (100 grams)
- ¾ cup packed light brown sugar (150 grams}
- 1 large egg (52 grams)
- 1 large egg yolk (16 grams)
- 1 teaspoon vanilla extract
- 2 cups dark or bittersweet chocolate chips
- 1 cup chopped walnuts (untoasted, for texture and flavor)
- Optional: Maldon Sea Salt for sprinkling
Instructions
-
Weigh both flours precisely and combine them in a large bowl. Add the salt and baking soda, then stir until these dry ingredients are very thoroughly blended. Set aside.
-
In the bowl of a stand mixer, beat the cold butter chunks and both sugars until just blended. Continue creaming this mixture for at least 4 minutes to incorporate air, which is essential for texture. While creaming, slowly beat in the vanilla extract. Remember to scrape the sides of the bowl once or twice to ensure everything is evenly combined.
-
Add the large egg and egg yolk to the creamed mixture. Stir gently with a large scraper or spoon just until they are fully incorporated. Then, using the paddle attachment, beat for another minute or until the mixture is completely blended and smooth. Scrape down the sides of the bowl one last time before adding the reserved flour mixture. Stir with a heavy-duty scraper just until the flour is moistened, then use the paddle attachment in small, quick spurts to mix. It’s crucial not to overbeat the dough at this stage, as overmixing can develop too much gluten and result in tougher cookies.
-
With the paddle attachment on low speed, continue stirring (scraping the sides of the bowl as needed) until the mixture is almost fully blended but still appears a little flour-y. At this point, add the chocolate chips and chopped walnuts, stirring on low speed until just evenly distributed throughout the dough.
-
Empty the entire dough mixture onto a large pastry mat or a clean, lightly floured surface. Gently knead the dough into one solid mass, ensuring any loose floury bits, chips, and nuts are fully incorporated. Divide this mass into 10 equal balls, which will create your giant cookies. Place the individual dough balls in a large zipper bag and chill them in the refrigerator for at least 2 hours. Chilling is vital for flavor development and to prevent the cookies from spreading too much during baking.
-
When you’re ready to bake, line a baking sheet with parchment paper to prevent sticking and ensure even baking.
-
Position an oven rack in the upper third of your oven and preheat to 375 degrees F (190 degrees C). This placement helps achieve a beautifully golden-brown top without over-baking the bottom.
-
Arrange about 5 pre-chilled cookie dough balls on one prepared baking sheet, ensuring enough space between them for spreading. If you desire an extra touch of flavor and visual appeal, sprinkle a little Maldon sea salt on top of each cookie before baking.
-
Bake for 18 to 20 minutes, or until the edges are golden, the centers appear set, and the tops show slight cracks. The cookies may still seem a little soft in the middle, but they will continue to firm up as they cool. Allow the cookies to cool on the baking sheet for at least 30 minutes before transferring them to a wire rack or serving. This cooling period is essential for them to fully set and achieve their intended chewy texture.
-
Alternatively, for those with a convection oven, you can bake these cookies with excellent results. I prefer to bake them at 400 degrees F (200 degrees C) for 10 minutes, then reduce the heat to 330 degrees F (165 degrees C) and bake for another 6 to 8 minutes or so. Convection baking often results in cookies that are a little rounder and more evenly baked. Adjust timing based on your oven’s specific performance.
-
Always let the cookies cool sufficiently before serving. While they are certainly enjoyable warm, their full flavor and desired texture develop best after they have completely set.
Notes
