Ultimate Guide to Baking Irresistible Double Chocolate Brownie Cookies: A Martha Stewart Inspired Recipe
Welcome, fellow dessert enthusiasts, to a journey into the heart of a truly decadent treat: the Double Chocolate Brownie Cookie. These aren’t just any cookies; they boast the rich, fudgy texture of your favorite brownie, coupled with the portability and crisp edges of a cookie. Inspired by a fantastic recipe from none other than The Martha Stewart Baking Handbook, this recipe is a testament to the fact that with a little patience and a few key techniques, anyone can master the art of baking truly exceptional chocolate cookies.
My own baking journey with these cookies serves as a perfect illustration of how practice makes perfect. As you’ll see from the progression in the images below, my technique, and consequently the final product, has evolved significantly over the years. It’s a reminder that baking is a skill developed through experimentation and a willingness to learn from every batch.
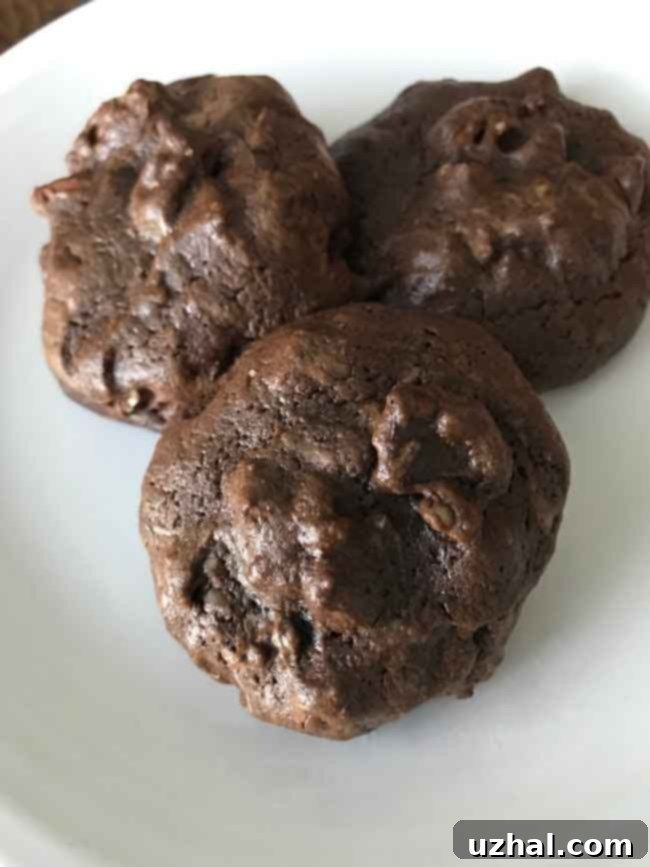
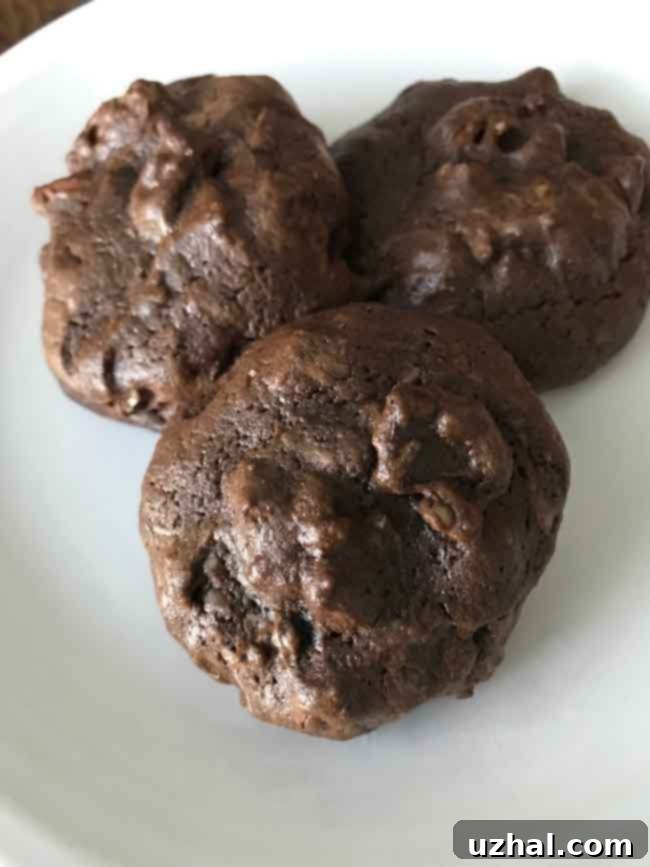
Exhibit A: An earlier attempt, still delicious, but perhaps lacking that quintessential glossy, perfectly set finish. Every great baker starts somewhere, and these early efforts were crucial stepping stones.
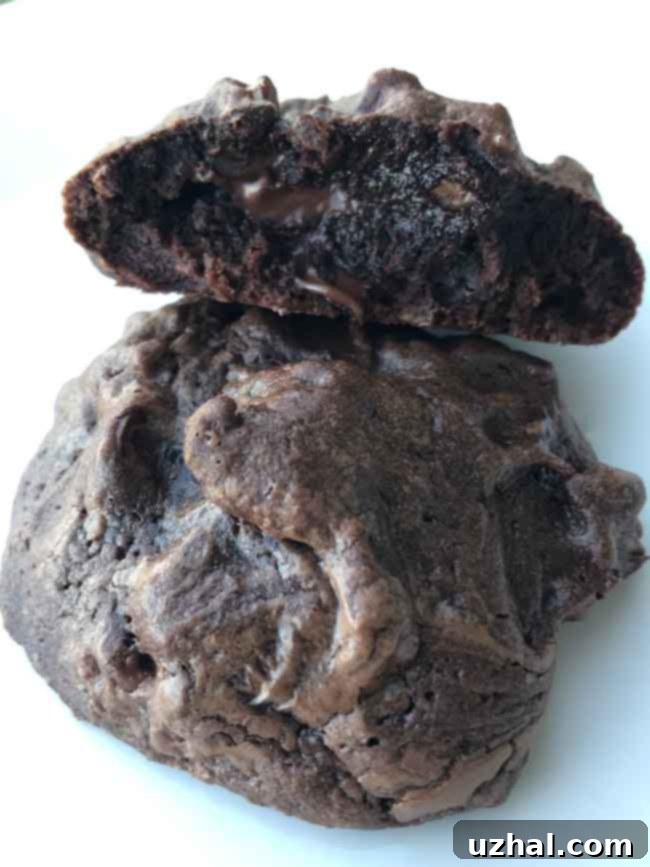
Exhibit B: Years later, with more experience and a deeper understanding of the recipe’s nuances, a much-improved result. Notice the beautiful, crinkly top and the perfectly rounded shape. This is the kind of perfection we’re aiming for with these rich chocolate cookies.

Mastering the Art of Chewy Double Chocolate Brownie Cookies
One of the biggest lessons I learned while perfecting these homemade brownie cookies revolves around temperature. In my earlier days, driven by an eagerness to get the cookies in the oven, I often added the extra chocolate chips and nuts while the batter was still warm from the melted chocolate. While this didn’t ruin the cookies entirely, it often resulted in a slightly messier dough and chips that melted more than they should, rather than holding their distinct shape and providing textural contrast.
These days, I’ve cultivated a touch more patience – or at least enough to allow the batter to cool completely before incorporating the additional chocolate and nuts. This critical step ensures that the chocolate chunks remain intact, offering delightful pockets of intense chocolate flavor in every bite. Moreover, as the batter rests and cools, it naturally thickens. This thickening is key to achieving that perfect scoopable consistency without the need for refrigeration, which can sometimes dull the glossiness we desire in these fudgy brownie cookies.

Another fascinating aspect of this particular recipe for rich chocolate cookies is its simplicity in leavening. Unlike many cookie recipes that rely on baking powder or baking soda for their rise, these Double Chocolate Brownie Cookies achieve their signature chewy texture and slight puffiness purely through aeration. The only leavening agent at play is the air meticulously beaten into the egg and granulated sugar mixture. This makes the whipping step absolutely crucial – you must beat the eggs and sugar until they are visibly thick, pale yellow, and significantly increased in volume. This airy base is what gives these cookies their incredible brownie-like chew without being dense or overly cakey.
Let’s dive into the detailed recipe, ensuring you have all the information to create your own batch of perfect brownie cookies. Remember, quality ingredients make a world of difference in a recipe this simple and chocolate-focused.
Double-Chocolate Brownie Cookies Recipe
Ingredients:
- 9 ounces semisweet chocolate: Opt for the best quality you can find. I highly recommend a chocolate with a cocoa content of around 60-65% (e.g., 63% Cacao). This provides a deep, balanced chocolate flavor without being overly bitter.
- 3 ounces unsweetened chocolate, chopped: For an extra layer of complexity and richness, unsweetened chocolate is essential. Lindt 95% Cacao is an excellent choice for a robust chocolate backbone.
- 6 tablespoons unsalted butter (84 grams): High-quality butter contributes to the luxurious texture and flavor.
- 3 large eggs: Ensure they are at room temperature for optimal aeration.
- 1 cup granulated sugar (200 grams): Provides sweetness and works with the eggs to create structure.
- 1 teaspoon pure vanilla extract: A touch of vanilla enhances the chocolate notes.
- 1 cup all-purpose flour (130 grams): Measure carefully, ideally by weight, for consistent results.
- ¼ teaspoon fine sea salt: Crucial for balancing the sweetness and intensifying the chocolate flavor.
- ¾ cup chopped, toasted walnuts or pecans: Toasting the nuts beforehand brings out their flavor and adds a delightful crunch.
Instructions:
- Prepare the Chocolate Base:
- Begin by finely chopping the 9 ounces of semisweet chocolate. Weigh out 4 ounces of this chopped chocolate and set it aside. This will be added later for textural contrast and pockets of melted chocolate.
- Combine the remaining 5 ounces of semisweet chocolate, the 3 ounces of chopped unsweetened chocolate, and the 6 tablespoons of unsalted butter in a microwave-safe bowl.
- Microwave on high for 30-second intervals, stirring thoroughly after each interval. This gentle melting process prevents scorching the chocolate. Continue until the mixture is smooth and fully melted, which typically takes about 2 minutes total.
- Once melted, set the chocolate mixture aside to cool for at least 5 to 10 minutes. It’s crucial that this mixture is warm, not hot, when combined with the egg mixture.
- Whip the Eggs and Sugar for Leavening:
- In a separate large bowl, using an electric mixer fitted with the whisk attachment, beat the large eggs and granulated sugar together on high speed. Continue beating for a full 3 minutes, or until the mixture becomes very thick, pale yellow, and significantly increased in volume. This step is vital for the cookies’ texture, incorporating the air that acts as the primary leavening.
- Beat in the vanilla extract until just combined.
- Combine and Fold:
- Gently stir about ⅓ cup of the aerated egg mixture into the cooled chocolate mixture. This helps to temper the chocolate, ensuring a smooth incorporation without seizing.
- Carefully fold in the rest of the egg mixture into the chocolate. Be gentle to preserve the air you’ve beaten in.
- Add the flour and salt to the chocolate-egg mixture. Stir just until they are fully incorporated and no streaks of dry flour remain. Avoid overmixing, as this can develop the gluten too much, leading to tougher cookies.
- Incorporate Inclusions and Rest the Batter:
- Before adding the nuts and reserved chopped chocolate, ensure the batter is completely cool to the touch. If the melted chocolate was still warm when mixed, the batter might still retain some warmth. This waiting period is critical to prevent the additional chocolate from melting into the batter.
- Stir in the chopped, toasted walnuts or pecans and the remaining 4 ounces of chopped semisweet chocolate.
- At this point, the batter might still be a bit soft and not thick enough to easily scoop. If so, let it stand at room temperature for about 10 to 20 minutes. As it rests, the flour will hydrate, and the batter will thicken naturally. While you *can* chill it, allowing it to stand at room temperature often yields glossier cookies with that signature crinkled top.
- Bake the Cookies:
- Preheat your oven to 375 degrees F (190 degrees C).
- Line two large cookie sheets with parchment paper. This prevents sticking and ensures even baking.
- Scoop up the dough. You can roll it into 1 ¼-inch balls or use a medium-sized cookie scoop for consistent sizing.
- Place the dough balls about 3 inches apart on the prepared cookie sheets to allow for spreading.
- Bake for 9 to 11 minutes, or until the edges are set and the cookies look shiny and crinkly on top, but the centers still appear slightly soft and gooey. The key here is to avoid overbaking, which can lead to dry, cakey cookies instead of fudgy ones.
- It’s highly recommended to bake a test batch of 5 or 6 cookies first to determine the optimal baking time for your specific oven. Ovens can vary widely!
- Cool and Serve:
- Allow the cookies to cool on the baking sheets for a few minutes after removing them from the oven. They will continue to set during this time.
- Carefully transfer the slightly cooled cookies to a wire rack to cool completely.
This recipe yields approximately 30 delectable Double Chocolate Brownie Cookies, perfect for sharing, gifting, or simply enjoying yourself. They are best stored in an airtight container at room temperature for up to 3-4 days, though they rarely last that long!
Pro Tip for Perfect Texture:
As mentioned in the instructions, getting the cook time just right is paramount for these chewy brownie cookies. Because they don’t have chemical leavening, their texture relies heavily on proper baking. Look for a glossy, slightly crackled surface and set edges, but a center that still looks a bit undercooked. This ensures the coveted fudgy interior. A minute or two can make all the difference between a perfectly gooey cookie and a dry one, so don’t hesitate to do that test batch!
Customization and Variations:
While the original recipe is divine, feel free to experiment! If you prefer, you can substitute the 5 ounces of good quality semisweet chocolate with ⅔ to 1 cup of your favorite semisweet or dark chocolate chips. For an extra layer of flavor, consider adding a pinch of espresso powder to the flour mixture – it truly enhances the chocolate’s depth without making the cookies taste like coffee. A sprinkle of flaky sea salt on top of the warm cookies after baking also offers a delightful contrast. You could even introduce white chocolate chips for a triple chocolate experience, or dried cranberries for a touch of tartness.
Whether you’re an experienced baker or just starting your culinary adventures, these Martha Stewart-inspired Double Chocolate Brownie Cookies are a rewarding and deeply satisfying treat to master. Happy baking!
