Deliciously Dense Fruit and Nut Pumpkin Bars: Your Ultimate Fall Baking Recipe
As the leaves begin to turn vibrant shades of red and gold, and a crisp coolness fills the air, it’s officially time to embrace the warmth and comfort of fall baking. This season heralds the return of beloved flavors, with pumpkin purée and aromatic cinnamon taking center stage in kitchens everywhere. While many pumpkin desserts delight our palates, I’ve often found myself searching for a particular kind of treat: one that moves beyond the typical “thin pumpkin cake” often disguised as a bar, usually topped with a generous, sometimes overwhelming, layer of cream cheese frosting. Don’t get me wrong, there’s a time and place for those delightful, airy cakes. But for those moments when you crave something more substantial, a true bar with a satisfying chew and dense texture that doesn’t necessarily require a fork, this Fruit and Nut Pumpkin Bars recipe is exactly what you’ve been looking for. These bars redefine what a pumpkin bar can be, offering a delightful twist on traditional fall sweets.

A Unique Fusion: Cross Between Pumpkin Bread and Fruitcake
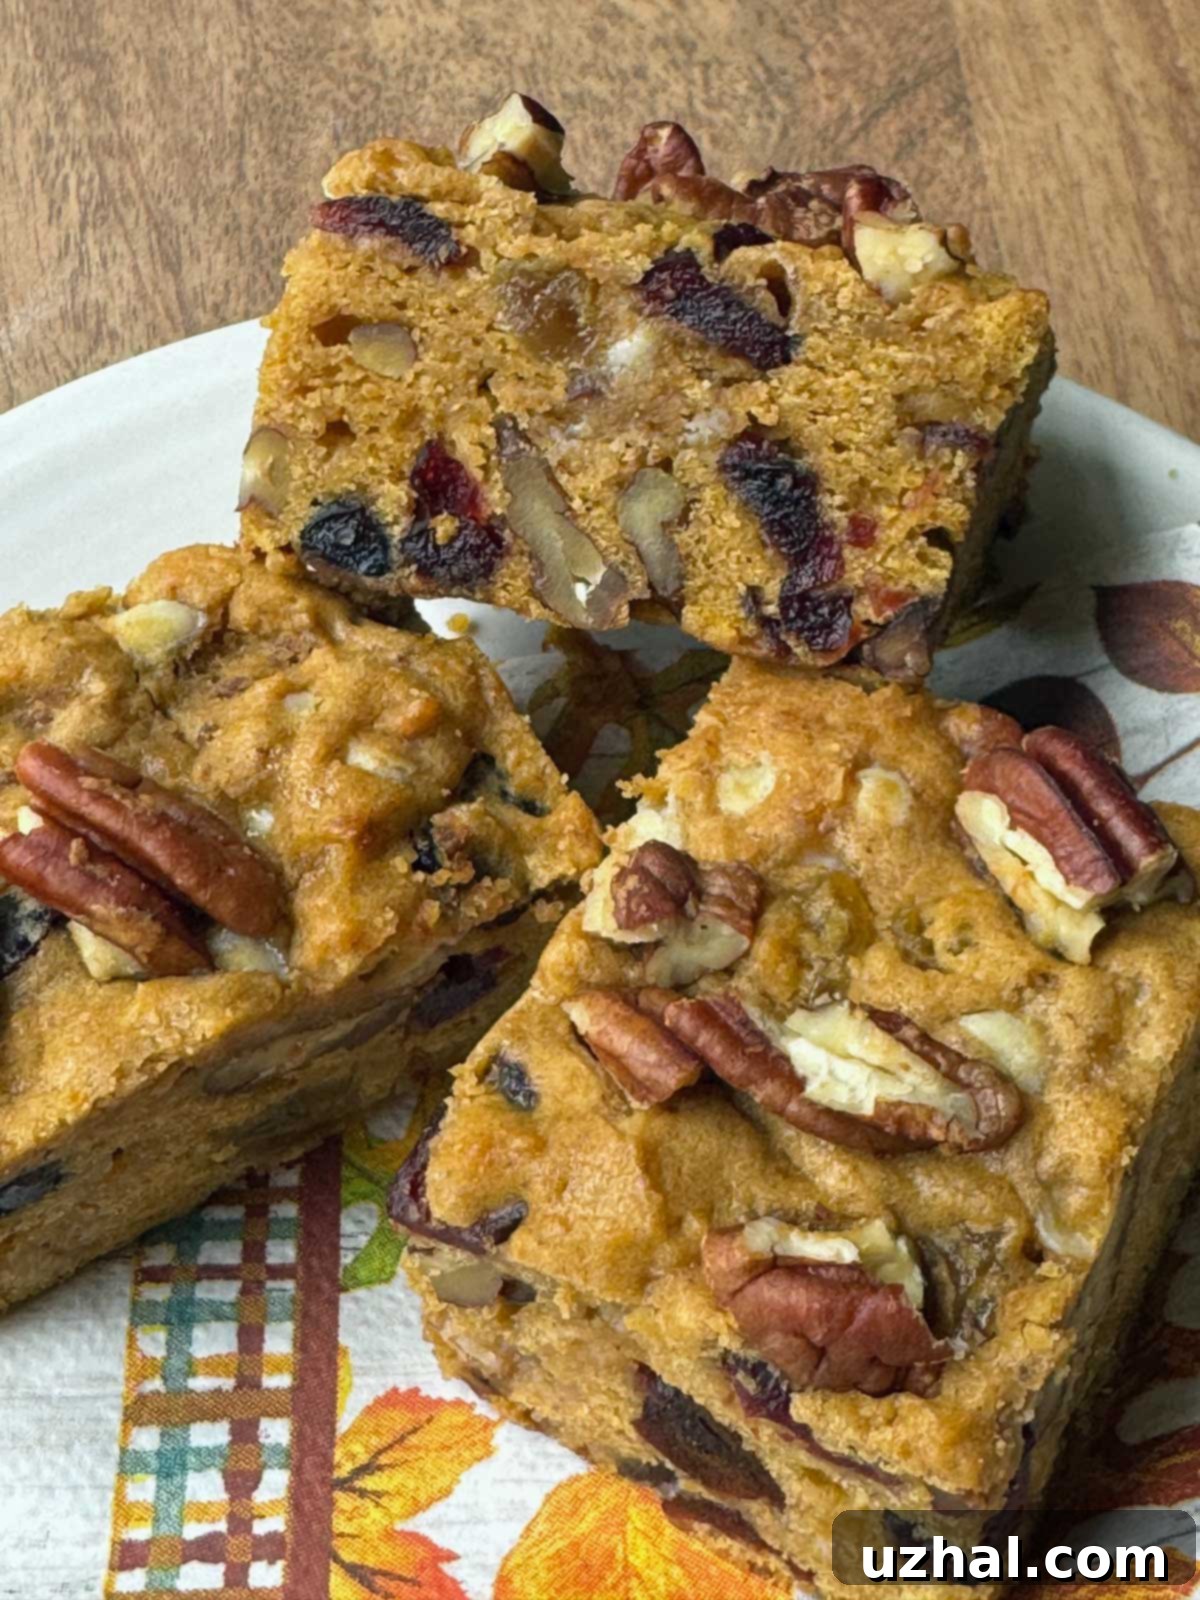
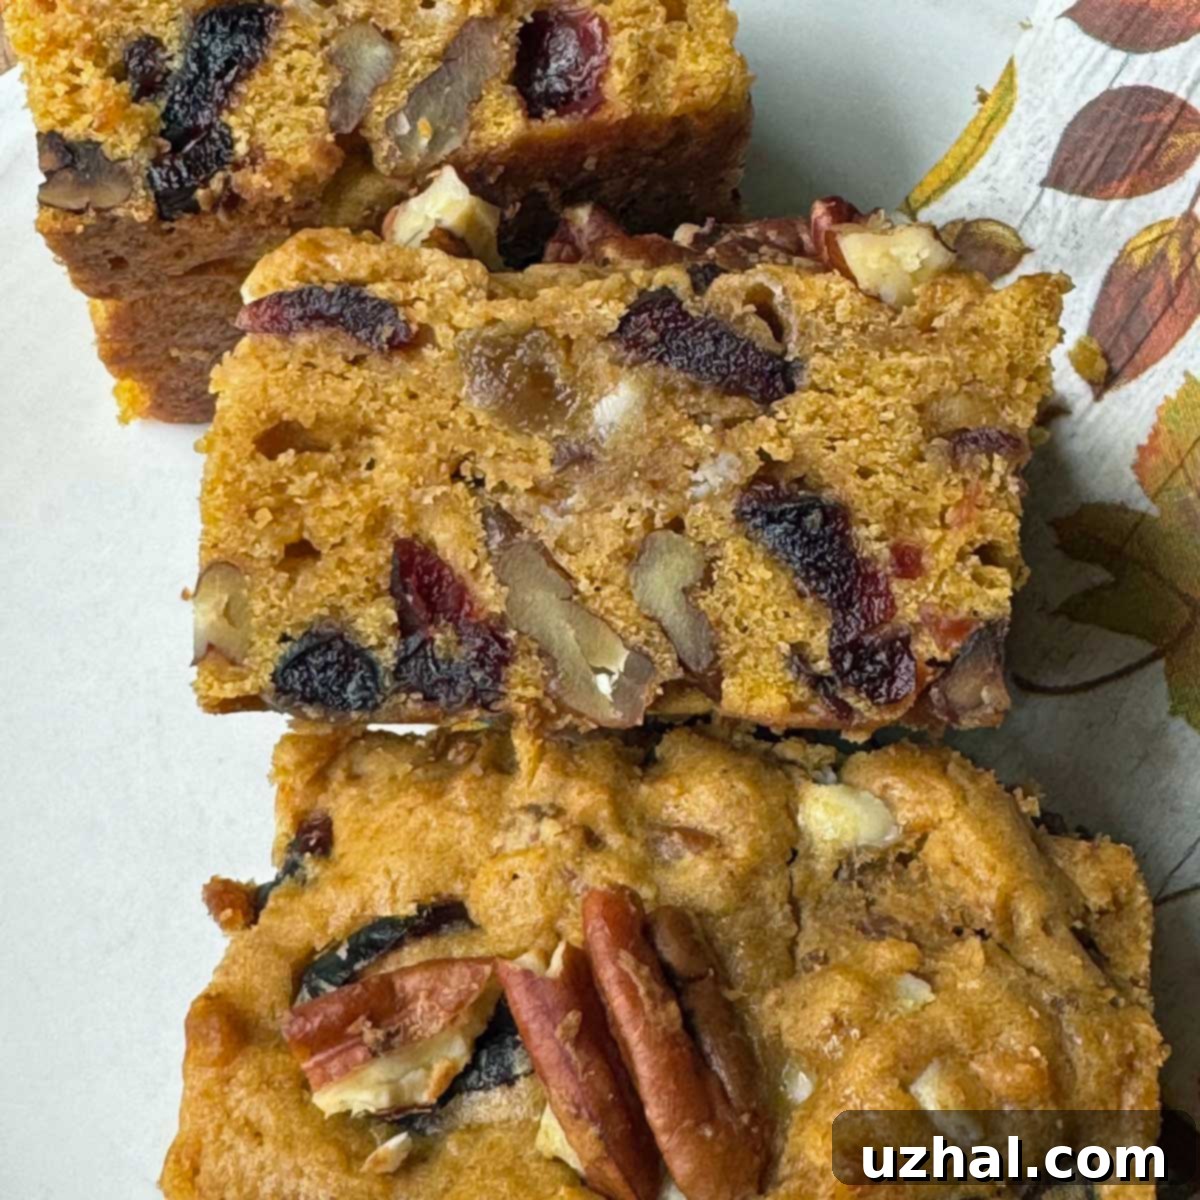
These Fruit and Nut Pumpkin Bars proudly lean into a more robust “cake-bar” identity, offering a distinctly different experience from their lighter counterparts. Imagine the comforting, spiced aroma of a classic pumpkin bread, combined with the rich, fruit-studded density of a holiday fruitcake, but without the heavy, sometimes overly sweet, candied fruit. That’s precisely the magic captured in every bite of these bars. They are wonderfully thick, remarkably dense, and possess a compact, almost brownie-like texture that, while not chewy in the traditional brownie sense, offers a satisfying firmness. Each bar is generously loaded with a harmonious blend of dried cranberries, sweet raisins, tender dates, crunchy pecans, and creamy white chocolate chips. This thoughtful combination of ingredients ensures a burst of flavor and texture in every mouthful, making them an incredibly addictive autumnal treat that’s perfect for any occasion.
The texture is a key differentiator here. Unlike many pumpkin bars that resemble a lighter cake, these are designed to be hearty. The density allows the myriad of flavors from the spices, pumpkin, and dried fruits to really meld together and shine. The inclusion of toasted pecans adds a delightful crunch, contrasting beautifully with the softness of the dates and the chewiness of the cranberries and raisins. The white chocolate chips provide pockets of sweet, creamy goodness that melt in your mouth, tying all the diverse elements together. It’s a sophisticated flavor profile that appeals to a wide range of tastes, making these bars an instant favorite for fall gatherings or simply enjoying with a warm cup of coffee or tea.
Choosing the Perfect Pan: 9-Inch Square for Optimal Thickness
This recipe has been meticulously developed to achieve the ideal thickness and a beautifully compact, almost brownie-like texture when baked in a 9-inch square pan. The dimensions of this pan ensure that the bars are generously thick, providing a satisfying bite and maximizing the distribution of all those delicious fruits and nuts. This specific pan size is crucial for achieving the desired density and moistness that makes these bars so special.
However, if you prefer a thinner bar with perhaps slightly crispier edges, you have the flexibility to adapt the recipe for a 9×13-inch pan. When using a larger pan, it’s essential to make a couple of adjustments to ensure the best results. First, lower your oven temperature to 350°F (from the original 375°F for the 9-inch pan). Second, reduce the bake time by approximately 5 minutes, as the thinner batter will cook more quickly. Always keep an eye on the bars and use the visual cues described in the instructions to determine doneness.
I’ve also experimented with a small-batch version of this recipe, adapting it for a loaf pan. While feasible, it typically involves the inconvenience of halving an egg, which can be tricky to measure accurately and sometimes compromises the consistency of the batter. Honestly, for ease and efficiency, it’s much simpler and more rewarding to make the full batch in the recommended 9-inch square pan. These Fruit and Nut Pumpkin Bars are remarkably freezer-friendly and retain their wonderful texture and flavor after thawing. Having a stash of these delightful bars on hand is incredibly convenient, whether for an impromptu fall get-together, a quick lunchbox treat, or simply to satisfy a sudden craving for something sweet and comforting. Freezing them also helps to firm them up, which is a great tip for achieving perfectly clean slices, as discussed below.
When selecting your baking pan, consider that metal pans typically conduct heat more efficiently and result in darker crusts, while glass pans might require a slight adjustment in baking time or temperature. For this recipe, a light-colored metal pan is generally preferred for even baking and a golden-brown finish without over-browning the edges. Lining your pan with foil, as suggested in the tips, is a game-changer for easy removal and neat slicing, regardless of the pan material.
Essential Tips for Baking Flawless Fruit and Nut Pumpkin Bars
Achieving bakery-quality pumpkin bars at home is easier than you think with these expert tips:
- Weigh Your Flour for Precision: The most common baking mistake leading to dry baked goods is inadvertently adding too much flour. Using a kitchen scale to weigh your flour (250 grams for 2 cups) ensures accuracy and consistent results. If you don’t have a scale, remember to fluff the flour in its container, then gently spoon it into your measuring cup, and finally, level it off with a straight edge. Never scoop directly from the bag, as this compacts the flour and adds significantly more than intended.
- Line the Pan with Foil for Easy Removal: This step, though optional, is highly recommended for ultimate convenience. Lining your 9-inch square pan with foil (with an overhang on the sides) before greasing it allows you to easily lift out the entire slab of baked bars once they’ve cooled slightly. This makes cooling, cutting, and serving a breeze, and significantly simplifies cleanup.
- Freeze Before Cutting for the Cleanest Slices: For perfectly neat and defined bars, allow the baked pumpkin bars to cool completely in the pan or on a wire rack. Then, transfer the entire slab (with the foil sling) to the freezer for a brief period, usually 20-30 minutes, until they are firm but not rock-hard. Cutting them while firm prevents crumbling and sticking, giving you beautifully sharp edges.
- Decorate with Extra Pecans or Experiment with Other Nuts: For an appealing presentation, consider sprinkling a few extra chopped pecans over the top of the batter before baking. This adds a lovely visual element and hints at the delightful nutty flavor within. Feel free to substitute pecans with walnuts, almonds, or even a mix of your favorite nuts for a personalized touch.
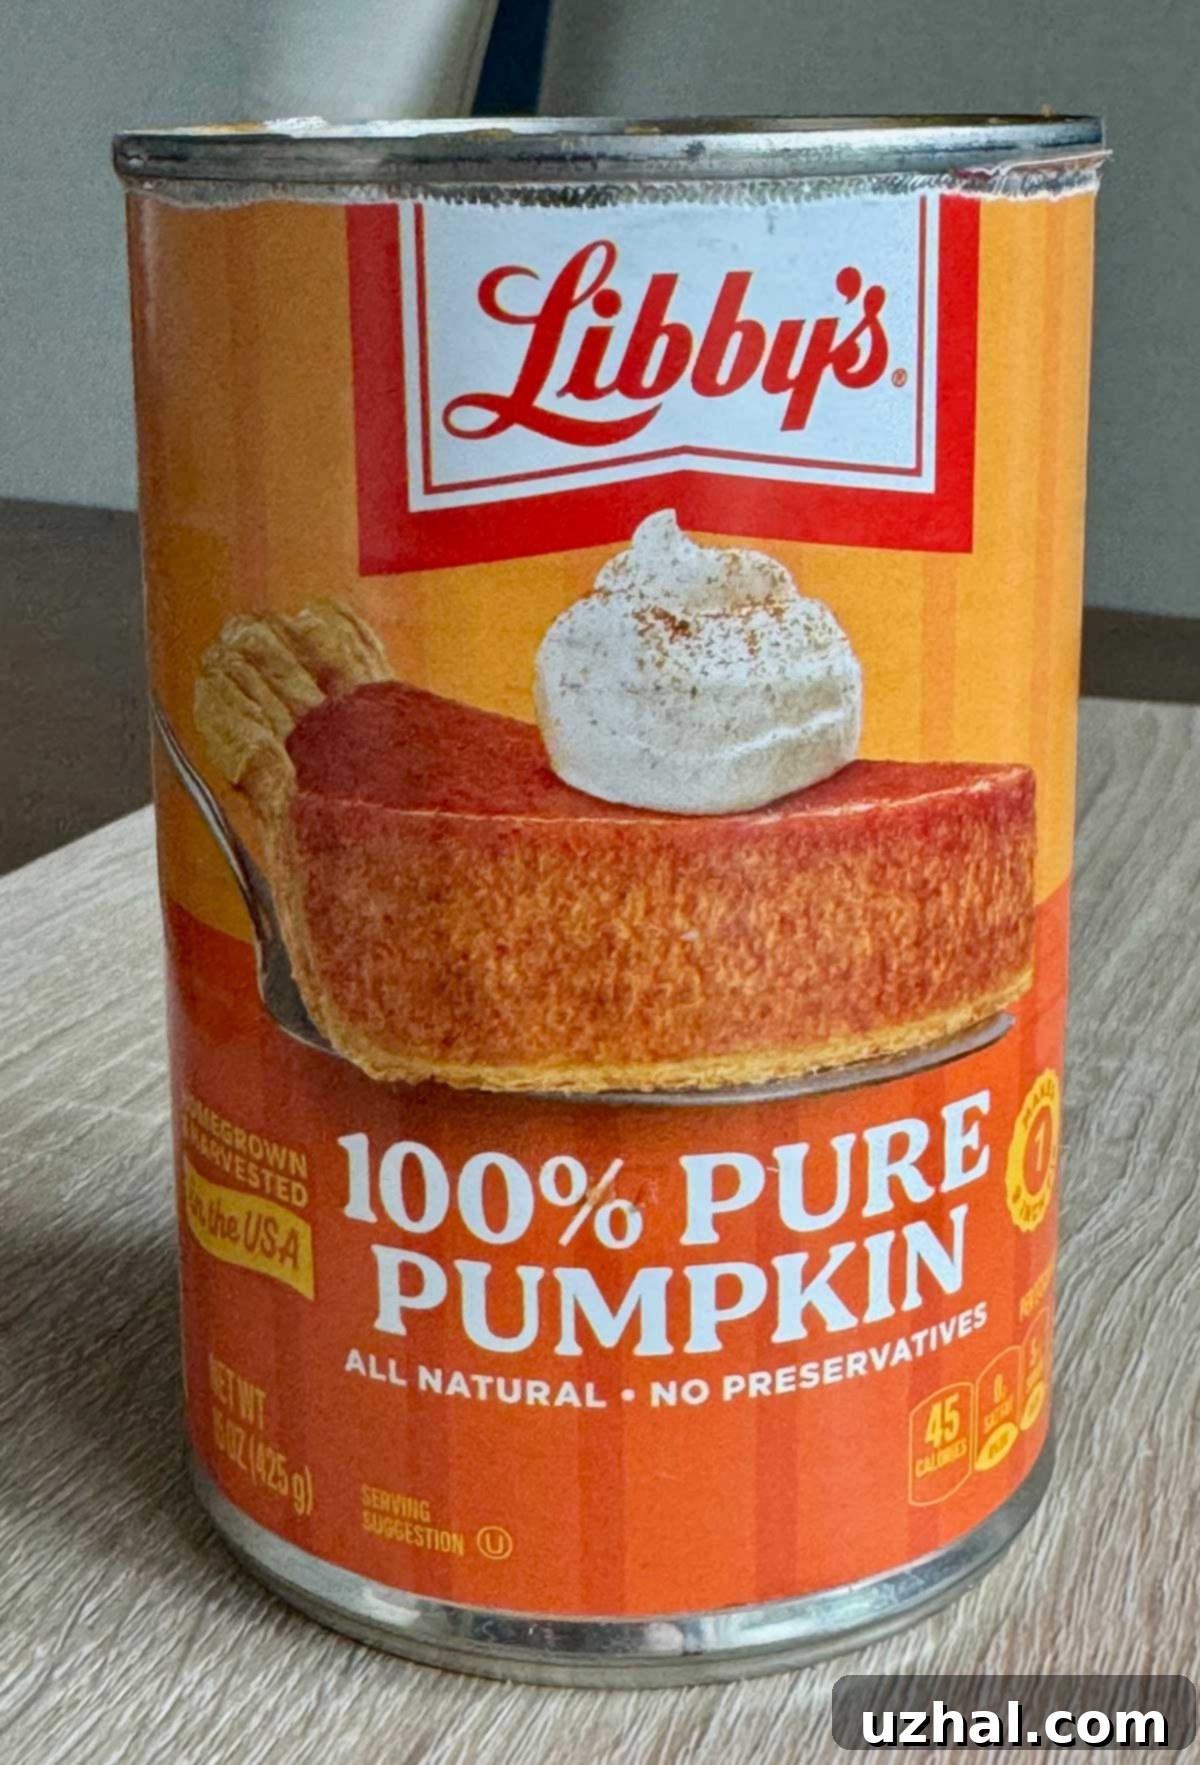
- Opt for Libby’s Pumpkin Purée: The brand of pumpkin purée can make a noticeable difference in the final outcome of your bars. Libby’s pumpkin is often recommended by bakers due to its consistent texture, vibrant color, and higher moisture content compared to many other brands. This extra moisture contributes to the overall moistness and desirable texture of the bars, ensuring they don’t turn out dry or crumbly.
- Room Temperature Ingredients: Ensure your butter and egg are at room temperature. This allows them to cream together more effectively with the sugar, creating a smoother batter and better emulsion, which leads to a more tender and evenly textured bar.
- Do Not Overmix the Batter: Once you add the dry ingredients to the wet, mix only until just combined. Overmixing can develop the gluten in the flour, resulting in tough, chewy bars rather than the desired tender, dense texture.
- Testing for Doneness: The bars are done when the top appears set and you see small cracks, and a wooden skewer or toothpick inserted into the center comes out with moist crumbs, not wet batter. Avoid overbaking, as this can dry out the bars.
- Proper Storage: Once completely cooled, store the bars in an airtight container at room temperature for up to 3 days, or in the refrigerator for up to a week. For longer storage, wrap individual bars or the entire slab tightly in plastic wrap and then in foil, and freeze for up to 3 months. Thaw at room temperature or gently warm for a fresh-baked taste.

The Irresistible Flavor Profile of Fruit and Nut Pumpkin Bars
What truly sets these Fruit and Nut Pumpkin Bars apart is their meticulously balanced flavor profile. Each ingredient plays a crucial role in creating a symphony of tastes that perfectly encapsulates the essence of autumn. The base of the bars boasts the earthy sweetness of pumpkin, beautifully complemented by a medley of warm spices. Cinnamon, a classic fall spice, brings its characteristic comforting warmth, while a hint of allspice adds complexity with notes of cloves, nutmeg, and black pepper. This aromatic spice blend elevates the pumpkin flavor without overpowering it, creating a truly inviting aroma that fills your kitchen as they bake.
Beyond the spiced pumpkin base, the abundance of dried fruits and nuts creates a dynamic textural and flavor experience. The dried cranberries contribute a delightful tartness that cuts through the sweetness, adding a bright counterpoint to the richer flavors. Sweet raisins provide a classic chewy element and a natural fruit sweetness, while the tender chopped dates introduce a caramel-like depth and a wonderfully soft texture that almost melts in your mouth. Toasted pecans are integral, offering a satisfying crunch and a rich, buttery, nutty flavor that complements the pumpkin and spices perfectly. Finally, the miniature white chocolate chips are a stroke of genius, melting into creamy pockets of sweetness that enhance the overall indulgence without making the bars overly rich.
This thoughtful combination ensures that every bite is packed with layers of flavor and a delightful mix of textures – soft, chewy, crunchy, and creamy. It’s a flavor experience that is both sophisticated and incredibly comforting, making these bars more than just a dessert; they are a celebration of fall.
Versatile Serving Suggestions for Any Occasion
Whether you’re hosting a grand fall gathering, packing a wholesome treat for lunchboxes, or simply stashing a few in the freezer for future indulgence, these Fruit and Nut Pumpkin Bars are wonderfully versatile. Their sturdy yet tender nature makes them perfect for travel, ensuring they arrive intact and delicious at any potluck or picnic. They are also elegant enough to grace any dessert platter, offering a sophisticated and homemade alternative to more traditional sweets. Imagine them alongside a cup of hot apple cider, a steaming mug of coffee, or a comforting herbal tea – a perfect pairing for chilly autumn evenings.
These bars also make for thoughtful homemade gifts during the holiday season. Wrapped beautifully in parchment paper and tied with a festive ribbon, they convey warmth and care. Their robust flavor and satisfying texture make them a welcome addition to any breakfast or brunch spread, too, providing a slightly sweet and spiced start to the day. From casual afternoon snacks to elegant dessert offerings, these Fruit and Nut Pumpkin Bars truly embody the spirit of the season, bringing a taste of homemade comfort right to your table. They are a fun, flavorful, and incredibly satisfying twist on the usual frosted pumpkin squares, promising to become a cherished part of your fall baking repertoire.
- Magic Cookie Cheesecake Bars
- Toasted Pecan Date Bread
- Soft Pumpkin Cream Cheese Cookies
- Classic Date Bars
- Vegan Date Paste Double Chocolate Cookies
Recipe

Fruit and Nut Pumpkin Bars
Anna Gins
Pin Recipe
Ingredients
- 2 cups all-purpose flour, weigh or measure carefully (250 grams)
- 1 teaspoon baking powder, scant
- ½ teaspoon baking soda
- ½ teaspoon salt (reduce to ¼ if using salted butter)
- 1 teaspoon cinnamon
- ⅝ teaspoon allspice
- 2 sticks unsalted or salted butter, softened
- 1 cup granulated sugar (200 grams)
- 2 teaspoons molasses
- 1 large egg
- 1 cup canned pumpkin, Libby’s (260 grams)
- 1 teaspoon vanilla extract
- ⅔ cup miniature white chocolate chips
- 1 cup toasted chopped pecans
- ⅔ cup dried cranberries
- ½ cup chopped dates or raisins
- ½ cup yellow raisins
Instructions
-
Preheat your oven to 375°F (190°C). Prepare a 9-inch square baking pan by lining it with aluminum foil, ensuring an overhang on all sides for easy lifting. Lightly grease the foil.
-
In a medium-sized bowl, combine the measured all-purpose flour, baking powder, baking soda, salt, cinnamon, and allspice. Stir these dry ingredients thoroughly until well blended.
-
In a large mixing bowl, using an electric mixer, cream together the softened butter, granulated sugar, and molasses until the mixture is light and creamy. Beat in the large egg, canned pumpkin purée, and vanilla extract. Mix just until all ingredients are blended; avoid over-whipping.
-
Gradually add the prepared flour mixture to the wet ingredients. Stir until the dry ingredients are just incorporated into the wet batter. The batter will be quite thick at this stage.
-
Fold in the miniature white chocolate chips, toasted chopped pecans, dried cranberries, chopped dates, and yellow raisins. Continue stirring gently until all the fruits, nuts, and chips are evenly distributed throughout the thick batter. Transfer the batter to the prepared 9-inch pan and spread it evenly. To achieve a smooth, compact top, lightly dampen your fingers with water and gently pat the batter down across the entire surface.
-
Bake for 25-30 minutes, or until the top is golden brown and appears set with small cracks, and a toothpick inserted into the center comes out with moist crumbs. Allow the bars to cool in the pan for about 10 minutes. Then, using the foil overhangs, carefully lift the entire slab of bars out of the pan and transfer them to a wire rack or directly onto the counter to cool completely. For faster cooling, you can let them cool at room temperature for 15 minutes, then move them to the freezer. I personally recommend freezing the bars briefly until firm before cutting for the neatest, cleanest slices, then allowing them to thaw to room temperature before serving.
-
This recipe yields approximately 18 generously sized bars. If you prefer smaller portions for serving on a plate or for a larger crowd, you can cut the slab into 18 pieces, and then further cut each of those into smaller squares, if desired.
