Indulge in Our Easy Black Magic Forest Cake: A Decadent American Twist
There’s something irresistibly enchanting about a classic Black Forest Cake. Its layers of rich chocolate cake, luscious cherries, and cloud-like whipped cream have captivated dessert lovers for generations. While the authentic German Schwarzwälder Kirschtorte traditionally features a distinct cherry liqueur known as Kirschwasser, our version offers a delightful American interpretation that’s equally indulgent and perhaps even more accessible. We start with the beloved Hershey’s Black Magic Cake recipe – renowned for its deep chocolate flavor and incredible moistness – and transform it into a show-stopping Black Forest creation by adding a vibrant homemade cherry filling and a generous topping of fresh whipped cream.
This “Black Magic Forest Cake” isn’t a direct replica of its German counterpart; instead, it’s a celebration of familiar flavors, tailored for the American palate. It bypasses the Kirschwasser, making it a family-friendly dessert, and leans into a slightly sweeter profile that many find utterly irresistible. If you’ve been searching for a Black Forest Cake experience that combines ease of preparation with breathtaking results, look no further. This recipe brings together the best of both worlds: the magic of a truly fantastic chocolate cake and the timeless appeal of cherries and cream.
The Essence of Black Forest Cake: With or Without Kirschwasser
The beauty of culinary traditions lies in their evolution and adaptation across different cultures and individual preferences. Black Forest Cake, a global favorite, is a prime example. While its German roots are firmly planted in the Schwarzwald region, featuring specific ingredients like Kirschwasser (a clear, colorless brandy distilled from morello cherries), the interpretation of this classic dessert varies widely. Most authentic recipes insist on Kirschwasser, which imparts a unique, slightly tart cherry flavor and aromatic depth to the cake layers and sometimes the filling.
Kirschwasser, often shortened to Kirsch, is a traditional fruit brandy made from sour cherries, specifically the small, dark Morello cherry. Unlike cherry liqueurs which are often sweetened, Kirschwasser is typically dry, offering a potent, concentrated cherry essence without added sugar. It plays a crucial role in authentic Schwarzwälder Kirschtorte, not just for flavor, but also to help moisten the cake layers. Its unique character is what truly distinguishes the traditional German cake from many Americanized versions.
However, many home bakers and professional pastry chefs alike have developed their own delicious versions, often omitting the liqueur entirely. These alcohol-free alternatives focus on the delightful interplay of chocolate, cherries, and whipped cream, creating a dessert that’s equally satisfying for those who prefer to skip the spirits. Some of the most opulent Black Forest Cakes take indulgence a step further, combining brandy-soaked cherries, generous dollops of whipped cream, and even a rich butter and sugar icing for an extra layer of decadence.
A few years ago, I ventured into making a more “authentic” version, complete with Kirschwasser, from a popular online recipe. While it was undoubtedly delicious and intriguing, the intensity of the alcohol flavor proved to be a bit strong for my family’s liking. This experience highlighted an important lesson: while tradition offers a wonderful starting point, personal taste often dictates the most enjoyable outcome. Our Black Magic Forest Cake embraces this philosophy, offering a sweet, rich, and deeply satisfying experience without the potent kick of Kirschwasser, making it a crowd-pleaser for all ages.
Why the Hershey’s Black Magic Cake Recipe?
The foundation of this incredible dessert is the legendary Hershey’s Black Magic Cake. This recipe has earned its classic status for good reason: it consistently delivers a chocolate cake that is intensely dark, profoundly rich, and exceptionally moist. Its “magic” lies in a simple, stir-and-bake method that yields a tender crumb and a deep cocoa flavor, making it the perfect canvas for our Black Forest transformation. The straightforward preparation means you don’t need to be a seasoned baker to achieve spectacular results. It’s the kind of reliable recipe that guarantees success, even for those spontaneous baking urges.
What sets the Hershey’s Black Magic Cake apart is its use of hot coffee. Don’t worry, the cake won’t taste like coffee! Instead, the hot coffee enhances the chocolate flavor, making it more robust and profound, while also contributing to the cake’s remarkably moist texture. This simple addition is a secret weapon in achieving a chocolate cake that stands out from the rest. The recipe also calls for sour milk (or milk with vinegar), which reacts with the baking soda to create a light and airy crumb structure, further ensuring a tender and moist result.
By pairing this foolproof chocolate cake with a vibrant, sweet-tart homemade cherry filling and a generous topping of freshly whipped cream, we create a harmonious blend of flavors and textures. The moistness of the chocolate cake perfectly complements the juicy cherry filling, while the light and airy whipped cream adds a refreshing contrast. This combination ensures every bite is a delightful journey of chocolatey indulgence and fruity brightness. While I’m always eager to explore more Black Forest cake variations in the future, this current rendition is a testament to the power of a few simple, well-chosen components coming together to create something truly special. I’ve included detailed notes at the bottom of this page to guide you through every step, ensuring your Black Magic Forest Cake turns out perfectly.
Essential Tips and Notes for Your Black Magic Forest Cake
Creating a beautiful and delicious cake is always rewarding, and a few key tips can elevate your baking experience. This recipe is designed to yield a standard 8-inch or 9-inch round layer cake, providing ample servings for family gatherings or special occasions. The homemade cherry filling recipe is quite generous, ensuring you have plenty to layer between the cake and to decoratively spread on top. If you’re looking to economize or prefer a less intensely cherry-flavored cake, you can easily halve the filling recipe. However, we highly recommend trying the full amount for a truly indulgent experience; leftover filling is wonderful on ice cream or yogurt!
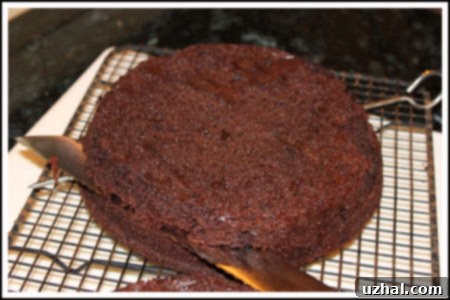
One essential tool that often goes overlooked but makes a world of difference in cake assembly is a cake lifter. If you’re wondering what this handy gadget is, it’s basically a large, flat spatula designed to slide effortlessly under cake layers, making it incredibly easy to transfer them without breakage. I find myself reaching for mine not just for lifting cakes, but also as a versatile extra-large spatula for spreading frosting and even as a bench scraper for doughs. It’s a multipurpose tool that I consider invaluable in my kitchen, even for infrequent bakers. Another quick tip for baking success: always make sure your oven is fully preheated before putting your cakes in. An accurately preheated oven ensures even baking and proper rise.
Scaling the Recipe for a Smaller Cake
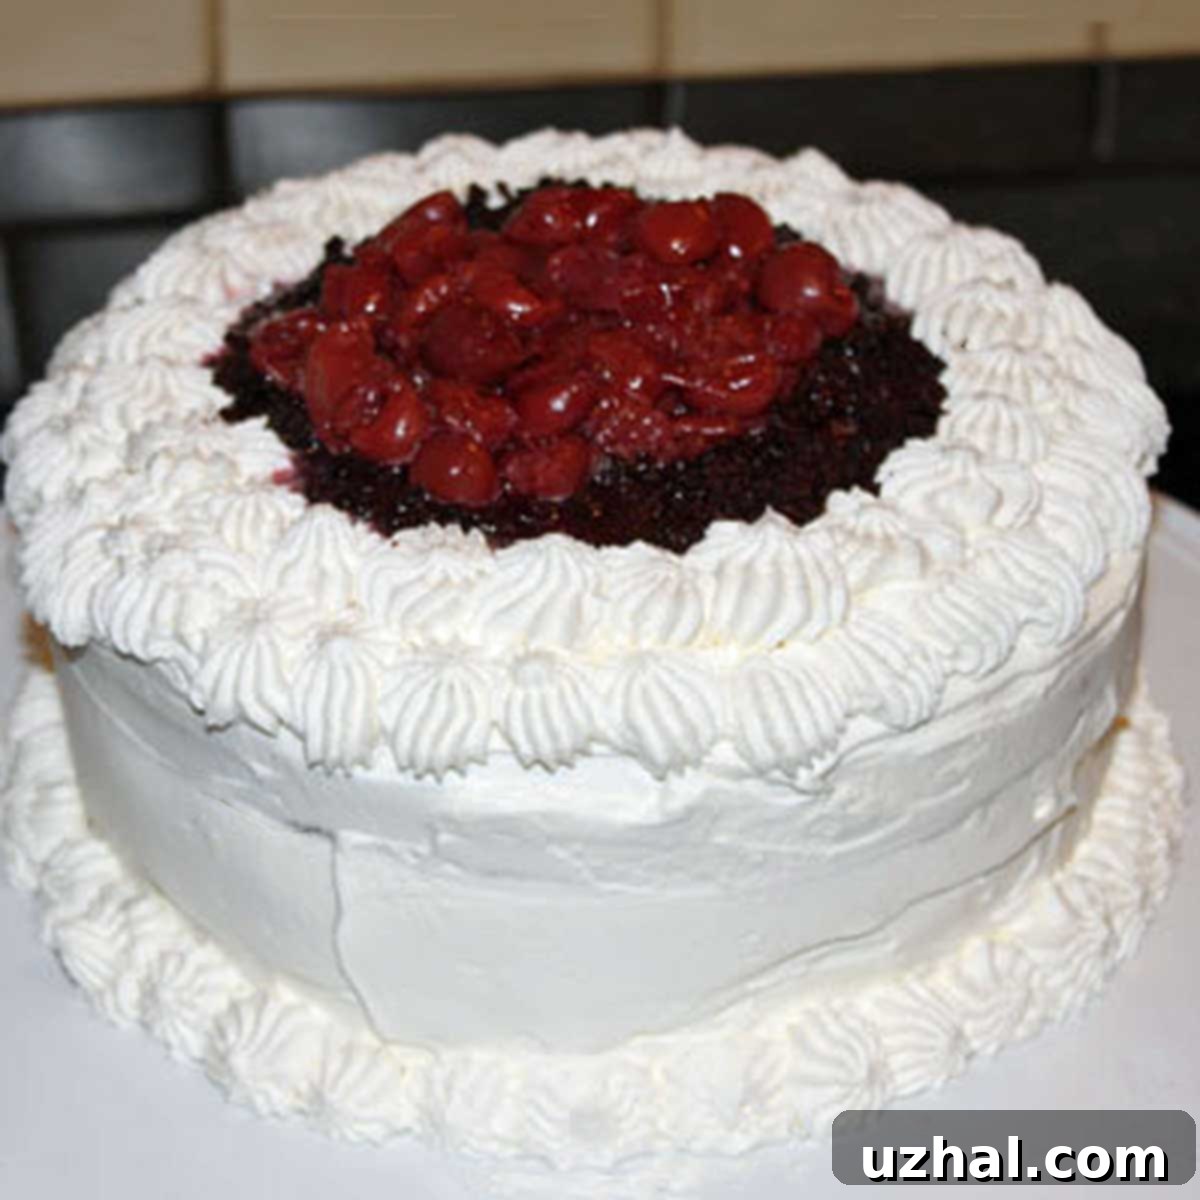
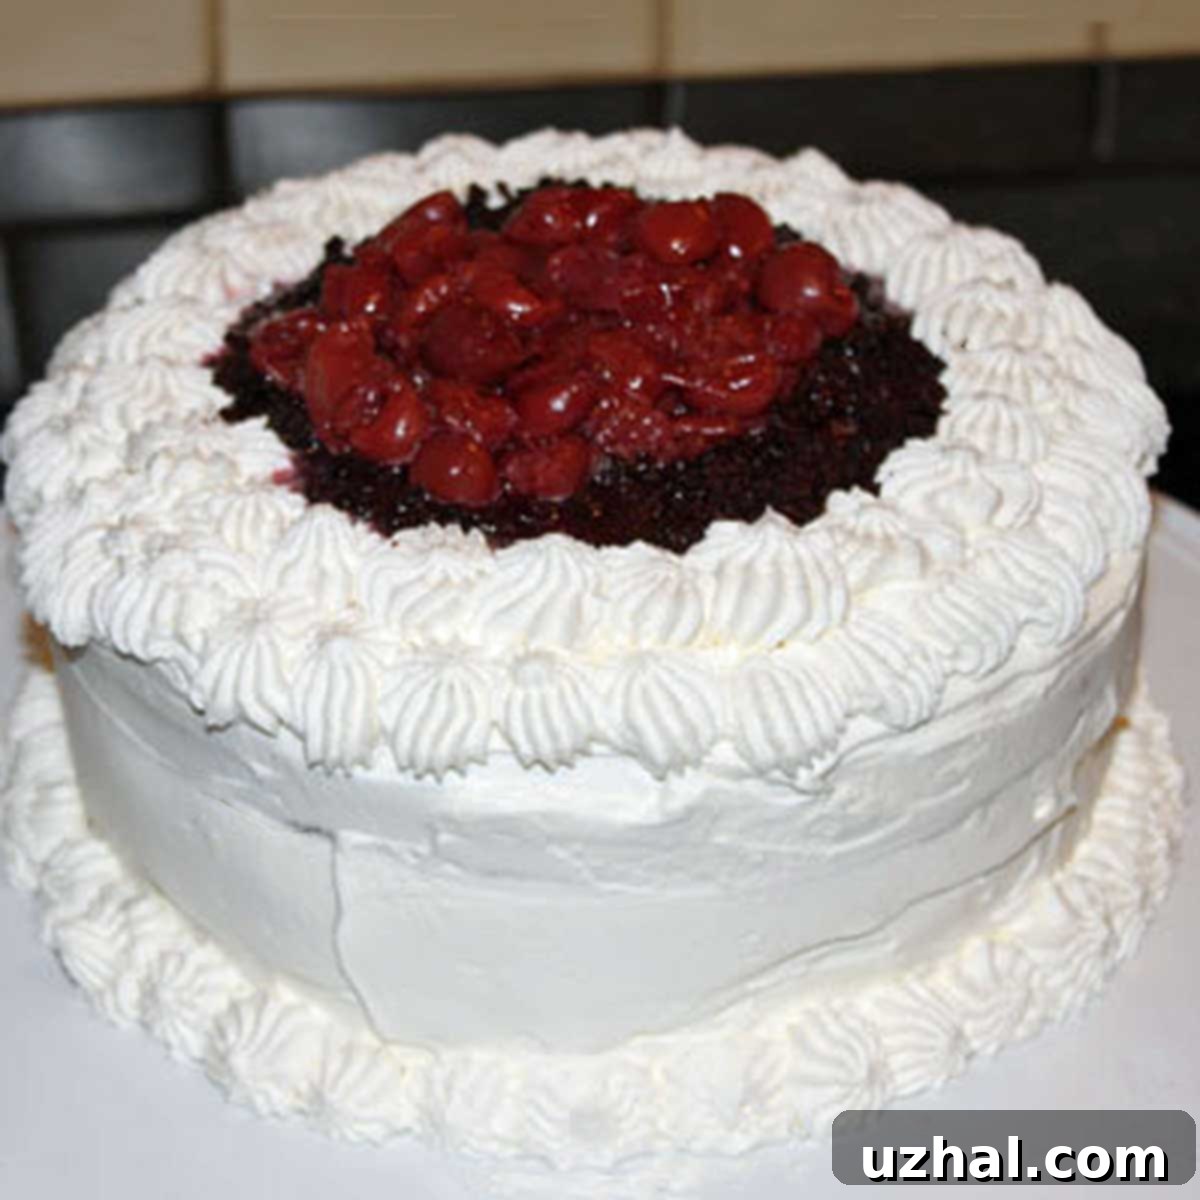
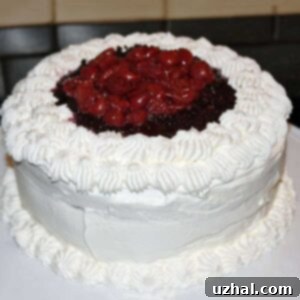
Sometimes, a full-sized cake is simply too much, or you might prefer individual dessert portions. The good news is that this Black Magic Forest Cake recipe is quite adaptable. The photo at the very top of this post actually features a “half cake.” Originally, I made half the cake batter and baked it in an 8-inch square pan, then split that single cake layer, filled it with cherries, and frosted it with whipped cream. This method works well for a smaller, more intimate dessert, yielding a modest but still impressive square cake.
However, with more experience, I now lean towards halving the recipe and dividing the batter between two 6-inch round pans. Baking in two smaller pans results in perfectly round, distinct layers that are easier to stack and decorate, giving you a mini-layer cake that still has that impressive height and presentation. This approach ensures an even bake and a more classic layer cake aesthetic, even when scaled down. When scaling any recipe, remember that baking times might need slight adjustments; smaller cakes generally bake faster. Always rely on the toothpick test to confirm doneness. Regardless of the size, the delightful combination of rich chocolate, sweet cherries, and light whipped cream remains consistently delicious.
- Black Forest Cookies
- Chocolate Black Forest Pie
- Small Black Forest Cake
- All Time Favorite Black Magic Cake
- Magic Blondies
Mastering the Art of Layer Cake Assembly
Assembling a beautiful layer cake can seem daunting, but it’s a surprisingly simple process with a few tricks up your sleeve. The key is patience and having all your components ready and properly chilled. Ensure your cake layers are completely cooled before you begin, as even slightly warm cake will melt your delicate whipped cream and cause your filling to slide, leading to a messy and unstable cake. Chilling your homemade cherry filling for at least two hours (or even overnight) is absolutely crucial for it to set properly and prevent it from running out of the layers. This filling, while a little on the looser side right after cooking, will thicken beautifully in the refrigerator, achieving the ideal consistency for spreading cleanly between layers.
When it comes to splitting your cake layers, especially if you want multiple thin layers for a truly impressive presentation, a simple kitchen skewer can be your best friend. Gently insert the skewer through the center of the cake, ensuring it’s perfectly level, and then use it as a guide for your long serrated knife. Resting the knife against the skewer as you carefully cut around the cake, rotating it as you go, will help you achieve perfectly even layers every time. This trick ensures that your cake stacks neatly and provides a stable, elegant base for your delicious fillings and frosting. For the neatest layers, you might consider freezing your cake layers for about 15-20 minutes before splitting; this makes them firmer and less prone to tearing.
Don’t be shy with the whipped cream! This recipe provides a generous amount, which is intentional. Having extra allows for beautiful piping, creating decorative swirls and peaks on top of your cake, and ensures you have enough to fully frost the sides and achieve a smooth, professional-looking finish. For the best whipped cream results, ensure your heavy cream, mixing bowl, and whisk attachment are all very cold before you start beating. The reserved cake crumbs are an excellent way to add texture and a rustic charm to your finished Black Magic Forest Cake. Pat them gently onto the sides of the frosted cake, or sprinkle them artistically over the top alongside extra cherries for a stunning visual appeal. Chilling the assembled cake before serving not only helps the layers set and the flavors meld but also makes slicing much cleaner. Enjoy every rich, chocolatey, cherry-filled bite!
Recipe
Black Magic Forest Cake
Anna
Pin Recipe
Ingredients
Cherry Filling:
- 2 cans pitted sour cherries (14.5 oz to 16 oz each)
- 1 cup granulated sugar
- ¼ cup cornstarch
- 1 teaspoon vanilla extract
- ⅛ teaspoon almond extract optional
Cake:
- 1 cup milk
- 1 tablespoon vinegar malt, white, cider — any kind
- 1 ¾ cups all-purpose flour
- 2 cups granulated sugar
- ¾ cup unsweetened cocoa powder natural style
- 1 teaspoon baking powder
- 2 teaspoons baking soda
- ½ teaspoon salt
- 2 large eggs
- ½ cup vegetable oil
- 1 cup strong brewed coffee warm or cold (not hot)
- 1 teaspoon vanilla extract
Whipped Cream:
- 3 cups heavy whipping cream
- ⅓ cup confectioners’ sugar
- 1 teaspoon vanilla extract
Instructions
-
Prepare the Cherry Filling First: Begin by draining the pitted sour cherries, making sure to reserve ½ cup of the liquid. In a medium saucepan, combine the reserved ½ cup cherry liquid, 1 cup of granulated sugar, and ¼ cup of cornstarch. Whisk these ingredients together until smooth. Place the saucepan over medium heat, stirring constantly with a whisk to prevent lumps. Continue cooking and stirring until the mixture comes to a full boil. Allow it to boil for about 1-2 minutes, stirring continuously, until it visibly thickens to a consistency similar to thick maple syrup. Remove the saucepan from the heat. Stir in 1 teaspoon of vanilla extract and, if desired, ⅛ teaspoon of almond extract along with the drained cherries. Transfer the filling to a heatproof bowl or container and let it cool completely at room temperature. Once cooled, cover it and transfer to the refrigerator. Chill for at least 2 hours, or until thoroughly cold and set, which is crucial for successful cake assembly.
-
For the Cake: Preheat your oven to 350 degrees F (175 degrees C). Prepare two 8×2 inch round cake pans. Grease each pan thoroughly with butter or baking spray, then line the bottoms with circles of parchment paper (or wax paper). Grease over the paper again and lightly dust the pans with flour, tapping out any excess. This ensures easy release of your cake layers.
-
In a medium mixing bowl, combine 1 cup of milk with 1 tablespoon of vinegar (malt, white, or cider vinegar will all work). Stir briefly and set this mixture aside for a few minutes. The vinegar will curdle the milk, creating a homemade buttermilk that adds tenderness and moisture to the cake.
-
Meanwhile, in a separate large bowl, sift together 1 ¾ cups of all-purpose flour, 2 cups of granulated sugar, ¾ cup of unsweetened natural cocoa powder, 1 teaspoon of baking powder, 2 teaspoons of baking soda, and ½ teaspoon of salt. Sifting helps to aerate the dry ingredients and ensures there are no lumps, especially with the cocoa powder, which can be prone to clumping. Whisk these dry ingredients together thoroughly to combine.
-
To the bowl with the soured milk, add 2 large eggs, ½ cup of vegetable oil, 1 cup of strong brewed coffee (it can be warm or cold, but not hot), and 1 teaspoon of vanilla extract. Whisk these wet ingredients together very well until fully combined. Pour the wet mixture into the bowl containing the sifted dry ingredients. Using a whisk or a rubber spatula, beat the batter by hand for about 50 strokes, or until the ingredients are just combined. The batter will be quite thin and might appear slightly lumpy, which is perfectly normal for this recipe. Just ensure there are no large pockets of dry flour or cocoa powder.
-
Evenly divide the thin batter between the two prepared cake pans. Place the pans on a large cookie sheet; this helps to catch any potential spills in the oven and makes transferring the pans easier. Bake for 30-35 minutes. To test for doneness, insert a toothpick into the very center of the cake. If it comes out clean, the cake is ready. It’s crucial to test in the center, as the edges often cook faster. Allow the cakes to cool in their pans for 10 minutes on a wire rack before carefully inverting them onto the racks. Gently peel away the parchment or wax paper rounds from the bottom of each cake layer. Let the cake layers cool completely on the wire racks before proceeding with assembly. This is vital for maintaining their structure and preventing the whipped cream from melting.
-
For the Whipped Cream: In a large, chilled mixing bowl, combine 3 cups of cold heavy whipping cream with ⅓ cup of confectioners’ sugar and 1 teaspoon of vanilla extract. Using an electric mixer (handheld or stand mixer with a whisk attachment), beat the mixture on medium-high speed until soft peaks begin to form. Continue beating until the peaks are stiff and hold their shape well. Be careful not to overbeat, as it can turn into butter. Keep chilled until ready to assemble the cake.
-
Assemble the Cake: Using a long serrated knife, carefully split each cooled cake layer horizontally into two thinner layers. You should now have four thin cake layers. Take one of these split layers and gently tear it into crumbs. Set these crumbs aside; they will be used as a garnish for your finished cake. For a finer, more uniform crumb, you can pulse this layer briefly in a food processor.
-
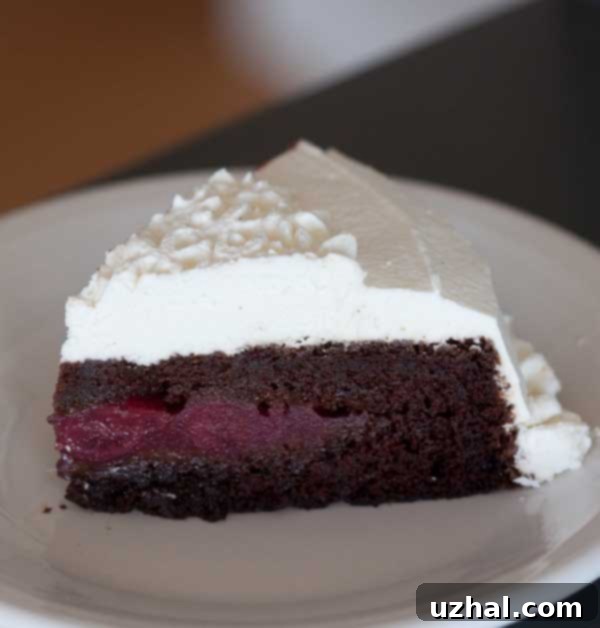
Place one cake layer on your chosen cake plate or serving stand. Spread a thin layer of the prepared whipped cream over the top, extending almost to the edge. Follow this with approximately ¾ cup of the chilled cherry topping, spreading it evenly. Top with the second cake layer. Repeat the layers of whipped cream and cherry topping. Place the third cake layer on top, then spread another layer of whipped cream, and another ¾ cup of cherry topping. Finally, crown with the fourth and final cake layer. Use the remaining whipped cream to frost the sides and top of the entire cake smoothly. Gently pat the reserved cake crumbs onto the frosting around the sides of the cake for a classic look, or sprinkle them artistically over the top, as pictured in some of our photos. Arrange a bit more cherry filling on the very top in a decorative fashion, perhaps forming a small mound or scattering whole cherries if you have extra. Chill the assembled cake for at least 30 minutes (or longer) before serving to allow the layers and filling to set beautifully. Enjoy your magnificent Black Magic Forest Cake!
Notes
Pan Size Considerations: I opted for 8-inch round pans to achieve a taller, more dramatic cake with multiple layers. However, this recipe also works beautifully with two 9-inch round pans. Keep in mind that if you use 9-inch pans, your cake layers will be slightly thinner and will likely cook faster, so start checking for doneness with a toothpick around the 25-minute mark.
Cherry Filling Consistency: The homemade cherry filling might appear a little runny immediately after cooking, but rest assured, it will thicken significantly as it cools and chills in the refrigerator. Proper chilling is key to achieving the right spreading consistency. If you use 8-inch pans, you will likely have some leftover filling, which can be stored in the fridge and enjoyed with ice cream, pancakes, or yogurt.
Ample Whipped Cream: This recipe intentionally yields a generous amount of whipped cream. This is fantastic for ensuring full coverage on your cake and provides plenty of extra for decorative piping on top, allowing you to create beautiful swirls, dollops, or borders for a truly professional finish.
Mastering Cake Splitting: Splitting a cake horizontally can be a little tricky if you’re new to it, but here’s a foolproof tip: Gently insert a long skewer or even several toothpicks around the cake at the desired height for your split. Use these as a guide for your long serrated knife. Rest the knife on the skewer/toothpicks as you carefully cut around the cake, rotating it until you’ve cut all the way through. This technique helps ensure perfectly even layers every time.
The Indispensable Cake Lifter: Even if you’re an occasional baker, investing in a cake lifter is highly recommended. This broad, flat spatula is a game-changer for gently transferring delicate cake layers from cooling racks to your cake plate, and for carefully placing split layers on top of each other. Beyond cakes, it doubles as a large spatula and can even serve as a bench scraper, making it a truly versatile and valuable tool in any kitchen. You can often find them in the cake decorating aisle of craft stores or kitchenware shops.
