Mastering the Crunch: The Ultimate Pepperidge Farm Chesapeake Cookie Copycat Recipe
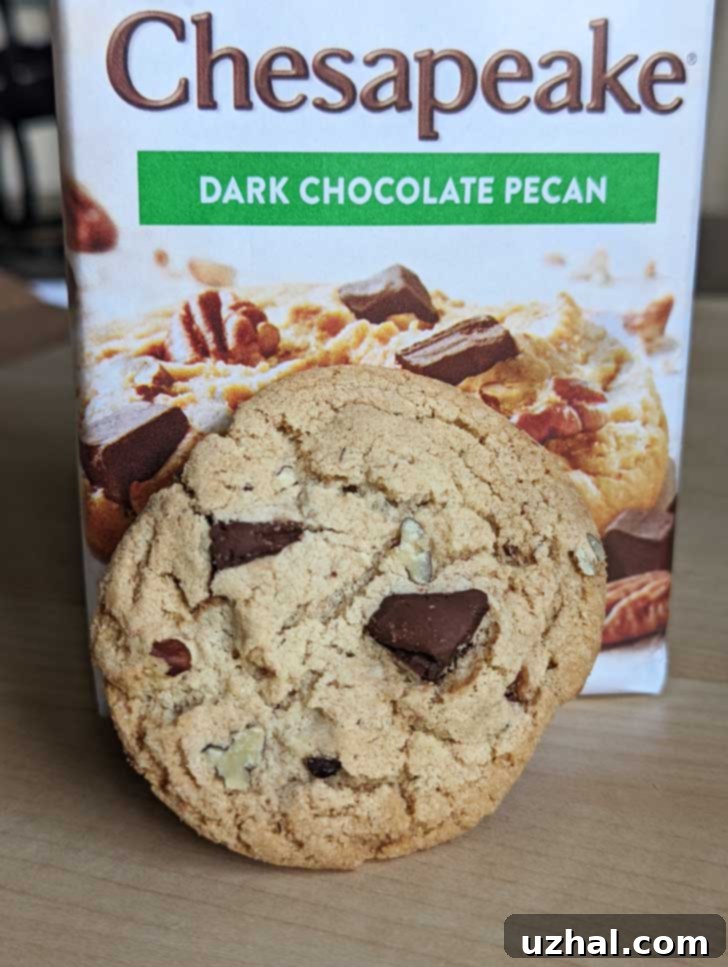
For generations, Pepperidge Farm cookies have held a special place in our hearts and pantries. Originally known for their sophisticated, European city-inspired names like Vienna, Milano, and Brussels, these cookies evoked a sense of luxury and refined taste. This reputation for being the “fancy” cookie persisted, but over time, Pepperidge Farm also embraced a more comforting, “homemade-but-better” aesthetic with cookies named after beloved American locales, such as Sausalito and Chesapeake. These newer additions offered a different style: cookies that felt familiar, yet distinctly superior to anything you could bake at home. Or so I believed. For years, I resisted the temptation to discover the truth, to compare the iconic store-bought experience with a homemade rendition. Today, that resistance ended. I purchased a bag of Pepperidge Farm Chesapeake Dark Chocolate & Pecan Cookies and embarked on a culinary quest to create the perfect Chesapeake copycat recipe, aiming to uncover if homemade could truly rival the original.

The Legacy of Pepperidge Farm and the Chesapeake Cookie
The story of Pepperidge Farm begins with its founder, Margaret Rudkin, who, while traveling on The Queen Mary, found inspiration in the elegant pastries and biscuits of Europe. This journey led to the naming of her early cookies after cities like Vienna and Milano, establishing a brand image steeped in sophistication. These were the cookies you’d bring out for special occasions, the epitome of a gourmet treat. However, as the brand evolved, it smartly expanded its range to include cookies that felt more accessible and homestyle, yet still retained that undeniable Pepperidge Farm quality. The Sausalito and Chesapeake varieties perfectly embody this shift, offering a more rustic, comforting appeal with rich, indulgent flavors like dark chocolate and toasted pecans. The Chesapeake cookie, in particular, captured the essence of a premium chocolate chip cookie with a distinctive lightness and crispness that made it stand out from the crowd.
Copycat Recipe Evolution and Key Adjustments
Developing a successful copycat recipe is often a journey of trial and error, and my Chesapeake cookie quest was no exception. While a decent copycat recipe already existed, I found myself making several refinements over time to truly capture the essence of the original. Initially, I experimented with a blend of half shortening and half butter, a common technique for achieving specific textures in baking. However, through further testing, I discovered that I could achieve an equally fantastic texture using only unsalted butter. This simplifies the ingredient list and often enhances the flavor profile, which is why the current recipe now confidently calls for a full cup of unsalted butter.
A crucial element for consistency and precision, especially in baking, is weighing your ingredients. I continue to strongly recommend weighing the flour for the best possible results, as volume measurements can vary significantly. The technique for combining ingredients remains consistent: cream the butter until fluffy, then incorporate the egg and vanilla until the mixture is smooth and creamy. Following this, the granulated sugar, brown sugar, and dry ingredients (baking powder, baking soda, salt, and flour) are gradually added. This specific method, where sugar is added with the dry mixture rather than creaming all the sugars with the butter, is intentional. It ensures there’s more undissolved sugar in the dough, which plays a vital role in creating minute air pockets. These air pockets are essential for replicating the airy, crispy structure that is characteristic of the beloved store-bought Pepperidge Farm cookies.

Texture and Flavor Compared to the Originals
From the moment I examined the original Pepperidge Farm Chesapeakes, I had a strong suspicion that replicating their ethereal lightness would be the biggest challenge. Indeed, the store-bought cookies are renowned for being extraordinarily light and delicately airy, practically crumbling apart with every bite. Their texture bears a striking resemblance to Swedish Dream Cookies, a light and crisp variety. This observation is particularly interesting when considering the leavening agents used. The Canadian version of Sausalitos (a similar cookie) lists ammonium carbonate, while the USA version uses cream of tartar. While I frequently use cream of tartar in my baking, it has never produced cookies with *that* intense level of lightness. Whatever proprietary method or ingredient Pepperidge Farm employs, their ability to achieve such a uniquely delicate texture is truly remarkable and remains a benchmark for cookie perfection.
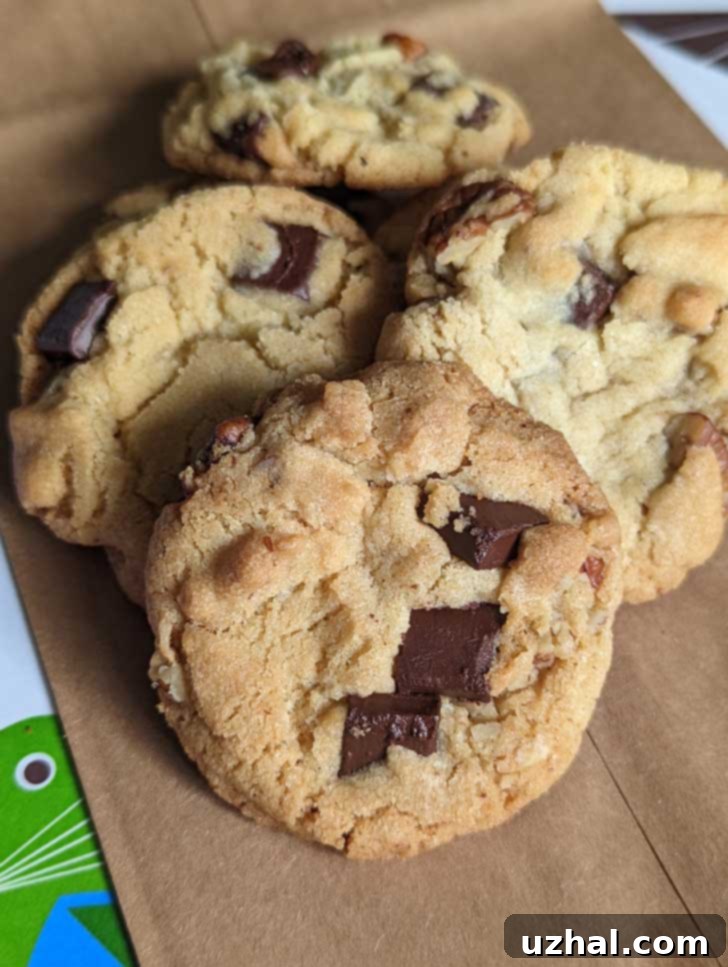
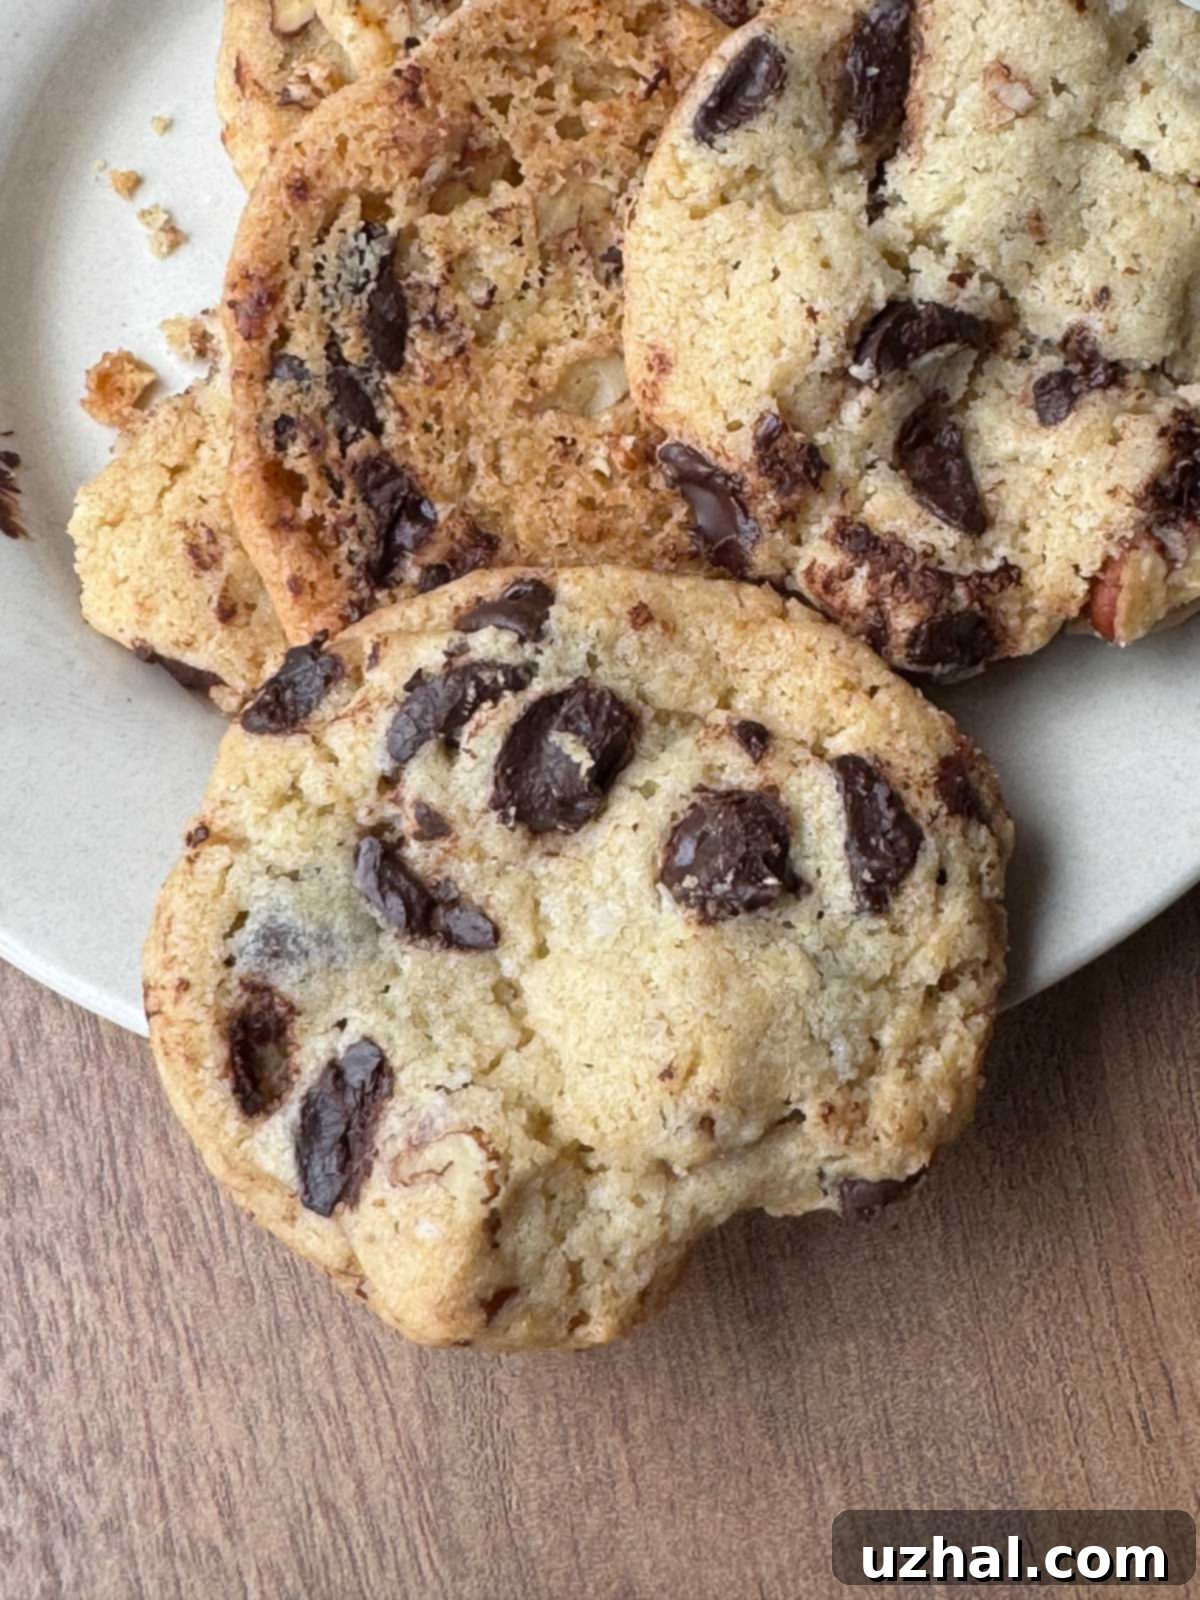
However, the homemade copycats hold their own beautifully. While they may not reach the exact same level of spectacular lightness as the originals, they are undeniably crunchy, possess a light texture, and are bursting with delicious pecan and vanilla flavors, perfectly complemented by rich dark chocolate. Where the copycats truly shine is in their flavor profile. I must admit, the originals, despite their textural brilliance, tend to leave a subtle lingering aftertaste, which I now suspect comes from the cream of tartar. The homemade version, by contrast, offers a cleaner, more pure flavor that allows the high-quality chocolate and toasted pecans to truly stand out. An added bonus of baking them yourself? The freedom to be as generous as you desire with the chocolate chunks in each cookie! The image directly above this paragraph showcases my most recent batch, baked in December 2024, using a combination of baking soda and cream of tartar, yielding fantastic results.

Gluten-Free Pepperidge Farms Chesapeake Copycats and Customization
Ultimately, my taste test revealed that both the packaged Pepperidge Farm Chesapeakes and my homemade copycats offer a delightful cookie experience, each with its own merits. However, one significant advantage of having a reliable homemade copycat recipe is the ability to easily adapt it to dietary needs, such as making them gluten-free. I successfully tested a second batch using King Arthur Measure for Measure gluten-free flour, and the results were impeccable. It’s important to note that while it’s a “measure for measure” flour, I didn’t strictly use it cup-for-cup as a direct substitute for wheat flour in terms of volume.
For the gluten-free version, I found that only 300 grams of flour were needed to achieve the ideal dough consistency. Just like with conventional wheat flour, gluten-free flours can vary considerably in their weight per volume. Therefore, for the most consistent and best baking outcomes, always weigh 300 grams of your chosen gluten-free flour. For context, with King Arthur’s Measure for Measure, I typically find that one cup weighs around 140 grams, meaning 300 grams would be approximately 2 cups and 2 tablespoons. This adaptability ensures that everyone can enjoy these fantastic dark chocolate and pecan cookies, regardless of their dietary requirements. Furthermore, once you’ve perfected the Chesapeake copycats, you can easily venture into making Sausalito copycats by simply swapping the dark chocolate for milk chocolate and the pecans for macadamia nuts.
Baking Techniques for Optimal Results: Chilling, Cracks, and Evenness
Baking cookies effectively often involves understanding the nuances of dough preparation and oven dynamics. I’m generally a strong advocate for chilling cookie dough, as it often deepens flavors and improves texture. However, for these particular Chesapeake copycats, I initially observed that baking the dough immediately after preparation tended to yield more evenly baked cookies—crispy throughout. When dough balls were chilled and baked later, there was a tendency to get cookies with delightfully crispy edges but softer centers. To counteract this effect when baking chilled dough, you might need to adjust your oven temperature, reducing it to 350°F or even as low as 325°F, and then baking them for a slightly longer duration. This slower bake helps achieve a more uniform crispness.
Update: This initial observation was primarily true for the version of the recipe that incorporated shortening. After extensive testing with the all-butter version, I can confidently say that, as is often the case with butter-based cookie doughs, chilling the dough significantly improves nearly every aspect: the overall texture, the depth of flavor, and the consistency of browning. So, for the current all-butter recipe, chilling is now a recommended step for superior cookies. Another helpful tip for achieving those desirable cracks and crevices on the surface of your cookies, mimicking the homemade appearance of the originals, is to chop your chocolate rather than using pre-made chunks. While I often use Aldi Belgian chunks and don’t always bother chopping them, manually chopping the chocolate into varying pieces and shards helps create more irregular pockets within the dough. These air pockets expand during baking, resulting in more pronounced cracking and a more rustic, inviting texture.
Essential Ingredients for Chesapeake Cookie Copycats
Crafting the perfect Chesapeake copycat cookie relies heavily on the quality and precise measurement of each ingredient. Here’s a detailed look at the key components:
- Butter: Unsalted butter is crucial. Brands like KerryGold or Land O’ Lakes are excellent choices for their high-quality flavor and fat content, which contribute significantly to the cookie’s rich taste and tender crumb. Ensure it’s at a cool room temperature and softened for optimal creaming.
- Egg: Just one large egg provides the necessary binding and moisture for the dough.
- Vanilla: A good quality vanilla extract enhances all the other flavors, adding warmth and depth to the cookie.
- Baking Soda: This acts as a leavening agent, contributing to the cookie’s spread and crispness.
- Baking Powder or Cream of Tartar: You have an option here. While baking powder is standard, trying 1 ½ to 2 teaspoons of cream of tartar can make the cookies noticeably puffier and lighter, more akin to the unique texture of the originals. Be aware that, similar to the store-bought versions, you might detect a slight tang from the cream of tartar.
- Salt: Essential for balancing the sweetness and enhancing the overall flavor profile of the chocolate and pecans.
- Light Brown Sugar: Measured by weight for accuracy, brown sugar adds moisture, chewiness, and a subtle molasses flavor.
- Granulated Sugar: Also measured by weight, granulated sugar contributes to the crispness and spread of the cookies.
- All-Purpose Flour: For best results, weighing your flour is paramount. I’ve had great success with bleached Gold Medal flour lately, where 2 ¼ cups weigh approximately 290 to 300 grams. In contrast, unbleached King Arthur flour tends to be denser, weighing around 315 grams for the same volume. Since this dough is designed to be on the drier side, I highly recommend aiming for 300 grams of whatever all-purpose flour you use to achieve the ideal consistency.
- Chocolate Chunks: Dark chocolate chunks are a must for that classic Chesapeake flavor. Aldi’s Belgian Chocolate Chunks are an excellent, high-quality, and affordable option that melts beautifully.
- Pecans: Toasted pecans add a wonderful crunch and nutty depth. Costco is often a great source for reasonably priced, good quality pecans. Toasting them before adding them to the dough significantly enhances their flavor.
- The Farm Brownies aka Bake Ahead Brownies
- Fanny Farmer Chocolate Chip Cookies
- Saucepan Chocolate Cake
- Gluten-Free Graham Crackers
- Cup4Cup Gluten Free Flour Review
Recipe
Pepperidge Farm Chesapeake Copycats
Anna
Pin Recipe
Ingredients
- 2 sticks unsalted butter, cool room temp, cut softened (230 grams)
- 1 large egg
- 1 teaspoon vanilla
- ¾ cup granulated sugar (150 grams)
- ¾ cup brown sugar, tightly packed (160 grams)
- ½ teaspoon baking powder
- ¾ teaspoon baking soda
- 1 teaspoon salt
- 2 to 2 ¼ cups all purpose flour, weigh for best results** (300 grams)
- 1 ½ cups dark chocolate chunks (Aldi)
- 1 ½ cups toasted pecans, coarsely chopped
Instructions
-
Preheat oven to 375 degrees F.
-
In the bowl of a stand mixer, using the whisk attachment, beat the cool butter until creamy. Add the egg and vanilla and continue to beat until creamy. It may look a bit curdled at first. Keep beating for about 2 minutes. You may need to beat it even longer if your egg was cold. It should look smooth and creamy.
-
In a second bowl, whisk together the sugars, baking powder, baking soda, salt and flour until evenly mixed. Take your time whisking because the key word is “evenly”.
-
Add flour mixture to the egg and butter mixture. Return mixer to mixer stand. Using the paddle, beat on medium until evenly blended but still rather crumbly. Empty onto a pastry mat and knead gently until dough comes together. Knead in the chocolate chips and nuts. If using gluten-free dough, you should be able to just stir in the chips and nuts, but the all-purpose dough is a little dryer.
-
Shape dough into balls that are about 1 inch in diameter or about 30 to 32 grams each. Update: You can make them even smaller. The actual cookies are around 26 grams. My new favorite method is to divide the dough into 4 parts, roll each into a cylinder, wrap in plastic and chill, then cut into rounds.
-
Arrange the dough balls (or rounds) about 1 ½ to 2 inches apart and bake one sheet at a time (or you can do two sheets if you prefer) for about 12 minutes or until cookies appear golden and cracked. Update — Bake longer if the cookies do not appear lightly browned around the edges. They will be slightly soft when you pull them from the oven and need time to cool and crisp.
-
Let cool on the baking sheet for about 3 minutes, then carefully transfer to a wire rack to cool and crisp.
Convection Baking
-
This dough works really well in a convection oven. If baking in a convection oven, bake at about 330 for 12 minutes or however long it takes in your oven (I use a Breville toaster) for them to be fully baked without being overly brown.
Notes