Master the Art of Walnut Pie: An Easy, Irresistible Recipe for Every Occasion
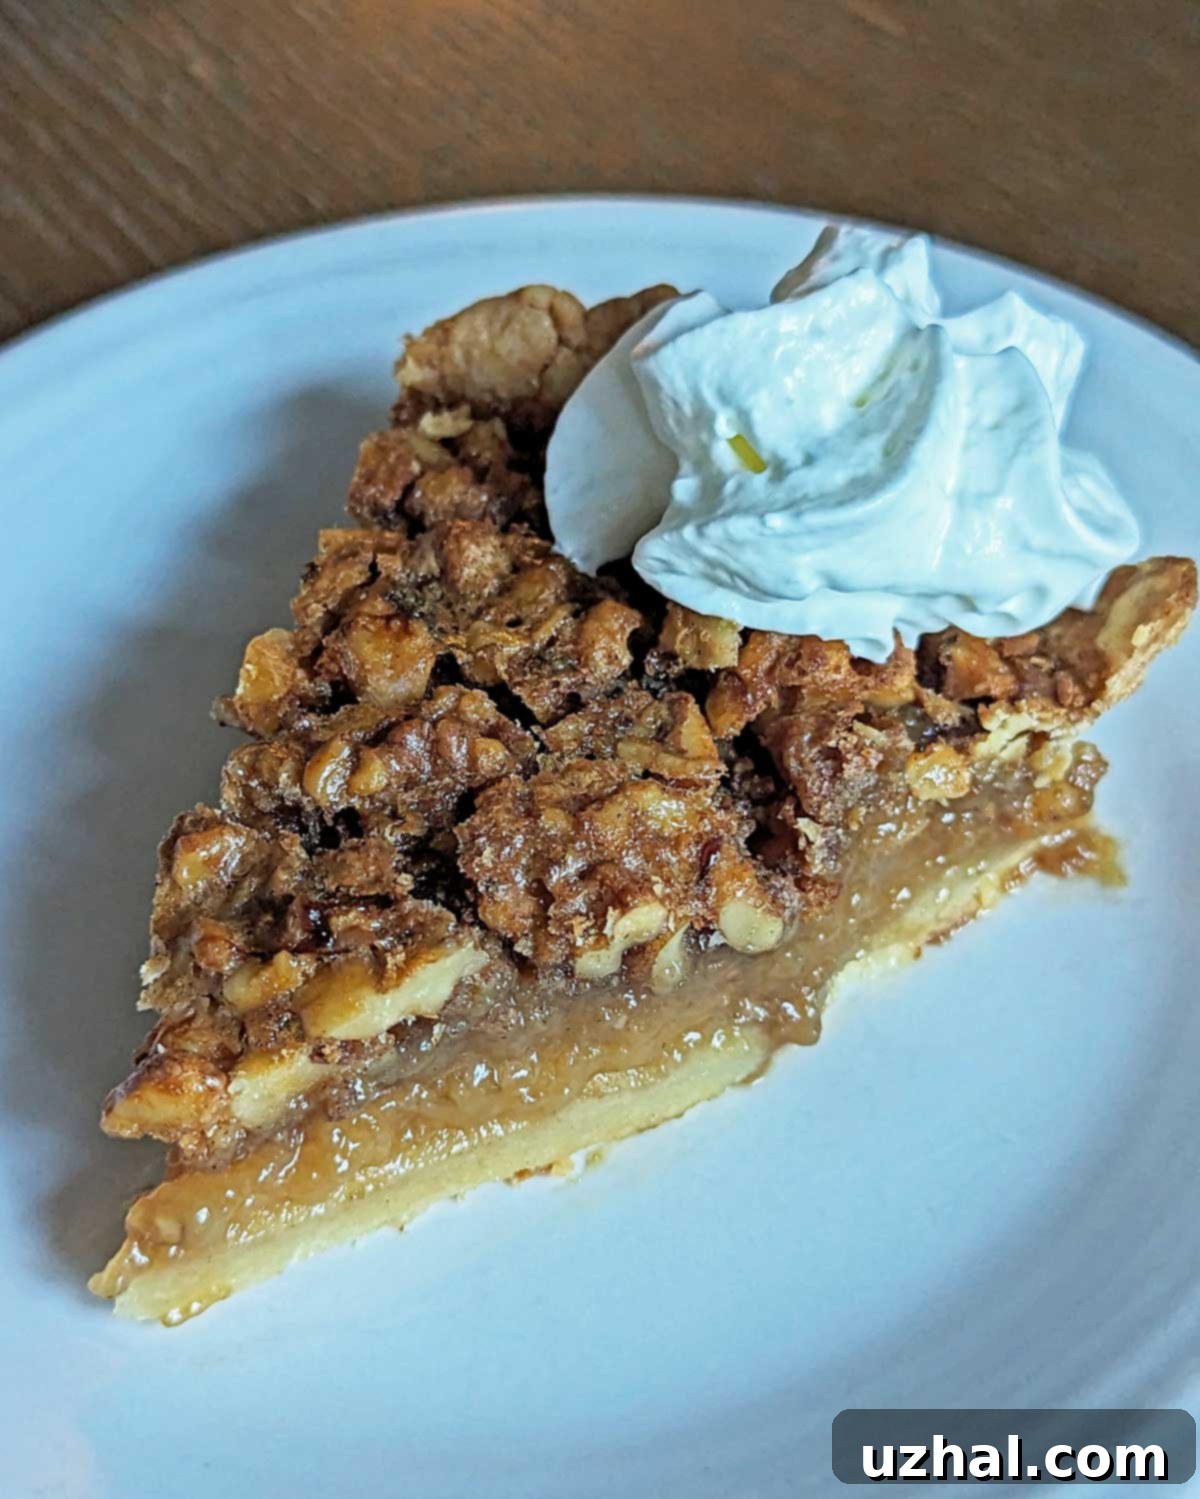
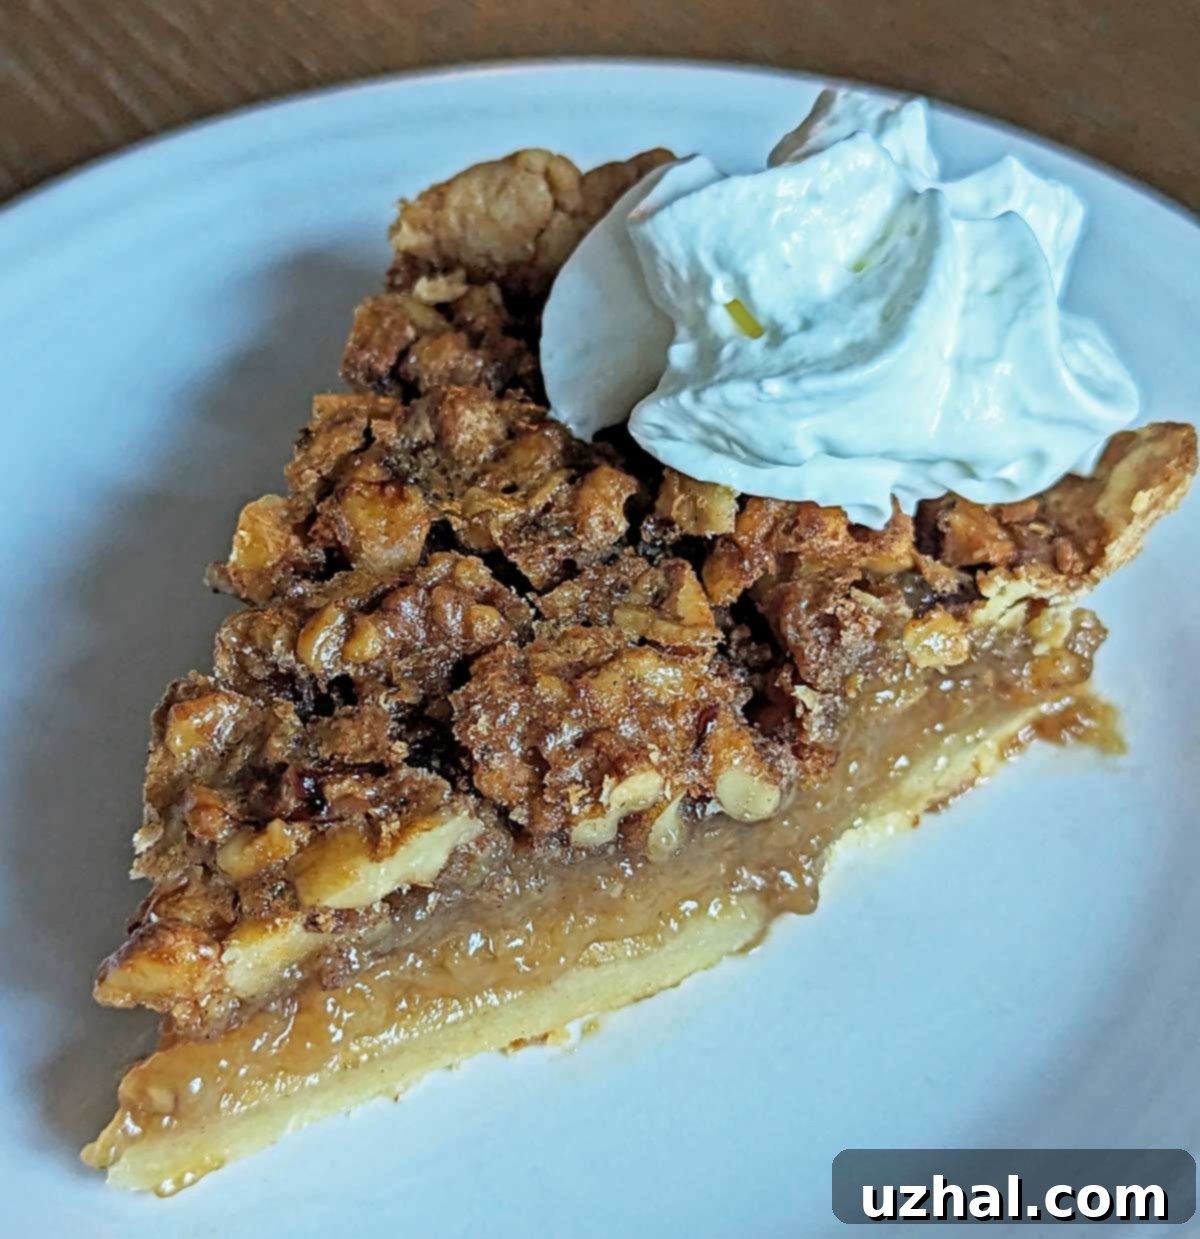
The delightful charm of a homemade pie often sparks nostalgic conversations. Recently, Dolly Parton’s famous walnut pie recipe cropped up, instantly landing one of her cookbooks on my Christmas wishlist. This delightful mention, however, also reminded me of another exceptional walnut pie recipe I’ve wanted to try for over fifteen years. Hailing from “Private Collection,” a treasured cookbook by the Junior League of Palo Alto, this particular recipe finally made its way into my kitchen this past weekend. I justified the baking spree with the simple excuse that “Thanksgiving is just around the corner,” but truth be told, we couldn’t wait! The pie was so enticing, we cut into it almost immediately. Now, I’m left with the sweet dilemma: should I freeze the remaining slices to serve on Thanksgiving Day, or surrender to temptation and let my family devour the rest? Here’s a peek at a slice. Full disclosure: I had a slight mishap with the edge, but a dollop of whipped cream gracefully came to the rescue!

Why This Walnut Pie Recipe Will Become Your Go-To
If you’re a fan of the classic pecan pie but are looking for a delightful twist, walnut pie offers a similar, comforting experience with its own unique charm. This particular recipe stands out for its straightforward approach and incredibly satisfying results. Despite my own minor baking misadventure with the crust’s edge – which was entirely my fault, not the recipe’s – the process itself is remarkably easy. It’s an ideal dessert for both seasoned bakers and beginners eager to impress.
The Foundation: Crafting the Perfect Pie Crust
A great pie begins with a great crust. For this walnut pie, you have the flexibility to choose between a homemade crust or a high-quality store-bought roll-and-bake variety. The beauty of this recipe is that there’s absolutely no need for parbaking, saving you an extra step and simplifying the preparation process. For this particular pie, I opted for a homemade crust, and while its appearance might not have been picture-perfect (again, my recklessness in the kitchen!), it was undeniably flaky and rich with buttery flavor. I quickly forgave myself, as the taste more than made up for any visual imperfections. If you decide to go the homemade route, ensure your butter is very cold and work quickly to achieve that desired flakiness. For store-bought crusts, simply follow the package directions for bringing it to room temperature before rolling it out and fitting it into your 9-inch deep-dish pie plate. Keep it chilled until you’re ready to pour in the filling to prevent it from softening too much.
The Star of the Show: A Silky-Smooth, Flavorful Filling
The heart of any great pie is its filling, and this walnut pie truly shines in this department. The filling boasts a wonderfully smooth texture that isn’t overly runny, striking the perfect balance between richness and a slight chewiness from the walnuts. The recipe calls for a harmonious blend of cinnamon and vanilla, and I can’t stress enough how crucial both flavorings are. They elevate the taste profile, cutting through the sweetness of the corn syrup and adding a layer of warmth and complexity that is utterly irresistible. Without them, the pie would lack its signature depth.
Speaking of corn syrup, the recipe specifies one cup, but here’s a pro tip from my experience: I always weigh corn syrup. It’s surprisingly easy to accidentally use a little too much or too little when measuring by volume, depending on how accurately you fill your cup. The ideal amount, based on my successful attempts, is approximately 300 grams. This precise measurement helps achieve that perfect consistency and sweetness. Combine this with dark brown sugar for a deeper molasses note, large room-temperature eggs for structure, and melted unsalted butter for unmatched richness, and you have a filling that is truly outstanding. The best part? There’s no need to toast the walnuts beforehand. Simply mix all the ingredients in a bowl – it’s that quick and easy!
Baking Your Walnut Pie to Perfection
While the preparation is swift, patience is key when it comes to baking and cooling. This pie requires about 50 minutes in the oven, followed by a considerably longer cooling period to allow the filling to set properly. For optimal results and to prevent a soggy bottom crust, I highly recommend placing a heavy-duty, rimmed baking pan in the oven while it preheats to 375 degrees F. This creates a hot surface that immediately starts cooking the bottom of your pie crust, ensuring it gets beautifully golden and crisp.
Once the oven and pan are hot, carefully place your pie dish onto the preheated baking sheet, ideally on the lowest rack of the oven. This placement helps achieve even baking and ensures the bottom crust cooks thoroughly. After about 30 minutes, it’s crucial to check on your pie. The edges of the crust, especially in a glass or ceramic dish, can brown much faster than the rest of the pie. If you notice the edges are getting too dark, don’t hesitate to shield them with strips of aluminum foil. This simple step can save your crust from becoming burnt. The pie is done when the filling is just slightly jiggly in the center when the dish is gently shaken, and the edges are set. Overbaking can lead to a dry filling, so keep a close eye on it during the final stages.
Glass vs. Metal Pie Dish for Walnut Pie: A Critical Baking Consideration
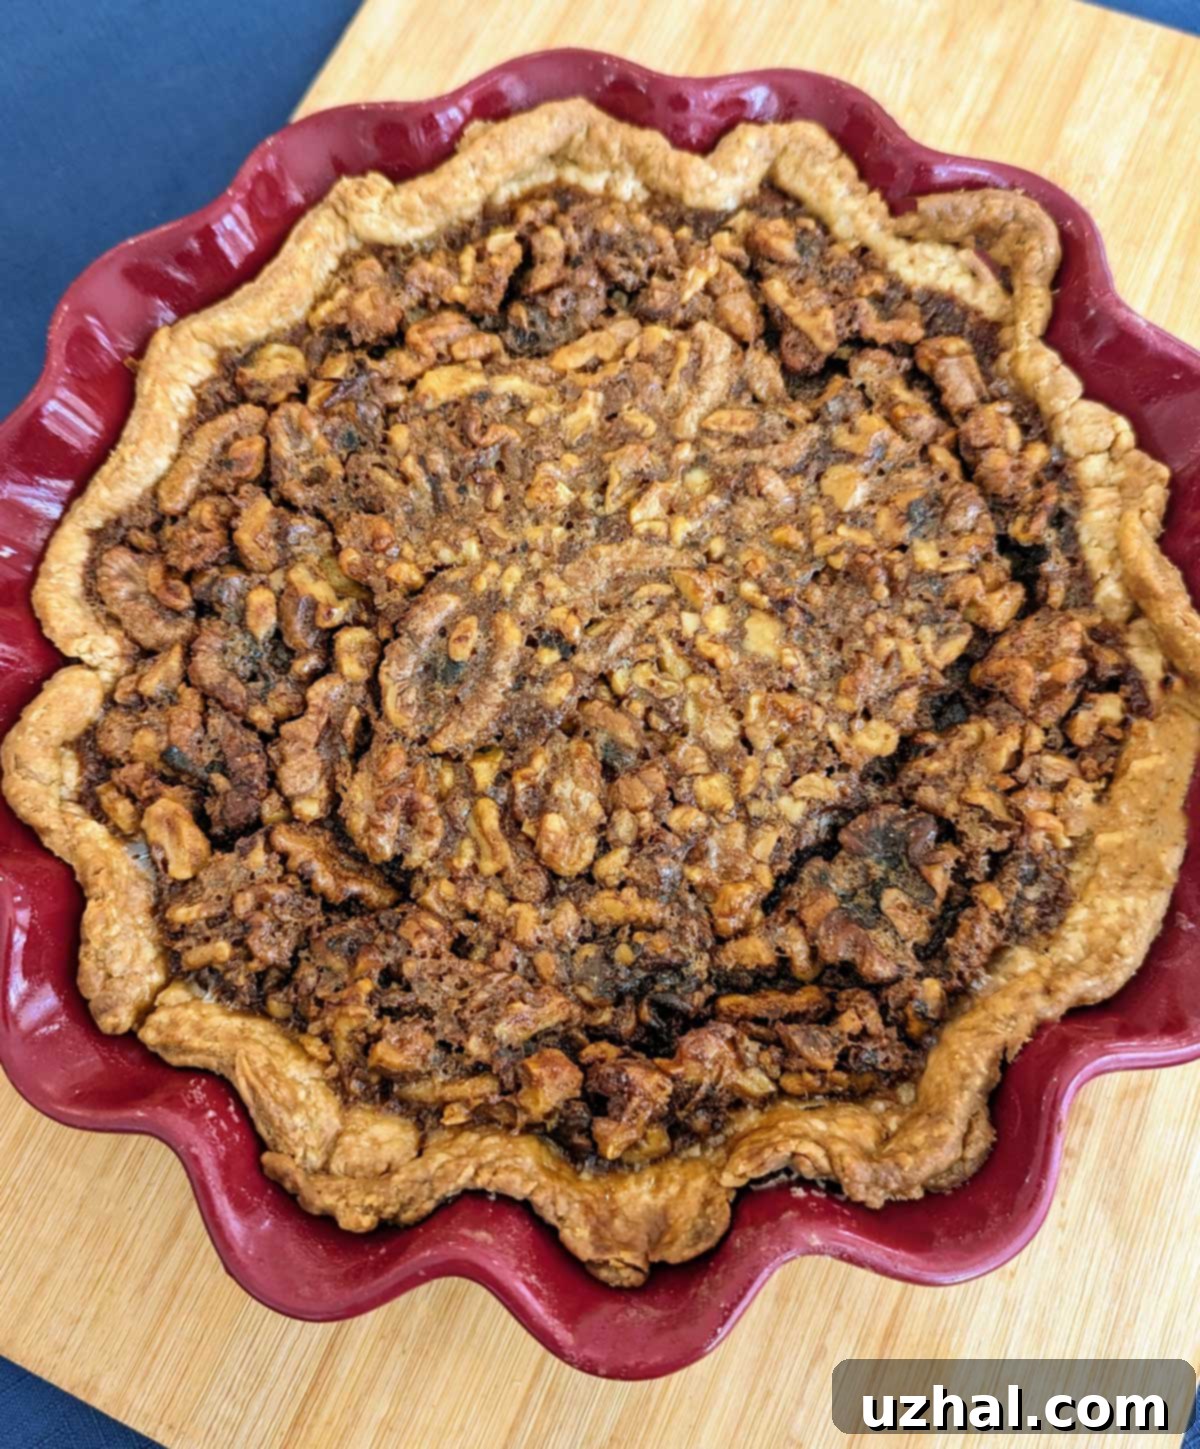
Choosing the right pie dish is more important than many realize, especially when it comes to delicate crusts. Just as I learned the hard way, you need to exercise extra caution when using a glass or ceramic pie dish for your walnut pie. These materials conduct heat differently than metal, often causing the crust to brown a little quicker. In my recent bake, I switched from a metal pan, which I’d been using regularly, to a glass one. I neglected to shield the edges or even check for browning, leading to an over-baked crust edge. I’m reluctantly sharing this picture so you can learn from my mistake and see precisely what not to do!

To avoid a similar fate, if you’re using a glass or ceramic dish, start checking the crust’s edges after about 20-25 minutes of baking. If they’re browning faster than the center, gently create a foil ring to cover just the edges, reflecting heat away and allowing the rest of the pie to catch up. Metal pans tend to distribute heat more evenly and conduct it faster to the bottom crust, which can be beneficial for preventing a soggy bottom. However, they also require vigilance to ensure the overall pie doesn’t cook too quickly. Regardless of the material, always monitor your pie and be prepared to make adjustments, such as using a foil shield or even reducing the oven temperature slightly if it’s browning too fast. A little attention during baking ensures a perfectly golden, evenly cooked crust every time.
Cooling, Chilling, and Serving Your Delicious Walnut Pie
Once your walnut pie comes out of the oven, resist the urge to slice into it immediately. Allowing the pie to cool for several hours at room temperature is absolutely crucial. During this time, the filling continues to set and firm up. After it has cooled sufficiently, transfer it to the refrigerator to chill for at least 3 hours, or even overnight. Chilling helps the filling fully set, ensuring clean, beautiful slices that hold their shape perfectly. You can bring the pie back to room temperature before serving, or enjoy it chilled – both are equally delicious depending on your preference.
This walnut pie is truly versatile. Serve it simply as is, or enhance it with a dollop of freshly whipped cream, a scoop of vanilla bean ice cream, or a light dusting of powdered sugar. It’s perfect for holiday gatherings, Sunday dinners, or simply as a comforting treat on a chilly evening. And about that freezing dilemma? Yes, this walnut pie freezes beautifully! Once completely cooled and chilled, wrap individual slices or the whole pie tightly in plastic wrap, then in aluminum foil. It can be frozen for up to 2-3 months. Thaw in the refrigerator overnight and let it come to room temperature before serving for the best texture and flavor. This makes it an excellent make-ahead dessert for busy holiday seasons.
Conclusion: A Timeless Dessert for Any Occasion
This walnut pie recipe from the Junior League of Palo Alto’s “Private Collection” cookbook has quickly become a cherished favorite. Its straightforward instructions, combined with the rich, comforting flavors of walnuts, cinnamon, and vanilla, make it an incredibly rewarding bake. Whether you’re an experienced baker or just starting out, this recipe promises a dessert that’s not only easy to achieve but also deeply satisfying and universally loved. So go ahead, whip up this delightful walnut pie, share it with loved ones, and savor every single bite. Happy baking!
- Junior League of Palo Alto Sour Cream Coffee Cake
- Palo Alto Chocolate Cake with Coffee Frosting
- Happy National Coffee Cake Day!
- Junior’s Cheesecake Recipe
- Crisco Chocolate Cream Pie
Recipe

Walnut Pie
Anna
Pin Recipe
Ingredients
- 1 9-inch unbaked pie shell or a roll-and-bake crust deep dish
- 3 large eggs, bring to room temperature
- ½ cup dark brown sugar (100 grams)
- 1 cup light corn syrup (ideally 300 grams for best consistency)
- 4 tablespoons unsalted butter, melted (56 grams)
- 1 teaspoon cinnamon
- ¼ teaspoon salt, plus an extra pinch if using unsalted butter
- 1 teaspoon vanilla extract
- 1 cup broken English walnuts or walnut halves (a heaping cup)
Instructions
-
If using a store-bought roll-and-bake crust, allow it to come to room temperature. Carefully roll it out and fit it into a 9-inch deep-dish pie plate. Keep the prepared crust chilled in the refrigerator until you’re ready to fill it.
-
Preheat your oven to 375 degrees F (190°C). Place a heavy-duty, rimmed baking pan (such as a cookie sheet or jelly roll pan) in the oven and allow it to heat along with the oven. This helps achieve a perfectly cooked bottom crust.
-
In a large mixing bowl, whisk or beat the room-temperature eggs until well combined. Gradually whisk in the dark brown sugar, light corn syrup (preferably measured by weight at 300 grams), melted butter, cinnamon, salt, and vanilla extract. Mix until smooth and well incorporated. Finally, gently stir in the walnuts, ensuring they are evenly distributed.
-
Carefully pour the prepared walnut filling into your chilled pie shell.
-
Place the pie onto the preheated rimmed baking sheet and bake on the lowest rack of the oven at 375 degrees F (190°C) for approximately 50 minutes. After about 30 minutes of baking, check the pie. If the edges of the crust are browning too quickly, carefully shield them with strips of aluminum foil to prevent burning. The pie is done when the filling is just slightly jiggly in the center when the dish is gently shaken, and the edges are set.
-
Remove the pie from the oven and allow it to cool completely at room temperature for several hours. Once cooled, transfer it to the refrigerator to chill for at least 3 hours (or ideally overnight) to help the filling set firm. You can bring it back to room temperature before serving, or enjoy it chilled.
Nutrition
