Indulge in the Ultimate Thick Cream Cheese Brownies: A Decadent, Irresistible Recipe
It’s hard to believe how long it took to share an updated version of these truly incredible Thick Cream Cheese Brownies. This recipe holds a special place in my heart, evoking cozy memories of unexpected snow days and the simple joy of baking. The first time I ever whipped up a batch of these fudgy delights was during a rare Texas snow day, a delightful anomaly that turned everyday routines into memorable, hygge-filled moments. Now, as “Fuzz” navigates the bustling, snowy streets of Chicago – where a snow day means a determined trek through slush and multiple forms of transportation – the allure of staying home to bake something comforting and utterly delicious has only grown stronger. These brownies are more than just a dessert; they are a celebration of those precious moments of warmth and indulgence. Whatever the occasion may be, whether it’s a quiet afternoon at home, a gathering with loved ones, or simply a craving for something extraordinary, this cream cheese brownie recipe is an absolute must-try for any true cream cheese lover. It’s a testament to the perfect harmony between rich chocolate and a tangy, luxurious cream cheese swirl, promising an experience that is both deeply satisfying and wonderfully memorable.

Mastering the Art of Thick Cream Cheese Brownies
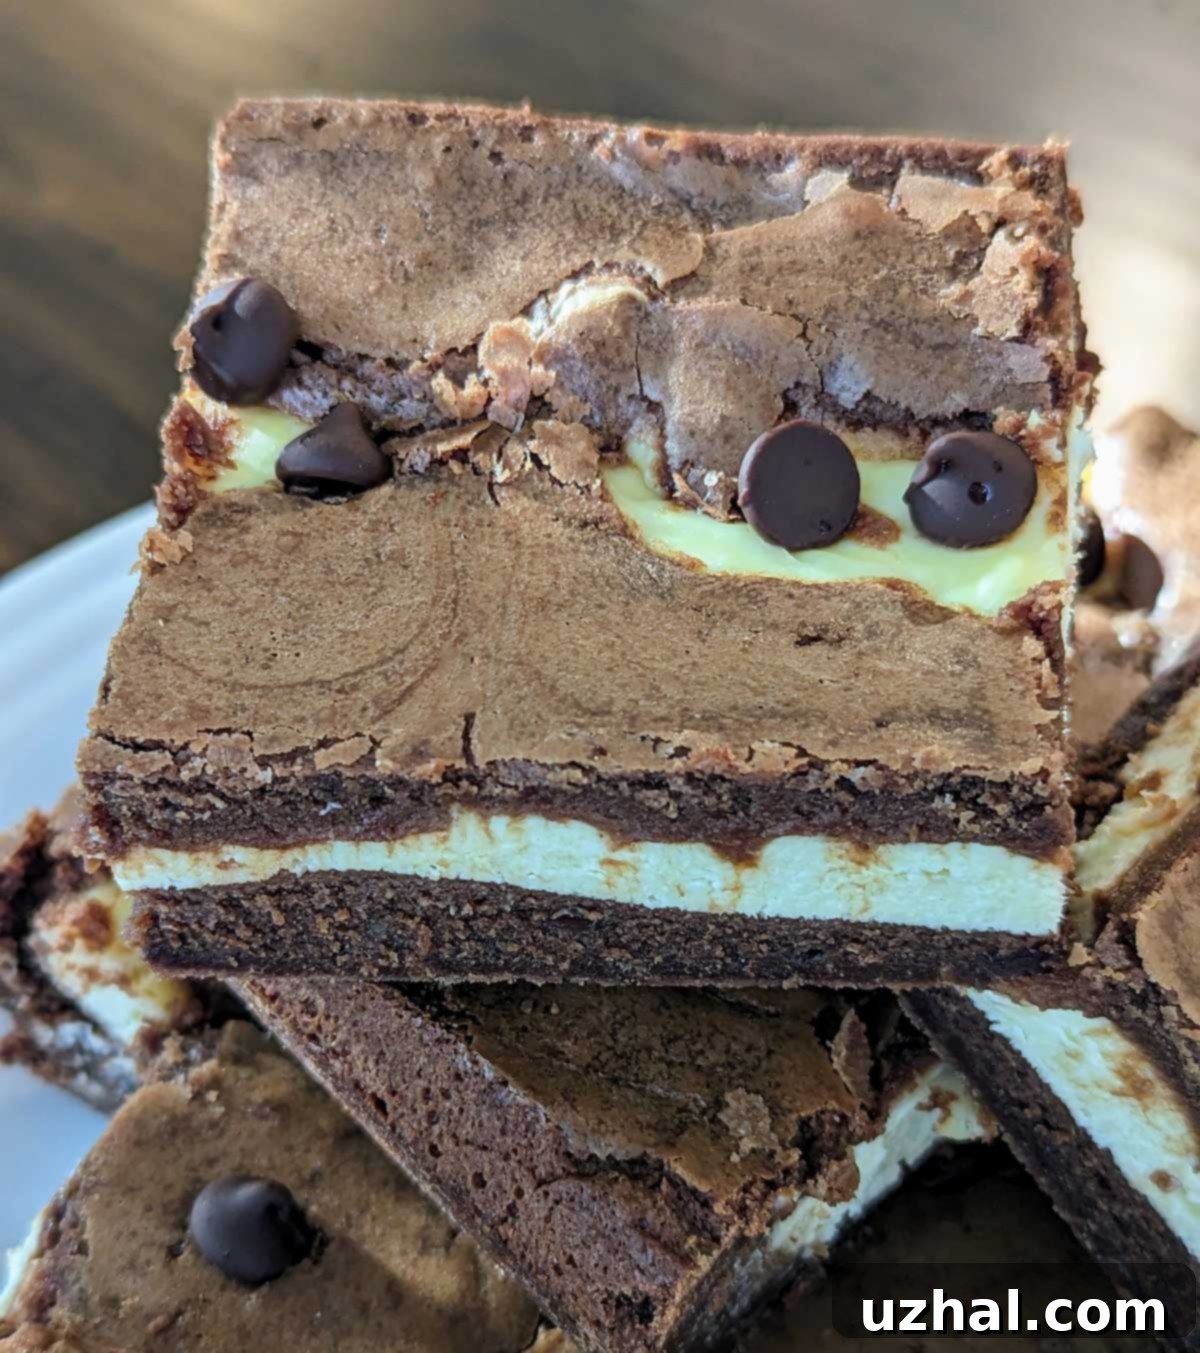
Our quest for the perfect cream cheese brownie led us to adapt this masterful recipe from the renowned Tate’s Bake Shop cookbook, a trusted source for classic baked goods. What sets these particular brownies apart isn’t just their impressive height and generous portion, typically made in a 9-inch square pan, but the audacious amount of cream cheese dedicated to creating that signature, luscious layer. We call for a full pound of cream cheese, ensuring every bite delivers a substantial, creamy contrast to the rich chocolate. Unlike many overly sweet versions that can overwhelm the palate, our cream cheese filling strikes a beautiful balance. It contains only one large egg and a mere ¼ cup of granulated sugar. This intentional reduction in sweetness allows the full, delightful tartness of the cream cheese to shine through, creating a sophisticated flavor profile that truly elevates the brownie experience. The small amount of egg is crucial; it acts as a gentle binder, keeping the cream cheese mixture from browning too much during baking and, more importantly, preventing any undesirable “eggy” taste. The result is a thick, velvety smooth, and perfectly tangy cream cheese layer that complements the dense, fudgy chocolate brownie base in the most exquisite way imaginable.

The Convenient Loaf Pan Version: A Smaller Batch for Personal Indulgence
While the full 9-inch square pan yields a generous batch, perfect for sharing at parties, holiday gatherings, or simply enjoying over several days, we understand that sometimes you crave the irresistible taste of these brownies without committing to an entire pan. Perhaps you’re baking for one or two, testing out the recipe for the first time, or simply prefer a smaller, more manageable quantity. For those occasions, we’ve thoughtfully provided a halved version of the recipe, perfectly scaled for a 9×5 inch loaf pan. This miniature adaptation allows you to savor the same rich, tangy, and fudgy experience in a more personal format. I genuinely hope you’ll adore these brownies as much as I do, in whatever size you choose to make them! Do note that while the full batch version is thoroughly tried and tested and detailed in the recipe card below, the loaf pan times are less extensively tested. As a result, baking times may vary slightly, so I recommend keeping a close eye on your brownies as they bake and performing a doneness test a little earlier than the suggested time. It’s a small adjustment for a huge reward.
Thick Cream Cheese Brownies in a Loaf Pan: Ingredients for a Perfect Petite Batch
When preparing the smaller loaf pan version, precision with ingredients is still key to achieving that signature flavor and texture. Here’s what you’ll need:
For the Brownie Batter:
¾ cup semisweet chocolate chips
1 stick (4 oz total) salted butter** (room temperature is crucial for a smooth mixture)
¾ cups granulated sugar (approximately 150 grams, for balanced sweetness)
1 large egg plus 2 tablespoons egg, room temperature (remember to save the other 2 tablespoons for the cream cheese filling)
1 teaspoon vanilla extract (for depth of flavor)
½ cup all-purpose flour
⅛ teaspoon salt (enhances the chocolate flavor; use a generous amount if using unsalted butter)
For the Cream Cheese Filling:
8 oz cream cheese, softened (ensure it’s truly soft to avoid lumps)
Only 2 tablespoons granulated sugar (you can add a bit more if you prefer a sweeter filling, but this amount allows the cream cheese’s tang to shine)
½ teaspoon vanilla extract
2 tablespoons egg, room temperature (this is the other half of the egg from the brownie batter, ensuring no waste)
Directions for Baking Your Loaf Pan Cream Cheese Brownies
Let’s walk through the steps to create these delightful smaller-batch cream cheese brownies:
Step 1: Prepare Your Oven and Pan. Preheat your oven to a precise 350 degrees F (175°C). Proper oven temperature is vital for even baking. Next, prepare your 9×5 inch loaf pan by lining the inside with foil. This step is a game-changer for easy removal and clean-up. Once lined, spray the foil generously with cooking spray to prevent any sticking. If you prefer, parchment paper is also an excellent option; just ensure it extends slightly over the sides to create “handles” for lifting.
Step 2: Melt Chocolate and Prepare Filling. Gently melt the semisweet chocolate chips. This can be done in a saucepan over very low heat, stirring constantly, or in the microwave using short, 30-second bursts, stirring in between, until smooth. Once melted, set the chocolate aside to cool slightly. While your chocolate is cooling, take this opportunity to prepare your cream cheese filling. You’ll find detailed directions for the filling at the bottom of these instructions. Having it ready means a seamless assembly process.
Step 3: Mix the Brownie Batter. In a large mixing bowl, using an electric mixer, cream together the softened butter and granulated sugar until the mixture is light, fluffy, and pale. This step incorporates air, contributing to the brownie’s texture. Reduce your mixer speed to low, then gradually add the egg and the reserved 2 tablespoons of egg, ensuring each addition is fully incorporated before adding the next. Stir in the vanilla extract, followed by the slightly cooled melted chocolate. Finally, either by hand with a spatula or using the lowest speed of your mixer, gently beat in the all-purpose flour and salt until just combined. Be careful not to overmix the flour, as this can lead to tough brownies.
Step 4: Layer and Swirl. Scrape all but about ½ cup of your rich chocolate brownie batter into the prepared loaf pan. Using an offset spatula or the back of a spoon, smooth the batter evenly across the bottom of the pan. Next, carefully spread your creamy, tangy cream cheese filling over the chocolate layer, ensuring it’s distributed from edge to edge. Now, for the artistic touch: dollop the remaining ½ cup of chocolate batter over the cream cheese mixture. Take a table knife or a skewer and gently pull it through the layers of batter with a light, lifting motion. This technique creates beautiful, enticing marble swirls, making each slice a visual delight.
Step 5: Bake, Cool, and Chill for Perfection. Place your loaf pan on the center rack of your preheated oven. Bake for approximately 50 minutes. Since loaf pan times can vary, it’s wise to start checking a little earlier, around 45 minutes. The brownies are done when the edges are set, and a wooden skewer inserted into the chocolate portion (avoiding the cream cheese center) comes out with moist crumbs, not wet batter. Remove the brownies from the oven and immediately set the pan on a wire rack to cool completely. This slow cooling process is crucial for the brownies to set properly and achieve their optimal texture. Once fully cooled, the patience truly begins: chill the brownies in the refrigerator for a few hours, or ideally, overnight. Chilling allows the cream cheese layer to firm up beautifully, making for cleaner, more precise cuts and enhancing the overall fudgy texture and flavor. Trust me, these brownies are even more divine on Day 2, as the flavors meld and deepen.
Step 6: Slice and Serve. Once thoroughly chilled, lift the foil lining from the loaf pan, carefully transferring the entire brownie block to a cutting board. Gently peel back the foil from the sides. Using a sharp Chef’s knife, cut the brownies into your desired serving sizes. For the cleanest cuts, wipe your knife clean between each slice.
Cream Cheese Filling Directions: To prepare this luscious filling, combine the softened cream cheese and granulated sugar in a medium bowl. Using an electric mixer, beat them together until the mixture is light, fluffy, and smooth, with no lumps. Stir in the vanilla extract. Finally, add the egg. Lower the mixer speed to its lowest setting and beat the egg just until it is fully mixed into the cream cheese mixture. Be careful not to overmix once the egg is added.
- Oatmeal Coconut Chocolate Chip Cookies
- Old Baker’s Chocolate Chunk Cookie Recipe
- Easy and Good Oatmeal Raisin Cookies
- Milk Chocolate Brownies
- Thick & Crunchy Chocolate Chip Cookies with Corn Flakes
Recipe Card: Classic Thick Cream Cheese Brownies (9-inch Pan)

Thick Cream Cheese Brownies
Anna
Pin Recipe
Equipment
-
9-inch square pan
Ingredients
- 1 ½ cups semisweet chocolate chips (9 oz, use good quality for best flavor)
- 2 sticks salted butter (230 grams, room temperature)
- 1 ½ cups granulated sugar (300 grams)
- 3 large eggs, room temperature
- 2 teaspoons vanilla extract
- 1 cup all-purpose flour (130 grams, spooned and leveled)
- ¼ teaspoon salt (increase to a generous half teaspoon if using unsalted butter)
- Extra chocolate chips (optional, for sprinkling on top)
Cream Cheese Filling
- 1 pound cream cheese (softened to room temperature, very important)
- ¼ cup granulated sugar
- 1 teaspoon vanilla extract
- 1 large egg (room temperature)
Instructions
-
Preheat your oven to 350 degrees F (175°C). Prepare a 9-inch square metal baking pan by lining it with either aluminum foil or parchment paper, ensuring an overhang on all sides to create “handles” for easy removal. If using foil, be sure to generously grease the foil with cooking spray or butter. If you prefer using a stoneware pan, simply place a square of parchment paper on the bottom and grease it lightly.
-
Melt the semisweet chocolate chips. This can be done carefully in a saucepan over low heat, stirring frequently until smooth, or in a microwave-safe bowl using 30-second intervals, stirring after each, until fully melted and glossy. Once melted, set the chocolate aside to cool slightly to avoid cooking the eggs later. While it cools, proceed to prepare the creamy dream cheese filling using the detailed directions provided in the section below.
-
In a large mixing bowl, combine the softened butter and granulated sugar. Using an electric mixer, beat these ingredients together on medium speed until the mixture becomes light, fluffy, and pale in color, typically 2-3 minutes. Reduce the mixer speed to low. Add the large eggs, one by one, ensuring each egg is fully incorporated before adding the next. Follow with two teaspoons of vanilla extract and the slightly cooled melted chocolate, mixing until just combined. Finally, either by hand with a spatula or on the lowest speed of your mixer, gently beat in the all-purpose flour and salt until the batter is just smooth and no dry streaks remain. Be careful not to overmix at this stage.
-
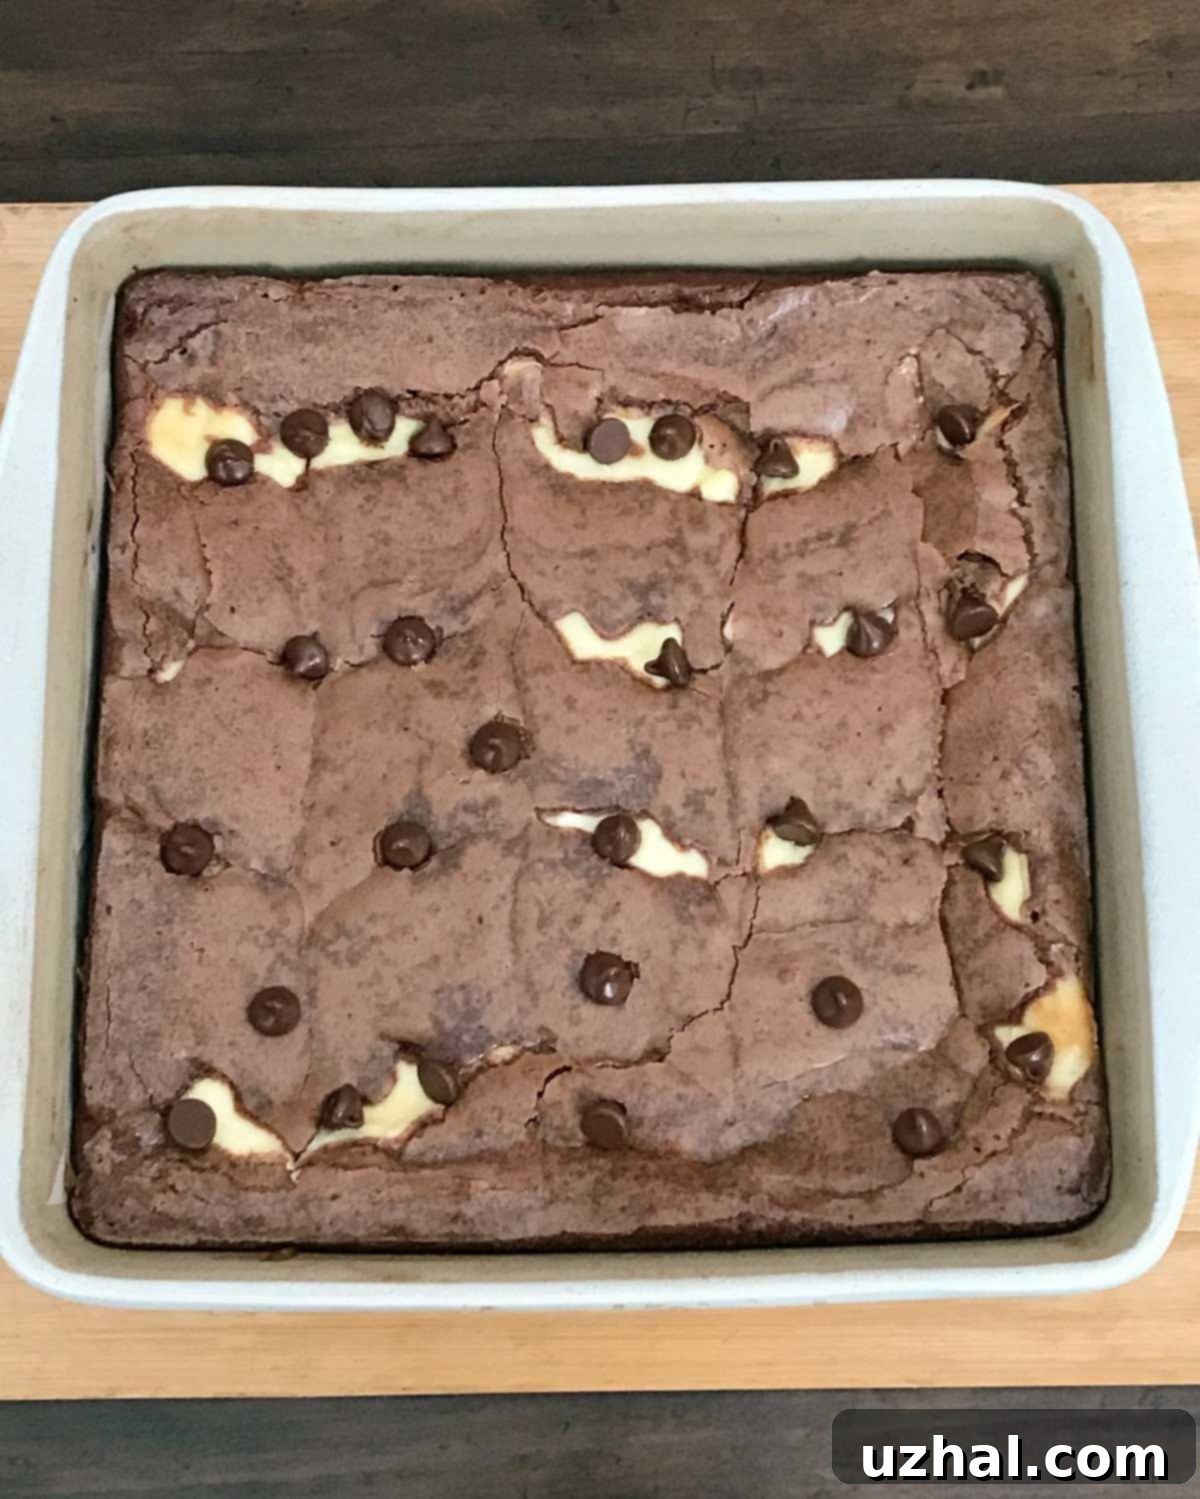
Pour and scrape all but about 1 cup of the rich chocolate brownie batter into your prepared 9-inch square pan. Use an offset spatula or the back of a spoon to spread the batter evenly across the bottom, creating a smooth foundation. Carefully spread the prepared cream cheese filling over this chocolate mixture, ensuring a uniform layer. Now, spoon the remaining 1 cup of chocolate batter in dollops over the cream cheese layer. For an appealing marbled effect, take a table knife or a skewer and gently swirl it through the layers with a light, lifting motion. This creates a beautiful pattern and ensures every bite offers both delicious components.
-
Place the pan on the center rack of your preheated oven and bake for approximately 50 minutes. To check for doneness, a wooden skewer or toothpick inserted into the chocolate brownie portion (avoiding the cream cheese layer) should come out with moist crumbs attached, but not wet batter. The edges of the brownies should be set, and the cream cheese layer slightly puffed. Remove from the oven immediately. If desired, sprinkle some extra chocolate chips on top right after baking so they melt slightly. Set the brownies, still in their pan, on a wire rack to cool completely at room temperature. Patience is key here. Once fully cooled, transfer the pan to the refrigerator and chill for at least a few hours, or ideally, overnight. Chilling allows the cream cheese layer to firm up beautifully, resulting in cleaner slices and a superior texture. These brownies are truly even better on Day 2 as the flavors fully develop.
-
Once thoroughly chilled, use the foil or parchment overhang to lift the entire brownie slab out of the pan and place it onto a clean cutting board. Carefully peel back the foil or parchment from all sides. Using a sharp Chef’s knife, cut the brownies into 12 squares or your preferred size. For the neatest cuts, wipe your knife clean with a damp cloth between each slice. Serve chilled or at room temperature.
Cream Cheese Filling (Detailed Instructions)
-
Cream Cheese Filling: To prepare the rich and tangy cream cheese filling, ensure your cream cheese is completely softened to room temperature before you begin. In a medium bowl, combine the softened cream cheese and granulated sugar. Using an electric mixer on medium speed, beat these ingredients until the mixture is light, incredibly fluffy, and perfectly smooth, with no discernible lumps. This usually takes about 2-3 minutes. Next, beat in the vanilla extract until just incorporated, enhancing the aroma and flavor. Finally, add the large egg. Reduce the mixer speed to its lowest setting and beat the egg only until it’s just mixed in and uniform throughout the cream cheese mixture. It’s crucial not to overmix once the egg is added, as this can affect the texture of the finished filling. Set aside until ready to layer with the brownie batter.
