Brown Butter Banana Chocolate Chip Bars: Your New Favorite Chewy, Moist, and Flavorful Treat
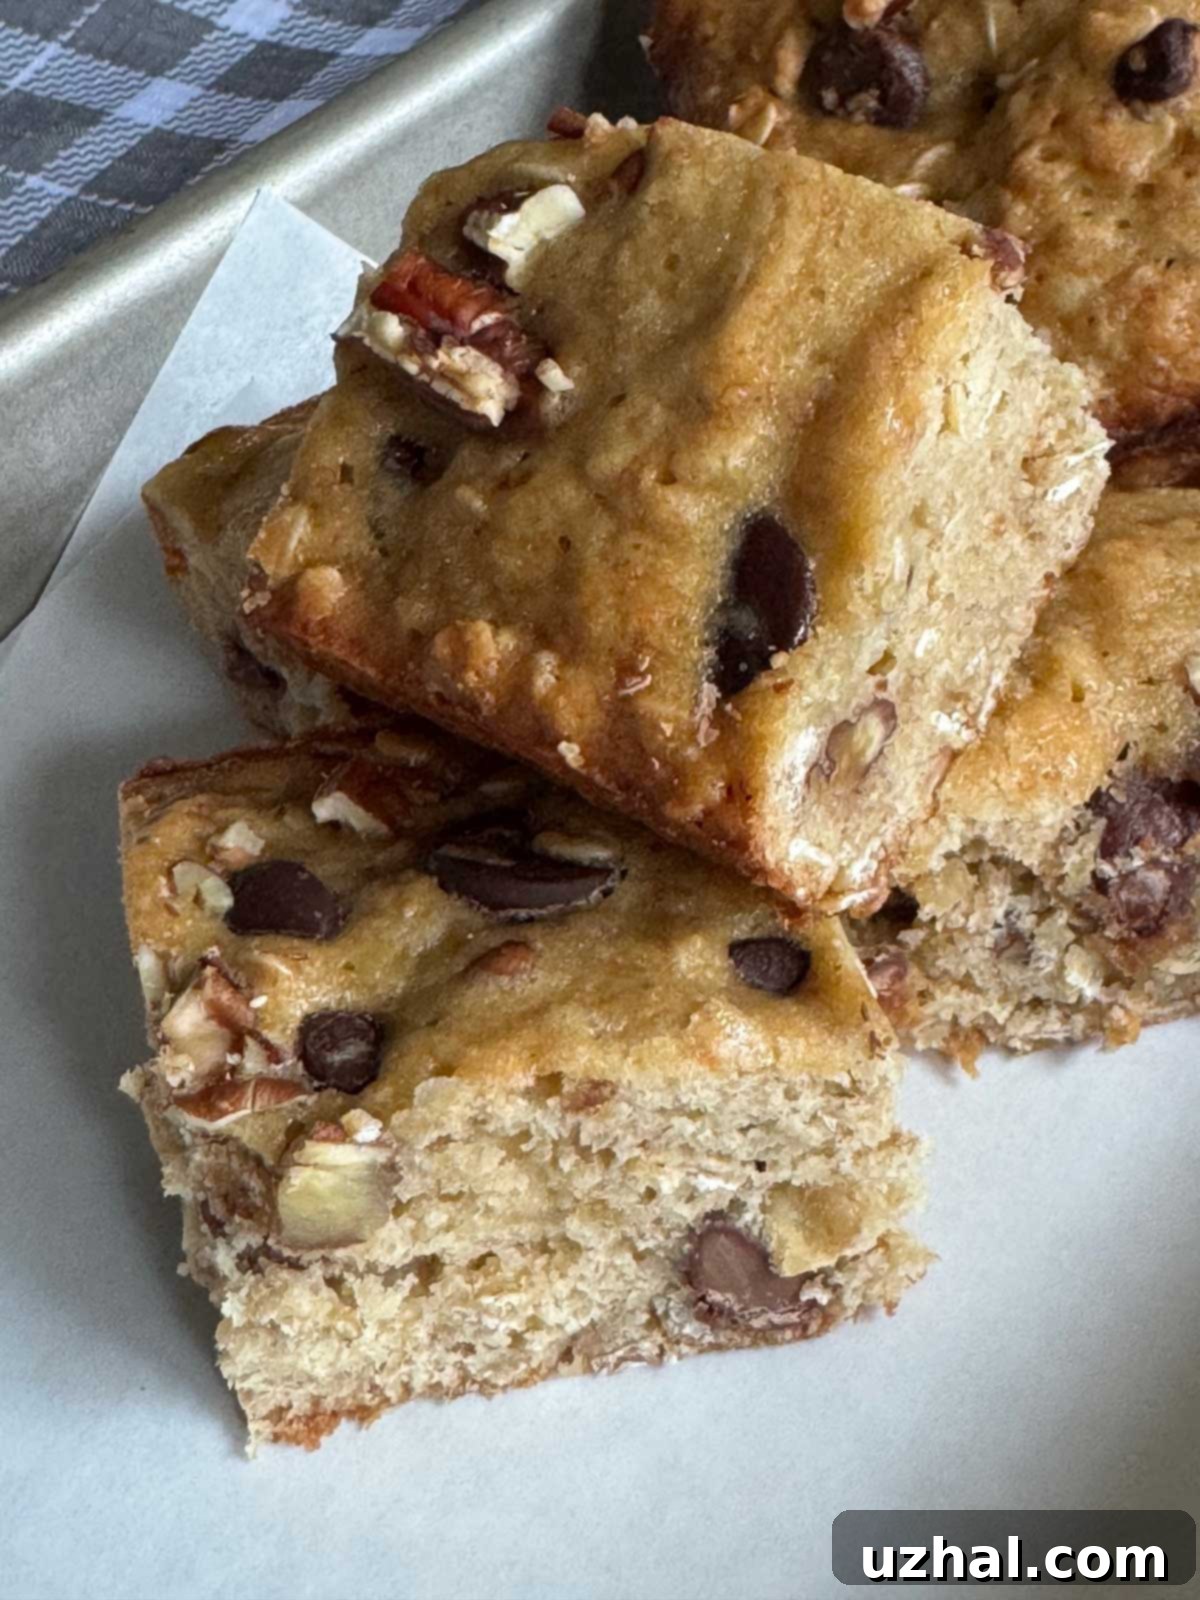
Get ready to rediscover a cherished classic with a truly irresistible twist! This recipe for banana chocolate chip bars has been a staple in my kitchen for many years, delighting friends and family alike. However, it was high time for an update that truly reflects its evolved deliciousness. What started as a simple idea for a photo refresh quickly transformed into an exciting culinary experiment: introducing the rich, nutty notes of brown butter. The result? A sensational upgrade that elevates these humble banana bars into something truly extraordinary. We’re officially reintroducing them as Brown Butter Banana Chocolate Chip Bars – and trust us, once you experience their deep flavor and perfectly chewy texture, there’s no going back.

Baking with ripe bananas is always a joy, bringing natural sweetness and incredible moisture to any treat. Their soft, aromatic pulp is the foundation of countless comforting desserts. But when you pair that familiar comfort with the sophisticated magic of browned butter and generous, melting chocolate chips, you create a symphony of flavors and textures that is simply unmatched. These bars strike the perfect balance between a dense, fudgy brownie and a wonderfully moist cake, offering the best of both worlds. They are truly versatile, making them an ideal dessert for special occasions, a delightful snack for an afternoon pick-me-up, or even a comforting breakfast treat alongside your morning coffee. Their straightforward preparation makes them accessible for beginner bakers, yet their sophisticated flavor profile will impress even the most seasoned palates. Let’s dive into what makes this updated recipe truly shine and how you can achieve perfection in your own kitchen.
The Magic of Brown Butter: Elevating Flavor and Texture
My original notes for the non-brown-butter version proudly declared them “the richest, moistest banana bars ever.” This was high praise indeed for such a seemingly simple treat! However, the intentional addition of brown butter (also elegantly known as beurre noisette in French cuisine) takes them to an entirely new dimension. Browning butter is a culinary technique that involves gently cooking unsalted butter past its melting point, allowing the milk solids within the butter to toast and caramelize. This chemical transformation imparts a wonderfully complex, nutty, and slightly toffee-like flavor that adds incredible depth and sophistication to any baked good it touches. It’s truly a game-changer, transforming a good recipe into a truly exceptional one with minimal effort.
If you’re new to browning butter, please don’t be intimidated; it’s a straightforward process that yields remarkable results. To begin, cut the unsalted butter into small chunks and place them in a light-colored saucepan – a light pan helps you clearly monitor the color changes. Melt the butter over medium heat, stirring or swirling often. You’ll first notice the butter foaming, which is the water content evaporating. As the foam subsides, the milk solids at the bottom of the pan will begin to turn golden brown and release a distinct, fragrant, nutty aroma, reminiscent of toasted hazelnuts or caramel. This is your cue! Watch carefully, as it can transition from perfectly browned to burnt in a matter of seconds. Once it reaches that beautiful amber color with toasted bits, immediately remove the pan from the heat and transfer the browned butter (including all those flavorful solids) to a heatproof bowl to cool slightly. Allowing it to cool is important to prevent it from cooking your eggs prematurely when mixing the batter.
For those who might be short on time, or simply prefer the traditional route without the extra step, melting the butter without browning it will still undoubtedly produce delicious banana bars. The original recipe was beloved for a reason! However, to truly appreciate the difference and to compare and contrast, the banana bars made with brown butter are noticeably chewier and possess a more robust, almost brownie-like depth of flavor. The toasted milk solids contribute significantly to this delightful chewiness, creating an incredibly satisfying mouthfeel with each bite. In contrast, the regular melted butter version results in a smoother texture that is just slightly cakier, maintaining its own charm with a more classic, comforting banana bread profile. Both versions are undeniably fantastic, offering different but equally enjoyable experiences, but the brown butter variation offers an added layer of gourmet appeal and complexity that we simply adore and highly recommend exploring.
The Perfect Companions: Nuts and Chocolate Chips for Enhanced Flavor
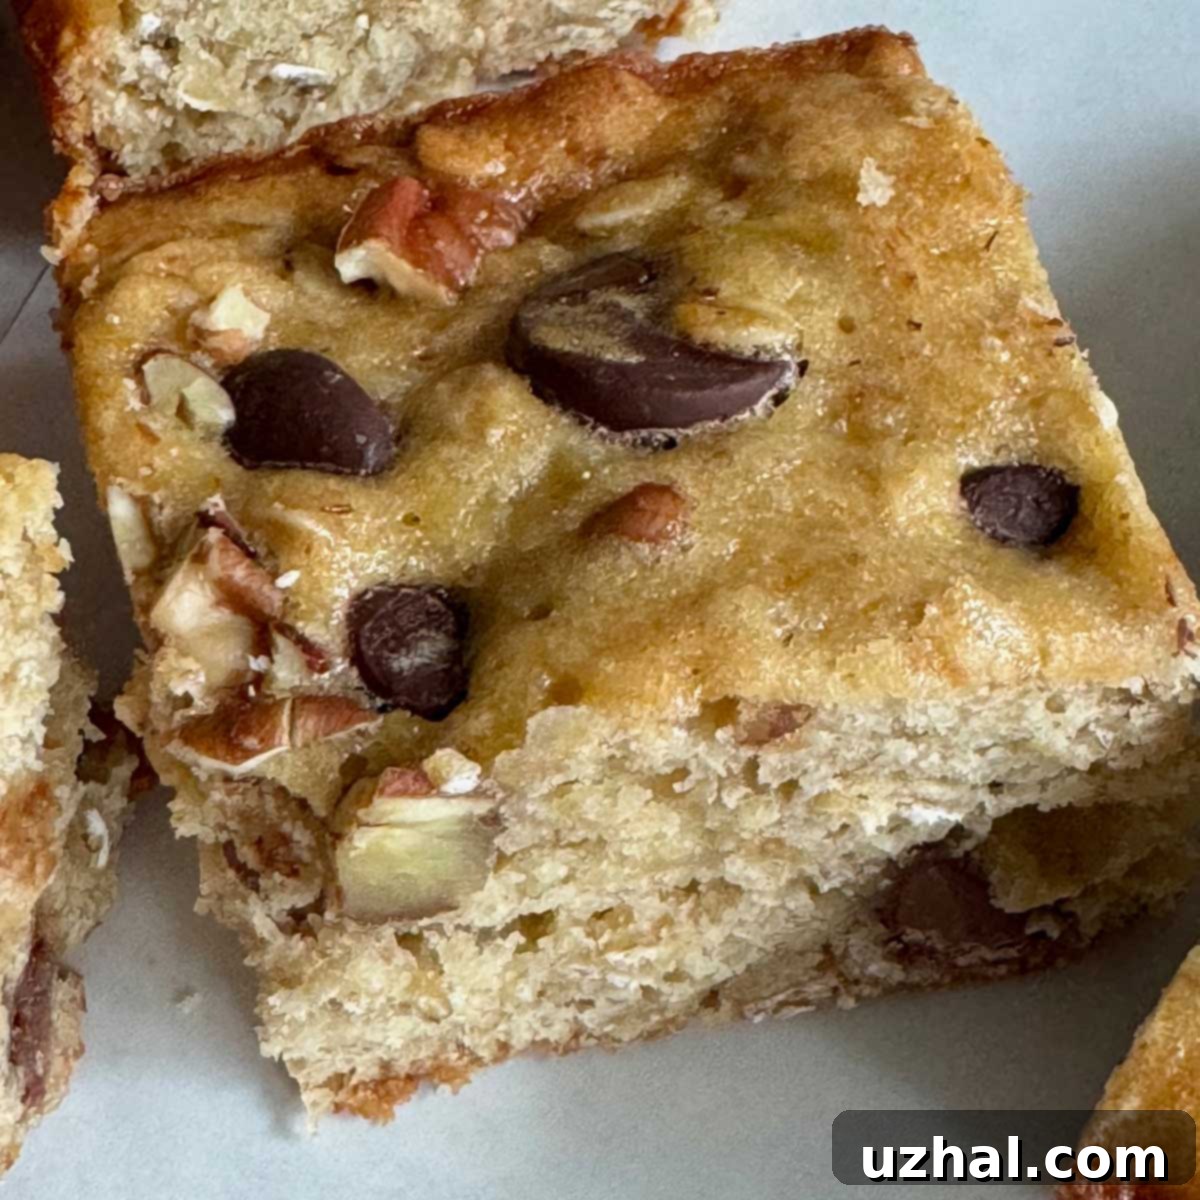
When it comes to enhancing the flavor and textural profile of these extraordinary banana bars, a few thoughtfully chosen mix-ins can make all the difference. While nuts are technically an optional addition, I wholeheartedly recommend including them. They provide a crucial textural contrast – a delightful crunch that breaks up the softness of the bar – and an earthy counterpoint that beautifully balances the inherent sweetness of the ripe bananas and rich chocolate. Chopped pecans or walnuts are classic choices, and for good reason: they add a delightful crunch and a subtle bitterness that expertly prevents the bars from being overly sweet. To truly unlock their full flavor potential, I advise lightly toasting the nuts beforehand. A quick few minutes in a dry pan over medium heat or a low oven will intensify their flavor and aroma, making them an even more impactful and delicious addition. Feel free to experiment with other nuts like slivered almonds for a delicate crunch, or even macadamias for a richer, buttery note, to customize the bars to your personal preference.
Now, let’s turn our attention to the absolutely non-negotiable component: chocolate chips. These are not just an addition; they are an essential element for a truly indulgent banana bar experience! The melting pockets of chocolate create a gooey, irresistible interior that perfectly complements the moist banana base. For my latest batch, I opted for a delightful combination of both bittersweet and milk chocolate chips, and the results were simply sublime. The bittersweet chips offer a deeper, more intense cocoa flavor that beautifully cuts through the sweetness, providing a sophisticated edge. Simultaneously, the milk chocolate chips melt into creamy, sweet pools, enhancing the banana’s natural sweetness and adding a layer of comforting richness. This blend creates a dynamic and complex chocolate experience in every single bite. Of course, you have the freedom to customize this to your preference: go all bittersweet for a more intense cocoa hit, all milk chocolate for maximum creamy sweetness, or even try specialty chips like caramel, butterscotch, or white chocolate for unique and exciting flavor combinations. Using high-quality chocolate chunks, rather than just chips, can also create larger, more luxurious pockets of molten chocolate throughout the bars, adding to their decadent appeal.
Choosing Your Pan: 8-Inch Square or Loaf Pan Perfection
While my old recipe originally called for a 9-inch square baking pan, through years of baking and refining, I’ve found that an 8-inch square pan is far superior for achieving the ideal consistency and height for these banana chocolate chip bars. The slightly smaller size means the batter is spread into a thicker layer, which results in taller, more substantial bars with a wonderfully dense and moist crumb. This extra thickness also significantly contributes to that desirable chewy texture we’re aiming for, especially when paired with the nuanced flavor of brown butter. Using an 8-inch pan truly makes these bars feel more substantial, more satisfying, and utterly indulgent, giving them that bakery-quality appeal.
Parchment paper is another simple yet invaluable tool in your baking arsenal that can make a significant difference. While optional, it makes lifting the baked bars out of the pan incredibly easy, allowing for clean, precise slicing without any sticking, crumbling, or hassle. Beyond easy removal, it also aids in more even baking and simplifies cleanup immensely. To truly elevate the flavor profile and ensure a perfectly crisp edge, I highly recommend greasing the parchment paper generously with some extra salted butter. The subtle saltiness in the butter helps to enhance the overall flavor, making the sweetness pop, while the fat ensures a beautiful golden-brown, slightly crispy crust on the edges of the bars – a little baker’s secret for extra deliciousness that you won’t want to skip! This simple preparation step adds another layer of flavor and texture that truly sets these bars apart.
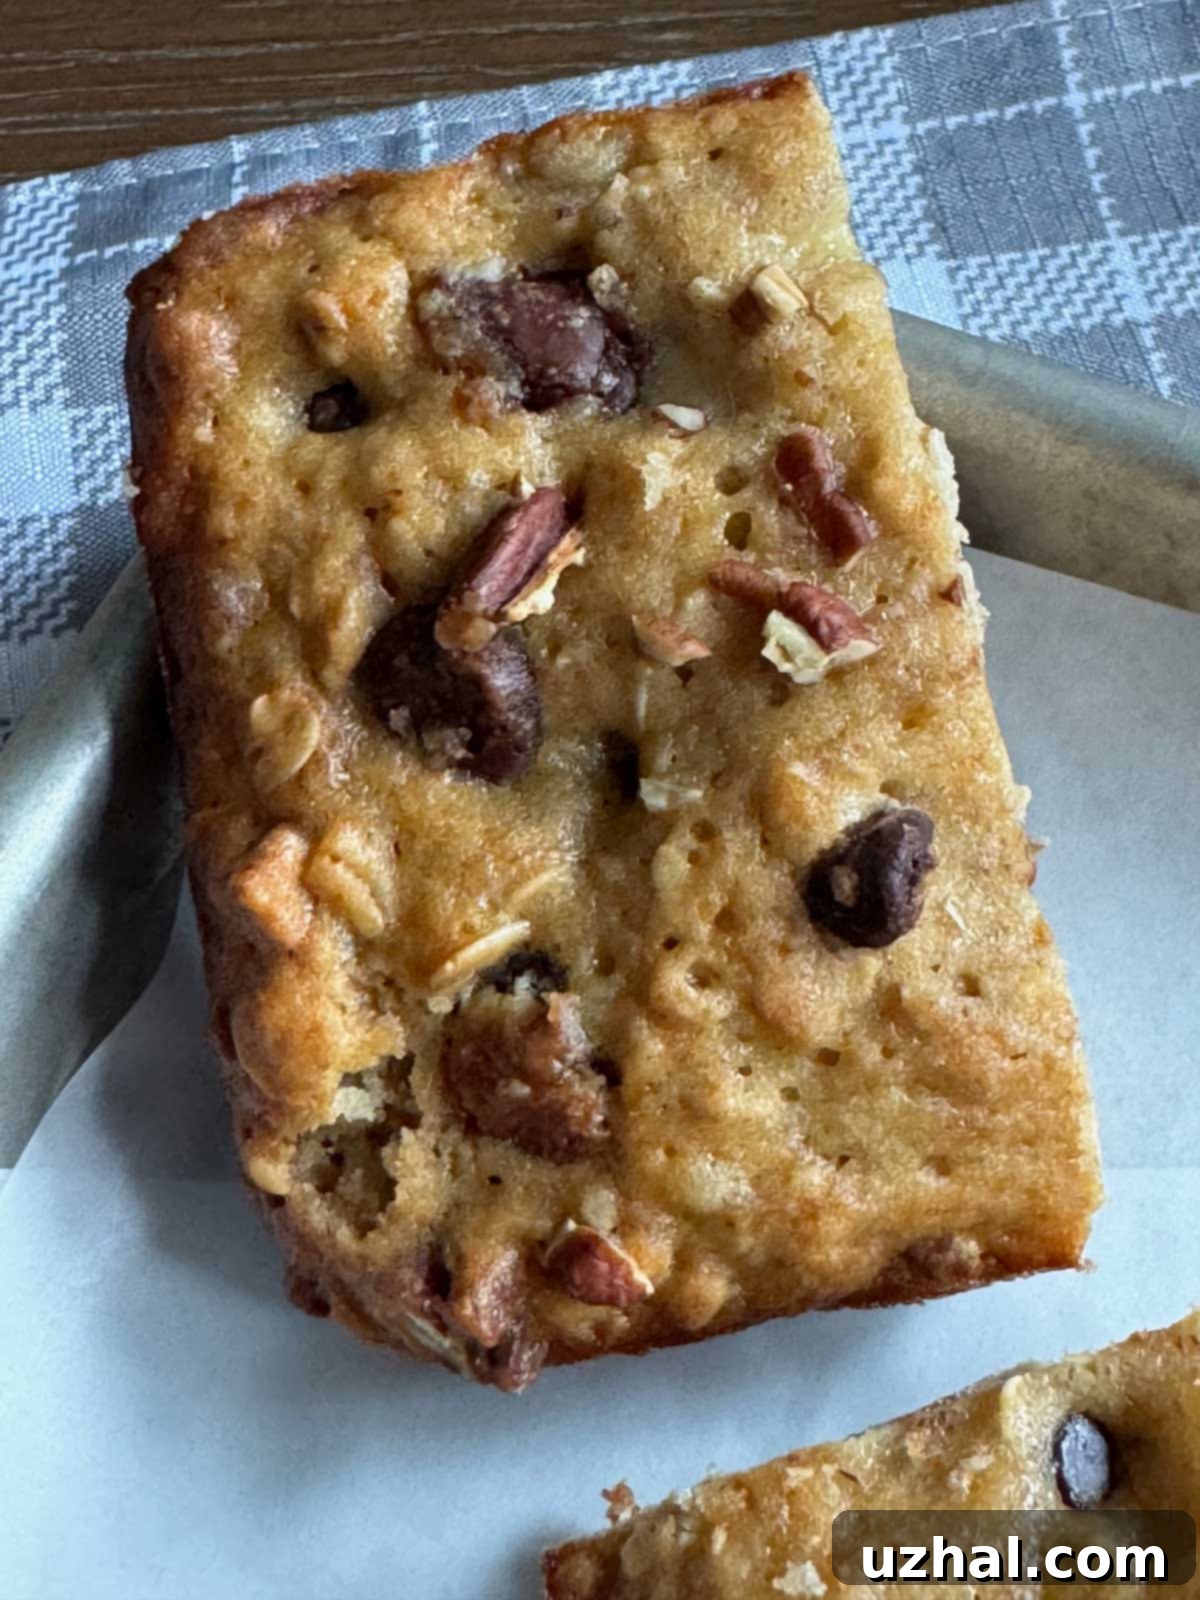
For those who love to experiment or simply prefer a different presentation, these banana bars are also absolutely fantastic when baked in a loaf pan! I recently tested this pan size (adjusting the egg slightly to 2 tablespoons for a standard loaf recipe ratio, though the full amount works too for richer results), and it worked absolutely perfectly. Baking in a loaf pan yields an even thicker bar, with a gorgeously deep, wonderfully chewy center and an abundance of those coveted crispy edges. It’s an excellent option if you prefer a ‘banana bread loaf’ style cut for thicker slices, or if you simply only have a loaf pan readily available. Just remember that bake times will vary slightly with different pan sizes and depths due to changes in heat distribution and batter density, so always prioritize the visual cues for doneness over strict adherence to time.

Achieving Perfection: Understanding Optimal Bake Times
One common characteristic found in many older recipes is their tendency to suggest longer bake times than might be necessary today. This is often due to variations in oven technology, differing ingredient qualities, or simply a preferred texture in generations past. However, with modern ovens, these Brown Butter Banana Chocolate Chip Bars typically bake much quicker and more efficiently. In my current oven, using an 8-inch square pan, I’ve consistently found the ideal bake time to be precisely between 27 and 30 minutes. The key indicators for doneness are a beautifully golden-brown top, edges that are just starting to pull away subtly from the sides of the pan, and perhaps most importantly, a wooden skewer or toothpick inserted into the center of the bars should come out with moist crumbs, but no wet batter.
It’s crucial to remember that oven temperatures can vary significantly, even among ovens from the same manufacturer or brand. Factors such as the material of your pan (darker metal pans conduct heat more efficiently, potentially reducing bake time, while glass or ceramic might require a few extra minutes), your home’s altitude, and even the ambient kitchen temperature can all influence how quickly your bars bake. For the loaf pan version, which naturally creates a denser, thicker bar due to its deeper shape, the bake time usually falls in a slightly shorter window, between 25 and 27 minutes. Always use the visual cues and the toothpick test as your primary guide for doneness, and don’t be afraid to adjust the baking time by a few minutes in either direction to achieve your desired level of perfection. An overbaked bar can unfortunately become dry and crumbly, while an underbaked one will be excessively gooey in the center (though some might surprisingly enjoy that fudgy consistency!). Trust your senses and your oven; they are your best allies in baking.
Cooling, Freezing, and Storing Your Delicious Bars for Maximum Enjoyment
Patience truly is a virtue, especially when it comes to cooling baked goods! While the aroma filling your kitchen might make it incredibly tempting to dive into these warm from the oven, allowing them to cool completely in the pan is absolutely crucial for achieving the best texture and for clean, neat slicing. As they cool, the internal structure of the bars firms up, the chocolate sets, and the complex flavors of the brown butter and banana meld together beautifully, intensifying with every passing minute. If you are undeniably a fan of warm and gooey treats with molten chocolate, by all means, indulge and serve them about 10-15 minutes after they come out of the oven – just be prepared for a slightly messier (but still undeniably delicious!) experience. For perfectly neat squares and maximum chewiness, a full cool-down, typically at least an hour, is highly recommended.
One of the most fantastic attributes of these particular banana bars is how incredibly well they freeze and thaw. To many, including myself, they actually taste even better after being frozen, as the texture becomes slightly denser and the chocolate chunks solidify into satisfying, firm bites. To freeze them effectively, ensure the bars are completely cool to the touch. Then, wrap individual bars or small stacks tightly in plastic wrap to prevent freezer burn, followed by an additional layer of aluminum foil, and finally place them in an airtight freezer-safe container or bag. Properly stored, they can be kept in the freezer for up to 2-3 months without losing their quality. To thaw, simply unwrap the desired number of bars and let them come to room temperature on your counter, or gently warm them in the microwave for a few seconds if you prefer them slightly warm. This makes them perfect for convenient meal prep, having a quick, delightful treat on hand whenever a craving strikes, or even packing in lunchboxes.
For shorter-term storage, you can keep the bars covered tightly at room temperature for up to 3 days. To maintain optimal freshness, particularly if your kitchen is naturally warm or humid, or if you simply wish to extend their shelf life, they can also be stored in an airtight container in the refrigerator for up to a week. Just be aware that refrigeration can sometimes alter the texture slightly, making them a bit firmer and less immediately chewy. Regardless of how you choose to store them, these Brown Butter Banana Chocolate Chip Bars are a delightful, adaptable indulgence that you’ll undoubtedly want to make again and again, becoming a treasured addition to your recipe repertoire!
- Best Ever Two Banana Bread Recipe
- Banana Bread Biscotti
- Banana Sour Cream Cake
- Small Loaf Pan Banana Bread
- Easy Jumbo Banana Pudding Cookies
Recipe

Brown Butter Banana Chocolate Chip Bars
Anna
Pin Recipe
Ingredients
- 6 tablespoons unsalted butter plus extra for pan (84 grams)
- 1 cup all-purpose flour (125 grams)
- ¼ teaspoon baking soda
- ¼ teaspoon salt
- ¼ cup granulated sugar (50 grams)
- ½ cup light brown sugar (100 grams)
- 1 large egg
- 1 ¼ teaspoons vanilla extract
- 2 large ripe bananas, mashed (approximately 200 grams or 1 cup)
- ½ cup oats, old fashioned or quick
- ½ cup milk and/or bittersweet chocolate chips
- ½ cup pecans or walnuts, toasted and chopped (optional, but highly recommended for balance)
Instructions
-
Preheat your oven to 350°F (175°C). Line an 8-inch square baking pan (or a standard loaf pan for thicker bars) with parchment paper, ensuring there is an overhang on two sides for easy lifting. Generously grease the parchment paper with extra salted butter; this crucial step enhances flavor and contributes to deliciously crisp edges on your bars.
-
To brown the butter: Cut the 6 tablespoons of unsalted butter into small chunks and place them in a light-colored saucepan (this helps you clearly observe the browning process). Melt the butter over medium heat, stirring or swirling often. It will first foam, then the foam will subside, and the milk solids at the bottom will start to turn a beautiful golden brown and emit a distinct, nutty, toasted aroma. Watch carefully, as the butter can quickly go from perfectly browned to burnt. Once it reaches this golden-brown stage, immediately remove the pan from the heat and transfer the browned butter (including all the flavorful toasted solids) to a separate heatproof bowl to cool slightly.
-
In a large mixing bowl, whisk together the slightly cooled browned butter, granulated sugar, and light brown sugar until thoroughly combined and smooth. Then, whisk in the large egg and vanilla extract until the mixture is well integrated. Finally, gently fold in the mashed ripe bananas until they are just incorporated into the wet ingredients.
-
In a separate medium bowl, whisk together the all-purpose flour, baking soda, and salt. This ensures these dry ingredients are evenly distributed throughout the batter.
-
Add the dry flour mixture and oats to the wet ingredients in the large mixing bowl. Stir until about halfway blended. If your batter is still warm from the butter, allow it to cool for a few minutes before stirring in the chocolate chips and toasted nuts. This crucial step prevents the chocolate from melting too much before baking. Continue stirring gently until all ingredients are just combined; be very careful not to overmix, as this can lead to tough bars.
-
Spread the batter evenly into the prepared pan, smoothing the top with a spatula. Bake for approximately 27-30 minutes for an 8-inch square pan, or 25-27 minutes for a loaf pan. The bars are done when the top is beautifully golden brown, and a toothpick inserted into the center comes out with moist crumbs (not wet batter).
-
Once baked, remove the pan from the oven and place it on a wire rack to cool completely. This cooling period is essential for the bars to set properly and achieve their optimal chewy texture. Once completely cool, use the parchment paper overhang to carefully lift the entire slab of bars from the pan and transfer them to a cutting board. Cut into 16 even squares (or slices if using a loaf pan). Enjoy these incredibly flavorful Brown Butter Banana Chocolate Chip Bars!
