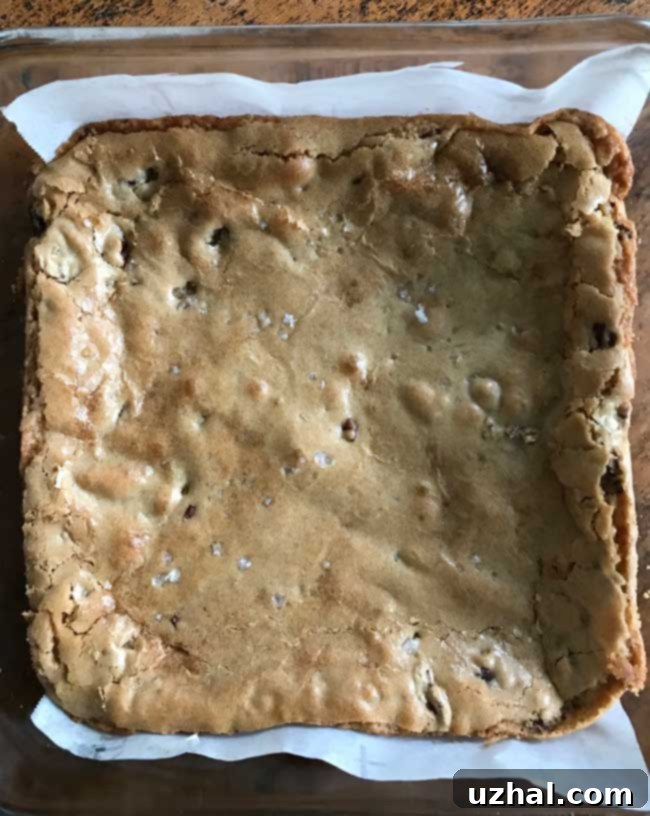
Irresistibly Chewy & Sweet: The Ultimate Betty Crocker Praline Bars Recipe
There’s a certain magic in recipes that have stood the test of time, evoking nostalgia and comforting flavors with every bite. Today, we’re diving into one such classic: Betty Crocker Praline Bars. While many might mistake them for simple blondies, these delightful squares are distinctly more. They boast an exceptional chewiness and a profound sweetness that sets them apart, often resembling genuine praline candy even before they’ve had a chance to bake in the oven. This recipe isn’t just about making a dessert; it’s about recreating a piece of culinary history and savoring a treat that promises to become a new favorite or rekindle an old one.
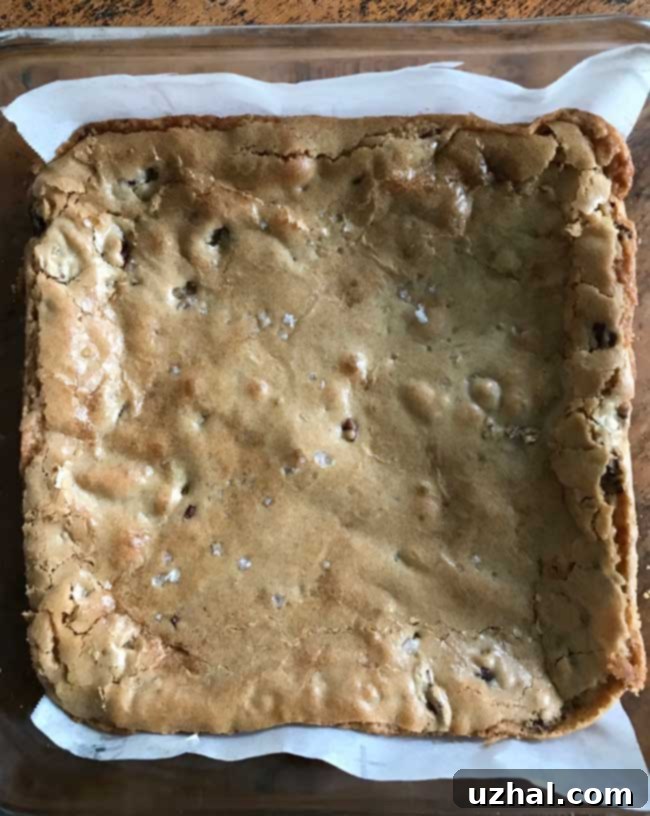
A Journey Through Time: The Story Behind These Praline Bars
This particular recipe holds a special place in my heart, originating from the pages of Betty Crocker’s Dinner for Two. This cookbook was a treasured item in our household during my childhood, a tangible link to home cooking and early culinary explorations. I remember spending countless hours poring over its vibrant photographs, dreaming of the day I could bring those dishes to life. When I finally learned to read, it was this very Praline Bars recipe that captivated my imagination and became the very first dish I ever prepared on my own. The simplicity and promise of a sweet reward made it an irresistible challenge for a budding young baker.
Betty Crocker, as a brand, represents more than just recipes; it embodies a tradition of making home baking accessible and enjoyable for generations. Her cookbooks have guided countless aspiring cooks, simplifying complex techniques and offering reliable, delicious results. The “Dinner for Two” edition itself speaks to a specific era, focusing on smaller household needs, yet delivering full-sized flavor. These Praline Bars are a testament to that philosophy – simple ingredients, straightforward steps, and an outcome that is anything but ordinary. They are a classic example of how a well-loved recipe can transcend its humble beginnings to become a cherished memory and a comforting indulgence. This recipe embodies that spirit, bringing a taste of the past into today’s kitchen with every delicious square.
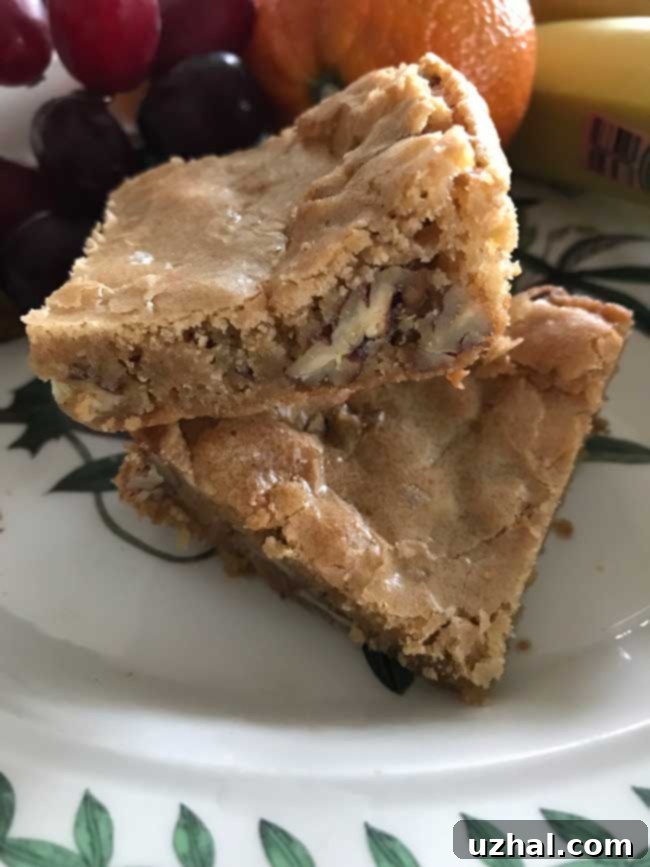
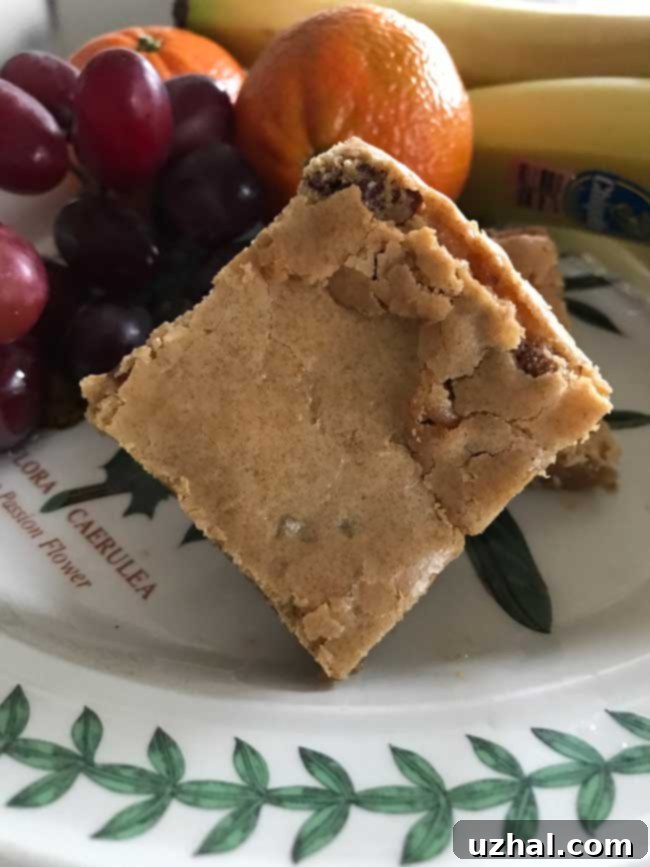
The Secret to Unrivaled Chewiness: Butter vs. Oil in Praline Bars
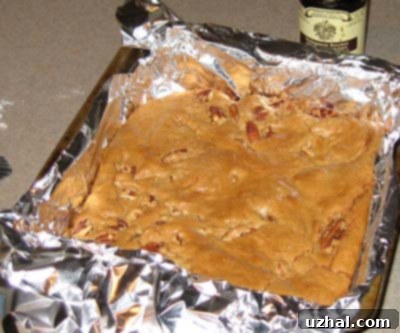
When I first ventured into making these bars as a child, vegetable oil was my go-to, and the results were always wonderfully chewy. To revisit those nostalgic flavors, I recently made a batch using vegetable oil. The outcome? Bars that were exceptionally chewy – a texture that many bakers chase but rarely achieve with such ease. The neutral flavor of vegetable oil allows the rich brown sugar and nutty notes to shine through, creating a surprisingly delightful treat. While the vegetable oil version certainly tasted good, experience has taught me that butter often elevates baked goods to another level of deliciousness, introducing a depth that oil simply can’t match.
Driven by this thought, I decided to conduct a side-by-side comparison, preparing a second batch with melted Plugra, a high-quality European-style butter. The difference was remarkable. The butter Praline Bars were undeniably superior, offering a richer, more nuanced flavor profile that complemented their sweetness beautifully. The buttery notes added a layer of complexity, making each bite even more luxurious. A sprinkle of flaky sea salt on top of the butter-based bars proved to be the perfect finishing touch, adding a delightful contrast and enhancing the overall experience by cutting through the sweetness with a touch of savory.
Refining the Recipe: The Quest for Perfect Texture and Flavor
The original Betty Crocker recipe ingeniously calls for ¼ cup of shortening or “salad oil” (which is essentially vegetable oil), and indeed, this fat choice consistently produces those famously chewy bars. As my baking journey evolved, I began experimenting with butter as a substitute, continually trying to perfect the balance between rich flavor and satisfying texture. My initial attempts involved using 5 tablespoons of butter, which resulted in a slightly softer, almost melt-in-your-mouth bar. While undeniably delicious, I found myself longing for that signature, robust chewiness from my childhood memories that the oil-based version delivered so effortlessly. The softer texture, though pleasant, veered a bit too close to a cakey blondie, losing some of the unique praline bar character.
After further rigorous testing and careful consideration, I settled on 4 tablespoons of butter. This adjustment proved to be the sweet spot, yielding bars that were perfectly chewy without sacrificing the rich, buttery flavor that modern palates often crave. The subtle reduction in fat content, surprisingly, enhances the chewiness by allowing the sugar to take a more dominant role in the texture, making the bars denser and more substantial. This minor tweak is an important update to the classic recipe, offering what I believe is the ideal iteration of these beloved Praline Bars: a harmonious blend of deep flavor, satisfying sweetness, and that irresistible, nostalgic chew. It’s a testament to how even slight modifications can significantly impact the final product, transforming a good recipe into an exceptional one.
Key Ingredients and Their Role in Praline Bars
- Unsalted Butter (or Vegetable Oil/Shortening): This is your primary fat source. Butter provides unparalleled richness and flavor, while vegetable oil (or shortening) is excellent for maximizing chewiness. The recipe calls for 4 tablespoons of melted unsalted butter to achieve a perfect balance of deep flavor and satisfyingly chewy texture. Ensure it’s melted for proper incorporation.
- Packed Light Brown Sugar: The star ingredient for both sweetness and texture. Brown sugar, unlike white sugar, contains molasses, which contributes significantly to the bars’ moisture, chewiness, and complex, caramel-like flavor. Always ensure it’s firmly packed when measuring to get the correct amount.
- Large Egg: Acts as a crucial binder, providing structure and emulsifying the fat and sugar. Using a room temperature egg helps it incorporate more smoothly into the batter, leading to a more consistent texture in the final bars.
- Vanilla Extract: An indispensable flavor enhancer in almost any dessert, vanilla extract brightens and rounds out the sweetness of the brown sugar, adding a comforting aroma and taste that elevates the entire profile of the praline bars.
- Baking Powder: Provides a subtle leavening agent, giving the bars just enough lift to prevent them from becoming too dense, but not so much that they become cakey. It contributes to the desired chewy, slightly fudgy texture.
- Salt: Essential for balancing the intense sweetness and enhancing all other flavors present in the bars. A small amount of salt makes a significant difference, preventing the bars from tasting bland or overly sugary.
- All-Purpose Flour: The structural backbone of the bars. Ensure you measure it correctly – preferably by weight (97 grams) – to avoid dry or tough bars. Over-measuring flour is a common pitfall that can compromise texture.
- Coarsely Chopped Toasted Walnuts or Pecans: These nuts add a wonderful crunch, a satisfying texture, and a distinctive nutty flavor that is characteristic of classic pralines. Toasting them beforehand (see tips below) amplifies their aroma and taste, making a significant difference in the final product.
- Flaky Sea Salt (Optional but Highly Recommended): A sprinkle on top creates a fantastic textural contrast and provides a welcome counterpoint to the sweetness, making each bite even more satisfying and sophisticated. It truly elevates the bar from good to extraordinary.
Expert Tips for Perfect Praline Bars Every Time
- Don’t Overmix the Flour: Once you add the flour to the wet ingredients, mix until just combined. Overmixing develops the gluten in the flour, which can lead to tougher, less chewy bars. A few streaks of flour are better than a dense bar.
- Choose the Right Pan Size: An 8-inch square baking pan is ideal for achieving the perfect thickness and ensuring the correct bake time specified in the recipe. If you use a larger pan, the bars will be thinner and may bake faster, so be sure to adjust your baking time and keep a close eye on them.
- Toast Your Nuts: This step is non-negotiable for superior flavor! Spreading your walnuts or pecans on a baking sheet and toasting them in a preheated oven (or a dry skillet on the stovetop) for about 5-7 minutes will release their natural oils and significantly deepen their flavor profile. Let them cool slightly before chopping and adding to the batter.
- Cool Completely (Mostly) for Clean Cuts: For neat, clean squares that hold their shape beautifully, it’s best to let the bars cool almost completely in the pan on a wire rack before attempting to cut them. This allows them to set properly and firm up, ensuring precise portions and optimal chewiness. However, if you enjoy them warm and slightly gooey, cutting them while still warm is also an option – just be prepared for a slightly messier cut and a more delicate bar.
- Storage is Key: Store your delicious Praline Bars in an airtight container at room temperature for up to 3-4 days. They tend to maintain their delightful chewiness and flavor very well, making them perfect for meal prepping desserts or gifting. For longer storage, you can freeze them for up to 2-3 months.
- Consider Your Oven: Every oven can vary slightly in temperature. If you know your oven runs hot or cold, adjust the temperature accordingly. An oven thermometer can be a great tool for accuracy.
Related Dessert Inspirations
- Coconut Oil Peanut Butter Cookies
- Grapeseed Oil Avocado Chocolate Muffins
- Whole Wheat Olive Oil Chocolate Chip Cookies
- Whole Wheat Pumpkin Muffins with Coconut Oil
- Small Batch Double Chocolate Coconut Cookies
Betty Crocker Praline Bars: The Full Recipe
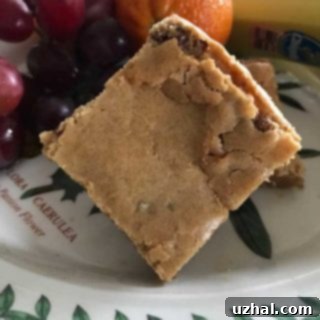
Betty Crocker Praline Bars
Cookie Madness
Pin Recipe
Ingredients
- Butter for greasing pan
- 4 tablespoons unsalted butter or vegetable oil or shortening (56 grams)
- 1 cup packed light brown sugar (200 grams)
- 1 large egg (room temperature for best blending)
- 1 teaspoon vanilla extract
- 1 teaspoon baking powder
- ½ teaspoon salt
- ¾ cup all-purpose flour (97 grams)
- ⅔ cup coarsely chopped toasted walnuts or pecans
- Flaky sea salt optional, for sprinkling
Instructions
-
1. Prepare Oven and Pan: Preheat your oven to 350 degrees F (175 degrees C). Generously rub an 8-inch glass or metal baking pan with butter to prevent sticking. A well-greased pan ensures easy removal of the baked bars.
-
2. Melt Fat & Combine with Sugar: If using butter, melt the 4 tablespoons of butter completely in a small saucepan over low heat or in the microwave. Remove from heat and immediately stir in the 1 cup of packed light brown sugar until it is well blended and takes on a shiny, almost caramel-like appearance from the residual heat of the butter. This step helps dissolve the sugar slightly and creates a wonderfully smooth base. If you are opting for vegetable oil, simply combine the oil and brown sugar in a medium bowl and mix until well blended.
-
3. Add Wet & Dry Ingredients: To the sugar-fat mixture, stir in the room temperature egg and vanilla extract until fully incorporated. Ensure the egg is thoroughly mixed in. Next, add the baking powder and salt, mixing until evenly distributed throughout the wet ingredients. Finally, gradually add the ¾ cup of all-purpose flour, stirring gently with a spoon or spatula until just blended. Be careful not to overmix the batter, as this can develop gluten and lead to tougher bars. Fold in the ⅔ cup of coarsely chopped toasted walnuts or pecans, distributing them evenly.
-
4. Bake: Scrape the batter evenly into your prepared 8-inch pan, spreading it to the corners. If desired, generously sprinkle flaky sea salt over the top for an added layer of flavor and texture – this is a highly recommended step to balance the sweetness.
-
5. Bake for 25 minutes or until the edges are golden brown and the center appears set when gently touched. A toothpick inserted into the center should come out with moist crumbs, not wet batter. Avoid overbaking to maintain the signature chewiness and prevent dry bars.
-
6. Cool & Serve: Let the bars cool completely in the pan on a wire rack before cutting them into neat squares. This allows them to set properly, ensuring clean cuts and optimal chewiness. If you prefer a warmer, slightly softer bar, you may cut them while still warm, though they might be a bit more delicate and crumble slightly. Enjoy your homemade Betty Crocker Praline Bars!
