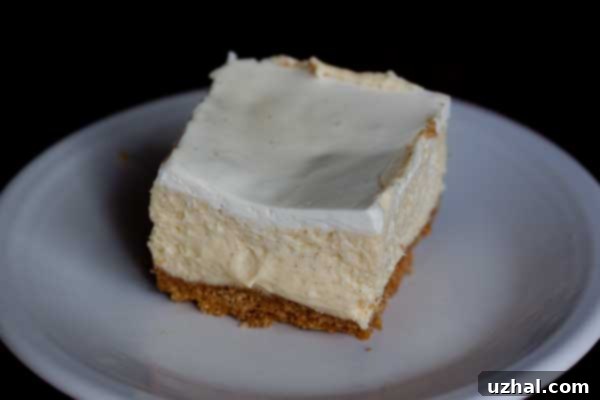
Indulge in a Perfect Slice: Easy Mini Loaf Pan Cheesecake for Two Recipe
There’s something incredibly satisfying about a perfectly portioned dessert, especially when it’s as luxurious as a cheesecake. Our “Cheesecake for Two” recipe offers just that – a delightful mini loaf pan version inspired by Nigella Lawson’s renowned “London Cheesecake.” This recipe is specifically designed to be baked in a 5.75×3 inch mini loaf pan, making it ideal for a romantic date night, a small celebration, or simply when you’re craving a luscious treat without the commitment of a full-sized dessert. It’s the ultimate solution for avoiding leftovers while still enjoying the rich, creamy decadence of a classic cheesecake.
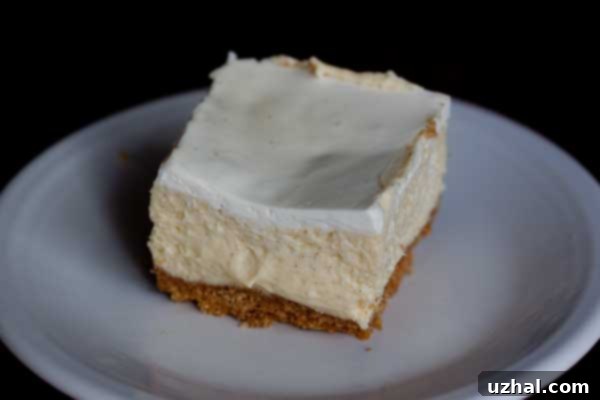
One of the beauties of this recipe is its versatility, starting right from the crust. We’ve included two fantastic options to suit your preference. For a quick and easy start, you can use a few pieces of ready-to-bake sugar cookie dough, offering a sweet, buttery base that requires minimal effort. Alternatively, for a more traditional cheesecake experience, a mixture of crushed graham crackers and melted butter creates a wonderfully crisp and flavorful foundation. Whichever crust you choose, the results will be divine, complementing the smooth, creamy cheesecake filling.
Mastering the Art of Baking a Mini Cheesecake
Baking a cheesecake, regardless of its size, requires a keen eye on both time and temperature. These two factors are paramount to achieving that coveted creamy texture without any cracks or dryness. I’ll share the specific timings that have consistently worked for me, but remember that oven temperatures can vary, so always trust your instincts and visual cues. The cheesecake is typically ready when its edges appear set, yet the very center still has a slight, delicate jiggle. This subtle movement indicates that it will continue to set perfectly as it cools and chills.
For those who prefer a more precise method, an internal thermometer is your best friend. A perfectly baked cheesecake should register an internal temperature between 150 and 170 degrees Fahrenheit (65-77 degrees Celsius). This range ensures that the cheesecake is fully cooked through, pasteurized, and safe to eat, while retaining its signature silky smooth consistency. Pulling it out too early might result in an unset center, while overbaking can lead to a dry, crumbly texture and unsightly cracks. Patience during the cooling and chilling process is also crucial for developing the cheesecake’s full flavor and firm structure.
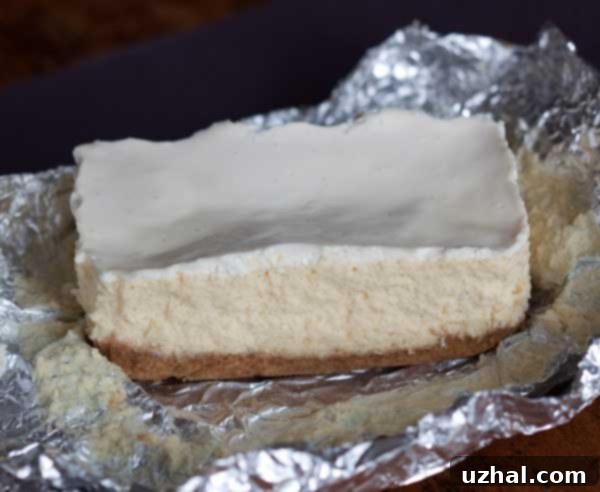
Once your mini cheesecake emerges from the oven, the real fun begins: choosing a topping! A simple sour cream topping, lightly sweetened and flavored with vanilla, baked on top for the last few minutes, adds a tangy counterpoint to the rich filling. But the possibilities don’t end there. Imagine this decadent dessert crowned with a vibrant homemade strawberry sauce, fresh berries, a drizzle of chocolate ganache, or a luscious caramel. The choice is yours to elevate your “Cheesecake for Two” to an even higher level of gourmet delight!
Speaking of toppings, I’ve recently perfected a fantastic recipe for a homemade strawberry topping that pairs exquisitely with this cheesecake. It’s incredibly easy to make and adds a burst of fresh, fruity flavor that beautifully complements the creamy base. I highly recommend giving it a try!
Choosing the Right Mini Loaf Pan
The type of mini loaf pan you use can slightly influence your baking experience, though this recipe is forgiving. Since first sharing this recipe, my collection of mini loaf pans has grown considerably, and I’ve tested various types. While they generally all measure around 5.75×3 inches, some are crafted from ceramic, offering excellent heat retention and even baking, while others are made of metal, which heats up more quickly. For this “Cheesecake for Two” recipe, both ceramic and metal mini loaf pans work beautifully.
To ensure easy removal of your delicate cheesecake, I always recommend lining your pan with non-stick foil or parchment paper. This simple step creates handles that allow you to lift the cooled cheesecake out effortlessly, ensuring a clean and perfect presentation. However, don’t feel limited! If you have charming, decorative mini loaf pans, consider baking and serving the cheesecakes directly in them. This method works wonderfully, especially if you plan to give them as thoughtful, homemade gifts. Serving straight from the pan can add a rustic, endearing touch, making each mini cheesecake feel even more special and personal.
Scaling Up: Cheesecake for Four
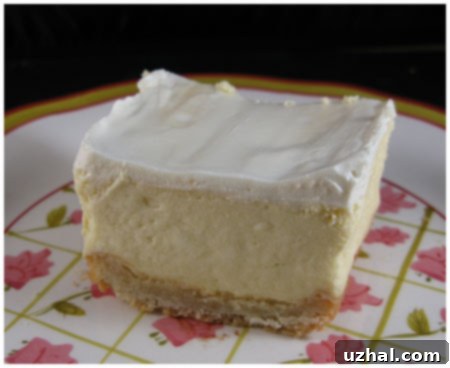
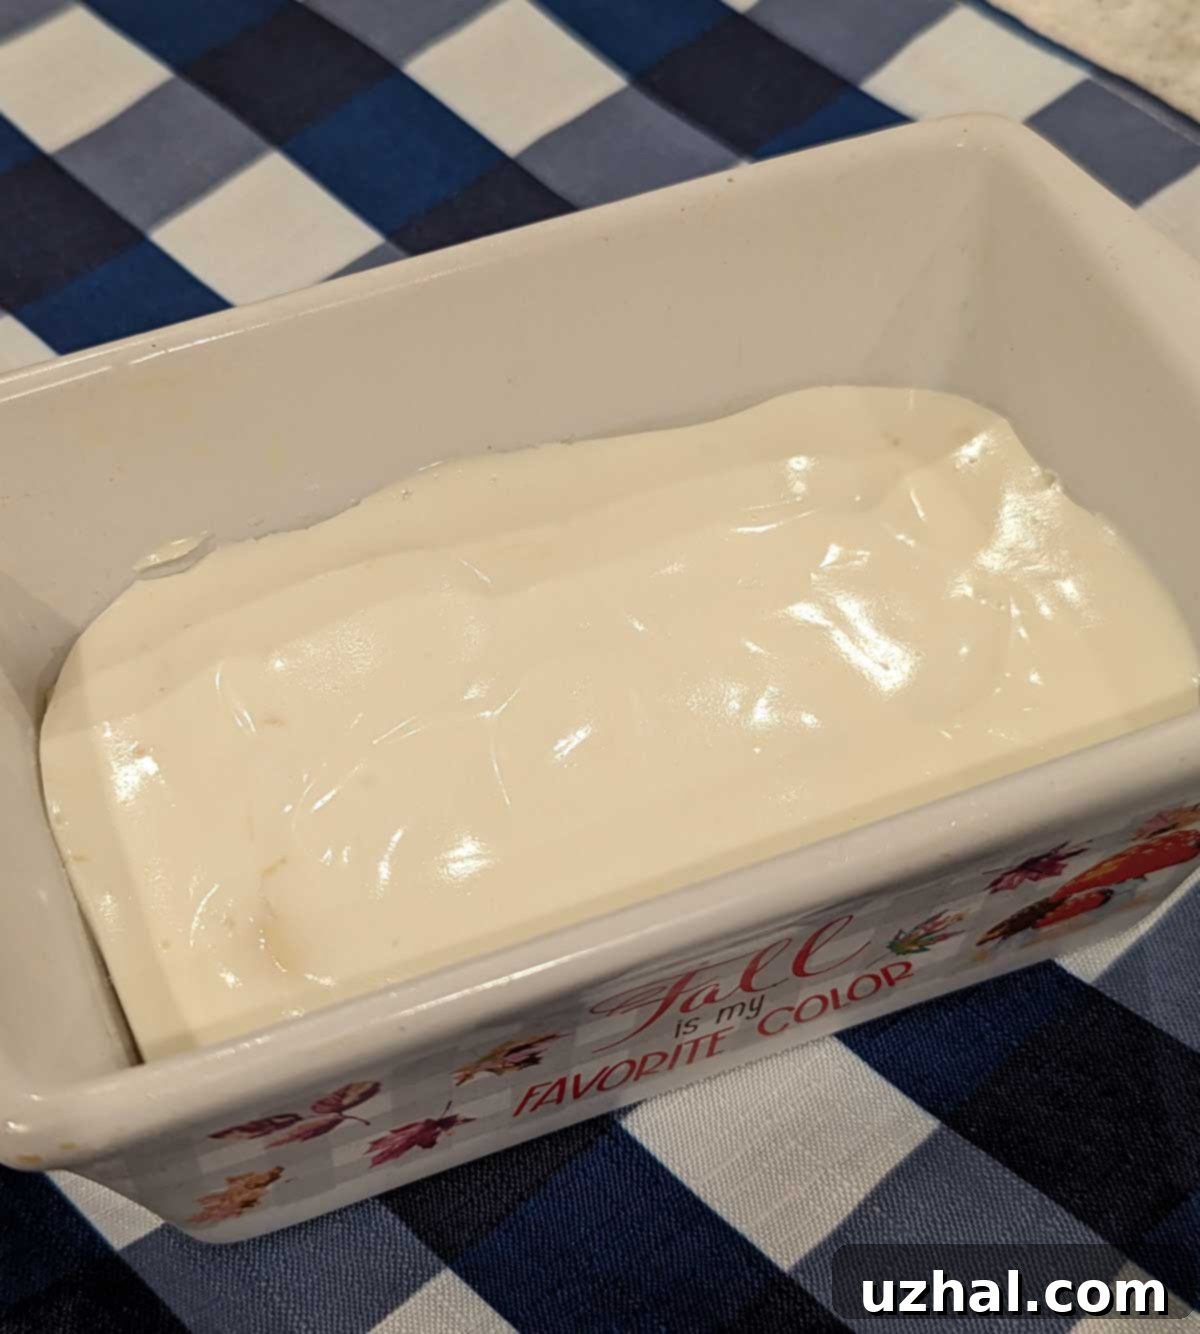
While the original concept for this recipe was a single “Cheesecake for Two” baked in one mini loaf pan, I’ve recently experimented with adapting it to serve a slightly larger group – essentially a “Cheesecake for Four.” This involves dividing the cheesecake filling between two mini loaf pans instead of one. The result is two shallower, yet equally delicious, individual cheesecakes. This adjustment not only provides a slightly different baking profile (sometimes resulting in a quicker cook time) but also offers more serving flexibility.
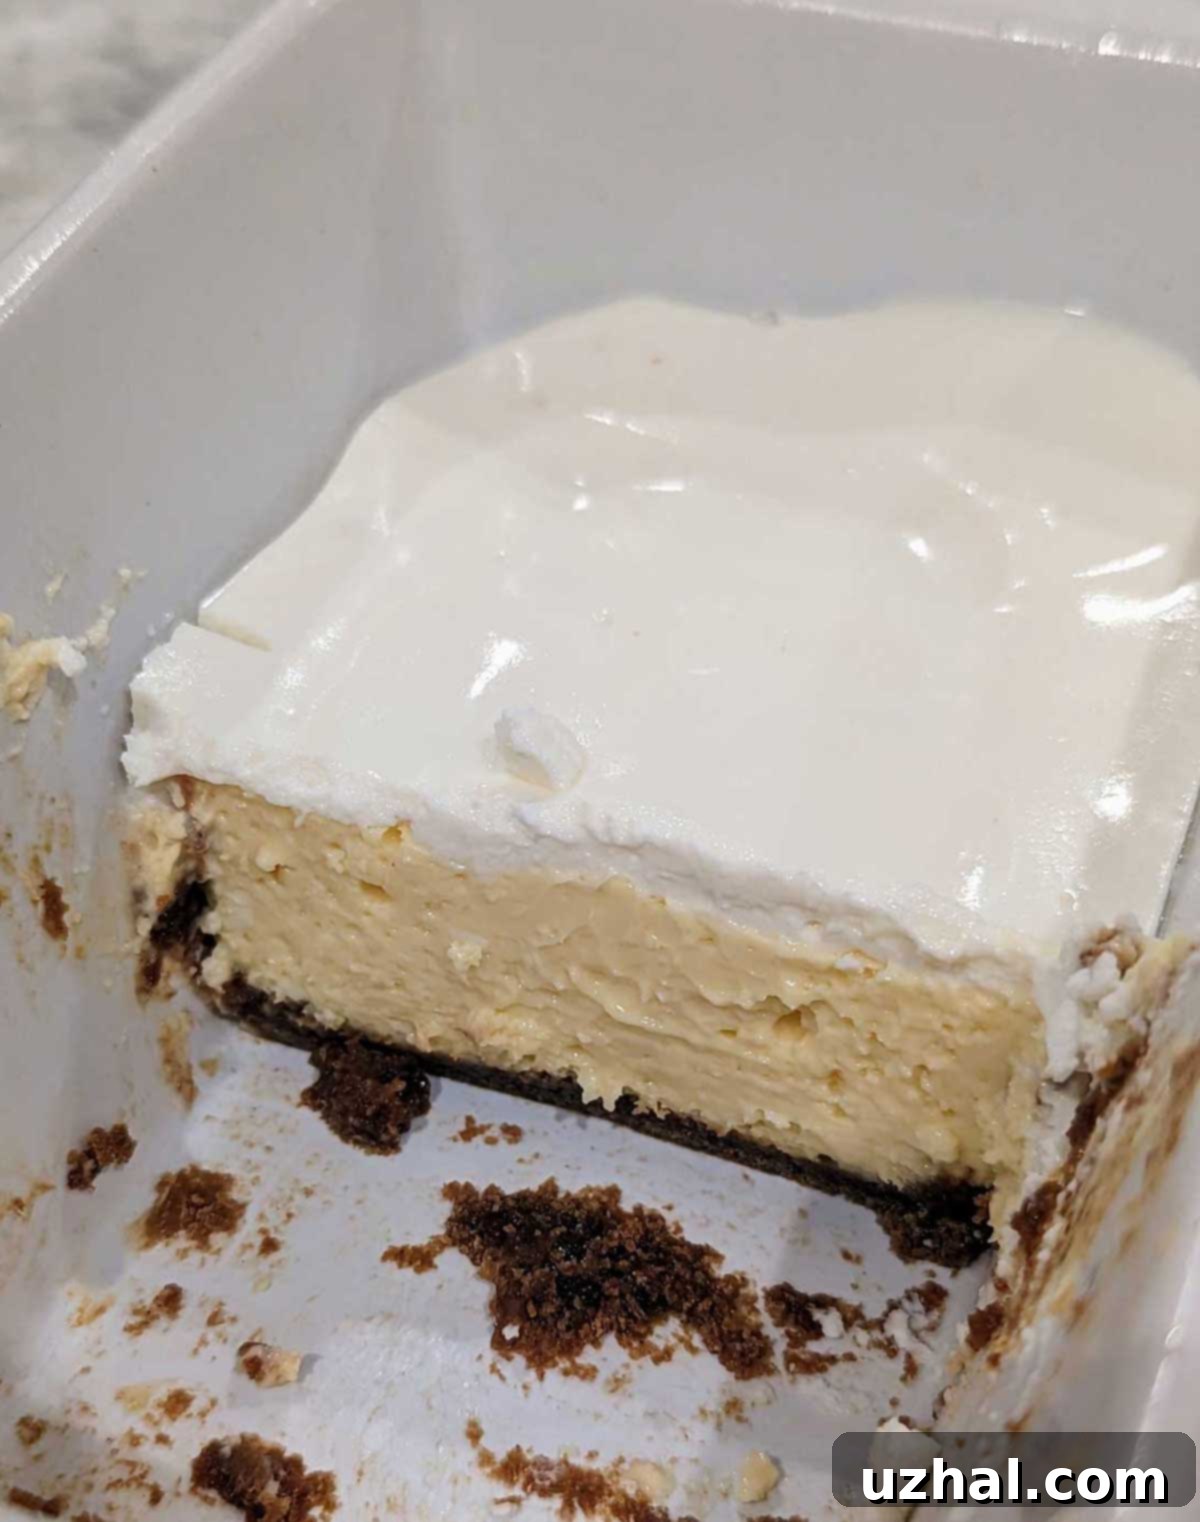
When I made this adaptation, I also decided to forgo the foil lining and instead baked the cheesecakes directly in some of my favorite decorated seasonal loaf pans. While this approach might not yield the most “photogenic” results for a blog post (as it’s harder to get those perfectly clean, lifted slices without the foil), it creates a truly charming and elegant presentation in real life. These cheesecakes, baked and served directly in their beautiful pans, make for delightful individual desserts or thoughtful little gifts. Imagine presenting a friend or family member with their own beautifully presented, homemade mini cheesecake – it’s a gesture that speaks volumes! The shallower cakes also tend to have a slightly different texture, often even creamier, as they cook more uniformly. Whether you stick to the original “for two” or try the “for four” variation, this recipe guarantees a delightful outcome.
For those who love delicious baked goods, we also recommend exploring some of our other popular recipes:
- Brownie Mix Caramel Brownies
- Oat Flour Banana Bread
- Cheesecake Bars (Small Batch)
- Out of Flour Cake Mix Cheesecake
- Chocolate Cheesecake Squares
Now, let’s get down to the delicious details! Here is the full recipe for our irresistible Mini Loaf Pan Cheesecake for Two, complete with ingredients, step-by-step instructions, and helpful tips to ensure your baking success. Prepare to create a small-batch dessert that tastes utterly grand!
Recipe
Cheesecake for Two
Anna
Pin Recipe
Ingredients
Crust:
- 3 rounds ready-to bake sugar cookie dough or 6 crushed graham crackers mixed with 1 tablespoon melted butter
Middle:
- 6 ¾ oz cream cheese, softened (192 grams)
- 3 tablespoons plus 1 teaspoon sugar (41 grams)
- 1 large egg
- 1 large egg yolk
- ½ tablespoon lemon juice
- ½ tablespoon vanilla extract
Topping:
- ¼ cup sour cream (50 grams)
- 1 teaspoon sugar
- ¼ teaspoon vanilla extract
Instructions
-
Preheat your oven to 325 degrees F (160 degrees C). Prepare your petite loaf pan (approximately 3×5 ½ inches) by lining its interior with non-stick foil or parchment paper, allowing an overhang on the sides to create “handles” for easy removal. If you’re opting for the shallower, “for four” version, prepare two such pans.
-
For the crust: If using store-bought cookie dough rounds, firmly press them into the bottom of the lined pan (or pans) to form an even layer. Bake this crust for 15 minutes. If you’re using the graham cracker and melted butter mixture, press it into the pan(s) but do not pre-bake it.
-
In a medium-sized mixing bowl, thoroughly beat the softened cream cheese and sugar until the mixture is smooth and well combined, with no lumps. Incorporate the large egg and egg yolk, mixing until just combined; avoid overmixing. Stir in the lemon juice and vanilla extract until evenly distributed. Carefully pour this creamy cheesecake mixture over your prepared crust in the loaf pan(s). Place the loaf pan(s) into a larger square baking pan.
-
Pour very warm (but not boiling) water into the larger square pan, ensuring the water level comes about halfway up the sides of the loaf pan(s). This creates a water bath, which helps the cheesecake bake evenly and prevents cracking. Bake on the center rack of your preheated oven for approximately 38 minutes. Keep an eye on it for the visual cues mentioned earlier.
-
While the cheesecake is baking, prepare the sour cream topping: in a small bowl, gently whisk together the sour cream, sugar, and vanilla extract until smooth. Once the cheesecake has baked for the initial 38 minutes and appears set around the edges with a slight jiggle in the center, carefully remove it from the oven. Spread the prepared sour cream mixture evenly over the top of the cheesecake. Return the cheesecake to the oven for an additional 5 minutes. Be extremely careful not to overbake this topping; 5 minutes is generally all it needs to set.
-
After the final 5 minutes, remove the cheesecake from the oven. Carefully lift the small loaf pan (or pans) out of the water bath and place it on a wire cooling rack. Allow the cheesecake to cool completely at room temperature for about an hour. Once cooled, transfer it to the refrigerator to chill for at least 3 to 4 hours, or preferably overnight. Chilling is essential for the cheesecake to fully set and for its flavors to develop.
-
Before serving, gently grasp the foil overhang and lift the chilled cheesecake from the loaf pan. Carefully peel away the foil. Slice the cheesecake in half (if making for two) or into smaller portions (if using two pans) and plate. Garnish with your favorite toppings, such as fresh berries, fruit sauces, or a dusting of cocoa powder.
-
This recipe makes 2 generous servings from one petite loaf pan, with each person enjoying half. If you divide the filling between two mini loaf pans, you’ll yield four smaller, delightful servings, perfect for sharing a little taste with more friends!
