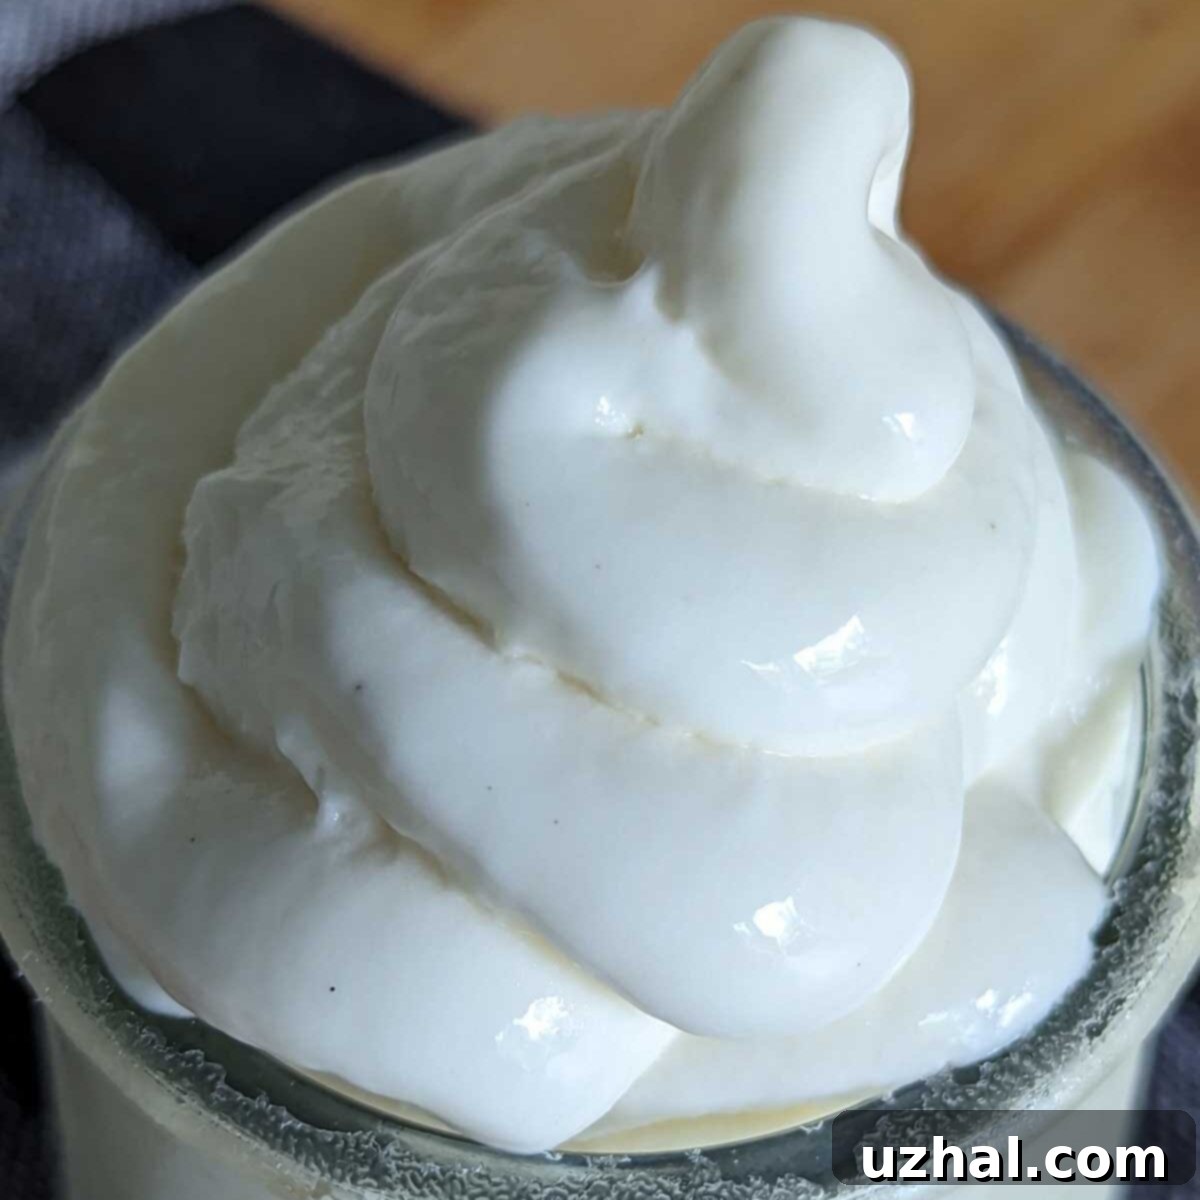
Homemade Dairy Queen Vanilla Soft Serve: Your Ultimate Copycat Recipe for Creamy Bliss
There’s an undeniable charm and nostalgic pull to a classic vanilla soft serve from Dairy Queen. The simple pleasure of a perfectly swirled cone, enjoyed on a warm summer day or as a quick treat in the car, is often unparalleled. While nothing can truly replicate the entire DQ experience – the drive-thru, the specific atmosphere – you can come incredibly close to recreating that beloved flavor and texture right in your own kitchen. This Dairy Queen Ice Cream Copycat recipe offers a fantastic alternative for those moments when a trip to DQ isn’t feasible, allowing you to indulge in a remarkably similar, creamy vanilla soft serve whenever the craving strikes.
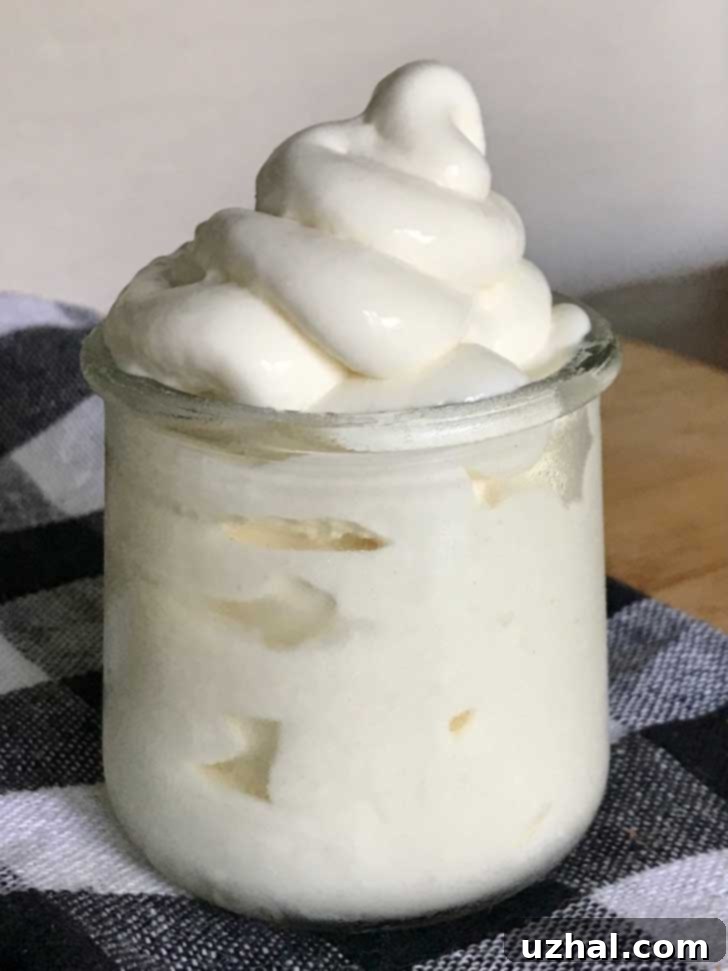
Enjoy Immediately or Store for Later Indulgence
Dairy Queen’s soft serve is truly in a league of its own, boasting a distinctive light, airy, and incredibly smooth consistency. This copycat recipe remarkably captures that essence, offering a flavor profile and texture that are strikingly similar. To bring this homemade delight to life, an ice cream maker is a necessary piece of equipment. Fortunately, you don’t need a commercial soft-serve machine; any standard home ice cream maker, whether it’s a freezer-bowl model or a more advanced compressor unit, will work wonderfully. Straight out of the ice cream maker, your creation will be wonderfully soft, creamy, and boast that familiar vanilla taste, just like a freshly drawn DQ cone.
The beauty of this recipe is its versatility. While it’s perfect for immediate enjoyment in its soft-serve state, it also transforms beautifully. If you freeze it for a few hours, it firms up into a delicious, scoopable vanilla ice cream that still holds that signature copycat flavor. You might be wondering how to get back that soft, swirly consistency after it’s been frozen solid. The secret lies in how you store it. Instead of a rigid carton, transfer your freshly churned ice cream into a freezer-safe bag. When you’re ready to enjoy that soft-serve experience again, simply place the freezer bag in the refrigerator for about 30 minutes to an hour. The ice cream will soften perfectly, allowing you to snip off a corner of the bag and squeeze it out into elegant twirls, just like a professional soft-serve machine. I personally tested this method after a full 24-hour freeze, and the results were fantastic – creamy, delicious, and easy to re-soften. This simple trick ensures you can savor the magic of homemade Dairy Queen-style soft serve whenever the mood strikes.
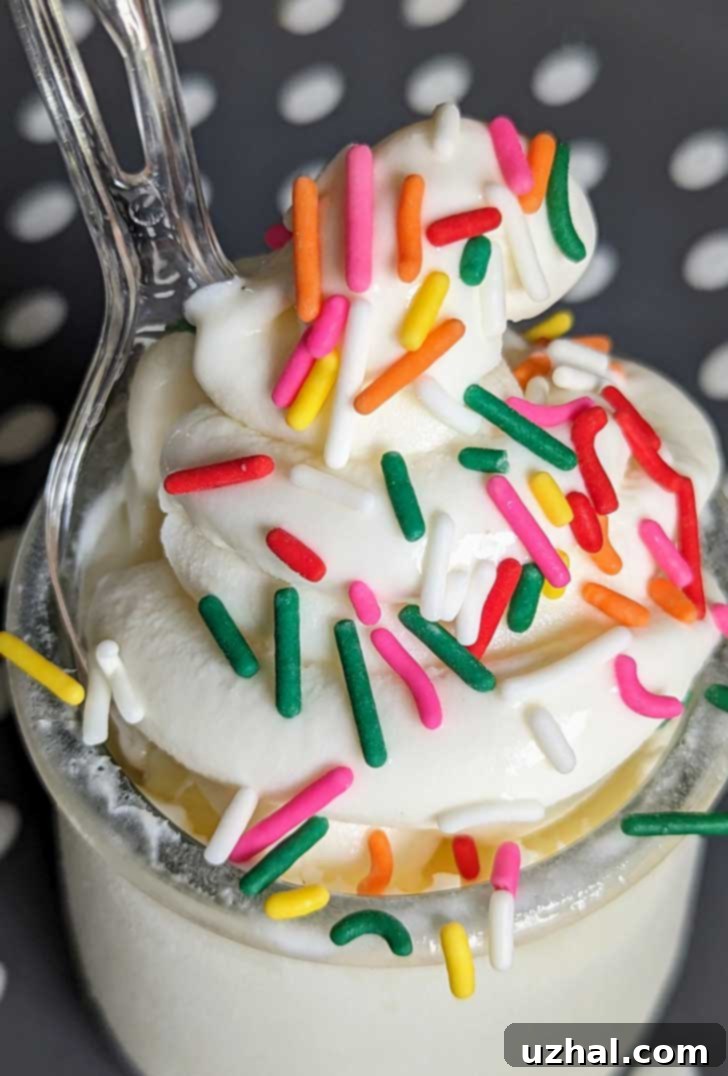
Elevating the Flavor with a Hint of Malt
I’ve been sharing this particular recipe for years, and it consistently receives praise for its uncanny resemblance to Dairy Queen’s vanilla soft serve. However, culinary exploration is always a journey, and recently, I stumbled upon an enhancement that took this copycat to an entirely new level. After enjoying a cone at a local Dairy Queen, I detected a faint, almost subliminal hint of malt. It was a subtle note, yet it sparked an idea: what if a touch of malted milk powder could elevate my homemade version?
Now, to be clear, I don’t believe Dairy Queen’s standard vanilla soft serve officially contains malt. I’ve never noticed it before in their classic offering, and it’s possible that on that particular day, my local DQ might have been preparing a malted shake for another customer, and a trace of the powder found its way into the soft-serve machine. Regardless of the exact cause, that fleeting flavor experience inspired me. I decided to experiment by adding a small amount of malted milk powder to my next batch of homemade soft serve. The difference was remarkable! The malt added an extra layer of depth, a subtly toasted, slightly savory, and nutty undertone that complemented the sweet vanilla beautifully. It didn’t overpower the vanilla; instead, it enhanced it, creating a more complex and incredibly satisfying flavor that felt even closer to that elusive DQ magic. I absolutely loved it, and now consider it a crucial, albeit optional, addition to this recipe for those seeking that extra layer of authentic flavor.
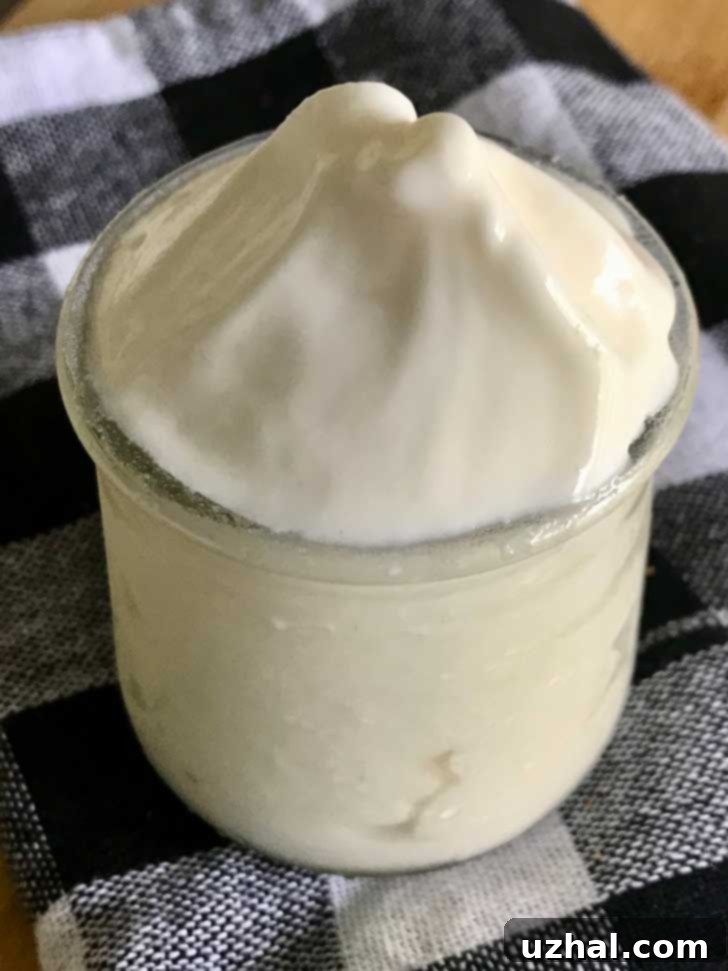
Unlocking Soft Serve Texture at Home: Beyond Dedicated Machines
While the dream of owning a dedicated soft-serve ice cream machine for home use might seem luxurious, it’s certainly not a requirement for enjoying this Dairy Queen copycat. In fact, for many years, I achieved perfect soft-serve-like swirls by simply cutting the bottom corner off a freezer bag filled with my homemade ice cream and squeezing it out. This method, while a bit rustic, proves that the right recipe can overcome equipment limitations. I was only vaguely aware that home soft-serve ice cream machines existed outside of commercial kitchens, but after some searching, I discovered that they absolutely do! Brands like Cuisinart offer models designed for home use that look incredibly fun and promise genuine soft-serve results.
Unfortunately (or perhaps fortunately, depending on how you look at it!), my trusty old model Cuisinart ice cream maker has proven to be incredibly durable and just refuses to break down. This means I haven’t yet had a valid excuse to invest in one of those shiny new soft-serve specific machines. However, for those who are in the market for a new appliance or simply enjoy the convenience of dedicated equipment, these home soft-serve makers are definitely out there and would undoubtedly work brilliantly with this Dairy Queen Ice Cream Copycat recipe. They offer the ultimate convenience for achieving that iconic swirl effortlessly, but rest assured, a standard ice cream maker will still deliver a truly delicious and satisfying outcome with this recipe. The key is the carefully balanced ingredients and the chilling process, ensuring a creamy texture regardless of your machine type.
Essential Tips for Perfect Homemade Ice Cream
Crafting delicious homemade ice cream, especially a copycat of a beloved classic like Dairy Queen soft serve, benefits greatly from a few key insights. While some of these tips might seem straightforward, they play a crucial role in achieving that perfect creamy consistency and rich flavor. Here are some of my top recommendations to ensure your homemade vanilla soft serve is a resounding success:
- **Gelatin Quantity:** Standard gelatin packets typically contain about 2 ½ teaspoons of gelatin. This recipe specifically calls for 2 ½ teaspoons, meaning one entire packet will be the perfect amount. This precise measurement is vital for achieving the characteristic smooth and slightly elastic texture of soft serve, preventing it from becoming overly icy.
- **Gentle Heating of Milk:** When heating the milk, the goal is to make it hot enough to fully dissolve the gelatin and sugar, but absolutely avoid bringing it to a boil. Boiling milk can alter its proteins, potentially leading to a grainy texture in your finished ice cream base. Gentle heating ensures a smooth, consistent base for optimal results.
- **Embrace Whole Milk:** For the richest flavor and creamiest texture, whole milk is non-negotiable. Its higher fat content contributes significantly to the luxurious mouthfeel that makes soft serve so appealing. Skim or low-fat milk simply won’t yield the same luscious results.
- **Cold Water for Gelatin:** Always use cold water to soften or “bloom” the gelatin before adding it to the warm milk mixture. Sprinkling gelatin over cold water allows it to absorb moisture evenly without clumping. If added directly to hot liquid, it can clump and fail to dissolve properly, affecting the final texture.
- **Invest in Quality Cream:** Since vanilla is the star flavor, the quality of your heavy cream truly shines through. While store-brand creams are often fine for baking, for a straight vanilla ice cream where the dairy flavor is prominent, opt for a premium brand. I personally recommend Land o’ Lakes for its rich flavor, which significantly elevates the overall taste of the ice cream.
- **Premium Vanilla Makes a Difference:** Similarly, don’t skimp on the vanilla. Standard vanilla extract is good, but for an exceptional vanilla flavor, I highly recommend Nielsen Massey vanilla bean paste. The paste, with its tiny vanilla bean flecks, delivers a much deeper, more complex, and authentic vanilla aroma and taste compared to plain extract, truly making this soft serve shine.
- **Smart Storage for Soft Serve:** Once churned, transfer the soft ice cream directly from the maker’s canister into freezer-safe bags. I find dividing it into two or three smaller bags works best. This makes it easier to manage and serve. When ready to enjoy, simply snip off one bottom corner of a bag. Keep the other bags intact in the freezer until needed. This method is key to re-softening later and getting that beautiful swirl.
- **Don’t Forget the Cones!** A soft serve experience isn’t complete without the iconic cone! While you can certainly serve your homemade treat in bowls, having some ice cream cones on hand truly elevates the authenticity. I once found myself without any and had to resort to using recycled French yogurt containers – functional, but not quite the same. Stock up on cones to complete the Dairy Queen copycat experience!
- Hazelnut Butterscotch Oatmeal Crisps
- Chocolate Dipped Cupcakes Inspired by Dairy Queen
- Queen of Sheba aka Reine de Saba Cake
- Dairy Free Chocolate Pie
- Dairy Free Chocolate Mousse
Recipe
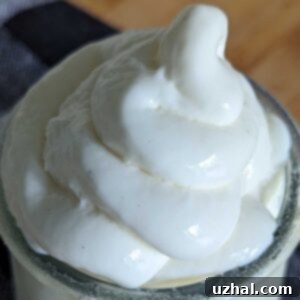
Dairy Queen Ice Cream Copycat
Anna
Pin Recipe
Equipment
-
ice cream maker
Ingredients
- ¼ cup cold water (56 grams)
- 2 cups cold whole milk (449 grams)
- 2 ½ teaspoons Knox gelatin
- 1 cup sugar (210 grams)
- 1 ½ cups heavy cream (Land o’ Lakes brand if possible) cold (336 grams)
- ¼ teaspoon salt
- 1 teaspoon vanilla extract or vanilla bean paste Nielsen Massey
- 1-2 teaspoons malted milk powder optional, but highly recommended for depth of flavor
Instructions
-
Pour ¼ cup of cold water into a small custard cup or shallow bowl. Evenly sprinkle the Knox gelatin over the surface of the cold water. Allow it to sit undisturbed for 5 to 10 minutes; this crucial step, known as “blooming,” softens the gelatin and ensures it dissolves smoothly later. Do not skip this step!
-
In a 3-quart saucepan, combine the softened gelatin/water mixture, the cold whole milk, and the sugar. Heat the mixture over medium heat, stirring constantly, until it is very hot to the touch and the sugar and gelatin have completely dissolved. It’s essential not to boil the mixture, as this can negatively impact the final texture of the ice cream. Just heat until steaming.
-
Carefully transfer the hot milk mixture to a clean glass bowl. Stir in the cold heavy cream, salt, and vanilla (or vanilla bean paste). Ensure everything is well combined. Cover the bowl tightly with plastic wrap and chill the mixture in the refrigerator for a minimum of 6-8 hours, or ideally, overnight. This chilling period is crucial for the flavors to meld and for the gelatin to fully set, which contributes to the soft-serve consistency.
-
The following day, your ice cream base should have thickened and congealed, resembling a very soft gelatin. This indicates it’s perfectly prepared and ready to be churned in your ice cream maker! Get ready for some deliciousness!
-
Pour the chilled ice cream base into your ice cream maker. At this point, if you desire that subtle, complex flavor enhancement, add 1-2 teaspoons of malted milk powder to the mixture. Process the ice cream according to your manufacturer’s specific directions. Churning times can vary, but typically range from 15-30 minutes, until the ice cream is thick and resembles soft serve. When finished, immediately scrape the freshly churned ice cream into a gallon-sized freezer bag or, for easier handling, divide it between two or three smaller freezer bags. At this stage, the ice cream will be quite soft and melt quickly, so place the bag(s) in the freezer for an additional 10 minutes or so to firm it up slightly and make it less “melt-y” for serving.
-
To serve your delightful homemade soft serve, snip off one of the bottom corners of the freezer bag. Gently squeeze the ice cream into your favorite cups, classic ice cream cones, or even quirky recycled French yogurt containers. Enjoy the perfect twirl!
-
Should you have any heavenly ice cream remaining, simply seal the freezer bag and place it back in the freezer. When you’re ready for another serving, refer back to the “Eat Right Away or Later” section for tips on re-softening to achieve that desired soft-serve consistency.
This Dairy Queen Ice Cream Copycat recipe is more than just a dessert; it’s an invitation to recreate cherished memories and enjoy a beloved treat with a personal touch. With its creamy texture, rich vanilla flavor, and the optional hint of malt, it stands as a testament to the joy of homemade goodness. Whether you’re whipping up a batch for an impromptu summer gathering, a cozy family night in, or simply to satisfy a personal craving, this recipe delivers a truly satisfying experience. So, gather your ingredients, fire up your ice cream maker, and prepare to indulge in a vanilla soft serve that rivals your favorite drive-thru classic. Happy churning!
