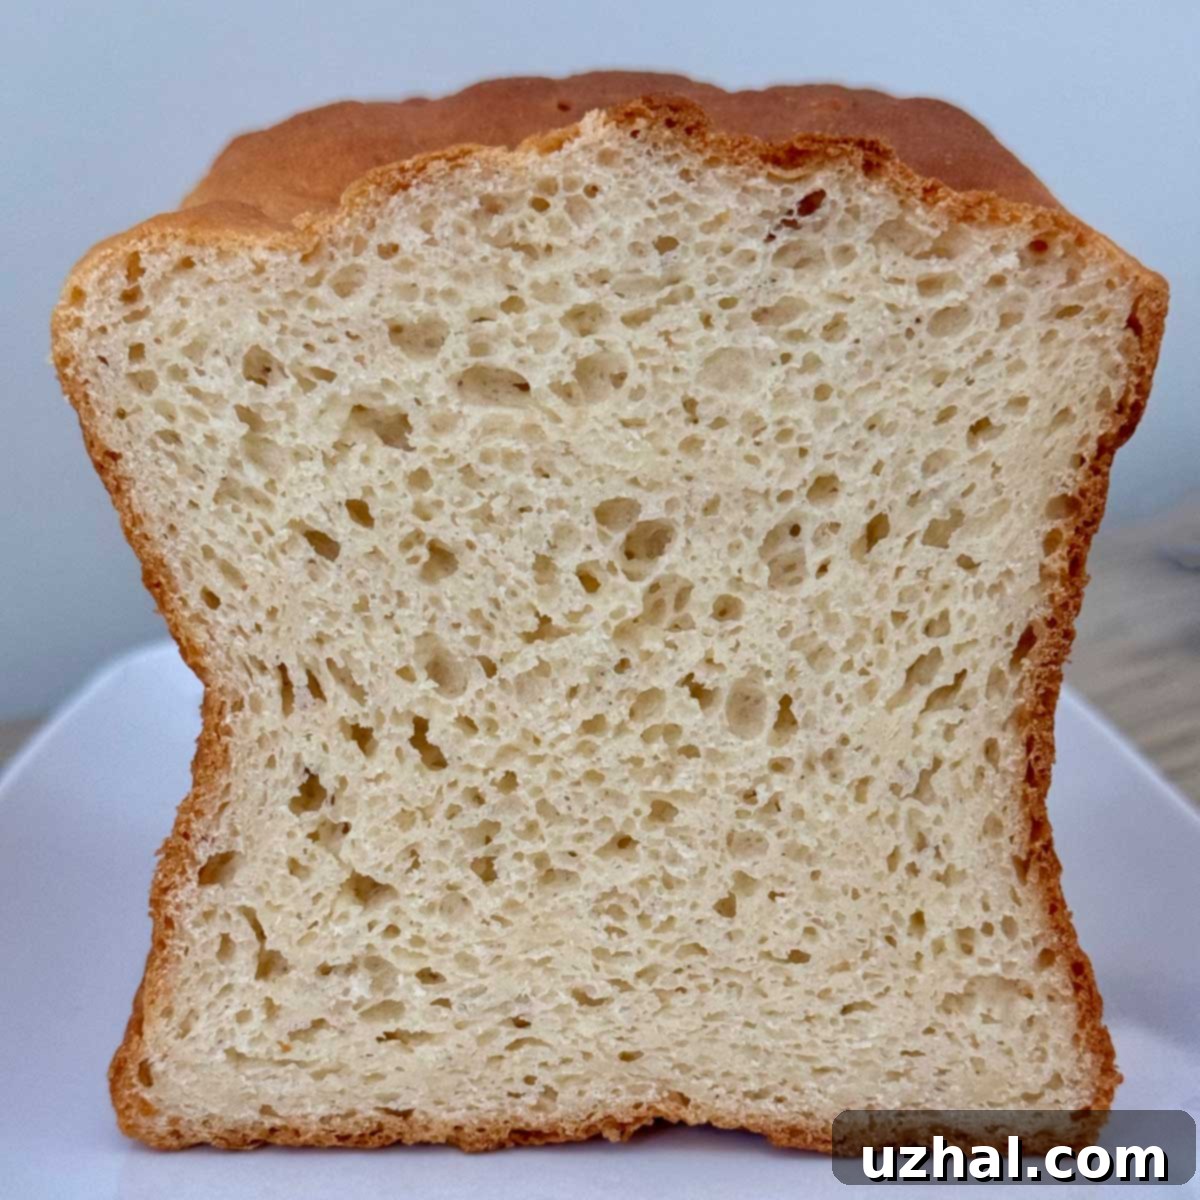
Mastering Soft & Delicious Gluten-Free Sandwich Bread with Cup4Cup (New Formula Tested!)
Baking gluten-free bread can often feel like a delicate science experiment, especially when a trusted ingredient changes its composition. Recently, many gluten-free bakers, including myself, encountered unexpected challenges with recipes relying on Cup4Cup flour. After noticing my loaves weren’t turning out as perfectly as before, a deep dive led me to a crucial discovery: a significant formula change in Cup4Cup. Specifically, the dairy component had been removed.
For years, my go-to gluten-free bread recipes, including this soft sandwich bread, benefited from the older Cup4Cup formula that conveniently included milk powder. This dairy element played a subtle yet vital role in the bread’s structure and texture. With the new, dairy-free formula, adjustments were clearly necessary. I’m thrilled to announce that after careful re-testing and slight modifications to the ingredient amounts, this beloved recipe now works beautifully with the updated Cup4Cup blend. The result is still the wonderfully soft, pliable sandwich bread you crave, perfect for everything from simple toast to hearty deli sandwiches. We’re currently updating all accompanying photos to reflect these exciting new results.
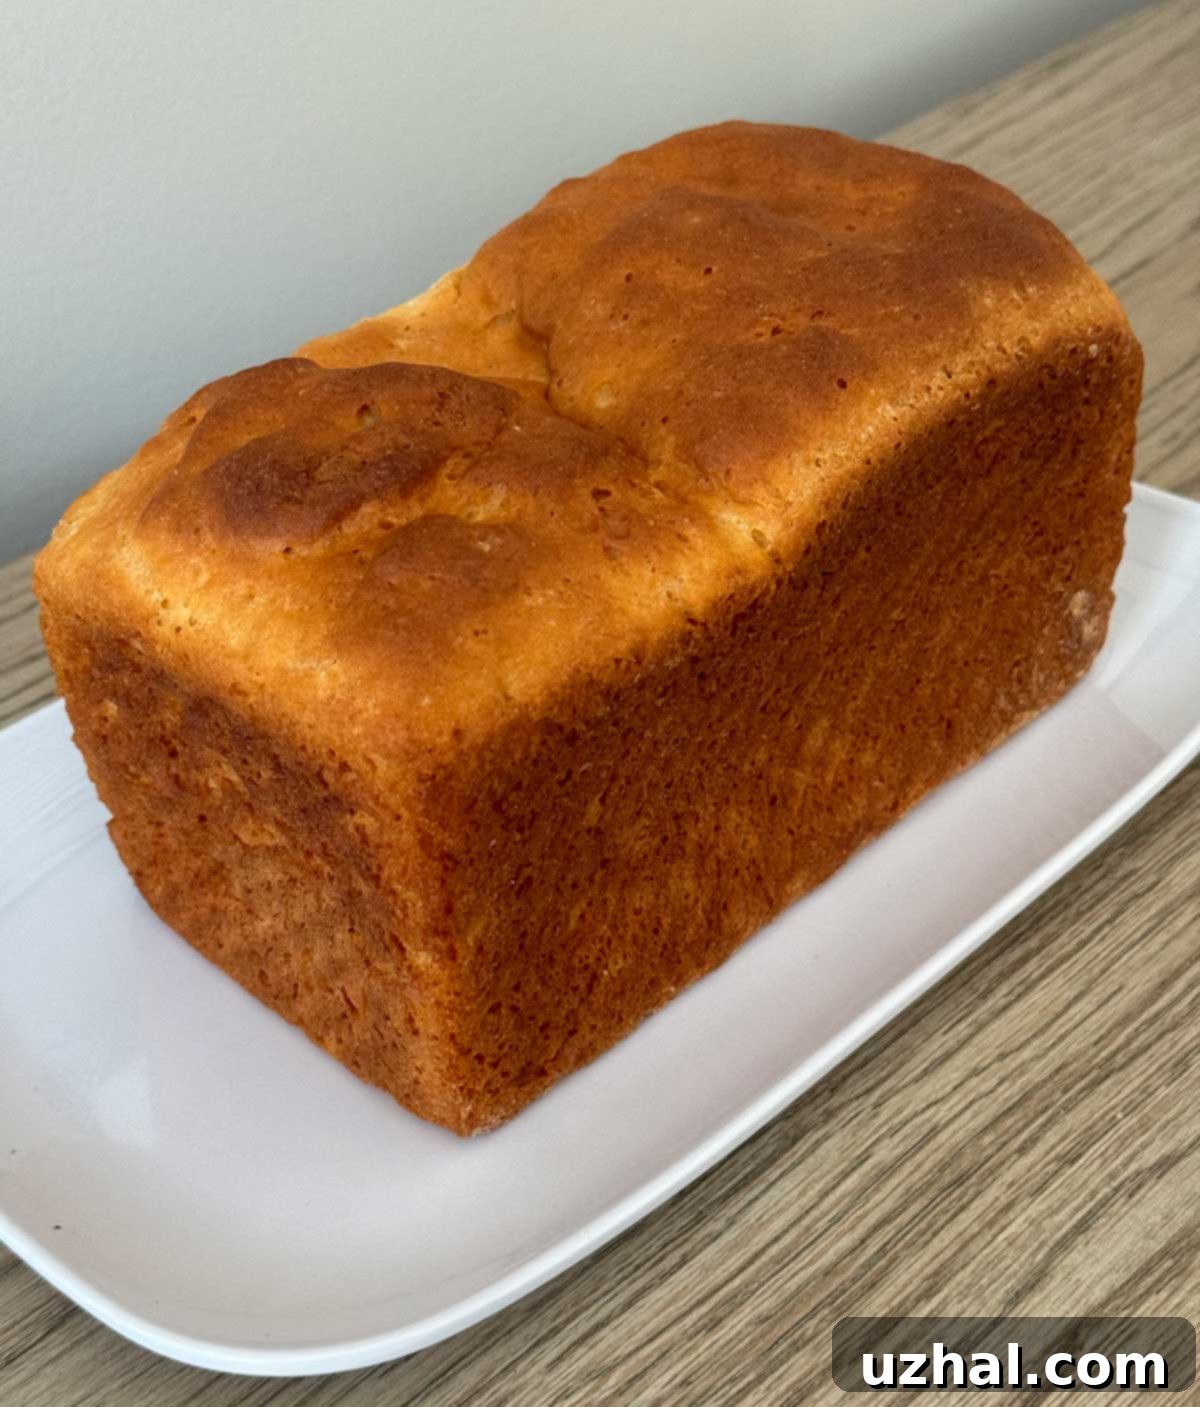
Understanding Cup4Cup Gluten-Free Flour for Optimal Baking
Cup4Cup is renowned among gluten-free bakers for its convenience and versatility, often heralded as one of the best all-purpose gluten-free flour blends available. It typically contains a balanced mix of gluten-free flours and starches, along with xanthan gum, which is crucial for mimicking the elasticity and structure usually provided by gluten. Historically, it also included milk powder, which contributed to the blend’s unique performance in baking. However, as of August 29, 2024, the Cup4Cup formula underwent a significant change: the dairy (milk powder) was removed to make it dairy-free, broadening its appeal to those with dairy sensitivities or allergies.
This removal of milk powder, while beneficial for some, means that recipes developed with the older formula require re-evaluation. Dairy powder plays a role in browning, moisture retention, and contributing protein for structure in baked goods. For this particular gluten-free sandwich bread, simply using the new Cup4Cup blend without additional adjustments would likely result in a less desirable texture and crumb. Therefore, to achieve the same soft, resilient loaf, we’ll be adding extra nonfat milk powder back into the recipe to compensate for its absence in the flour blend itself. This ensures that the bread retains its signature tenderness and robust structure, making for a truly enjoyable sandwich experience every time.
The Essential Role of Psyllium Powder in Gluten-Free Bread
Beyond the flour blend itself, psyllium powder is an absolutely critical ingredient in this gluten-free sandwich bread recipe. It acts as a powerful binder and structure-builder, essentially stepping in to perform some of the functions that gluten would in traditional bread. When psyllium comes into contact with liquid, it forms a viscous gel that helps to trap gases produced by the yeast, resulting in a lighter, airier crumb rather than a dense, heavy loaf. This gel also contributes elasticity to the dough, preventing it from becoming crumbly and giving the bread a more satisfying chew.
There are two primary forms of psyllium used in gluten-free baking: psyllium husk powder and whole psyllium husks. Psyllium husk powder, which is finely ground, is preferred for this recipe as it integrates more smoothly into the batter, leading to a finer, more uniform crumb structure. Whole husks, being larger and fluffier, can sometimes yield a slightly coarser texture. While they can be used interchangeably if measured by weight, using the powder is recommended for optimal results. I specifically use the Now brand psyllium husk powder, which is known for not imparting an undesirable purple hue to the finished bread, a common issue with some other brands. Its consistent quality helps ensure a beautifully textured and visually appealing loaf every time.
Why Milk Powder is a Key Ingredient for Softness and Structure
Milk powder is another indispensable ingredient in crafting this wonderfully soft and structured gluten-free sandwich bread. Its dairy components offer multiple benefits that significantly improve the final product. Firstly, the milk proteins contribute to the bread’s overall structure, helping to create a robust framework that supports the rise and prevents the loaf from collapsing. Secondly, the lactose (milk sugar) aids in the Maillard reaction during baking, promoting a desirable golden-brown crust and enhancing the bread’s flavor profile. Most importantly, milk powder excels at retaining moisture, ensuring the bread remains incredibly soft and fresh for longer, preventing the dryness that can plague many gluten-free loaves.
Given the recent change in the Cup4Cup formula to remove dairy, adding milk powder back into the recipe is not just beneficial, but essential to replicate the qualities of the original, highly successful bread. For those who are not strictly dairy-free, always having dry milk powder on hand is a smart move for all your bread-making endeavors. It’s also incredibly convenient for other recipes that call for a small amount of milk. It’s worth noting that the weight of milk powder can vary by brand; for instance, Bob’s Red Mill is typically a bit denser than Carnation. For consistent results in this recipe, I recommend using 32 grams, which equates to approximately ¼ cup of Bob’s Red Mill nonfat milk powder. This precision ensures you get the perfect balance of softness, structure, and flavor in every slice.
The Supporting Cast: Essential Ingredients for a Perfect Loaf
Beyond the primary gluten-free flour and specialized binders, the remaining ingredients in this sandwich bread recipe are foundational components found in many excellent baked goods, each contributing vital characteristics. These are carefully chosen to ensure a balanced, flavorful, and structurally sound loaf.
- Baking Powder: While yeast provides the primary leavening, a touch of baking powder acts as an additional boost, assisting the rise and contributing to a lighter, more open crumb. This dual-action leavening helps create the desirable airy texture often missing in gluten-free breads.
- Sugar: More than just for sweetness, sugar plays a crucial role in activating the yeast, providing it with the necessary food to produce carbon dioxide and facilitate a vigorous rise. It also contributes to the bread’s browning during baking, creating an appealing golden crust, and balances the overall flavor profile. In previous versions, honey was used, but this updated recipe simplifies with granulated sugar.
- Eggs: Eggs are multifunctional powerhouses in baking. They add significant structural support through their proteins, which coagulate during baking, creating a framework that helps the bread hold its shape. Furthermore, eggs contribute rich moisture, enhance the bread’s flavor, and act as an emulsifier, binding ingredients together for a smoother batter.
- Salted Butter: Melted butter is incorporated to provide richness and tenderness, preventing the bread from becoming too crumbly or dry. Its fat content adds a wonderful flavor and contributes to a soft, melt-in-your-mouth texture. While some recipes might use oil, butter was specifically chosen for its flavor and the specific mouthfeel it imparts to this sandwich bread. I haven’t yet experimented with oil as a substitute for this particular adaptation, but it’s a possibility for future testing.
- Plain Greek Yogurt: This ingredient adds a unique depth of flavor and moisture. The acidity in yogurt can also slightly tenderize the crumb and react with the baking powder, further assisting in the rise. Its protein content also provides a little extra boost to the bread’s structure.
Demystifying Gluten-Free Bread Baking: From Batter to Loaf
If you’re new to the world of gluten-free bread baking, one of the first things you’ll notice is how different the process is compared to traditional wheat-based bread. Forget about kneading; that’s simply not required here! Gluten-free doughs, especially those using Cup4Cup and psyllium, are typically much wetter, resembling a thick cake or muffin batter rather than a traditional pliable dough. This batter-like consistency is entirely normal and, in fact, desirable for achieving a light, open crumb.
My biggest moments of joy in gluten-free baking often come in two stages: first, seeing the batter actually rise, and second, witnessing that beautifully risen bread emerge from the oven without collapsing into a dense brick. It’s a common challenge, but this particular Cup4Cup recipe has proven reliably stable. Even though the “dough” starts out very loose and wet, it consistently rises well and maintains its structure after baking. Success in this stage often hinges on not disturbing the loaf during its crucial rising period and ensuring an even, warm environment for optimal yeast activity. With a little practice and attention to detail, you’ll soon be celebrating perfectly risen, non-collapsed gluten-free loaves with confidence.
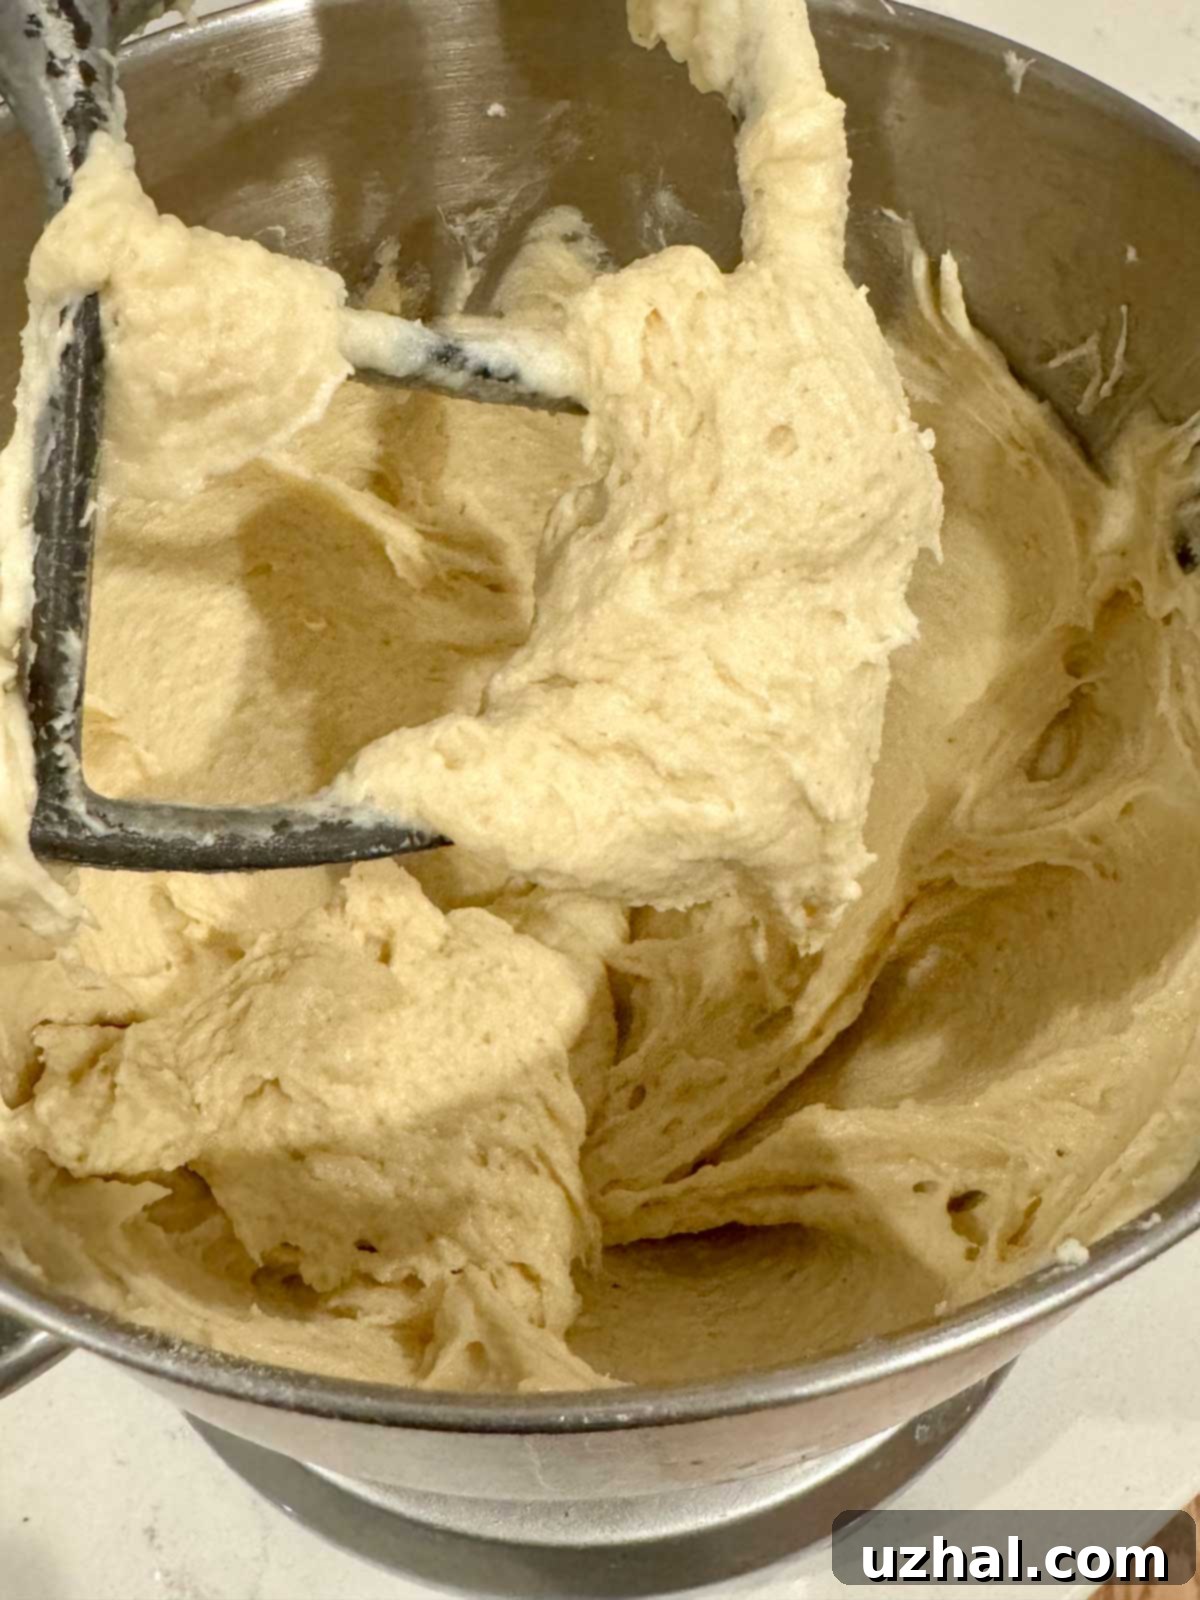
The Critical Role of Loaf Pan Size for Cup4Cup Bread
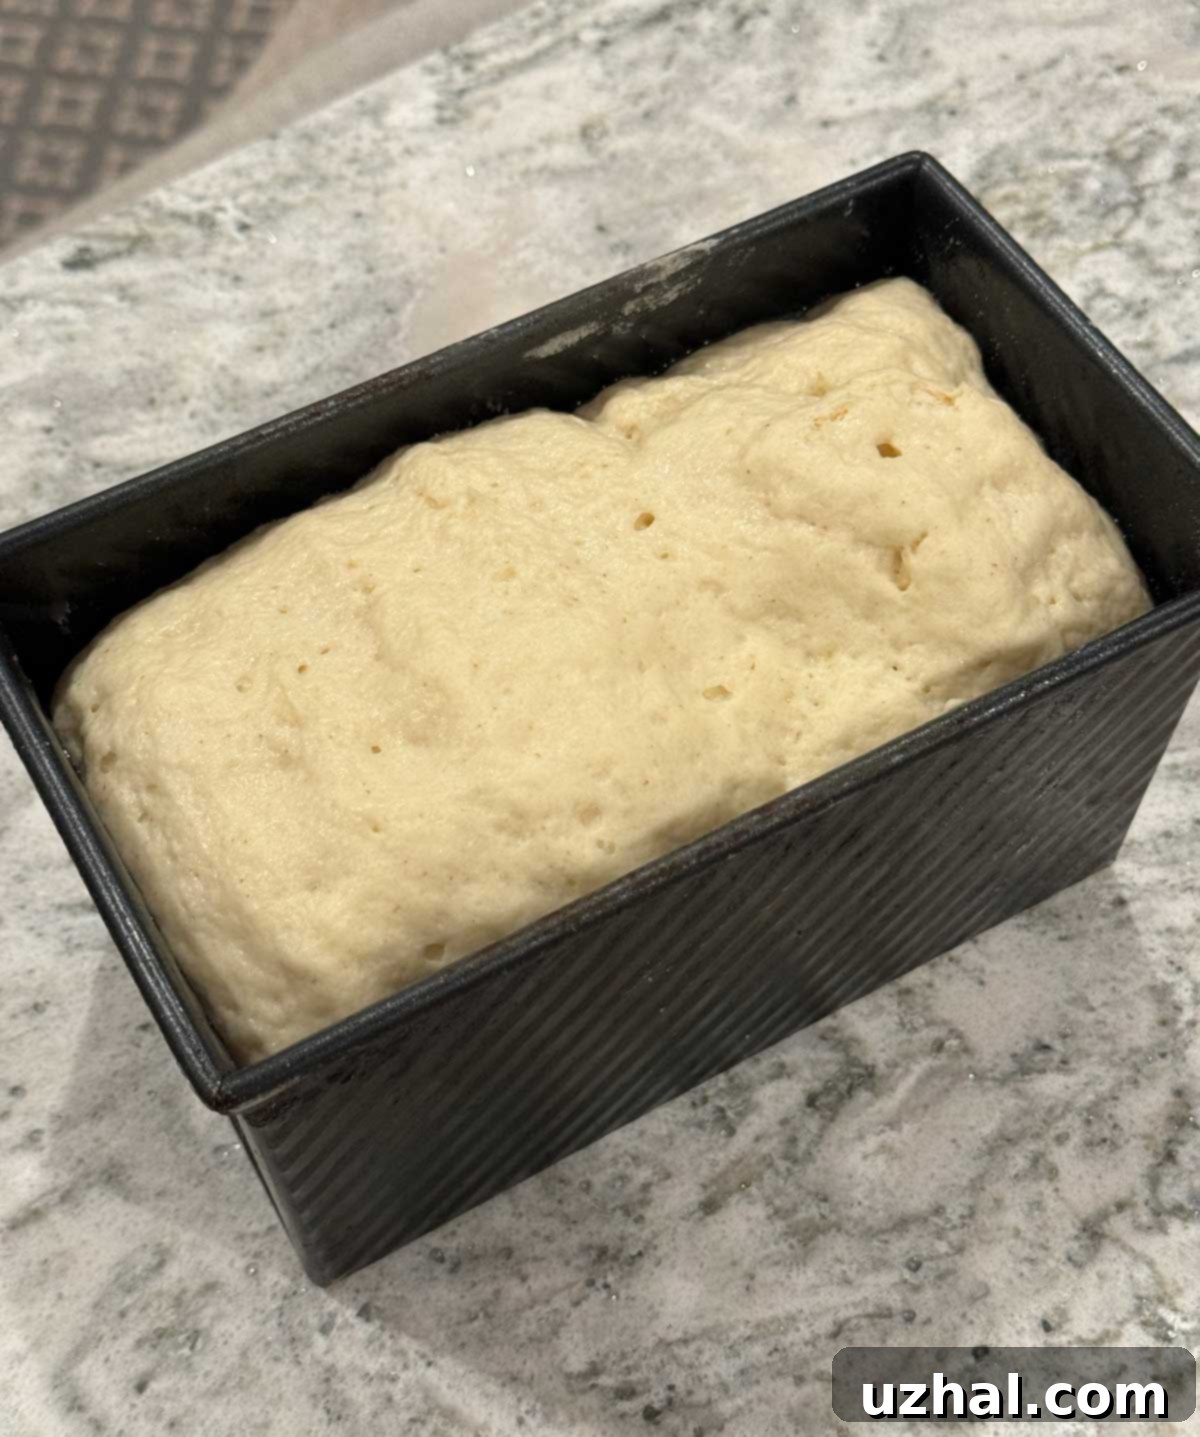
While it might seem obvious, the size and style of your loaf pan can dramatically impact the success and shape of your gluten-free bread. It’s easy to assume you can simply scale a recipe up or down for any pan, but with gluten-free baking, precision is key. For best results with this Cup4Cup recipe, sticking to the specified pan size is highly recommended. The specific pan I consistently use and recommend for this recipe is a 1-pound high-sided Pullman loaf pan, used without its lid. The high sides of a Pullman pan are invaluable; they provide crucial structural support for the gluten-free batter as it rises. Without the strong gluten network found in traditional bread, GF doughs can sometimes spread rather than rise vertically, and the tall sides help guide and contain the batter, encouraging an impressive upward expansion and a uniform, square slice.
For those new to bread baking or avid bakers who enjoy making smaller, giftable loaves, a ½-pound cube-shaped Pullman pan is an excellent investment. I often use this smaller pan to test half-batches of new or adapted recipes before committing to a full-sized loaf. It’s a great way to fine-tune ingredients or techniques without wasting a full batch of precious gluten-free flour. Investing in the right pan truly makes a difference in achieving the beautifully shaped and functional sandwich bread you desire.
Expert Tips and Future Variations for Your Gluten-Free Baking
My passion for experimenting with gluten-free bread recipes is ongoing, and I’m always eager to discover new techniques and flavor combinations. This particular version of Cup4Cup gluten-free sandwich bread, adapted for the new formula, is designed to be as straightforward and foolproof as possible. Adhering to the specified loaf pan size and precise measurements is fundamental to its success. However, baking is also an art, and once you’ve mastered the basic recipe, there are many avenues for delicious exploration.
Future variations might include incorporating different flavor enhancers such as dried herbs for a savory loaf, a sprinkle of sesame or poppy seeds for added texture and visual appeal, or even a touch of garlic powder for a more robust profile. Sweet variations could involve adding cinnamon and raisins, or a hint of orange zest. While the core recipe relies on Cup4Cup for consistency, experimenting with small percentages of other gluten-free flours, like a bit of teff or buckwheat, could introduce unique flavors and nutritional benefits, though this would require careful re-testing of liquid ratios. I will continue to share any successful updates and exciting variations right here, so stay tuned for more gluten-free baking adventures!
The Golden Rule: Weighing Your Ingredients to Avoid Dense Bricks
Perhaps the single most critical piece of advice for successful gluten-free bread baking, especially when working with blends like Cup4Cup, is to **always weigh your flour with a kitchen scale.** This step cannot be overstated and is often the difference between a light, airy loaf and a dense, unappetizing “brick.” Cup4Cup, like many gluten-free flour blends, is highly absorbent, and its density can vary significantly depending on how it’s scooped. A cup of Cup4Cup can weigh anywhere from 126 grams to an astonishing 160 grams if packed too tightly. Such a wide variation in flour quantity can throw off the delicate balance of a gluten-free recipe, leading to disastrous results. For reference, the new formula of Cup4Cup typically weighs around 130 grams per cup when measured correctly.
When you measure by volume (cups), you risk adding too much flour, which results in a dough that is too thick. Remember, the “dough” for this gluten-free bread should resemble a thick muffin batter, not a traditional gluten-based bread dough that you can easily knead. If your mixture feels overly stiff or looks like regular bread dough, it has too much flour and will not rise properly, inevitably leading to a heavy, dense loaf. Using a digital kitchen scale ensures pinpoint accuracy, providing consistent results every time and guaranteeing the correct batter consistency needed for a light, springy gluten-free bread.
Ensure You Use the Correct Cup4Cup Blend: The Blue Bag is Key!
To guarantee the success of this gluten-free sandwich bread recipe, it is absolutely essential to use the correct type of Cup4Cup flour. Specifically, you need the “multipurpose Cup4Cup” blend, which is typically sold in a distinctive **blue bag**. This blend is formulated to be a direct 1:1 substitute for wheat flour in many recipes, and its precise balance of starches and flours is what makes this bread work so well.
Please be aware that Cup4Cup also produces other blends, such as the “wholesome blend,” which is usually found in a green bag. The wholesome blend has a different composition, often including whole grains, which will significantly alter the texture, absorption rate, and overall performance in this recipe. Using the green bag (wholesome blend) will likely result in a very different and potentially unsuccessful outcome. Always double-check your packaging to ensure you’re using the multipurpose Cup4Cup in the blue bag for the best possible gluten-free sandwich bread.
- Gluten-Free Raisin Bread
- Tapioca Flour Brownies
Recipe
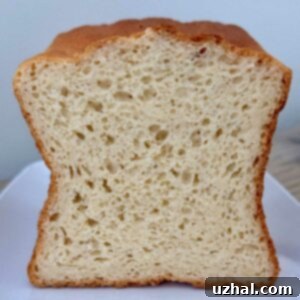
Cup4Cup Gluten-Free Sandwich Bread
Anna
Pin Recipe
Ingredients
- 2 ⅓ cups Cup4Cup (new formula (300 grams)
- ¼ cup nonfat milk powder (Bob’s Red Mill (32 grams)
- 1 ½ teaspoon salt
- 4 teaspoons psyllium powder (12 grams)
- 1 teaspoon baking powder
- 2 ½ teaspoons quick acting yeast
- ¼ cup sugar (50 grams)
- 9 oz water, warm (130 degrees F)
- ¼ cup plain Greek yogurt (56 grams)
- 2 large eggs, room temperature
- 2 tablespoons salted butter, softened until squishy
Instructions
-
Grease an 8 x 4 ½ inch Pullman pan or other deep loaf pan.
-
In the bowl of a stand mixer, combine Cup4Cup, milk powder, salt, psyllium husk powder, baking powder, yeast and sugar.
-
Pour in the water and mix it up with the scraper, then mix in the yogurt and eggs.
-
Set the bowl on the mixer stand and begin beating on low speed with the paddle. Add the butter and continue beating for 3 minutes or so, scraping side of the bowl every minute and a half or so.
-
Scrape the dough into the center of the bowl. It should be kind of like a muffin batter with elasticity at this point. If you feel like it’s too dry or it resemble bread dough, add a tablespoon more warm water.
-
Scrape it into a Pullman pan or high sided (deep) loaf pan. It should have enough room to double. in the pan. Cover with a piece of greased plastic wrap and allow it to rise in a warm place for 45 to 60 minutes. It will rise substantially but won’t come to the top of a Pullman.
-
Bake in a preheated oven at 350 degrees F for about 45 minutes or until the internal temperature registers at least 205.
-
Allow the bread to cool completely before slicing. I know this difficult, but it is not really done until it has finished cooling. It’s best if you can let it sit and cool overnight.
