Crafting the Perfect Crusty Corn Flour Bread: A Chewy, Yeasted Loaf Recipe
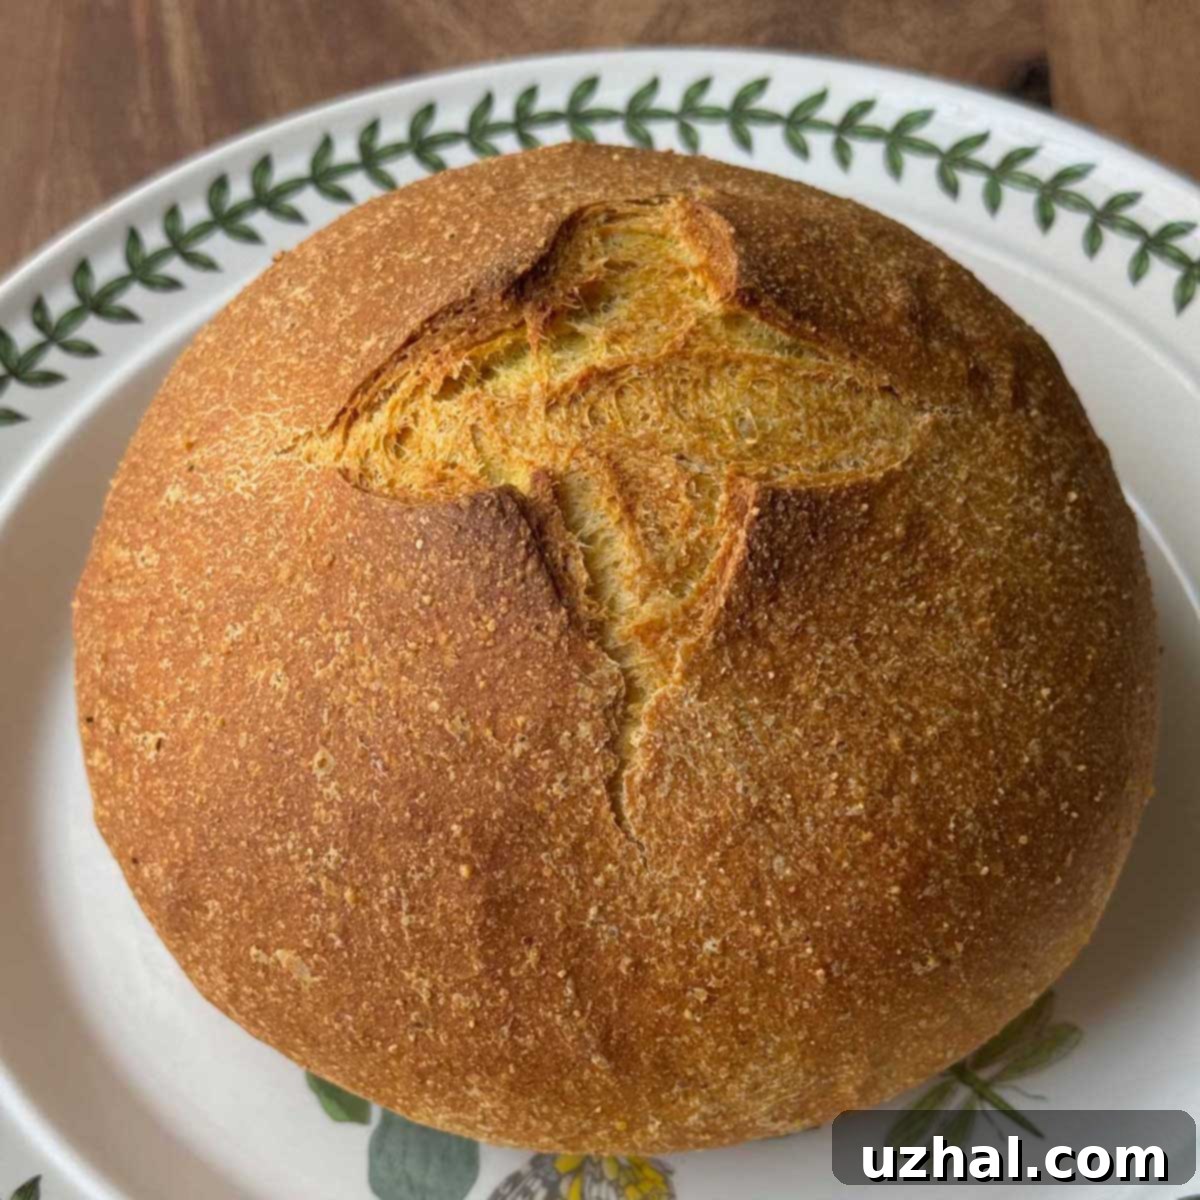
This unique bread wasn’t a planned creation but rather a happy accident in my kitchen. My initial aim was to develop a vibrant yellow cornbread with a texture that would be effortlessly sliceable, akin to a hearty rye. What emerged was a delightful fusion, borrowing characteristics from the rustic French pain de maïs and the dense, flavorful Portuguese broa de milho. I’ve chosen to call it “Crusty Corn Flour Bread” because fine corn flour is truly the star ingredient, imparting a distinctive chewiness and a beautiful golden hue that sets this loaf apart. It’s a bread that promises both a satisfying bite and a wonderfully crusty exterior, making it a versatile addition to any meal. This recipe transcends conventional expectations of cornbread, offering a more robust and adaptable loaf, perfect for a wide range of culinary uses from simple toast to hearty sandwiches.
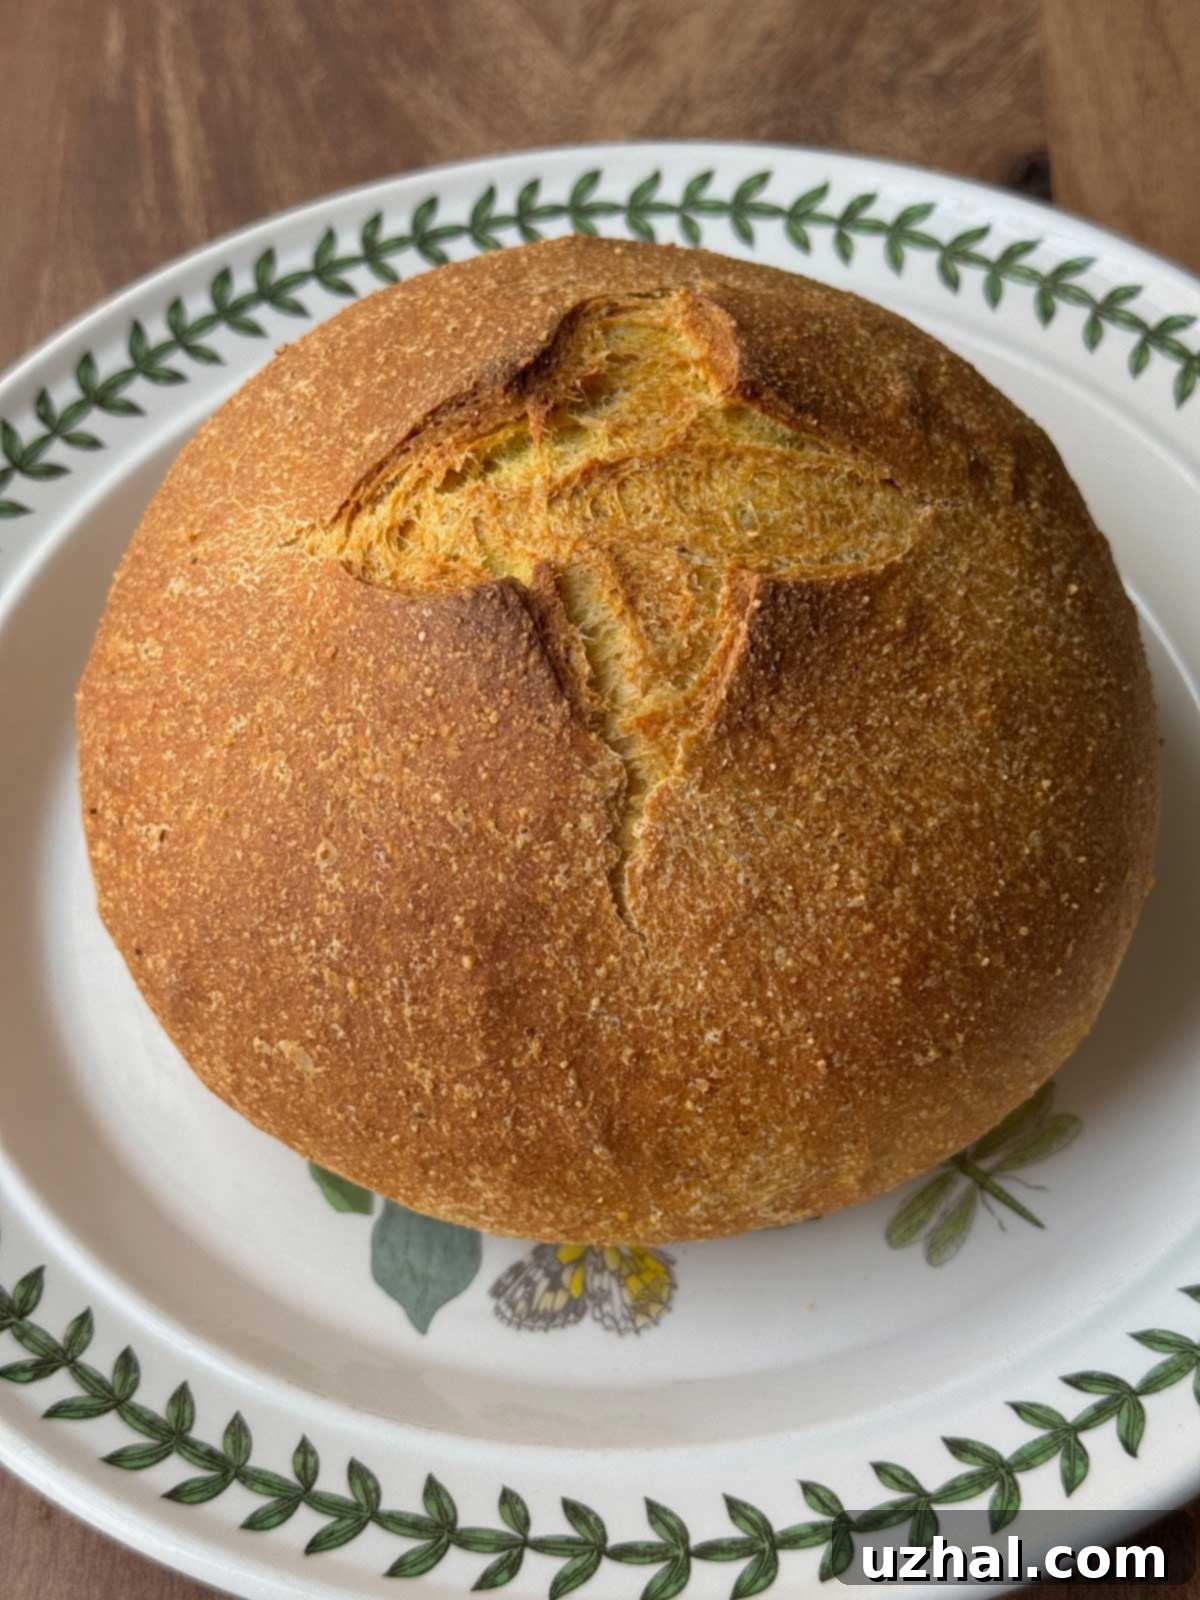
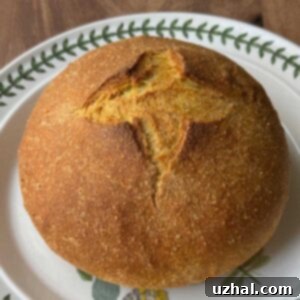
Here’s what this beautiful bread looks like as a whole loaf, fresh out of the oven. This recipe employs a Dutch oven, a technique renowned for creating superior crusts on homemade bread. Baking initially with the lid on traps steam, which helps the crust remain pliable for a longer period, allowing for maximum oven spring. Removing the lid during the latter part of the bake then permits the crust to brown beautifully and become wonderfully crisp. This method is crucial for achieving that signature “crusty” texture that truly defines this corn flour bread.
The Essential Role of Fine Corn Flour in Bread Baking
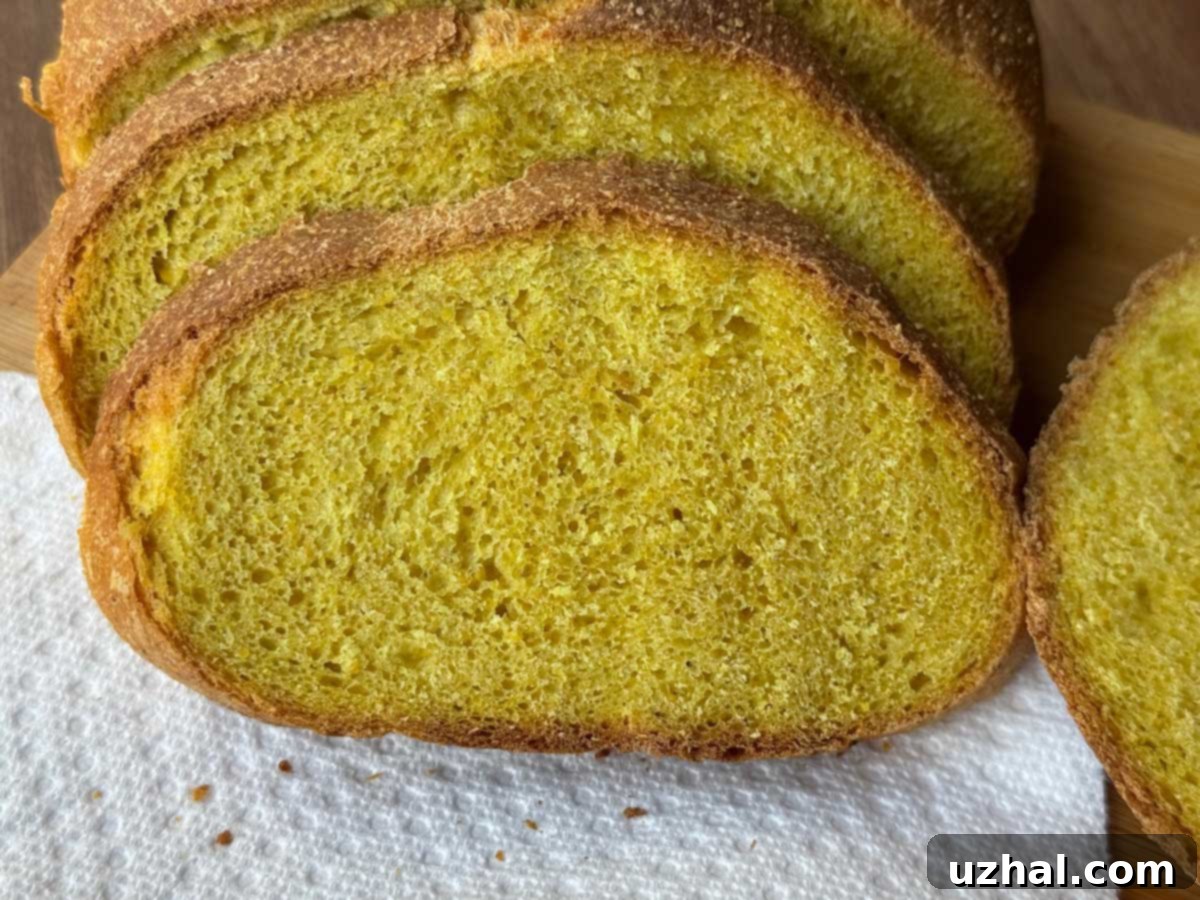
The secret to this bread’s distinctive texture and appearance lies in using truly fine corn flour, which is significantly lighter and finer than standard cornmeal. While coarser cornmeal is excellent for traditional crumbly cornbread, for a loaf that aims for the characteristics of a European-style bread with a chewy interior and a pronounced crust, the finer grind of corn flour is indispensable. Its delicate texture allows it to integrate seamlessly with wheat flour, contributing to a smooth, elastic dough that yields a more refined crumb. If you’re like most home bakers and don’t readily have true corn flour on hand, don’t worry—you can easily make your own from cornmeal.
I recently became the proud owner of a Vitamix blender after contemplating it for two decades, and it proved to be an absolute game-changer for this task. It effortlessly transformed coarse cornmeal into a silky, fine flour, perfect for achieving the desired chewiness and crumb structure. A good quality food processor can also do the job, though you might need to process the cornmeal in smaller batches and for a longer duration to achieve adequate fineness. For those without a powerful blender or food processor, a clean coffee grinder can work wonders for small quantities. The key is to grind until the cornmeal feels like a soft powder, without any gritty bits. You might even want to sift it after grinding to ensure maximum fineness and remove any larger particles. This step is critical for the bread’s texture, allowing it to integrate seamlessly with the bread flour and create a smooth, elastic dough. The Vitamix’s performance has me seriously considering investing in their grains container, though the wet container performed admirably. I’d love to hear from other blender enthusiasts: do you find the dedicated grains container truly essential for flour grinding?
Mastering the Dutch Oven for a Superior Crust
Baking bread in a Dutch oven is a technique favored by artisan bakers for good reason: it creates an unparalleled crust and an incredibly even bake. The heavy, lidded pot acts like a miniature oven within your oven, trapping steam released by the dough during the initial stages of baking. This steam keeps the surface of the dough moist, preventing it from forming a crust too quickly. This extended pliability allows the bread to expand fully—a process known as “oven spring”—resulting in a lighter, airier crumb. Once the lid is removed, the direct heat can then crisp up the moist surface, transforming it into the deep golden, crackly crust we all love.
To use a Dutch oven effectively, it’s crucial to preheat it along with your oven. This ensures that when the dough is transferred, it immediately experiences high, even heat, initiating that vital burst of steam. Be extremely careful when handling a preheated Dutch oven, as it will be very hot. Always use thick oven mitts and place it on a heat-safe surface before carefully transferring your loaf. If you don’t own a Dutch oven, you can still achieve a decent crust by placing a pan of hot water on the bottom rack of your oven to create steam during the first part of baking, or by misting the oven walls with water. However, for the truly “crusty” experience described in this recipe, a Dutch oven is highly recommended.
Elevating Your Meals: Serving Suggestions for Crusty Corn Flour Bread
Beyond its simple pleasure, this chewy corn flour bread is wonderfully robust and versatile. Its firm yet tender crumb makes it an excellent choice for substantial sandwiches. Imagine it layered with your favorite deli meats, cheeses, and crisp vegetables, or perhaps a hearty grilled cheese. The slight sweetness and distinctive corn flavor also make it a fantastic accompaniment to savory dishes, providing a comforting base for bold flavors.
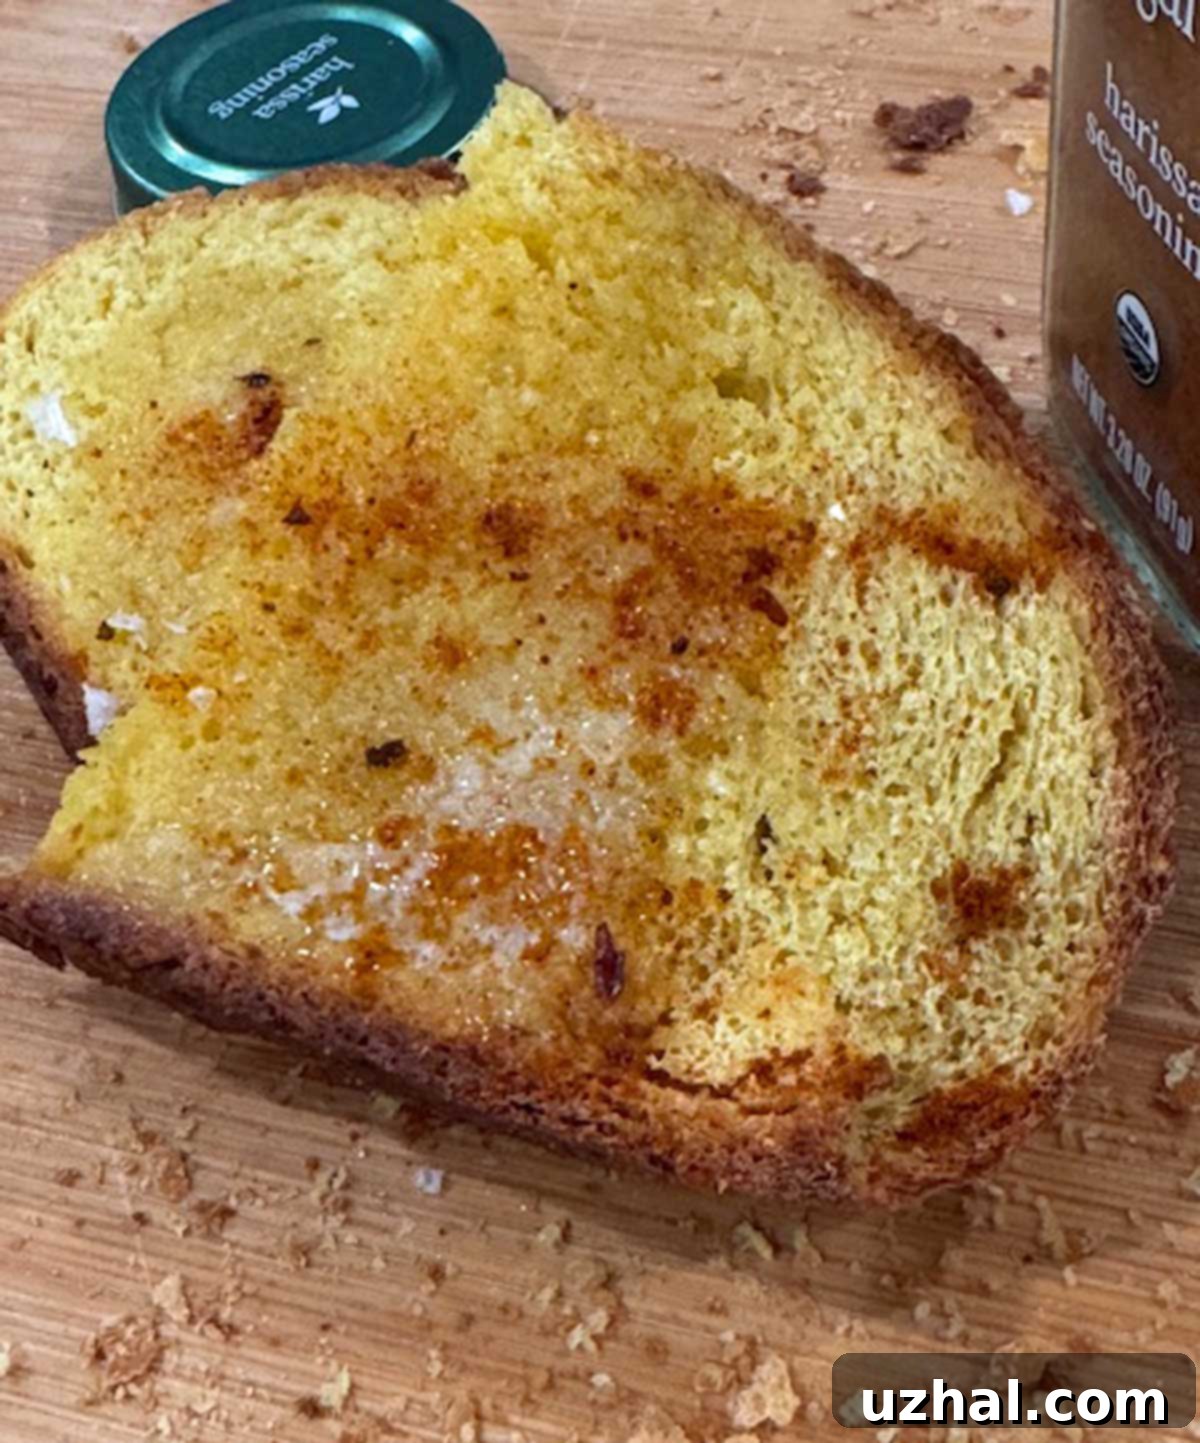
One of my favorite ways to enjoy this bread is as toast. Simply slice it thick, toast until golden, and slather with butter. For an adventurous twist, I’ve discovered that butter combined with a smear of spicy harissa paste creates an unbelievably good breakfast or snack. The warmth of the bread melts the butter, softening the harissa into a fragrant, piquant spread that awakens the palate. Next time, I plan to amplify this experience even further by adding freshly minced garlic to the harissa mix – a combination that promises to be nothing short of spectacular. This bread also pairs beautifully with hearty soups and stews, soaking up rich broths with ease. It’s also delightful with scrambled eggs or a simple spread of avocado for a healthy start to your day. Don’t be afraid to experiment with different toppings and pairings; its unique flavor profile makes it adaptable to many culinary traditions, from rustic European meals to modern fusion cuisine.
More Delicious Corn-Inspired Recipes
- Every Day Food Candy Corn Sugar Cookies
- Peanut Butter Caramel Corn
- Pecan Caramel Corn with Pretzels
- Honey Caramel Corn
- Blueberry Corn Muffins
Recipe
Crusty Corn Flour Bread
Anna
Pin Recipe
Ingredients
- 1 cup fine corn flour (grind cornmeal in a blender) (140 grams)
- 2 cups bread flour (280 grams)
- 1 teaspoon salt
- ½ teaspoon turmeric
- 2 teaspoons honey
- 1 ⅛ teaspoons instant yeast
- ¾ cup warm water (130 degreesF) (170-180 grams)
- ¼ cup warm milk plus 2 tablespoons, so 2 ½ oz (70 grams)
- 1 tablespoon olive oil
Instructions
-
To make sure the corn meal is fine, grind it in a high-powered blender or food processor until it resembles fine flour. You’ll need 140 grams (approximately one cup) for the recipe.
-
In a large bowl, whisk together the bread flour, corn flour, salt, turmeric, and instant yeast.
-
Stir in the warm water, warm milk, honey, and olive oil. Mix until a rough, shaggy dough forms and all ingredients are combined.
-
Knead the dough in a stand mixer using the dough hook for about 8-10 minutes, or transfer to a lightly floured surface and knead by hand for the same duration, until the dough is smooth and elastic. The dough will be slightly sticky but should hold its shape.
-
First rise: Place the dough in a greased bowl, turn once to coat, cover with a damp towel or greased plastic wrap, and let it rise in a warm place until doubled in size. This typically takes about an hour to an hour and a half, but could be longer depending on your room temperature.
-
Gently punch down the risen dough to release the air. Shape it into a round or oval loaf, and carefully place it on a baking sheet lined with parchment paper.
-
Cover the loaf loosely with greased plastic wrap and let it rise again for 45 minutes for its second proof. While the bread is on its second rise, begin preheating your oven and Dutch oven.
-
Set a Dutch oven (with its lid) in the oven and preheat the oven to 400°F (200°C). Allow the Dutch oven to preheat along with the oven for at least 30 minutes to ensure it’s thoroughly hot.
-
When the bread has completed its second rise and the oven is very hot, use a very sharp razor blade or lame to make two 2-inch long, shallow slits (forming an ‘X’ shape) in the top of the loaf.
-
Carefully remove the hot Dutch oven from the oven and remove its hot lid. Lift the cornbread loaf by grasping the parchment paper and gently lower both the loaf and the parchment into the hot Dutch oven. Cover with the lid and immediately return to the oven.
-
Bake for 30 minutes with the lid on. After 30 minutes, carefully remove the lid and continue to bake for another 15 to 20 minutes, or until the loaf is deeply golden brown and sounds hollow when tapped on the bottom.
-
Carefully remove the bread from the Dutch oven and transfer it to a wire rack to cool completely before slicing. This cooling step is essential for the crumb to set properly.
Expert Tips for Baking Your Best Corn Flour Bread
Achieving a perfect loaf of this crusty corn flour bread is truly satisfying, and a few expert tips can make all the difference in your baking journey. Firstly, **dough consistency** is paramount. The dough should be slightly sticky to the touch but still manageable and able to hold its shape. If it’s too wet, add a tiny bit more bread flour (not corn flour) until it reaches the right consistency; if too dry and stiff, add a few drops of water or milk, one teaspoon at a time. Remember, a slightly stickier dough often yields a more tender and moist crumb, which is desirable for this chewy bread.
Secondly, **proofing** is where patience pays off. The “doubled in size” rule for the first rise is a guide; actual time can vary significantly based on room temperature, the freshness of your yeast, and even humidity levels. A good indicator that your dough is ready is the “poke test”: gently press a floured finger about half an inch into the dough. If the indentation springs back slowly and partially, it’s perfectly proofed and ready for the next step. If it springs back immediately, it needs more time to relax and rise; if it collapses completely, it’s likely over-proofed, which can lead to a dense crumb. For the second rise, ensure your loaf is covered loosely but effectively to prevent a dry skin from forming, which can hinder oven spring and result in a less airy texture. A greased plastic wrap or a light kitchen towel works wonders.
Finally, **preheating your Dutch oven** thoroughly is non-negotiable for that signature crust. Don’t rush this step. Allowing it to heat up for at least 30 minutes with the oven ensures the thermal mass is fully saturated with heat, providing an intense initial blast to the dough. This creates the perfect environment for steam generation and maximum oven spring. When scoring the loaf, use a very sharp razor blade or a bread lame; quick, confident cuts are best for a clean, professional-looking score that guides the bread’s expansion evenly and prevents uncontrolled tearing. These small details contribute significantly to a consistently excellent and beautifully crafted result, making your homemade corn flour bread a true showstopper.
Storage and Enjoyment
Once baked and cooled, your crusty corn flour bread will be at its peak freshness on the day it’s made. The crust will be crispiest and the interior perfectly chewy. To enjoy it over several days, store the cooled loaf in an airtight container or a clean bread bag at room temperature. Avoid refrigerating, as this can accelerate the staling process and dry out the bread more quickly. For optimal freshness, a bread box or even a clean kitchen towel can help maintain its quality for 2-3 days.
For longer storage, this bread freezes exceptionally well. I recommend slicing the loaf first, then placing the slices in a freezer-safe bag, removing as much air as possible before sealing. You can then pull out individual slices as needed, toast them directly from frozen, and enjoy a fresh-tasting piece of homemade bread anytime. It’s perfect for making future harissa garlic toast or quick sandwiches, offering both convenience and sustained quality. This method ensures that the delightful chewiness and crusty exterior are preserved, ready to be revived with a quick toast, bringing that freshly baked goodness back to life. Enjoy your culinary creation!
