Mastering the Perfectly Thin & Crunchy Chocolate Chip Cookies: A Joanne Chang Adaptation
As a devoted admirer of Joanne Chang’s culinary genius, my anticipation for her next masterpiece, Pastry Love, is palpable. Yet, even without cracking open that new volume, there’s a treasure from her repertoire that has captured my attention: the Very Thin Crunchy Chocolate Chip Cookies. This particular recipe, famously adapted by The Boston Globe from her Flour Bakery classics, presented an intriguing challenge. While the original adaptation yielded delicious cookies, I embarked on a personal quest to achieve a uniform, satisfying crunch throughout each bite, akin to the beloved crispness of Tate’s cookies. What follows is *my* adapted version, complete with detailed notes on the adjustments I made to transform these already excellent cookies into consistently crunchy masterpieces.

The Quest for Uninterrupted Crispness: From Chewy Centers to All-Over Crunch
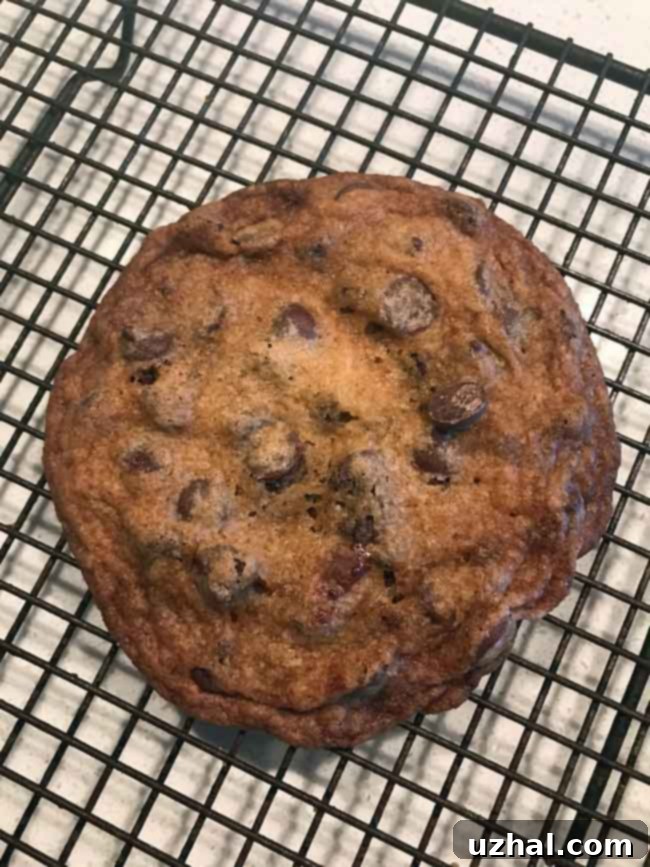
Initially, these cookies were undeniably excellent. They burst with rich chocolate and butterscotch flavors and certainly offered a delightful crunch. However, much like many homemade chocolate chip cookies, this crunch was primarily confined to the edges, leaving the centers with a softer, chewier texture. While many bakers adore a chewy center, my specific goal was to achieve a cookie that delivered a satisfying snap from the first bite to the last, reminiscent of store-bought thin and crispy chocolate chip cookies that maintain their integrity throughout. This subtle difference became the driving force behind my experimentation.
To transform these already delicious cookies into uniformly crunchy delights, I implemented a few strategic changes. These modifications, surprisingly simple, proved to be highly effective in altering the texture without compromising the incredible flavor that Joanne Chang’s recipes are known for. It’s often the small details in baking that yield the most significant results, and this recipe was no exception.
Key Adjustments for Crispy Perfection
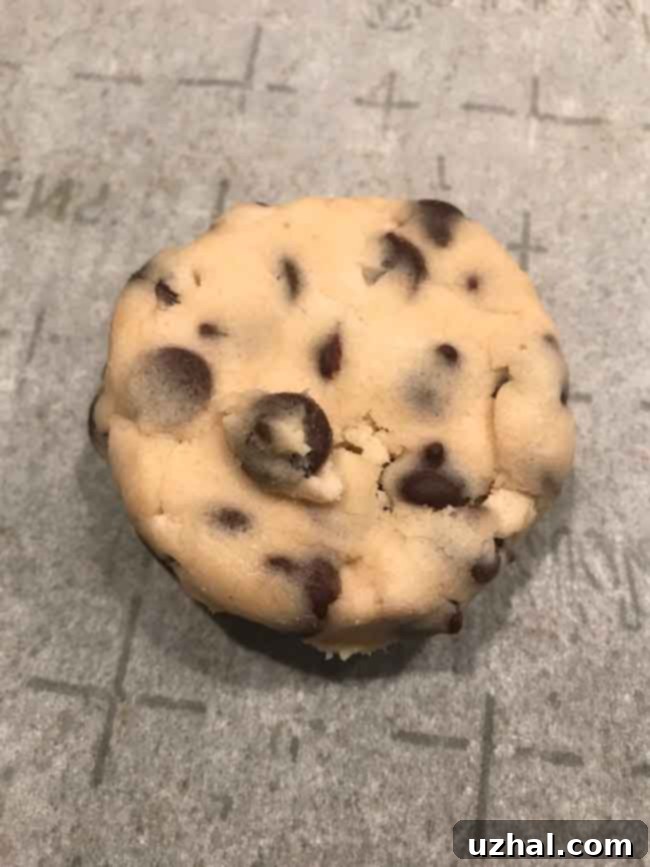
My first crucial step involved pressing the tops of the cookie dough portions down flat before baking. This isn’t just a cosmetic change; it plays a vital role in how the cookies bake. A flatter surface area allows for more even heat distribution across the dough, which in turn promotes uniform browning and, critically, consistent moisture evaporation. When cookies bake unevenly, the thicker parts retain more moisture, leading to a chewy interior even if the thinner edges crisp up. By ensuring the dough is a consistent thickness, we’re setting the stage for an all-over crunch.
Secondly, I opted to scoop out the dough portions *before* chilling them. While many recipes call for chilling the entire batch of dough and then scooping, I find pre-forming the dough balls more convenient. Not only does it save time when you’re ready to bake, but having pre-formed, chilled dough pieces ensures a more consistent size and shape for each cookie. This consistency further aids in even baking and contributes to that desired uniform crispness. After scooping, I placed these slightly flattened dough portions on dinner plates, covered them with plastic wrap, and let them chill thoroughly, allowing the flavors to meld and the butter to firm up, which helps prevent excessive spreading.

Perhaps the most significant adjustment involved the oven temperature. The original recipe suggested baking at 350 degrees Fahrenheit. I followed this initially, but after about 16 minutes, I observed a common baking dilemma: the edges of the cookies were becoming very dark, almost burnt, while the centers remained stubbornly soft and underbaked. This uneven baking is a primary culprit behind the “crispy edge, chewy center” phenomenon. To counteract this, I reduced the heat.

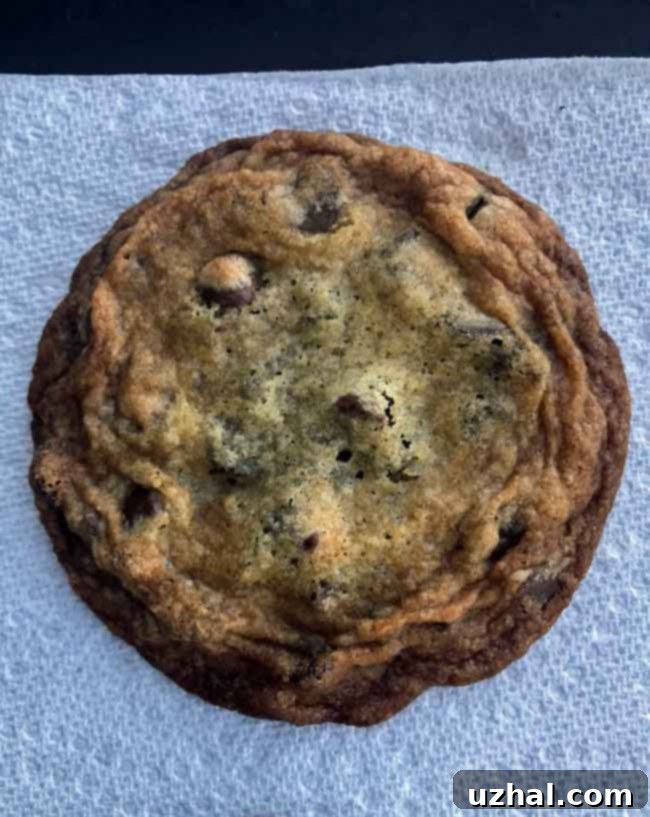
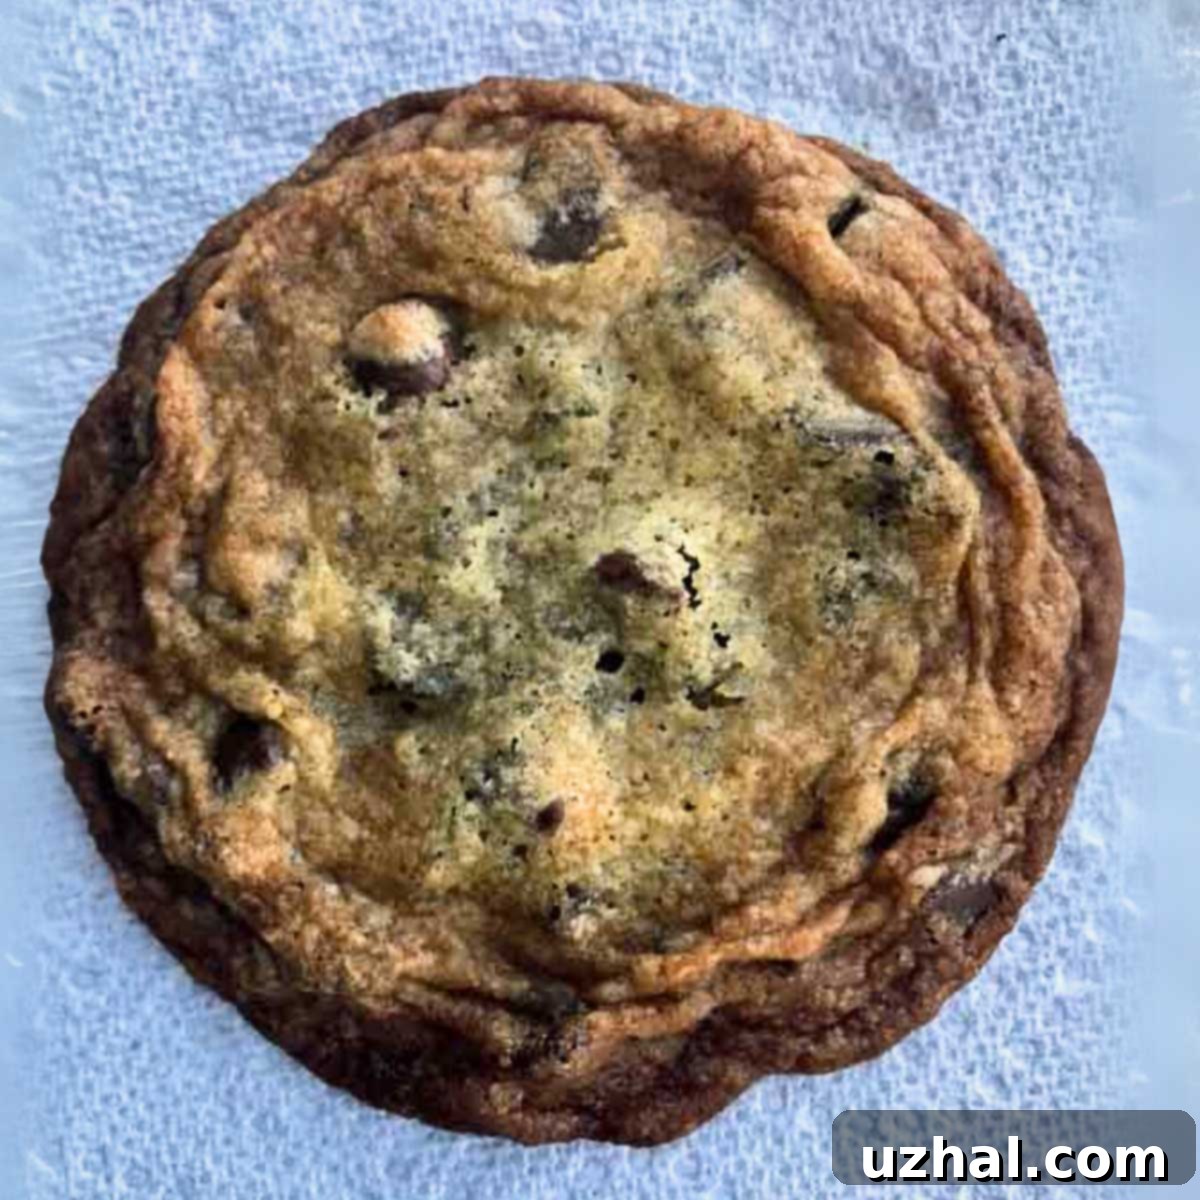
After experimenting, I found that reducing the oven temperature to 325 degrees Fahrenheit and extending the baking time to approximately 25 minutes yielded perfect results. This lower, slower baking method allowed the cookies to bake more evenly from edge to center. The prolonged exposure to a gentler heat facilitated a more gradual dehydration of the dough, resulting in an even golden-brown color and a truly crunchy texture throughout each and every cookie. For some ovens, or for those seeking an even more pronounced crispness, a temperature of 300 degrees Fahrenheit with a slightly longer bake time (25-30 minutes) can also be highly effective. The key is to find the sweet spot for your specific oven, which often requires a bit of testing.

Understanding Baking Variables and the Magic of Superfine Sugar
Baking is often described as a science, and for good reason—there are numerous variables at play, from oven calibration and ambient humidity to the precise temperature of your ingredients. While my recommended temperature and baking times serve as an excellent starting point for achieving thin and crispy chocolate chip cookies, I always advise bakers to perform a small test batch (2-3 cookies) first. This allows you to fine-tune the timing for your specific oven, ensuring optimal results every time. Regardless of the exact temperature you settle on, one thing is certain: you’ll be incredibly pleased with the rich, balanced flavor of these cookies. They are truly packed with a delightful taste profile.
Beyond the baking method, another ingredient plays a subtle yet significant role in the texture of these cookies: superfine sugar. While not a pantry staple for everyone, it’s worth seeking out or making yourself. The convenience of these cookies, once the dough is prepped, makes them a fantastic go-to treat, and the inclusion of superfine sugar is a small step that elevates the final crispness. Unlike standard granulated sugar, superfine sugar’s smaller crystals dissolve more rapidly and evenly into the dough, which contributes to a smoother batter and a more delicate, uniform spread during baking. This finer granulation helps create a lighter, crisper texture that is essential for our desired thin and crunchy chocolate chip cookies.
Superfine Sugar Tip: Achieve Finer Crystals at Home!
Don’t have superfine sugar on hand? No problem! It’s incredibly easy to make your own. Simply measure out regular granulated sugar and buzz it in a Nutribullet or a food processor. For instance, to get about ½ cup of superfine sugar, just process ½ cup of regular sugar. The Nutribullet, in particular, excels at this task, yielding an exceptionally fine powder. In fact, it gets so fine that with a touch of cornstarch, you’d likely have a perfect substitute for confectioners’ sugar! This homemade superfine sugar will seamlessly integrate into your cookie dough, contributing to that desired delicate crunch and smooth texture without requiring an extra trip to the store.
I’m genuinely excited to hear what other home bakers think of this adapted recipe for very thin and crunchy chocolate chip cookies. It’s a delightful journey to transform a great recipe into one that perfectly suits your textural preferences. Of course, if your heart yearns for a classic thick and chewy chocolate chip cookie, I highly recommend exploring Joanne Chang’s original recipe for those – they are equally phenomenal in their own right. But for those who cherish that satisfying snap, this adapted crunchy chocolate chip cookie recipe is a must-try.
Recipe

Almost Joanne Chang’s Very Thin and Crunchy Chocolate Chip Cookies
Anna
Pin Recipe
Ingredients
- 1 cup unsalted butter, cool room temperature (228 grams)
- 1 cup superfine sugar (200 grams)
- ½ cup light brown sugar (100 grams)
- 1 large egg, room temperature (50 grams)
- 3 tablespoons plus 1 teaspoon water
- 2 teaspoons vanilla extract
- 2 cups unbleached all purpose flour (260 grams)
- 1 teaspoon salt I use Morton kosher (measures like table salt)
- 1 teaspoon baking soda
- 2 cups semisweet or bittersweet chocolate chips 1 ½ cups is also great for less chocolate intensity
Instructions
-
In the bowl of an electric mixer, combine the cool room temperature butter, superfine sugar, and light brown sugar. Beat on medium-high speed for about 5 minutes until the mixture is light, fluffy, and well-creamed. This creaming process incorporates air, which is vital for the cookie’s texture.
-
Add the room temperature egg, water, and vanilla extract to the creamed mixture. Continue to beat for another 2 to 3 minutes, making sure to scrape down the sides of the bowl thoroughly with a spatula. This ensures all ingredients are fully incorporated, creating a smooth, cohesive batter.
-
In a separate medium bowl, whisk together the unbleached all-purpose flour, salt, and baking soda until evenly combined. Add the chocolate chips to this flour mixture and toss to coat them lightly. This step helps prevent the chocolate chips from sinking to the bottom of the dough. With your stand mixer on the lowest speed (or by hand if using a handheld mixer), gradually add the dry ingredients and chocolate chips to the wet mixture, stirring just until everything is combined and no streaks of flour remain. Be careful not to overmix, as this can develop the gluten and lead to tougher cookies.
-
Using a quarter-cup measure or a large cookie scoop, portion the dough into 16 even pieces. Gently press each portion down to flatten it slightly into a disc. Arrange these flattened dough discs on dinner plates, ensuring they are not touching, then cover them tightly with plastic wrap. Chill the dough in the refrigerator for at least 4 hours, or ideally overnight, until it is very firm. Chilling is essential for flavor development and to prevent excessive spreading during baking.
-
When you’re ready to bake, retrieve the chilled dough. If the dough has softened slightly from handling, press the portions into disks about ¾ inch thick before placing them on the baking sheet. This ensures uniform thickness for even baking and maximum crunch.
-
Preheat your oven to 325 degrees Fahrenheit (160°C). While the oven preheats, line one or two baking sheets with parchment paper. Parchment paper prevents sticking and aids in even baking.
-
To find the absolute best baking time and temperature for your specific oven, I highly recommend baking a small test batch of 2 or 3 cookies first. This will help you get the timing just right, especially for achieving that perfect all-over crunch without burning the edges.
-
Arrange the flattened dough rounds on the parchment-lined baking sheet, ensuring they are spaced at least 4 inches apart to allow for proper spreading. Bake in the preheated 325°F oven until the cookies are evenly golden brown across their entire surface. This typically takes around 20 to 25 minutes, but start checking for doneness at 15 minutes. The key is uniform color, not just darkened edges.
-
If your oven tends to run hot, or if you still find your test cookies browning too quickly around the edges while remaining soft in the middle, try lowering the temperature further to 300 degrees Fahrenheit (150°C) and extending the baking time to 25 to 30 minutes. A lower, slower bake is often the secret to perfectly crunchy cookies.
-
Once baked to perfection, remove the baking sheet from the oven. Let the cookies cool on the baking sheet for about 10 minutes to allow them to firm up slightly. Then, carefully transfer the cookies to a wire rack to cool completely. They will become even crispier as they cool. Bake any remaining dough using the same method.
-
For optimal crunch and freshness, store the cooled cookies in an airtight container at room temperature. If you find them losing their crispness over time, a quick toast in a low oven (around 250°F / 120°C) for 5-7 minutes can help revive their crunch.
Notes
This recipe is quite versatile! You can make generously sized, large thin and crunchy cookies, or for a more delicate treat, divide the dough pieces into smaller bits to create tiny, crispy cookies. If you opt for smaller cookies, remember to adjust your baking time accordingly; they will likely be ready much faster, typically within 12 to 15 minutes, so keep a close eye on them to prevent overbaking.
