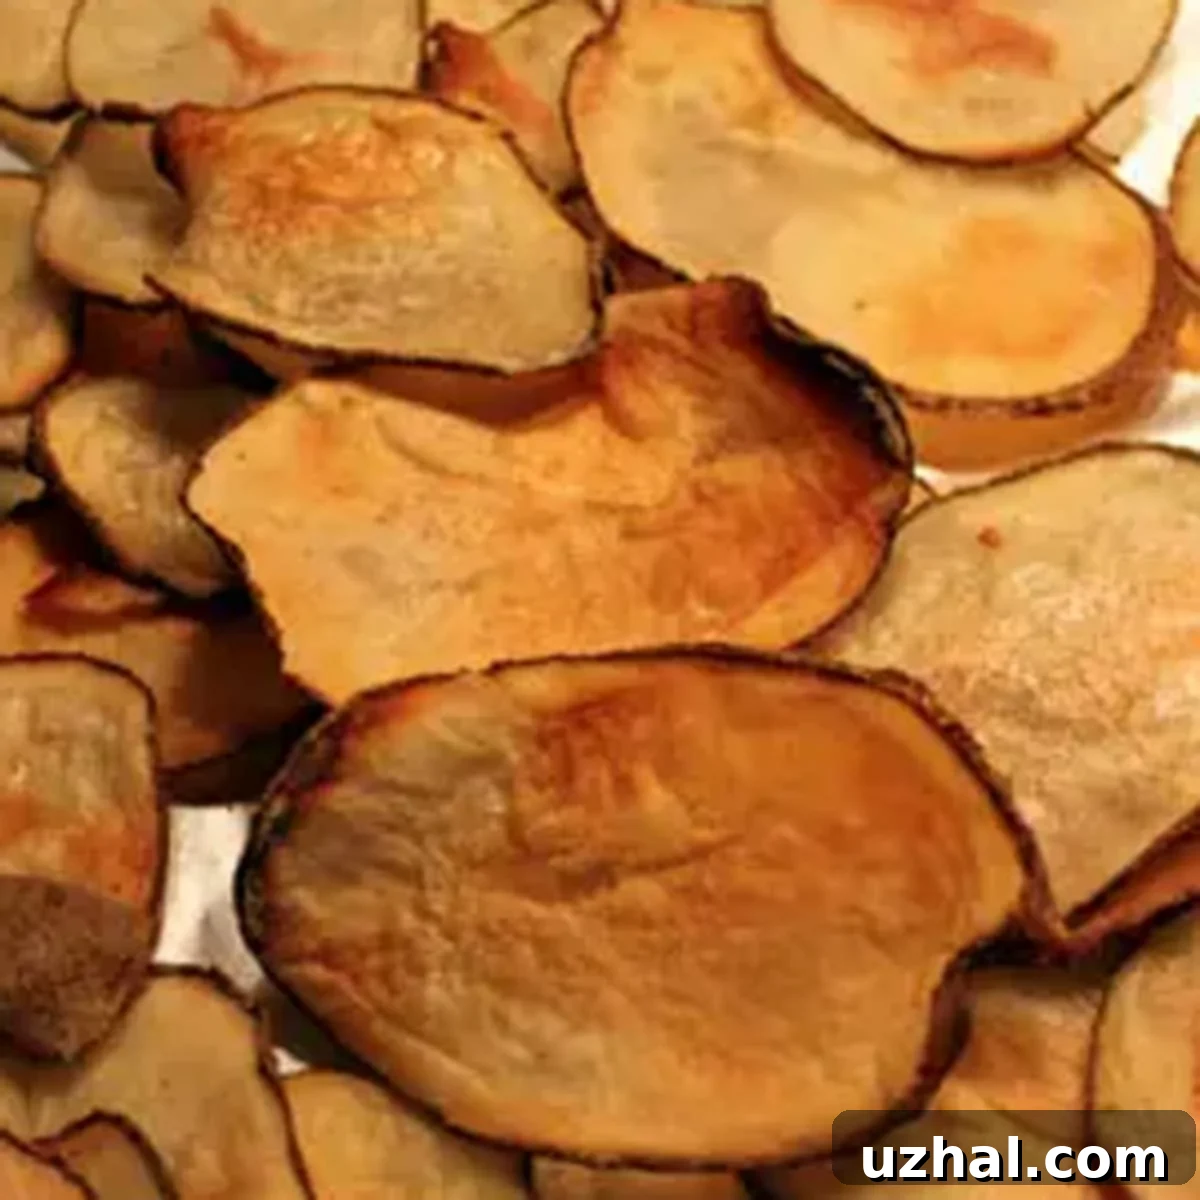
Perfectly Crispy Homemade Baked Potato Chips: Your Ultimate Recipe Guide
Craving the satisfying crunch of potato chips but looking for a healthier alternative to deep-fried versions? Look no further! This time-tested recipe for homemade baked potato chips delivers incredible flavor and irresistible crispness straight from your oven. It’s a simple, no-frills method that consistently produces delicious results, making it a staple in our kitchen. Forget store-bought bags; once you taste these fresh, warm, and perfectly seasoned oven-baked potato chips, you’ll be hooked!
Making your own baked potato chips is surprisingly easy and offers a rewarding culinary experience. For a small family of three, we typically start with at least one pound of medium-sized potatoes – though honestly, that’s often just the bare minimum! These crispy delights have a magical way of disappearing almost instantly, often before they’ve even had a chance to fully cool. Prepare for them to fly off the plate, or in this case, the baking sheet!

Why Choose Homemade Baked Potato Chips?
There are countless reasons to swap your store-bought chips for this homemade version. First and foremost, you control the ingredients. No artificial preservatives, excessive sodium, or unhealthy fats. Secondly, the flavor of freshly baked potatoes, lightly seasoned and perfectly crispy, is unparalleled. It’s a healthier snack option that doesn’t compromise on taste or texture. Plus, it’s an economical way to satisfy those chip cravings and impress your family and friends with your culinary skills.
Getting Started: Prepping Your Oven and Sheets
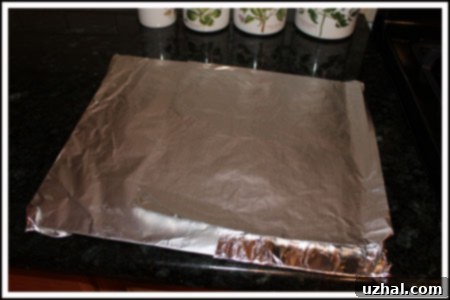
The first step to achieving perfectly crispy baked potato chips is to properly prepare your baking environment. Preheat your oven to 375 degrees Fahrenheit (190 degrees Celsius). This ensures the oven is at a consistent temperature when your potatoes go in, promoting even baking and crispness. Next, line two large cookie sheets or baking trays with non-stick foil or parchment paper. This step is crucial for preventing the thinly sliced potatoes from sticking to the pan, which can quickly ruin their delicate structure. If you only have regular foil, a good coating of cooking spray or a thin brush of oil will be necessary to achieve the same non-stick effect.
The Art of Slicing: For Best Results, Use a Mandoline
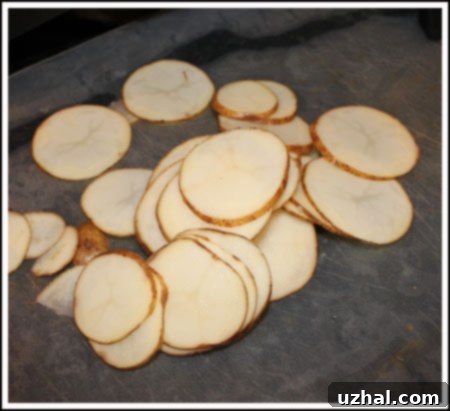
The secret to truly crispy baked potato chips lies in the consistent thinness of your potato slices. While a chef’s knife and excellent knife skills can certainly get the job done, a mandoline slicer is truly a game-changer for this recipe. Set your mandoline to ⅛ inch (approximately 3mm) for ideal results. This thickness allows the potatoes to crisp up beautifully in the oven without becoming too chewy or burning too quickly. Slice your chosen potatoes thinly until you have a substantial pile of raw potato chips. If you’re using a knife, take your time to ensure each slice is as uniform as possible. Inconsistent slices will lead to some chips being perfectly crisp while others are still soft or even burnt.
Seasoning and Tossing for Flavor
Once your potatoes are perfectly sliced, transfer them to a large bowl. Drizzle half a tablespoon of olive oil over the slices. You might be surprised at how far this small amount of oil goes! Gently toss the potatoes with your hands or a spatula, ensuring each slice is lightly coated. The oil plays a crucial role not only in adding flavor but also in promoting browning and crispness. While you can technically skip the oil altogether for a fat-free option, be aware that your chips might turn out a little harder and chewier, lacking some of the rich texture that a touch of oil provides. For a different flavor profile or health benefits, you can experiment with avocado oil or grapeseed oil.
After coating with oil, arrange the potato slices in a single layer on your prepared cookie sheets. It is absolutely essential that the slices do not overlap. Overlapping potatoes will steam instead of crisp, resulting in soft, soggy chips rather than the crunchy delights you’re aiming for. Give each chip a little space to breathe. Once arranged, sprinkle generously with salt. Fine sea salt or kosher salt works wonderfully here, adhering well to the oiled surfaces and distributing flavor evenly. Now they’re ready for the oven!
Baking for Perfection
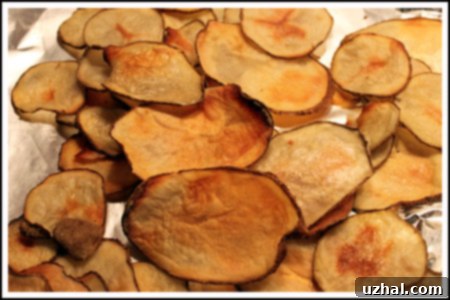
Bake the potato chips in your preheated 375°F (190°C) oven for 30-35 minutes. To ensure even cooking and browning, remember to switch the racks halfway through the baking process. For example, if you have one tray on the top rack and one on the bottom, swap their positions. This helps prevent one batch from cooking faster than the other. Keep a close eye on them during the last 10 minutes, as oven temperatures can vary, and thin chips can go from perfectly golden to burnt very quickly. Look for a beautiful golden-brown color and a visibly crisp texture. Once baked, remove them from the oven and let the chips cool completely on the baking sheets. This cooling process is vital, as it allows them to firm up and achieve their ultimate crispness. Resist the urge to pile them up while hot, as this can trap steam and make them soft. In the picture below, they are jumbled in a pile, but remember, this is after they have cooled and crisped up! Do not bake them in a pile.
The Soaking Debate: To Soak or Not to Soak Potato Slices?
Many recipes for homemade potato chips advocate for soaking the sliced potatoes in cold water prior to baking. The common belief is that this step removes excess starch, which in turn is supposed to result in crisper chips and help prevent excessive browning. If you have extra time and want to try it, you can soak the slices for 15-30 minutes, then drain them thoroughly and pat them very dry before proceeding with the oil and seasoning. However, in our experience, soaking does not consistently guarantee a crisper chip. The outcome can be influenced by various factors, including the specific type of potato, where it was grown, how it was stored, and even its sugar content.
It’s challenging to pinpoint exactly why soaking works for some and not for others, but it’s not a foolproof method for achieving maximum crispness. For us, the single most important factor in the success of these baked potato chips has always been the consistency and thinness of the slices, which a mandoline greatly assists with. So, if you’re short on time, don’t feel obligated to soak them. Focus instead on uniform slicing and proper baking techniques, and you’ll still achieve fantastic results!
Tips for Achieving Ultimate Crispness
To ensure your homemade baked potato chips are as crispy as possible, keep these key points in mind:
- Slice Thin and Uniformly: This is the most critical step. A mandoline ensures even thickness, which is essential for uniform crisping.
- Don’t Overcrowd the Pan: Give each potato slice plenty of space. Overlapping causes steaming, not crisping. Use multiple trays if necessary.
- Proper Oven Temperature: A consistent 375°F (190°C) is ideal. Too low, they’ll dry out; too high, they’ll burn before crisping.
- Rotate Trays: Switching racks halfway through baking promotes even heat distribution and browning.
- Cool Completely: Chips will crisp up significantly as they cool down. Patience is key!
- Consider Potato Type: Russet potatoes are often recommended for their high starch content, which helps with crisping, while Yukon Golds offer a slightly more buttery flavor and can also crisp well.
Delicious Flavor Variations
While classic salt is always a winner, don’t hesitate to get creative with your homemade baked potato chips! Here are some ideas to spice things up:
- Garlic Parmesan: After tossing with oil, sprinkle with garlic powder and grated Parmesan cheese.
- Smoky Paprika: Add a pinch of smoked paprika and a dash of onion powder along with the salt.
- Spicy Chili Lime: A mix of chili powder, a squeeze of fresh lime juice (add before baking, sparingly), and salt creates a zesty kick.
- Rosemary Garlic: Finely chop fresh rosemary and minced garlic, toss with the oil, and season with salt.
- Vinegar Chips: After baking and cooling, lightly spray with white vinegar and then sprinkle with a little extra salt.
Serving Suggestions and Storage
These crispy baked potato chips are fantastic on their own as a healthy snack. They also make a wonderful side dish for sandwiches, burgers, or any meal where you’d typically serve fries. Pair them with your favorite dips like homemade onion dip, salsa, or even a simple Greek yogurt dip with herbs. To maintain their crispness, store cooled chips in an airtight container at room temperature. While they are best enjoyed the day they are made, they can last for 2-3 days, though they may lose a little crispness over time.
Troubleshooting Common Issues
Even with the simplest recipes, sometimes things don’t go exactly as planned. Here are some common issues and how to fix them:
- Chips are soft or chewy: This is usually due to slices being too thick, overcrowding the baking sheet, or not baking long enough. Ensure thin, even slices and bake in a single layer until thoroughly golden and crisp.
- Chips are burnt: Your oven might be too hot, or you baked them for too long. Keep a close eye on them, especially towards the end of the baking time, and adjust as needed. Different potato types or sugar content can also affect browning speed.
- Chips stuck to the pan: You didn’t use enough non-stick material. Always line with non-stick foil or parchment paper, or generously grease regular foil.
- Chips lack flavor: You might not have seasoned them enough. Don’t be shy with the salt (or other seasonings!) while they are still warm, as it adheres best then.
- Sweet Potato Bread
- Sweet Potato Pie
- Sweet Potato Pie Bars
- Cakey Sweet Potato Bars
- Maple Cream Cheese Frosted Sweet Potato Bars
Recipe

Baked Potato Chips
Anna
Pin Recipe
Ingredients
- 1 pound of potatoes
- ½ tablespoon of olive oil
- to taste salt
Instructions
-
Preheat the oven to 375 degrees F (190 degrees C).
-
Line two large baking sheets with nonstick foil or parchment paper. If using regular foil, coat generously with cooking spray or oil.
-
Using a mandoline set to ⅛ inch (3mm) or a very sharp knife, cut the potatoes into very thin, uniform slices. Put the potato slices in a large bowl and toss with olive oil until lightly coated.
-
Arrange the potato slices in a single layer on the prepared baking sheets, ensuring they do not overlap. Sprinkle evenly with salt.
-
Bake for 30 to 35 minutes, switching the racks halfway through for even cooking. Continue baking until the chips are golden brown and crispy.
-
Remove from the oven and let the chips cool completely on the baking sheets. They will crisp up further as they cool. Serve immediately or store in an airtight container.
Making crispy baked potato chips at home is a rewarding experience that yields a significantly healthier and more delicious snack than anything you can buy in a bag. With just a few simple steps and the right technique, you can enjoy these golden, crunchy treats whenever the craving strikes. So grab your potatoes, fire up your oven, and prepare to make your new favorite snack!
