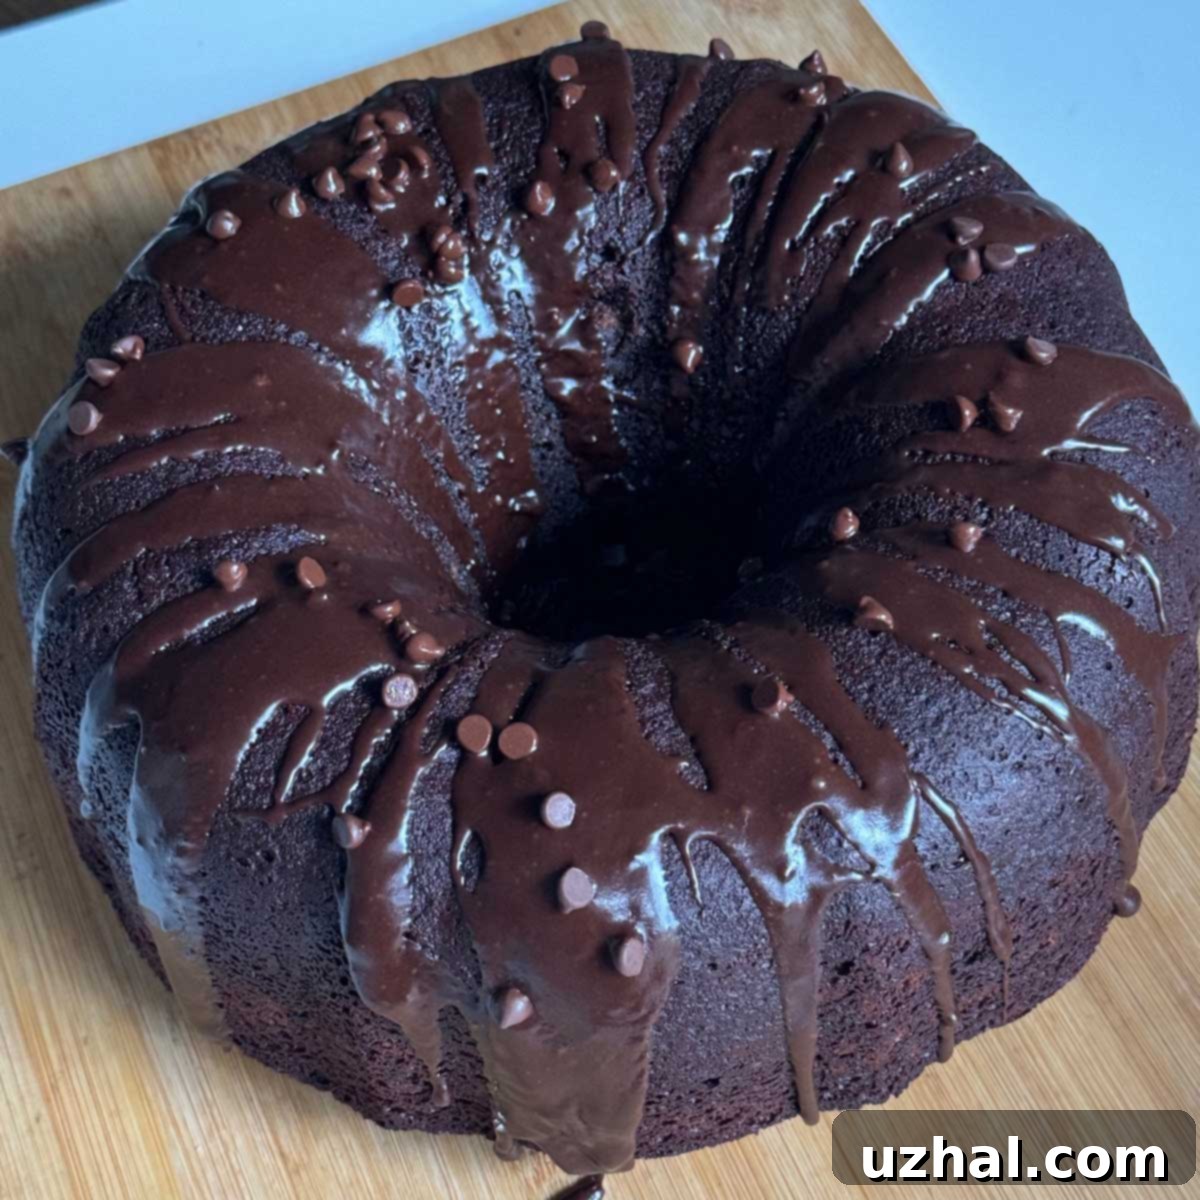
Classic Pillsbury Bake-Off Ring of Coconut Cake: A Decadent Chocolate Bundt with Cream Cheese Filling
In the pantheon of iconic American desserts, the Pillsbury Bake-Off contest holds a special place, often birthing recipes that capture the imagination and taste buds of home bakers for generations. While Rita Helfrich’s Tunnel of Fudge Cake often steals the spotlight as the quintessential “tunnel cake,” another remarkable creation, the Ring of Coconut Cake from the 1971 Pillsbury Bake-Off, deserves equal acclaim. This culinary masterpiece was envisioned by Rita Glomb of Whitehall, Pennsylvania, and it introduced the world to a moist, rich chocolate Bundt cake artfully filled with a luscious ring of coconut cream cheese and topped with a simple yet elegant chocolate glaze. Its widespread popularity was undeniable, so much so that Pillsbury itself later launched a coconut macaroon-themed Bundt cake mix, a testament to the enduring appeal of Rita Glomb’s delicious concept. It’s truly a delight to imagine that her original recipe served as the sweet inspiration for Pillsbury’s commercial success.
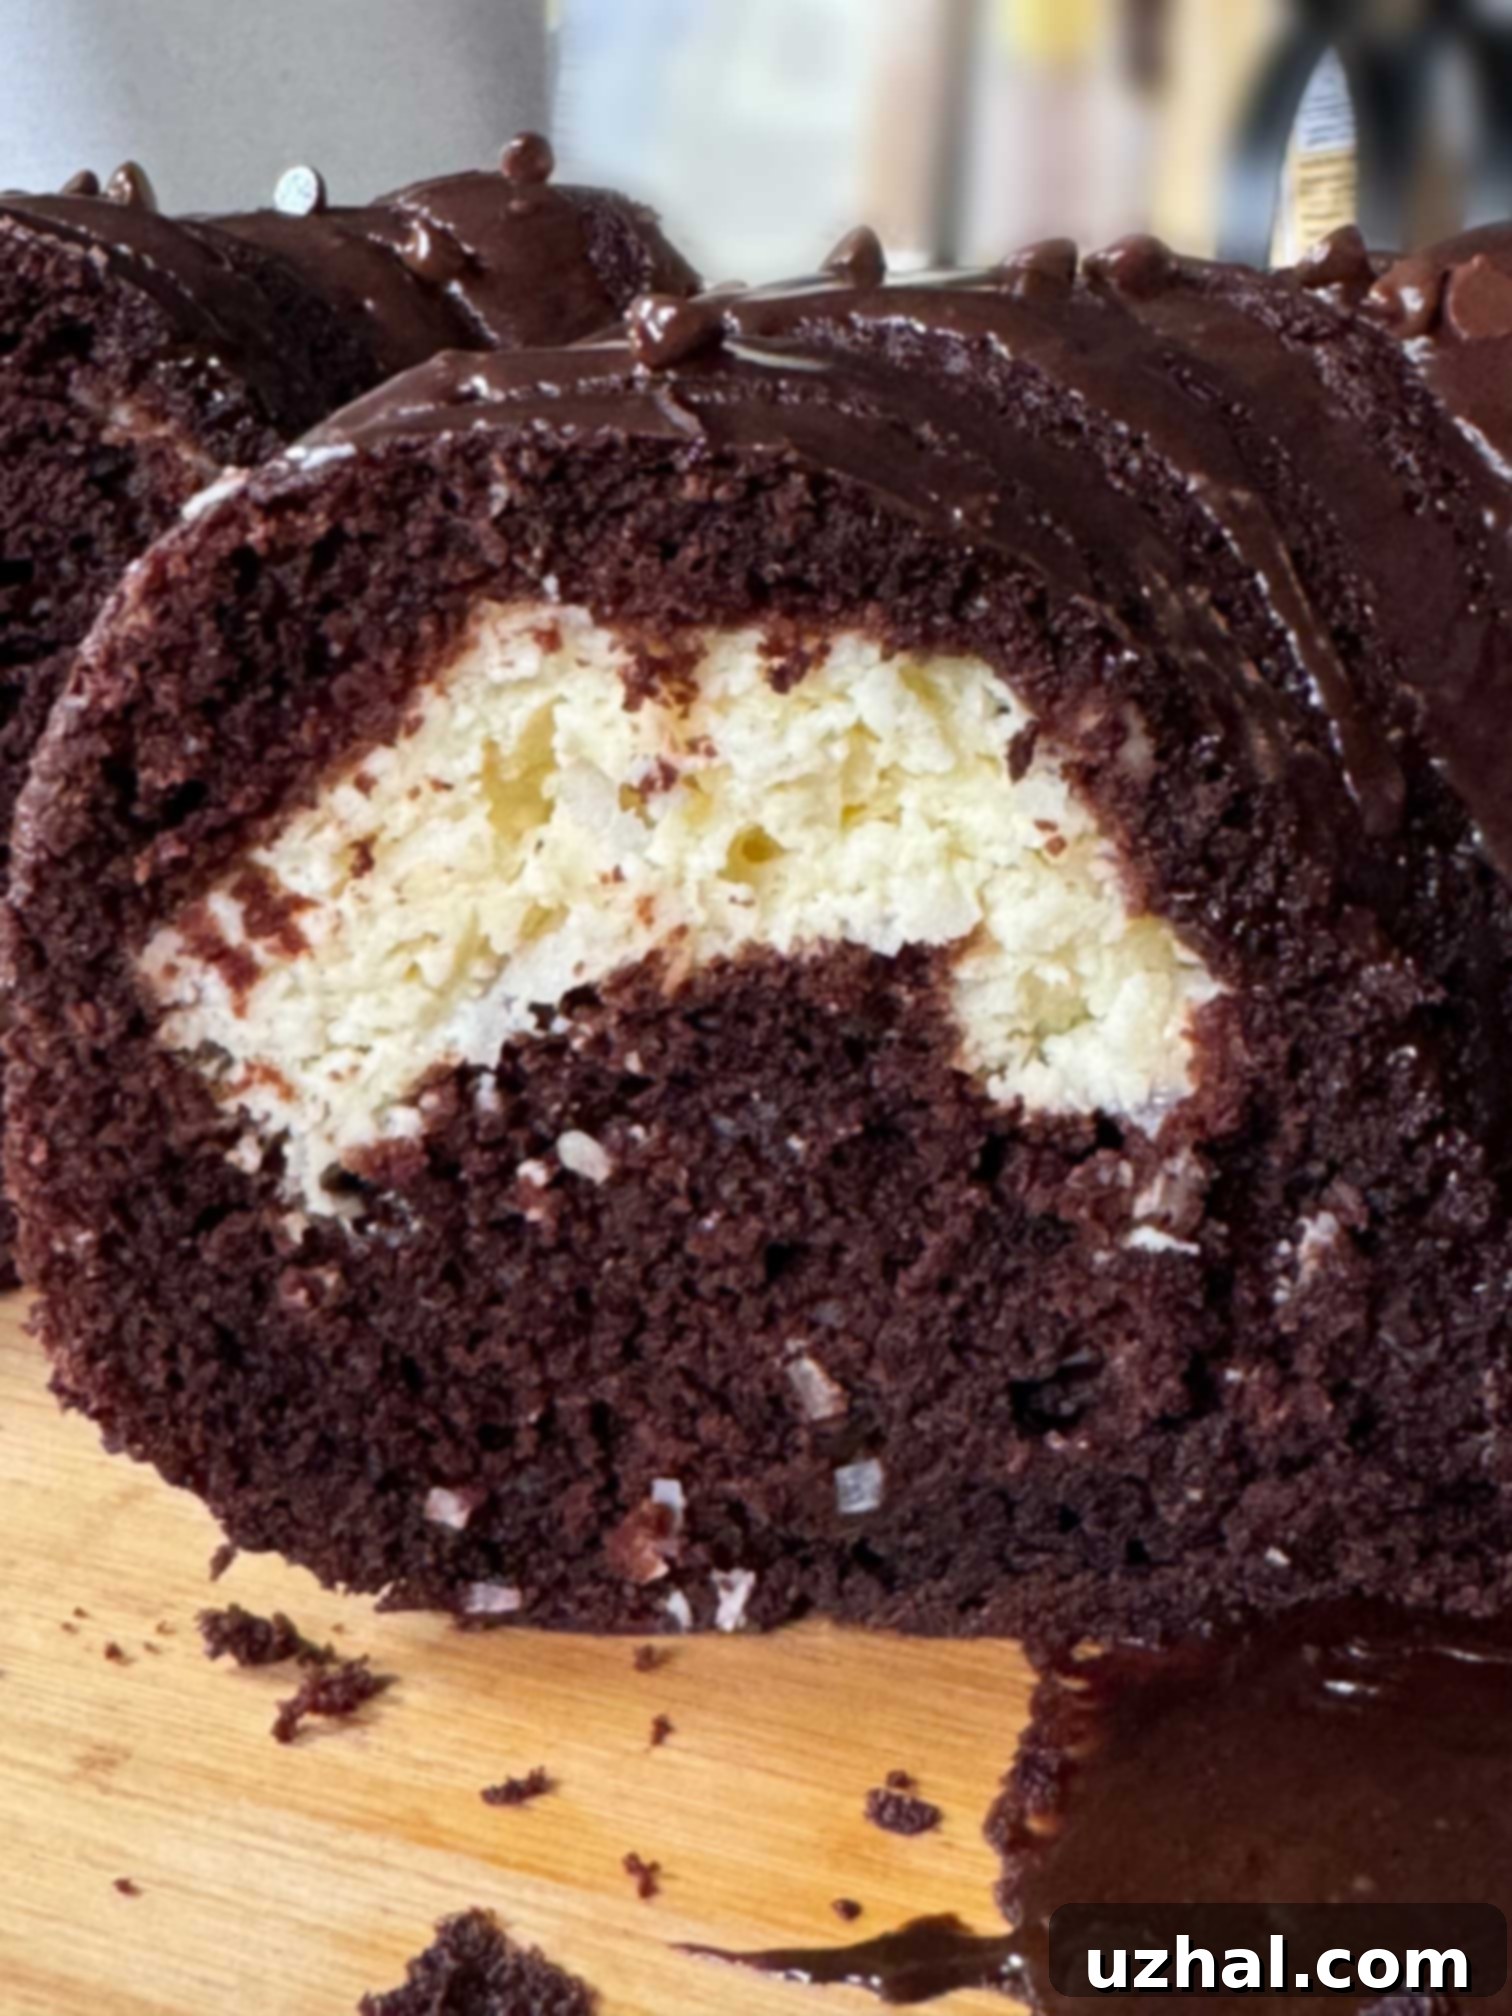
What sets the Pillsbury Ring of Coconut Cake apart from some other vintage recipes, including the original Tunnel of Fudge Cake, is its timeless nature and accessibility. Unlike the latter, which faced challenges due to discontinued ingredients, Rita Glomb’s creation relies on readily available pantry staples, ensuring its place as a beloved and enduring dessert. This classic chocolate Bundt cake, with its delightful coconut cream cheese filling, has truly stood the test of time, remaining as appealing today as it was in 1971. I recently baked one myself, and it’s a truly substantial and indulgent treat. Because of its generous size and richness, it provides many servings, making it perfect for gatherings or simply enjoying over several days, especially since it freezes exceptionally well for future enjoyment.
Jump to Recipe
Recreating the Original Ring of Coconut Cake Recipe: A Modern Approach to a Vintage Classic
This Ring of Coconut Cake recipe is a faithful adaptation of the original 1971 Pillsbury Bake-Off winner, a testament to its lasting appeal. However, it’s worth noting that many vintage recipes, including this one, often featured instructions that were somewhat less precise than modern culinary standards. For example, the original directions for the cream cheese filling simply advised combining ingredients in a bowl and mixing, without further elaboration. Similarly, for the chocolate Bundt cake batter, there wasn’t an explicit instruction to whisk dry ingredients separately before incorporating them; instead, they were often added directly to the wet mixture of eggs, sugar, and oil. The same streamlined, almost casual approach applied to the chocolate glaze: just “put everything in the bowl and beat until smooth.”
While this simplicity was charming, for today’s bakers seeking consistent and flawless results, a bit more guidance can be beneficial. Therefore, I’ve subtly updated the recipe by detailing my preferred mixing methods, ensuring a smoother process and a perfectly textured cake. Additionally, I’ve included ingredient weights, offering a more accurate and reliable way to measure, which is particularly helpful for baking success. Despite these minor modern refinements, the essence of Rita Glomb’s original chocolate Bundt cake with coconut cream cheese filling remains wonderfully intact, honoring the spirit of its 1971 debut.
Embracing Modern Adaptations of the Ring of Coconut Cake for Perfect Results
The timeless appeal of the Pillsbury Bake-Off’s Ring of Coconut Cake has undoubtedly inspired countless home bakers and food bloggers to develop their own variations over the years. This widespread influence means I can’t definitively label this rendition as “the best,” nor would I ever claim it as “my own creation.” My aim is to share an authentic and perfected version of this classic. What I can confidently tell you, however, is that if you carefully follow these updated directions, your cake will not suffer from common baking woes like sinking in the middle. This recipe yields a beautifully structured cake where the delicate cream cheese ring is perfectly suspended, taking up a delicious but not overwhelming portion of the cake, which is primarily a rich, moist chocolate Bundt.
Another significant advantage of this particular version is its balanced sweetness. It tends to be less sugary than some of the more recent adaptations, allowing the deep chocolate and creamy coconut flavors to shine through beautifully. I personally found the flavor and texture to be absolutely delightful, making it a recipe I plan to revisit often. Furthermore, I’m intrigued to experiment with other well-loved chocolate cake bases, such as Nana’s Famous Devil’s Food Cake, to see if it can provide the necessary structural support for the coconut cream cheese ring. Exploring these variations opens up a world of possibilities for customizing this vintage favorite to suit individual preferences while still honoring its delicious origins.
Mastering the Coconut Ring Cake Cream Cheese Filling: Tips for Success
The star of the Ring of Coconut Cake, beyond its luscious chocolate base, is undoubtedly the creamy, sweet coconut-infused filling that forms a delightful surprise inside each slice. The original Pillsbury Bake-Off version of this filling actually included chocolate chips, a detail I chose to omit in my recent bake, but it’s an excellent addition for those who love extra texture and chocolatey goodness. Here are some detailed notes and tips I gathered while preparing this crucial component:
- The addition of coconut gives the filling a wonderfully bumpy texture and a slightly less dense consistency, providing a pleasant contrast to the smooth cream cheese. This filling isn’t excessively sweet, which allows the natural flavors of the coconut and cream cheese to truly shine. If you’re a fan of chocolate in your filling, I highly recommend incorporating those chocolate chips – milk chocolate chips, in particular, would be a fantastic complement to the tropical coconut and rich chocolate cake. I inadvertently left them out this time, but they’re definitely on my list for the next bake!
- When preparing the cream cheese filling, the importance of truly softened cream cheese cannot be overstated. Cold cream cheese will result in a lumpy, uneven filling. Don’t hesitate to gently warm it in the microwave using short, closely monitored defrost intervals until it’s wonderfully mushy and easy to blend. Equally important is bringing your egg to room temperature; this helps it emulsify better with the other ingredients, creating a smoother, more cohesive filling. My recommended method is to first thoroughly mix the softened cream cheese, sugar, egg, and vanilla until smooth, then gently fold in the shredded coconut and any optional chocolate chips. This approach ensures a consistent and lump-free base before adding the textured elements.
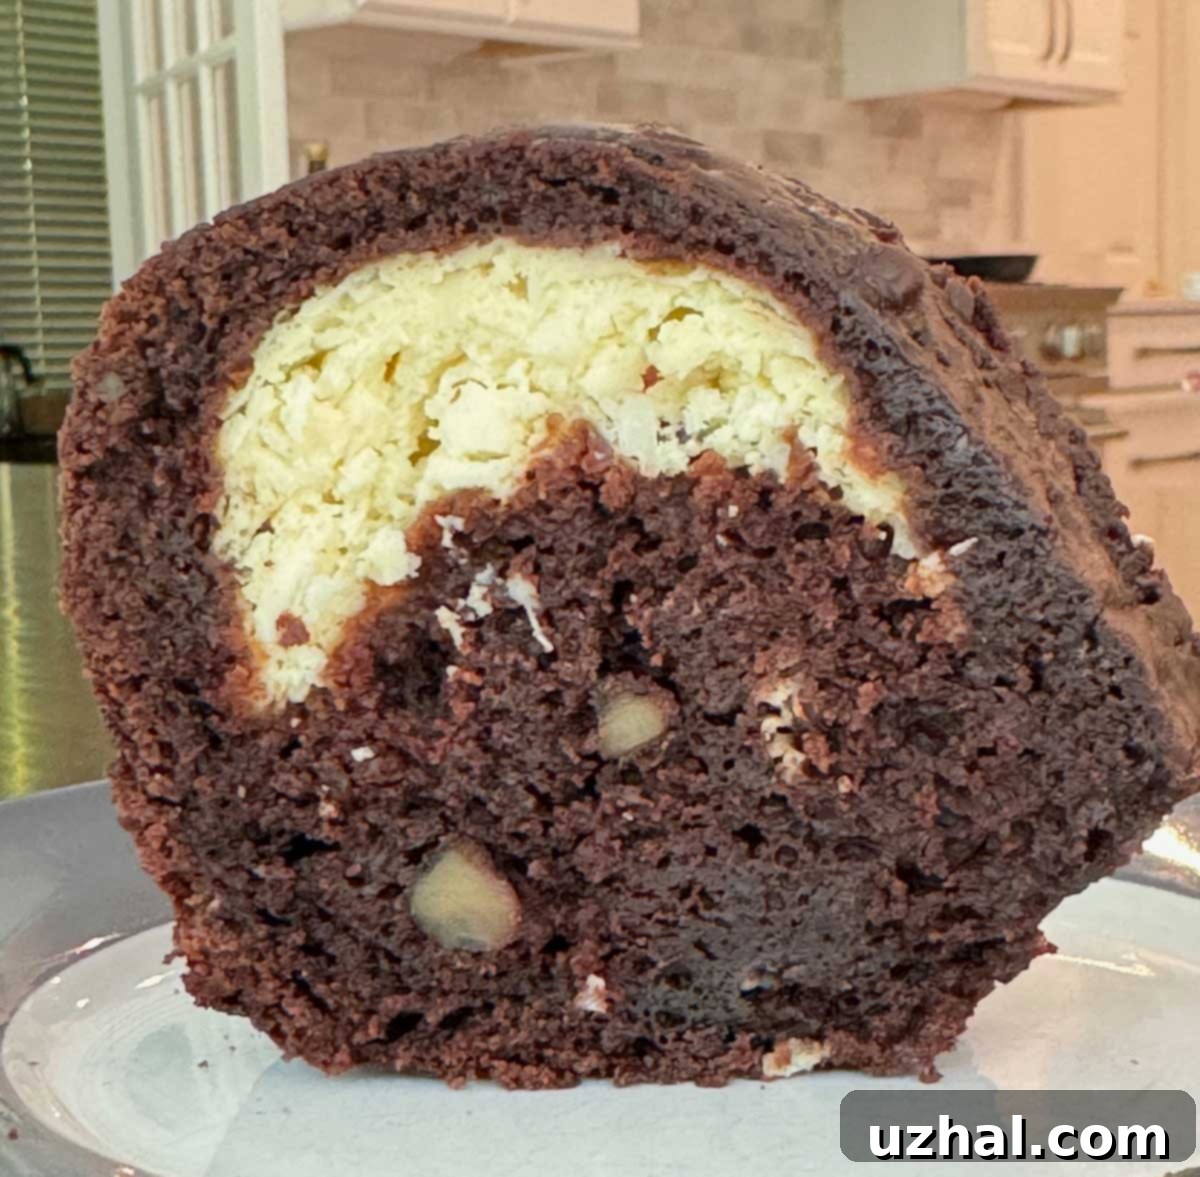
Crafting the Perfect Chocolate Bundt Cake Batter: Essential Tips for a Moist and Flavorful Base
The foundation of a truly exceptional Ring of Coconut Cake lies in its moist and flavorful chocolate Bundt cake batter. Achieving the right consistency and texture is key to ensuring the cake bakes evenly and provides the perfect complement to the creamy coconut filling. Here are some detailed insights and tips for preparing the chocolate batter:
- Choose the Right Mixing Bowl: When preparing the batter, you’ll need a spacious mixing bowl. My 2-quart Pampered Chef Batter Bowl, while a workhorse, was barely adequate for the volume of ingredients. To avoid spills and ensure thorough mixing, opt for a larger mixing bowl if at all possible. This will give you ample room to work without overcrowding.
- Mixing Dry Ingredients: Rita Glomb’s original instructions, like many from its era, suggested beating sugar, eggs, and oil together, then adding all other ingredients and beating for 3 minutes. While that approach can work, modern baking practices often recommend whisking dry ingredients separately first. This ensures leavening agents and salt are evenly distributed throughout the flour, preventing pockets of baking soda or powder and promoting a uniform rise. Next time, I plan to stir in the cocoa first, then gently incorporate the leavening agents and salt, and finally add the flour last. This method helps prevent overmixing, which can lead to a tough cake. As long as you ensure there are no clumps of leavening agents, adding them directly to the wet batter (as the original recipe suggests) can still yield good results, but separate whisking is a best practice for consistency.
- The Magic of Hot Coffee: After adding the dry ingredients and buttermilk, I microwaved the coffee until it was steaming hot. Incorporating hot coffee into cocoa-based cake batter is a classic technique for a reason: it’s believed to “bloom” the cocoa powder, intensifying its chocolate flavor and color, and also to activate the leavening agents more effectively, contributing to a lighter crumb. While hot coffee is recommended for these benefits, don’t fret if you only have cold coffee or even water; the cake would still be delicious, though perhaps with a slightly less pronounced chocolate flavor.
- Accurate Flour Measurement is Crucial: Three cups of flour is a significant amount, and improper measurement is a common culprit for dry cakes. To guarantee a moist outcome, I highly recommend weighing your flour; aim for 375 grams. If a kitchen scale isn’t available, the “spoon and level” method is your next best bet: aerate the flour by stirring and fluffing it in its container, then gently spoon it into your measuring cup and level off the excess with a straight edge. Avoid scooping directly with the measuring cup, as this compacts the flour and results in too much. Additionally, opting for a softer all-purpose flour, such as Pillsbury or Gold Medal, can contribute to a tenderer crumb.
- Cocoa Powder Precision: Similar to flour, too much cocoa powder can also lead to a dry cake and a bitter flavor. For optimal results, weigh 65 grams of unsweetened natural cocoa powder. If measuring by volume, be very careful: whisk out any lumps first, then spoon the cocoa powder into your measuring cup and level it gently. Sifting it before measuring is also an excellent practice to ensure accuracy and prevent clumps in the batter.
Crafting the Irresistible Chocolate Bundt Cake Glaze
No decadent chocolate Bundt cake is truly complete without a luscious glaze, and the one for this Ring of Coconut Cake is simply divine. What I particularly love about this glaze is its effortless preparation, its perfectly balanced sweetness that doesn’t overpower the cake, and its reliance on common pantry items rather than expensive ingredients like heavy cream or premium chocolate (though I certainly adore those in a rich ganache!). For this glaze, I followed the original, no-fuss instructions to the letter: I simply dumped all the ingredients into a bowl and stirred in the hot water until smooth. The key to achieving that velvety, lump-free consistency is one crucial step: always sift your powdered sugar and cocoa powder beforehand. This small but vital action ensures a beautifully smooth glaze that cascades perfectly over the contours of your Bundt cake, adding the final touch of elegance and flavor.
A Glimpse at the Ingredients for Your Coconut Ring Chocolate Bundt Cake
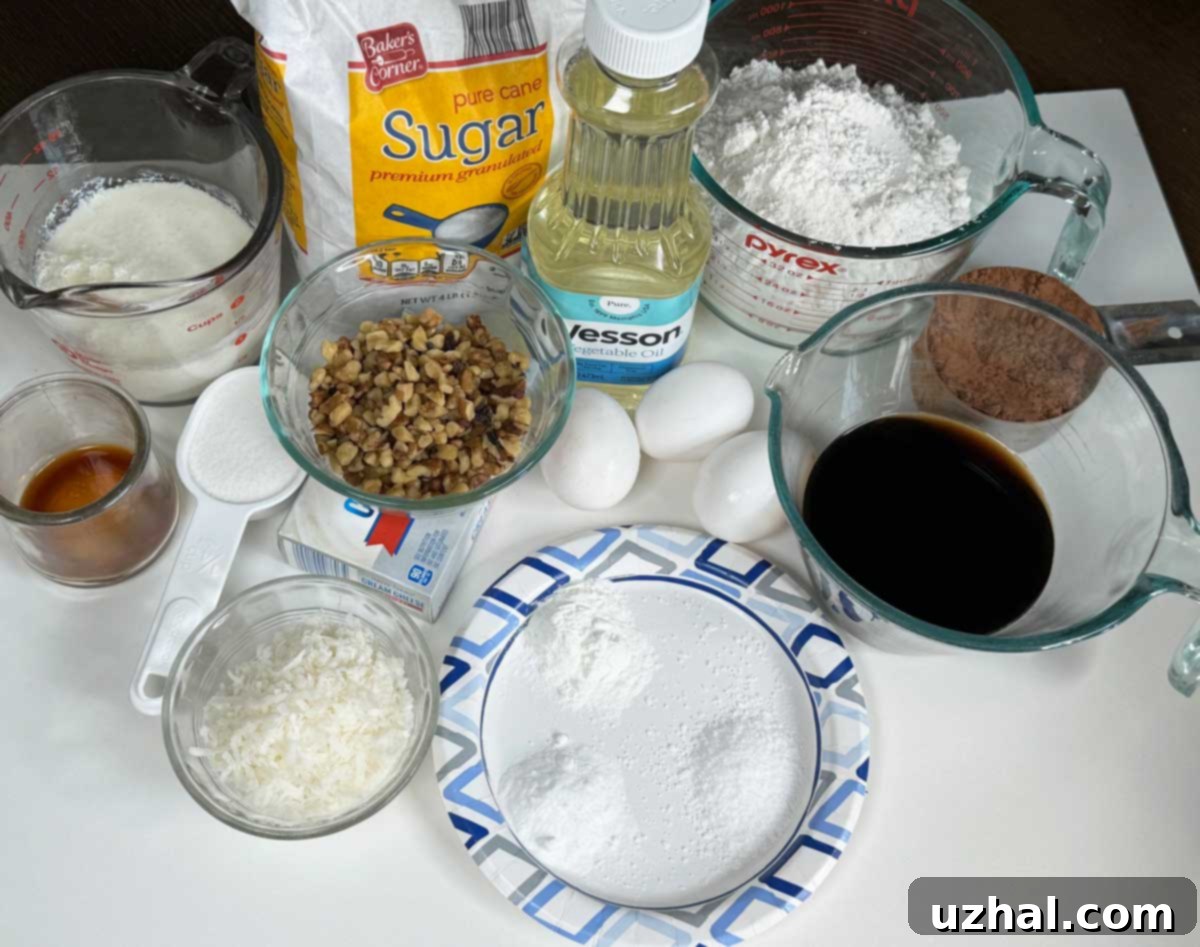
To help you visualize the components that come together to create this magnificent cake, here’s a “family portrait” of the ingredients. You’ll notice I was a bit more relaxed with my ingredient staging this time compared to my precise setup for the Almond Butter Banana Bread. For some items, I simply placed the whole package, rather than pre-measuring into individual bowls. However, one important detail to note from this picture is the lumpy appearance of the cocoa powder – a vivid reminder of why sifting is an absolutely essential step to ensure a smooth, lump-free batter and glaze. Taking the time to sift will make a big difference in the final texture of your cake.
Detailed Steps for Baking Your Perfect Coconut Ring Cake
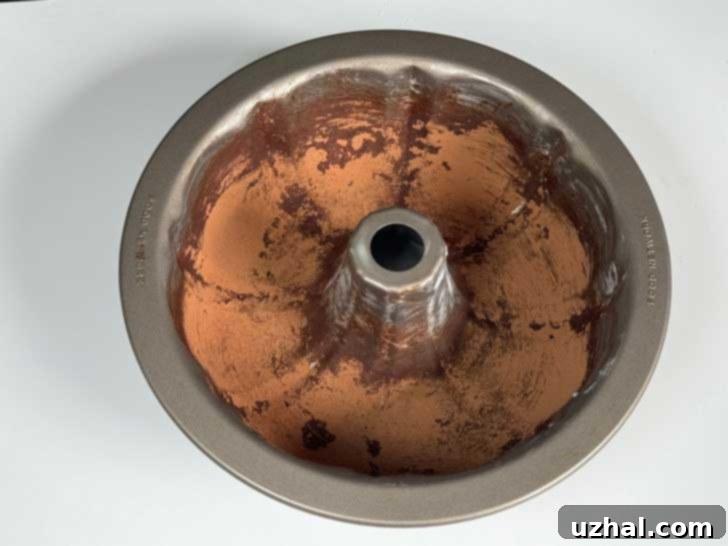
- Prepare Your Pan: Begin by thoroughly greasing your Bundt pan or tube pan with shortening, ensuring every nook and cranny is coated. Then, lightly dust it with either cocoa powder (for a richer, darker cake) or flour. This crucial step prevents sticking and ensures your beautiful cake releases easily.
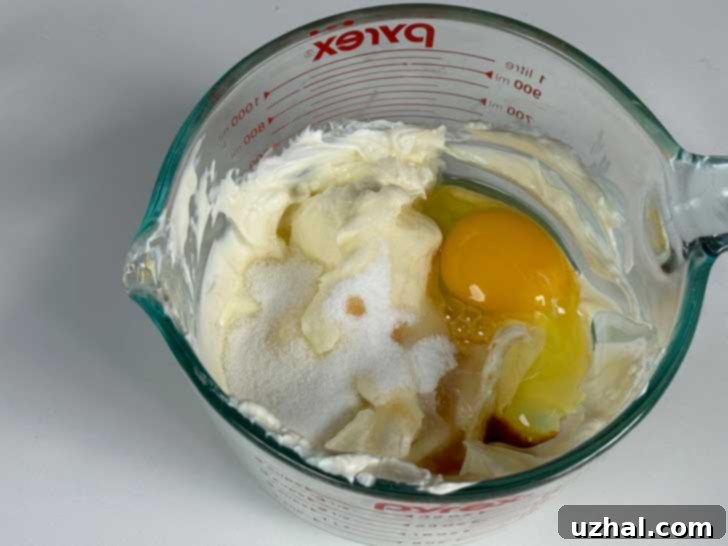
- Craft the Coconut Filling: In a separate bowl, beat together the softened cream cheese, sugar, room-temperature egg, and vanilla until the mixture is smooth and well combined. Once velvety, gently stir in the shredded coconut and any optional chocolate chips. Set this delightful filling aside while you prepare the cake batter.
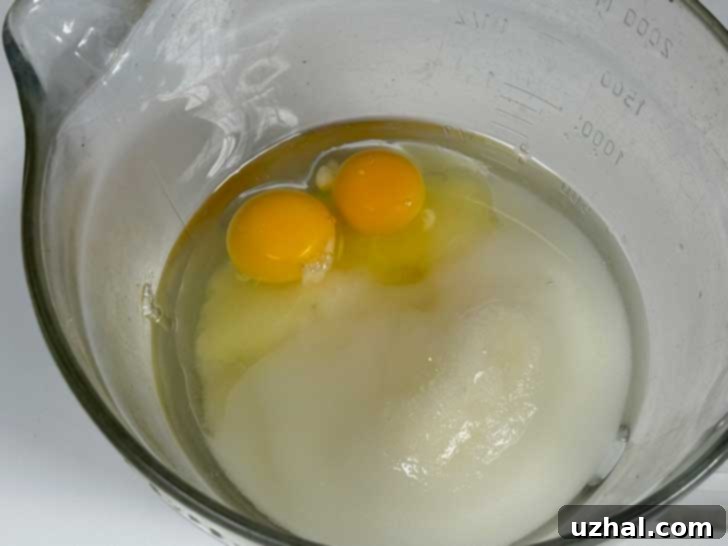
- Begin the Cake Batter: In a large mixing bowl, combine the eggs, sugar, and vegetable oil. Beat these ingredients for approximately 2 minutes on medium-high speed with an electric mixer, or for about 3-4 minutes by hand, until the mixture is lightened in color and fluffy. Stir in the vanilla extract for added flavor.
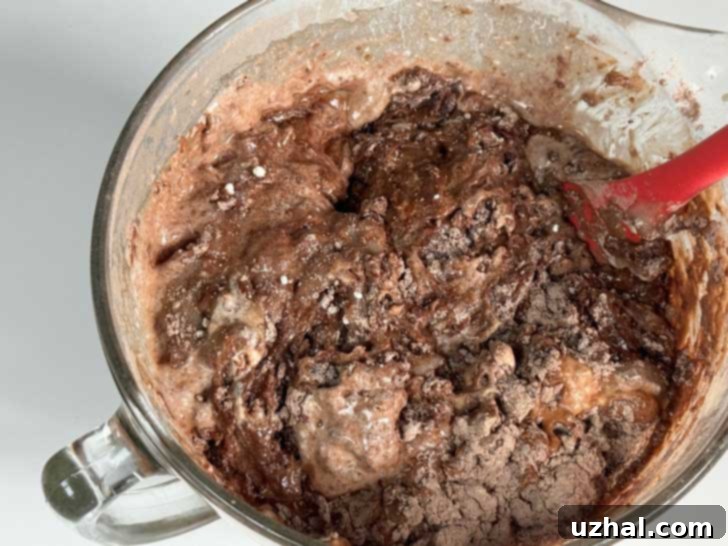
- Incorporate Dry Ingredients and Buttermilk: Now it’s time to add the dry ingredients and one cup of buttermilk to your batter. You have a couple of options here: you can whisk all the dry ingredients (flour, cocoa powder, baking powder, baking soda, salt) together in a separate bowl before adding them to the wet mixture, or you can try the slightly more unconventional method of beating in the cocoa and leavening agents first, then adding the flour last. Either way, mix just until combined to avoid overworking the gluten, which can lead to a tough cake.
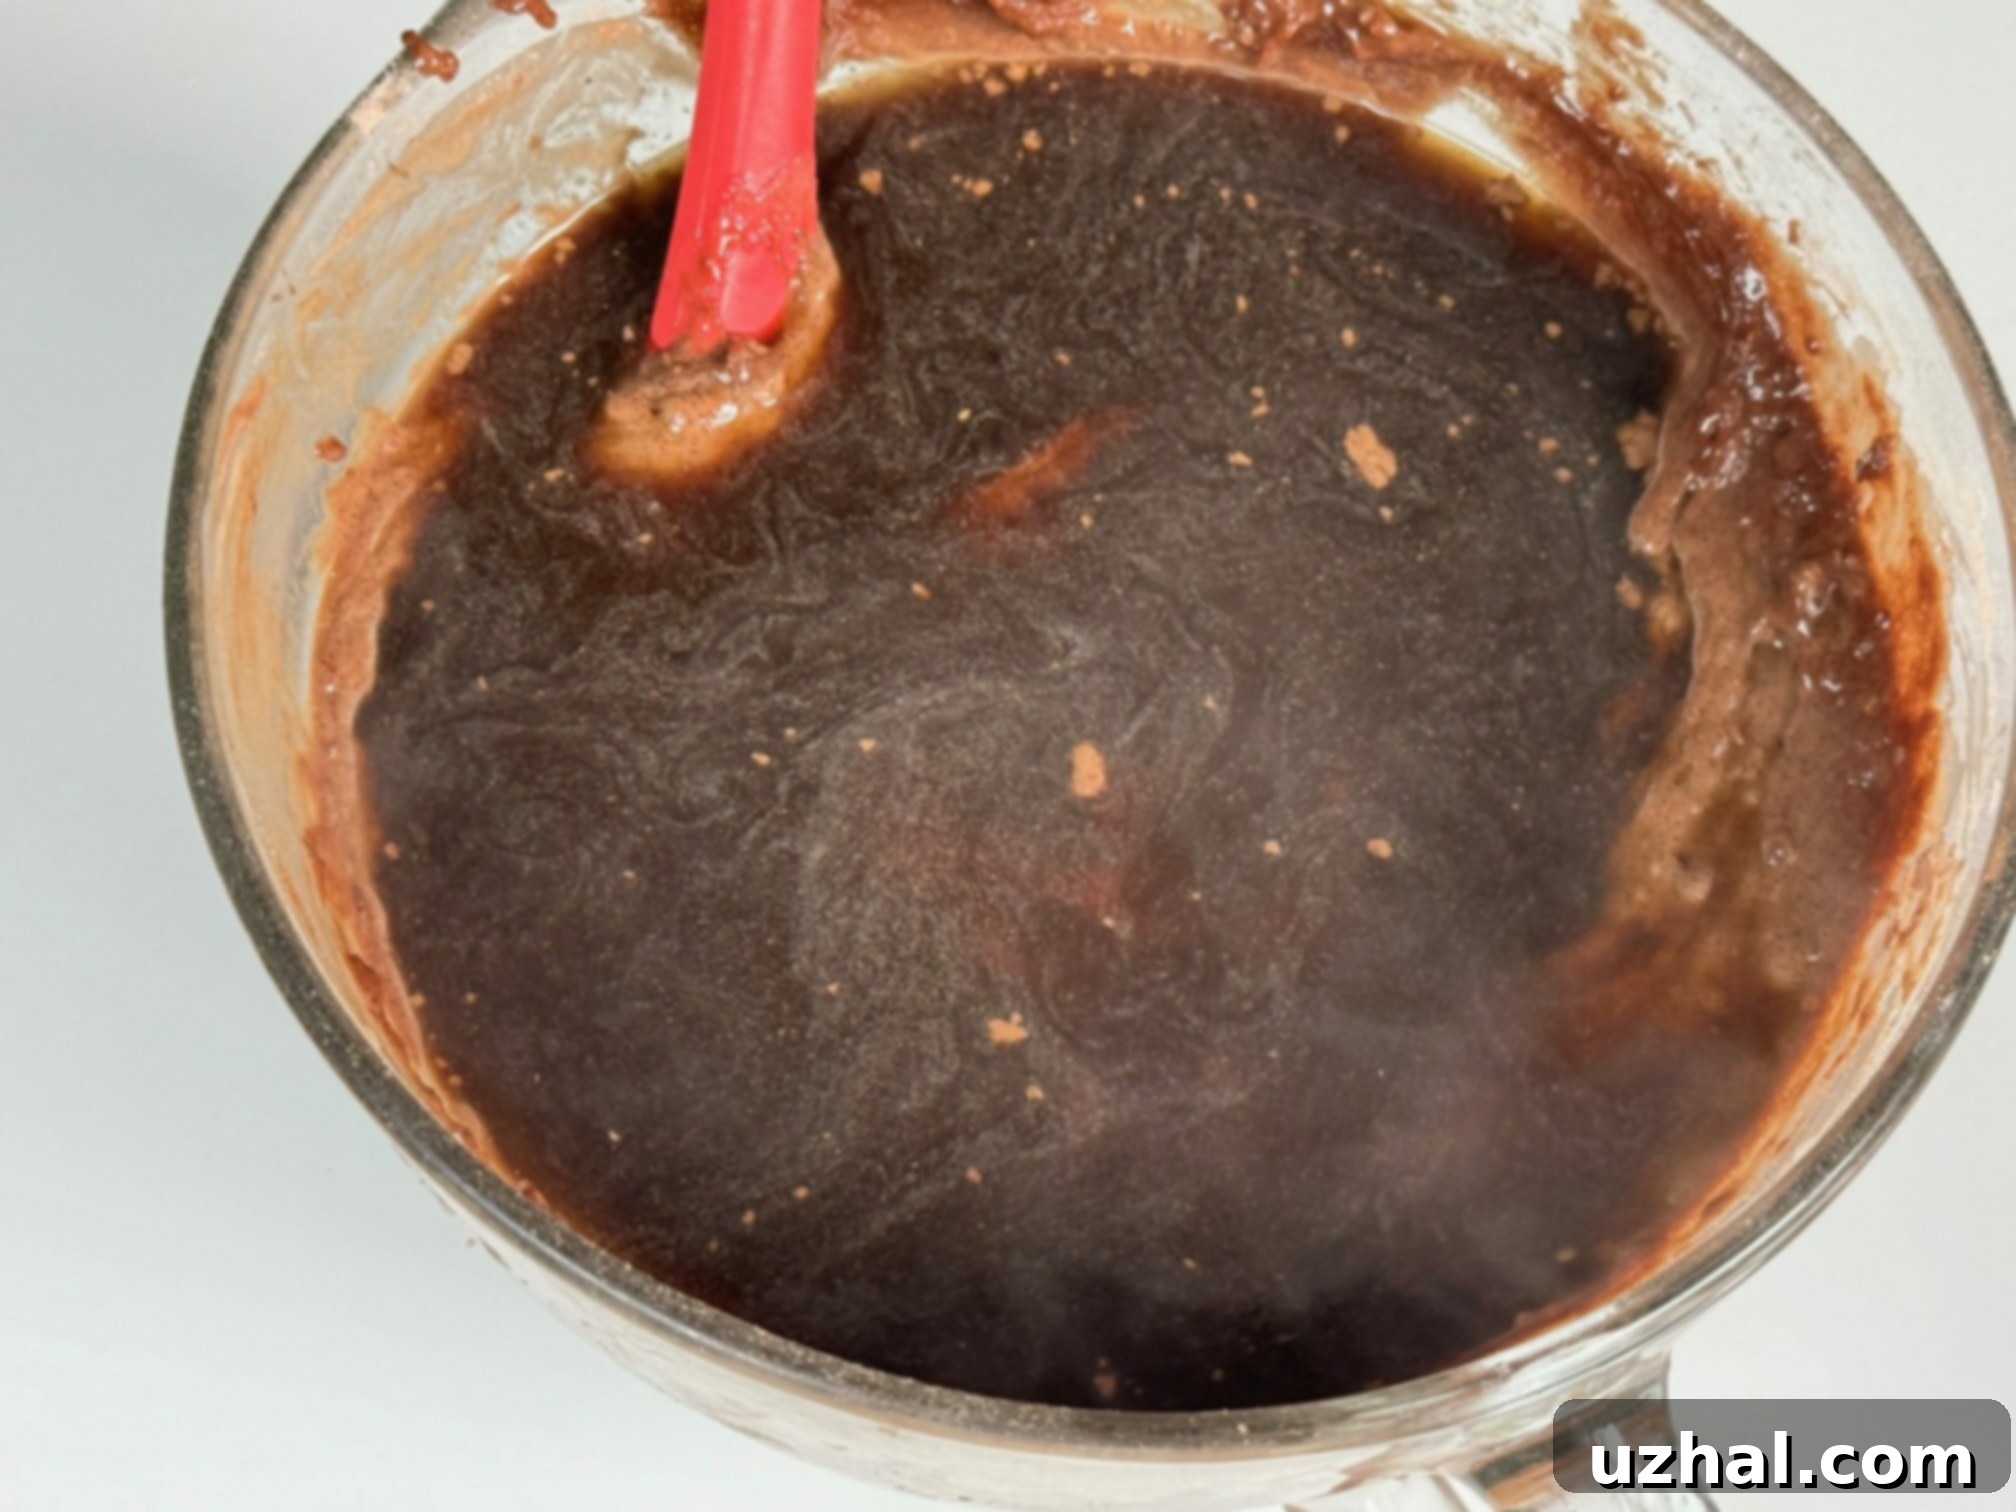
- Add Hot Coffee and Walnuts: Heat your brewed coffee until it is very hot, almost boiling. Carefully pour the hot coffee over the prepared batter. Beat the mixture for 3 minutes, either by hand or on low speed with a mixer, until everything is thoroughly blended and smooth. Finally, gently stir in the chopped walnuts, ensuring they are evenly distributed throughout the rich chocolate batter.
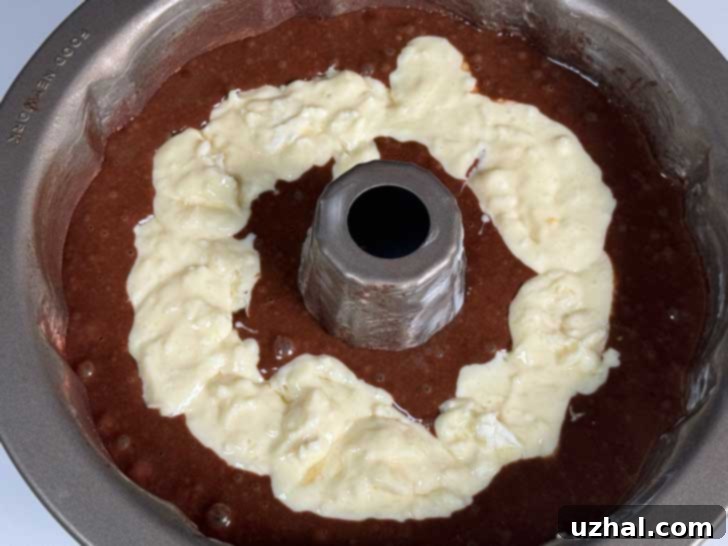
- Assemble and Bake: Pour half of your chocolate cake batter evenly into the prepared Bundt pan. Next, carefully spoon the coconut cream cheese filling mixture in a continuous ring around the center tube of the pan, making sure the filling does not touch the outer or inner walls of the Bundt pan. This separation is key to a perfectly formed ring. Gently spoon the remaining chocolate batter over the filling, spreading it carefully to cover. Bake in your preheated oven at 350°F (175°C) for approximately 60-70 minutes. While it might appear and smell done around 40 minutes, checking the internal temperature with a cake tester or thermometer (it should read 200-210°F or 93-99°C) is essential to ensure it’s fully baked through.
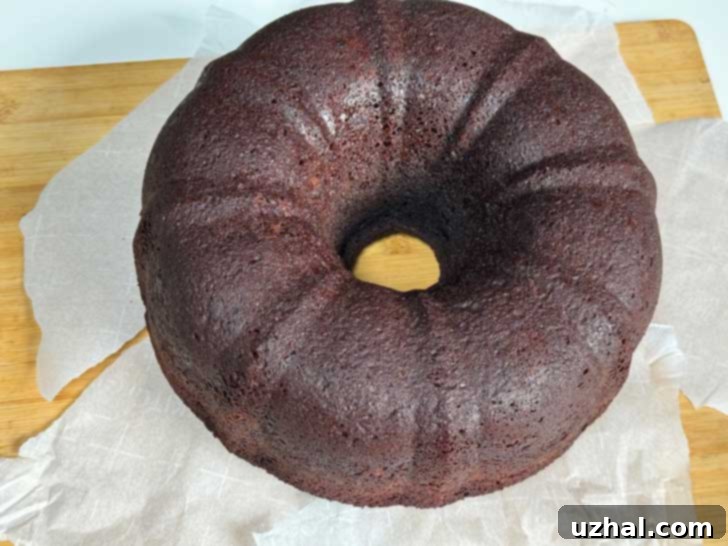
- Initial Cooling: Once baked, remove the cake from the oven and allow it to cool in the Bundt pan for about 20-30 minutes. This crucial resting period allows the cake to firm up and pull away from the sides of the pan, making it much easier to invert without breakage.
- Final Cooling and Glaze: After the initial cooling, carefully invert the cake onto a wire rack. Allow it to cool completely before attempting to make and apply the chocolate glaze. A fully cooled cake ensures the glaze sets beautifully and doesn’t simply melt off.
Recipe
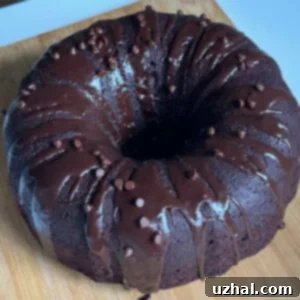
Ring of Coconut Cake
Anna
Pin Recipe
Equipment
-
Stand Mixer with Paddle, Optional
-
10-inch Bundt or Tube Pan
-
Large Mixing Bowl
-
Whisk or Sifter
Ingredients
Coconut Cream Cheese Ring Filling
- 8 oz cream cheese, softened to room temperature
- ¼ cup granulated sugar
- 1 teaspoon pure vanilla extract
- 1 large egg, at room temperature
- ½ cup shredded coconut (sweetened or unsweetened)
- 1 cup milk or semisweet chocolate chips (optional, but recommended for extra decadence)
Moist Chocolate Bundt Cake
- 2 cups granulated sugar (400 grams)
- 2 large eggs
- 1 cup vegetable oil
- 1 teaspoon pure vanilla extract
- 2 teaspoon baking powder
- 2 teaspoon baking soda
- 1 teaspoon salt
- ¾ cup unsweetened natural style cocoa powder (65 grams, sifted)
- 3 cups all-purpose flour (378 grams, spooned and leveled)
- 1 cup buttermilk (or milk soured with 1 tablespoon lemon juice or white vinegar)
- 1 cup hot brewed coffee
- ½ cup chopped walnuts (optional, but adds texture)
Simple Chocolate Glaze
- 2 tablespoons butter, salted or unsalted (42 grams)
- 3 tablespoons unsweetened natural cocoa powder (15 grams, sifted)
- 1 cup sifted confectioners’ sugar (100 grams)
- 2 teaspoons vanilla extract
- 3-4 tablespoons hot water, plus more if needed for desired consistency
Instructions
-
Prepare Pan & Preheat Oven: Preheat your oven to 350°F (175°C). Thoroughly grease a 10-inch tube pan or 12-cup Bundt pan with shortening, then dust it evenly with cocoa powder or flour, tapping out any excess. This step is crucial for preventing the cake from sticking.
-
Make the Coconut Cream Cheese Filling: In a medium-sized bowl, combine the softened cream cheese, sugar, room-temperature egg, and vanilla extract. Beat with an electric mixer or whisk by hand until all ingredients are well blended and smooth. Stir in the shredded coconut and optional chocolate chips until evenly distributed. Set aside.
-
Prepare the Cake Batter Base: In a large mixing bowl (preferably using a stand mixer with a paddle attachment or a hand mixer), combine the 2 cups of sugar, vegetable oil, and large eggs. Beat these ingredients on medium-high speed for 1-2 minutes until light and fluffy. Beat in the vanilla extract.
-
Combine Dry and Wet Ingredients: Add the baking powder, baking soda, salt, sifted cocoa powder, and all-purpose flour to the wet mixture, along with the 1 cup of buttermilk. Beat by hand or at medium speed of a mixer just until the dry ingredients are moistened and the batter is mostly smooth. Avoid overmixing.*Note on Mixing Method (My Adaptation): The original recipe’s instruction to add all ingredients at once is quite simple. However, for a more consistent result, I recommend whisking together the dry ingredients (flour, cocoa, leavening, salt) in a separate bowl first. Then, alternate adding this dry mixture with the buttermilk to the creamed wet ingredients, beginning and ending with the dry. This ensures even distribution and prevents overmixing. After incorporating, I heat 1 cup of coffee until very hot, pour it over the batter, and then beat for 3 minutes by hand until fairly smooth. The hot coffee helps bloom the cocoa and activates the leavening agents. Finally, gently fold in the chopped walnuts.
-
Assemble the Cake: Pour approximately half of the chocolate cake batter into your prepared Bundt or tube pan, spreading it evenly. Next, carefully spoon the coconut cream cheese filling mixture in a continuous ring over the batter, ensuring it doesn’t touch the outer or inner walls of the pan. This creates the “ring” effect. Gently spoon the remaining chocolate batter over the filling, spreading it carefully to completely cover the coconut layer.
-
Bake to Perfection: Bake in the preheated 350°F (175°C) oven for 60-70 minutes, or until a wooden skewer inserted into the chocolate cake portion comes out clean (avoid poking the filling). The cake will develop a rich aroma and may appear done around 40 minutes, but in my oven, it consistently needed the full 70 minutes to reach perfect doneness.
Chocolate Glaze
-
Prepare Glaze Ingredients: While the cake cools, combine the butter (melted or very soft), sifted cocoa powder, sifted confectioners’ sugar, and vanilla extract in a medium bowl.
-
Mix the Glaze: Gradually add the hot water, starting with 3 tablespoons, stirring vigorously until the glaze is smooth and free of lumps. Add an additional tablespoon of hot water, if needed, to reach your desired pouring consistency. It should be thick enough to cling to the cake but thin enough to drip attractively.
-
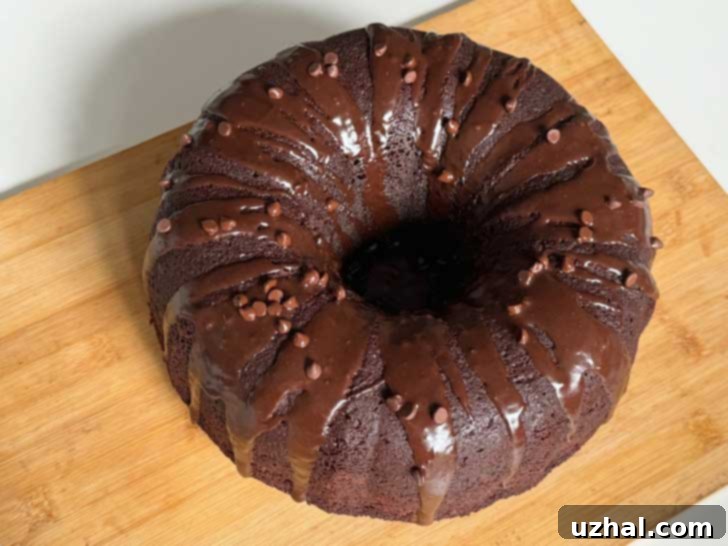
Glaze the Cooled Cake: Once the cake has cooled completely, spoon or drizzle the chocolate glaze evenly over the top, allowing it to naturally cascade down the sides of the Bundt.
-
Storage: Store the Ring of Coconut Cake in an airtight container at room temperature for a few hours, or for longer freshness, keep it refrigerated. Bring to room temperature before serving for the best flavor and texture.
