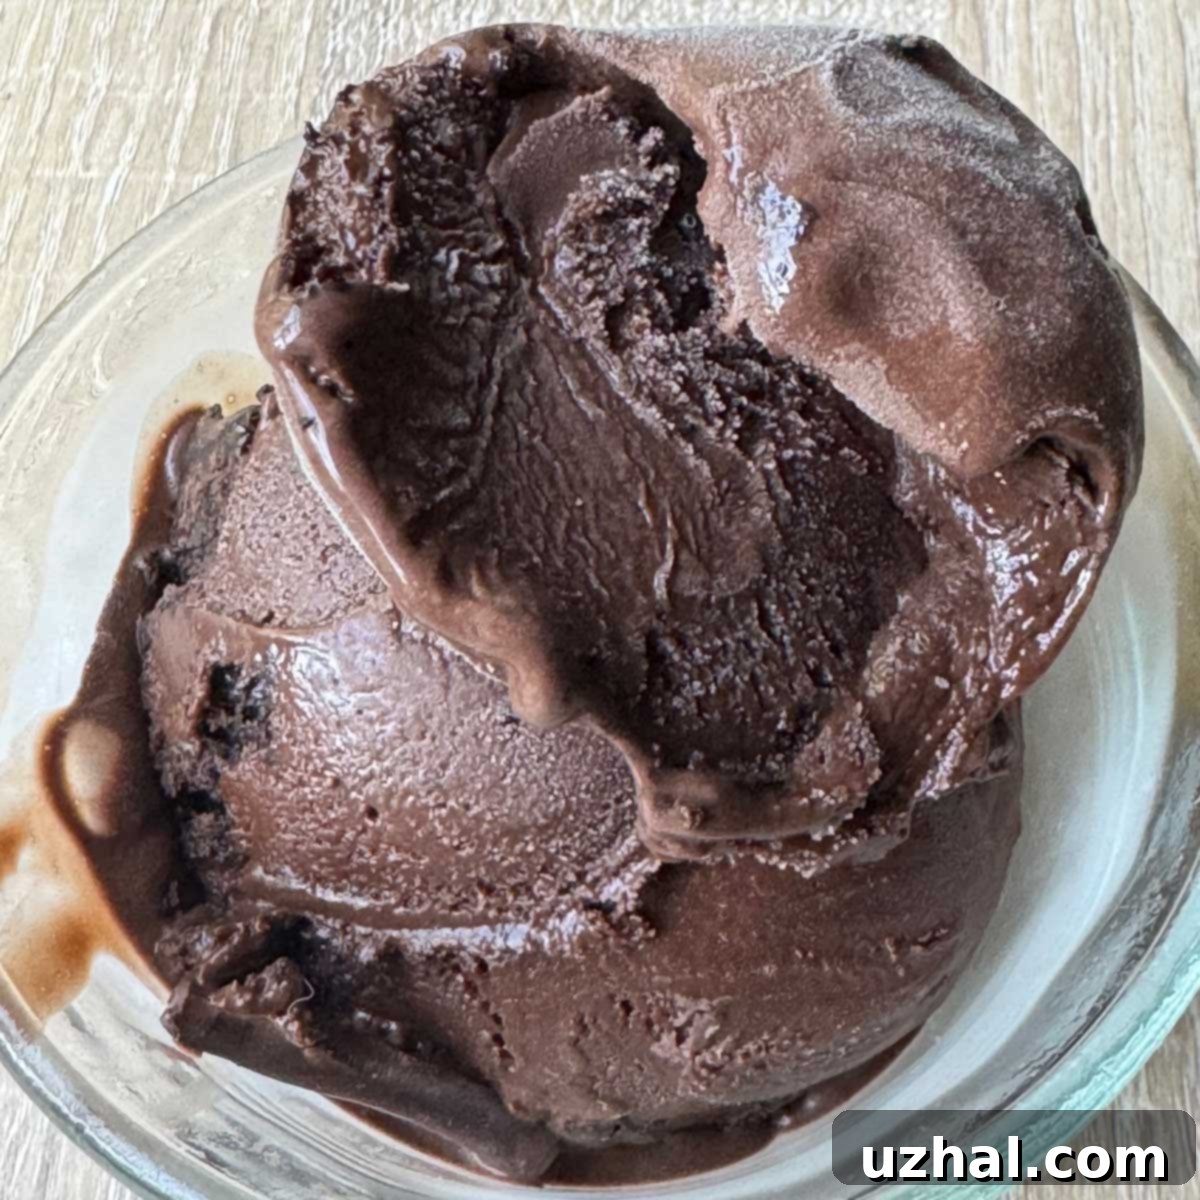
Indulge in Homemade Ben & Jerry’s Style Dark Chocolate Ice Cream (Copycat Recipe)
There’s nothing quite like the creamy, rich indulgence of a perfectly churned batch of homemade ice cream. And when it comes to iconic flavors, Ben & Jerry’s often sets the gold standard. While their secret recipes for crowd favorites like Phish Food or Netflix and Chill remain closely guarded, their older ice cream books offer a delightful peek into the foundational techniques that create their signature texture and flavor profiles. This recipe is a loving adaptation from one of those vintage Ben & Jerry’s guides, specifically inspired by their classic dark chocolate ice cream. It embraces the traditional approach, including the use of raw eggs, but provides all the necessary steps for safe home preparation, ensuring a decadent and truly satisfying treat.
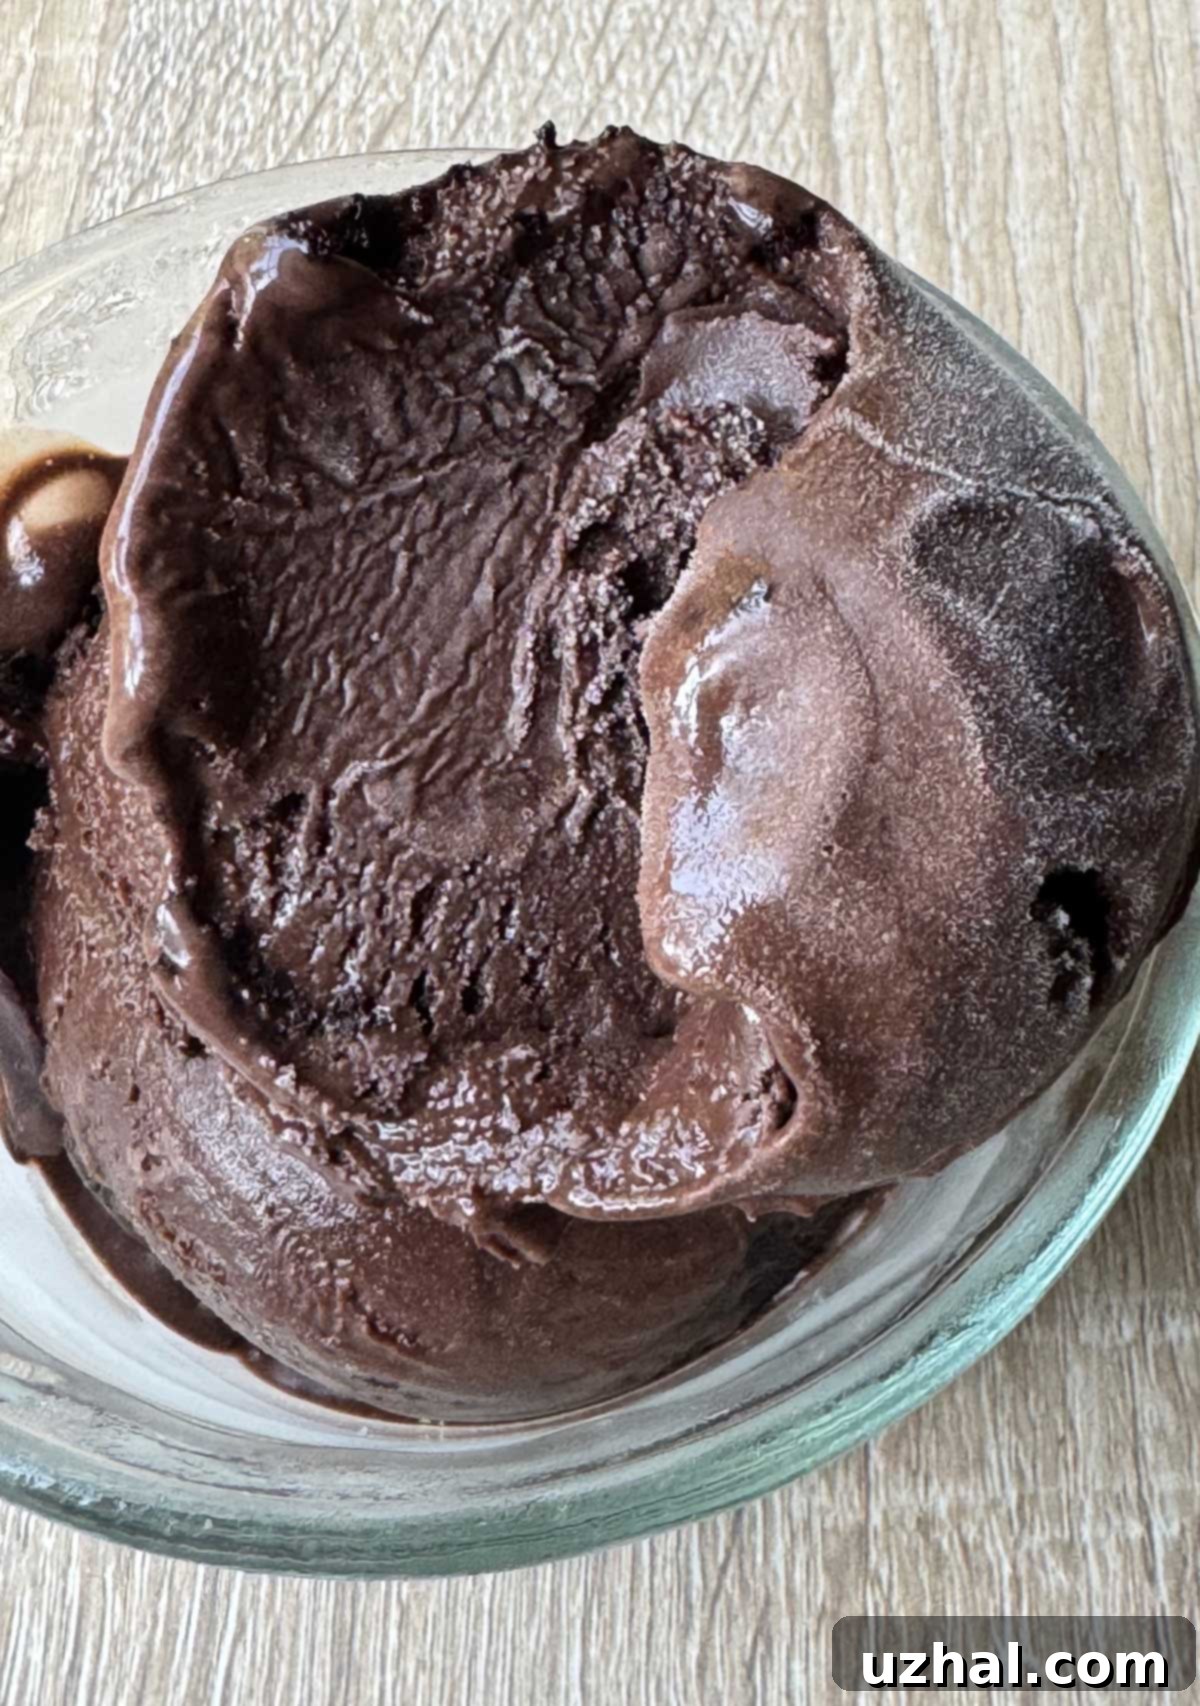
Crafting the Ultimate Dark Chocolate Ice Cream Base
The original Ben & Jerry’s recipe book features a couple of chocolate ice cream variations: a lighter one and a distinct dark chocolate version. This particular adaptation leans heavily into the darker side, aiming for a profound chocolate experience. To truly achieve that striking, deep black cocoa appearance you might see in professional ice creams or the very darkest of the images, incorporating a small amount of black cocoa powder is key. Black cocoa powder not only imparts an intense, almost Oreo-like chocolate flavor but also lends that characteristic dark hue. However, don’t feel limited – the ice cream is absolutely exquisite even with just high-quality Dutch-process cocoa. Dutch-process cocoa, which has been treated with an alkali, has a smoother, less acidic chocolate flavor than natural cocoa, and it contributes to a beautiful, rich brown color. The choice between using a touch of black cocoa or sticking with pure Dutch-process cocoa allows you to customize the intensity and visual appeal of your homemade dark chocolate ice cream to your personal preference. Regardless of your choice, the result is a remarkably tasty and deeply satisfying chocolate experience.
The Secret to a Balanced Richness: Milk, Cream, and Whole Eggs
One of the aspects that truly distinguishes this Ben & Jerry’s inspired chocolate ice cream recipe is its thoughtful ingredient balance, particularly the higher ratio of milk to heavy cream. While many homemade ice cream recipes prioritize maximum cream for an incredibly rich, almost heavy texture, this approach results in a base that is still wonderfully creamy and flavorful, yet avoids being overly dense or cloyingly rich. The increased milk content lightens the base without sacrificing its luxurious mouthfeel, allowing the deep chocolate flavor to shine through more clearly. This balance ensures that you can enjoy multiple scoops without feeling overwhelmed.
Furthermore, this recipe cleverly utilizes whole eggs instead of just egg yolks, which is common in many custard-based ice creams. Egg yolks are fantastic emulsifiers and add immense richness, but using whole eggs contributes protein and a lighter body, again preventing the ice cream from becoming excessively heavy. The whites, though subtle, help create a slightly airier texture when churned, contributing to that signature scoopable quality. The primary concern with using whole raw eggs, however, is food safety. Traditional recipes from older cookbooks often assumed a certain level of risk tolerance or relied on the freshness of farm eggs. For modern home cooks, especially when serving others, addressing this concern is paramount. While some might choose to use raw eggs for personal consumption and acknowledge the minimal risk, I strongly recommend pasteurizing the eggs. This simple process, detailed below, eliminates potential bacterial concerns while preserving the functional benefits of whole eggs in the ice cream base.
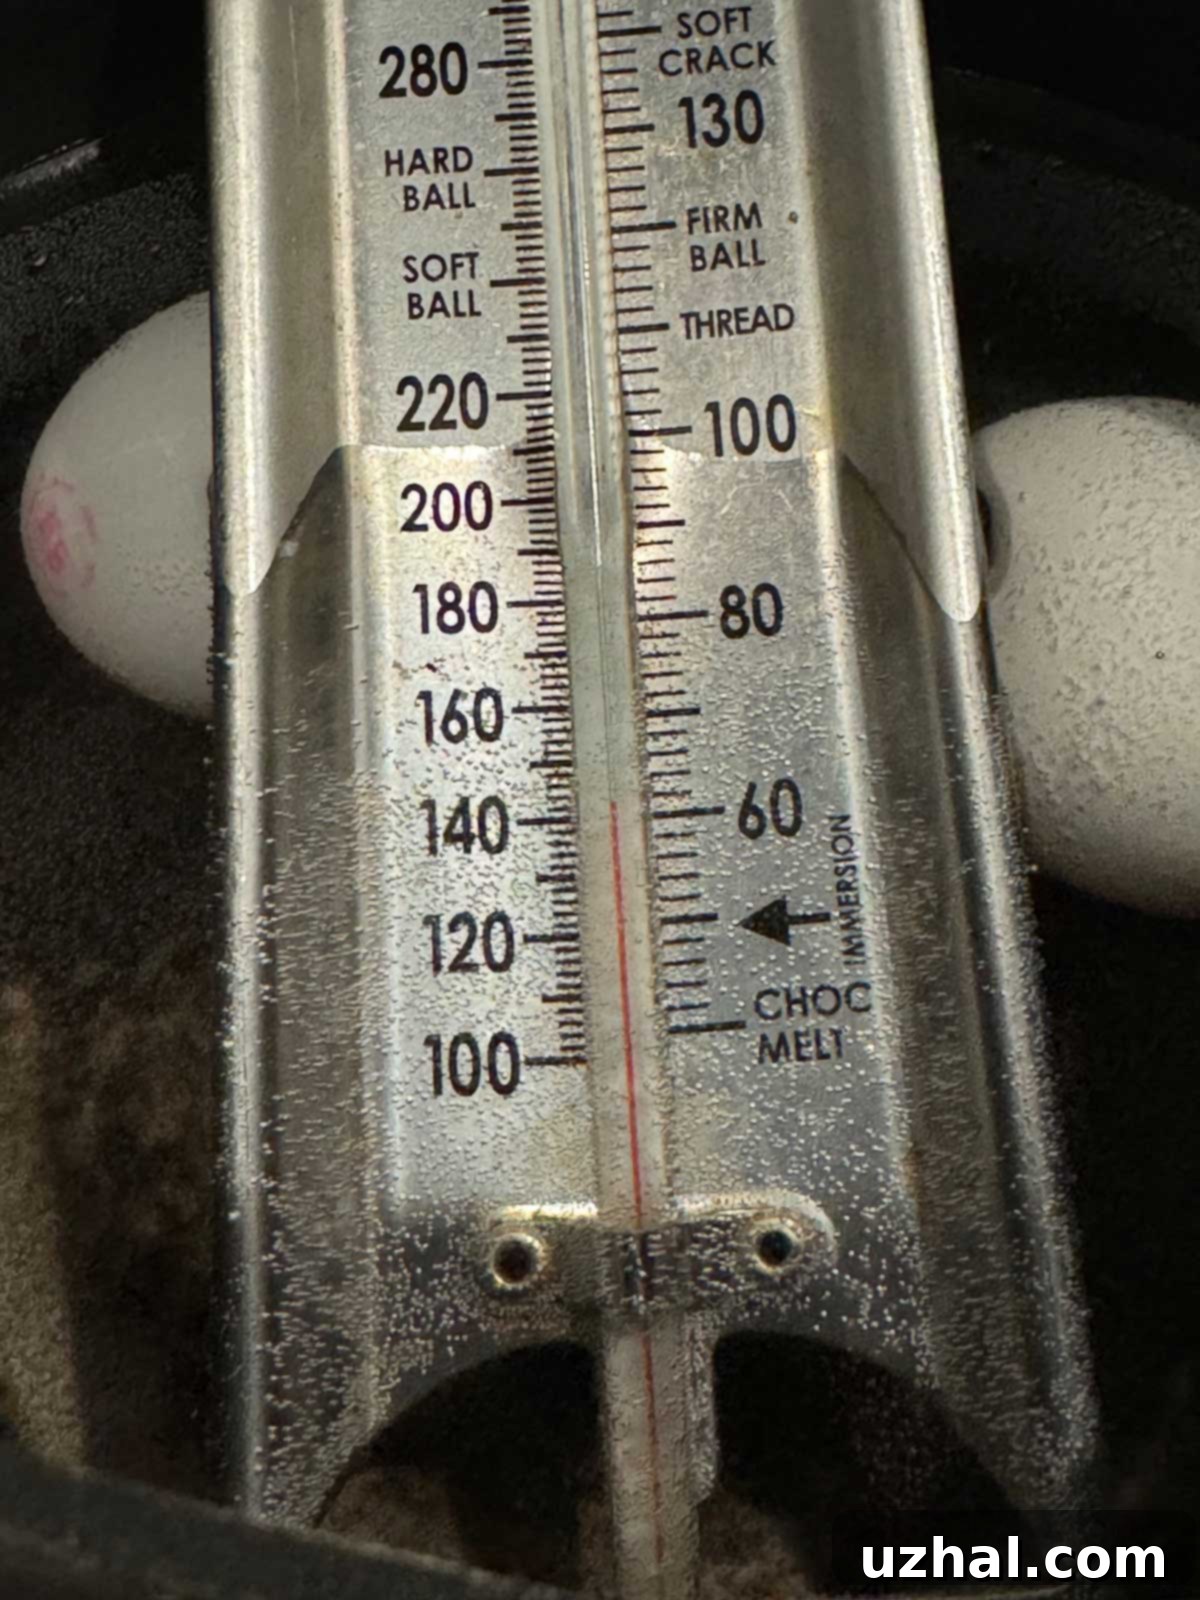
Ensuring Safety: How to Pasteurize Eggs at Home
For any recipe calling for raw or lightly cooked eggs, such as homemade ice cream bases, Caesar dressing, or mayonnaise, pasteurization is a crucial step for food safety. The easiest route is to purchase pre-pasteurized eggs from your local grocery store, which are often available in cartons. However, if these aren’t readily accessible or if you prefer to work with fresh eggs, pasteurizing them at home is a straightforward process. It requires careful attention to temperature to ensure harmful bacteria like Salmonella are neutralized without inadvertently cooking the eggs, which would alter their texture and function in the recipe.
Here’s a reliable method for home egg pasteurization:
- **Prepare an Ice Bath:** Have a large bowl filled with ice water ready before you begin. This will be used to quickly cool the eggs after heating.
- **Submerge Eggs:** Place your eggs in a large saucepan. Add enough water to completely cover the eggs by at least an inch.
- **Gentle Heating:** Insert a deep-fry or candy thermometer into the saucepan. Slowly heat the water over medium-low heat until it reaches 140 degrees F (60 degrees C). The key is a gradual increase in temperature. Do not allow the temperature to exceed 142 degrees F (61 degrees C), as this is where the egg whites begin to coagulate. You might find that once the water hits about 141F, you can turn off the heat and let the residual warmth maintain the temperature, but constant monitoring is essential.
- **Maintain Temperature:** Hold the water at 140 degrees F for 3 ½ to 5 minutes. Gently move the eggs around in the water to ensure even heating and prevent hot spots from forming, which could cause localized cooking.
- **Rapid Cooling:** Immediately transfer the pasteurized eggs from the hot water into the prepared ice bath. Let them cool completely before cracking and using them in your recipe.
After cracking, you might notice some subtle white streaks or a slightly milky appearance in the egg whites. This is completely normal for home-pasteurized eggs and does not mean they are cooked. These streaks will fully blend into your ice cream base when combined with the sugar and other ingredients, becoming imperceptible in the final product. This simple step ensures that your delicious homemade dark chocolate ice cream is not only incredibly tasty but also safe for everyone to enjoy.
Perfect Pairings: Brownie Chunks and Other Delicious Mix-Ins
No Ben & Jerry’s inspired ice cream would be complete without some delightful mix-ins, and dark chocolate ice cream provides the perfect canvas for a variety of additions. Brownie chunks are a classic choice, offering a wonderful textural contrast and an extra burst of chocolatey goodness. Interestingly, the old Ben & Jerry’s book itself included a brownie recipe, but sometimes those incredibly rich brownies can become dense and almost undetectable within the frozen ice cream base, or they freeze too solid. Through experimentation, I’ve discovered a secret to the best ice cream brownie chunks: opt for brownies with a slightly lower fat content.
Fattier brownies tend to freeze much harder, making them difficult to chew and enjoy within the creamy ice cream. A recipe that uses less fat, such as one made with grapeseed oil or a reduced-fat approach, results in brownie chunks that remain wonderfully chewy and distinct, rather than turning into icy bricks. My personal favorite go-to is this reduced-fat brownie recipe; its chunks maintain their delightful texture, staying firm yet chewy within the frozen ice cream. To prepare them, bake the brownies, let them cool completely, then cut them into small, bite-sized pieces before gently folding them into the ice cream during the last few minutes of churning, or after it’s fully churned and just before transferring to a freezer-safe container. This ensures even distribution and prevents them from sinking to the bottom.
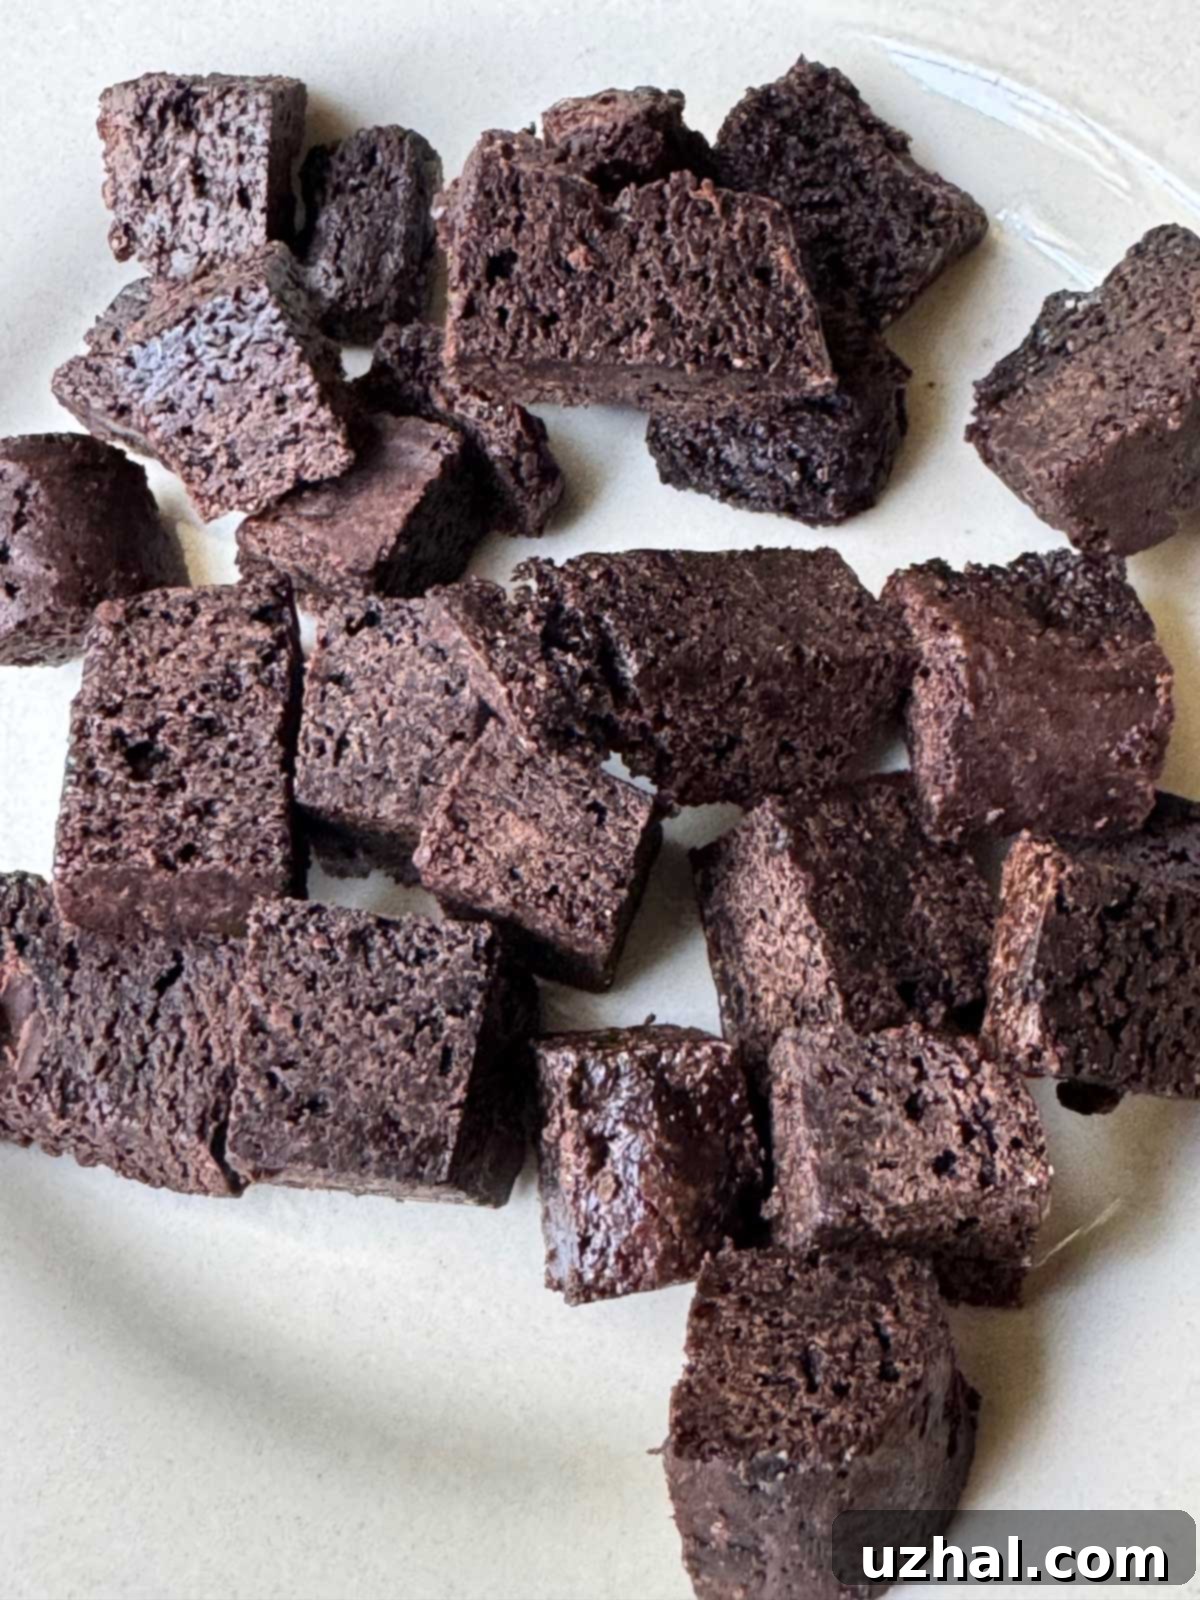
Beyond brownie chunks, dark chocolate ice cream is incredibly versatile for other mix-ins. Consider:
- **Chocolate Chips or Chunks:** A mix of milk, dark, or white chocolate chips can add varied sweetness and texture.
- **Peanut Butter Swirl:** Warm peanut butter slightly and drizzle it into the churned ice cream before freezing for a delicious ripple.
- **Caramel or Fudge Swirl:** Homemade or store-bought caramel or hot fudge can be swirled in for an extra layer of decadence.
- **Toasted Nuts:** Chopped almonds, walnuts, or pecans add a delightful crunch and nutty flavor.
- **Crushed Cookies:** Oreo crumbs, shortbread pieces, or even crushed pretzels for a salty-sweet contrast.
- **Coffee Liqueur or Espresso Powder:** A hint of coffee enhances the chocolate flavor beautifully. Add a small amount of instant espresso powder to the chocolate mixture for a mocha twist.
Experiment with your favorite combinations to create your signature dark chocolate ice cream flavor!
Tips for the Best Homemade Dark Chocolate Ice Cream
Creating exceptional homemade ice cream, especially a rich dark chocolate one, involves a few key principles:
- **Chill Time is Crucial:** This recipe involves heating the chocolate and milk mixture, making the chill time absolutely essential. A fully chilled base (at least 2-3 hours, or preferably overnight) is critical for a smooth, creamy texture. If the base isn’t cold enough, your ice cream maker won’t be able to churn it properly, resulting in an icy, less desirable consistency. The colder the base, the faster and more efficiently it freezes, creating smaller ice crystals.
- **Quality Ingredients Matter:** Since this ice cream features prominent chocolate flavors, using high-quality unsweetened chocolate and Dutch-process cocoa powder will make a noticeable difference in the final taste.
- **Don’t Overfill Your Machine:** Always follow your ice cream maker’s capacity guidelines. Overfilling can lead to improper churning and a less desirable texture.
- **Add-Ins at the Right Time:** If adding solid mix-ins like brownie chunks or chocolate chips, do so during the last 5 minutes of churning, or immediately after churning, before transferring to the freezer. This prevents them from clumping together or sinking.
- **The Vodka Secret (Optional):** A small amount of alcohol, like vodka, acts as an anti-freeze. It lowers the freezing point of the mixture, resulting in an ice cream that stays softer and more scoopable directly from the freezer, rather than rock-hard. You won’t taste it, but you’ll appreciate the texture!
Serving and Storage Suggestions
Once your dark chocolate ice cream is freshly churned, it will have a soft-serve consistency. For a firmer scoop, transfer it to an airtight freezer-safe container and freeze for at least 4 hours, or until solid. This “ripening” period allows the flavors to meld and the texture to firm up beautifully.
Serve your homemade dark chocolate ice cream plain to savor its deep flavor, or get creative with toppings! A dollop of whipped cream, a sprinkle of sea salt, a drizzle of hot fudge, or even fresh berries can elevate the experience. It also makes an incredible base for sundaes or milkshakes.
For storage, keep the ice cream in an airtight container in the back of your freezer, where the temperature is most consistent. This helps prevent freezer burn and maintains its quality. Properly stored, homemade ice cream can last for up to two weeks, although its texture is best enjoyed within the first few days.
Ready to create your own irresistible Ben & Jerry’s inspired dark chocolate ice cream? Below you’ll find the full recipe. For more inspiration and classic techniques, consider exploring the original book that sparked this delicious adventure.
Recipe
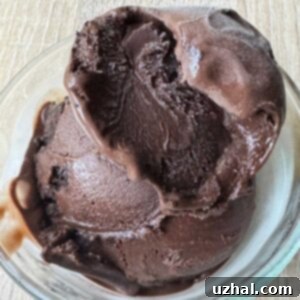
Ben and Jerry’s Inspired Dark Chocolate Ice Cream
Anna
Pin Recipe
Equipment
-
1 ice cream maker
Ingredients
- 2 ounces unsweetened chocolate, chopped (56 grams)
- ⅓ cup unsweetened Dutch process cocoa powder (40 grams)
- 1 ½ cups whole milk (12 oz/340 grams)
- 1 cup sugar (200 grams)
- 2 large eggs or equivalent pasteurized eggs
- ⅛ teaspoon salt
- 1 cup heavy whipping cream (8 oz/230 grams)
- 1 teaspoon vanilla extract
- ½ tablespoon vodka (optional)
Instructions
-
In the top of a double boiler or a sturdy heavy saucepan, begin to melt the chopped unsweetened chocolate along with ¼ cup of the whole milk over gentle heat. Stir continuously until the chocolate is fully melted and smooth. Then, add the unsweetened Dutch process cocoa powder, whisking it in gradually. Slowly incorporate the remaining milk, continuing to whisk until the mixture is completely smooth and free of lumps. Remove from heat.
-
In a separate large mixing bowl, combine the granulated sugar and the eggs (raw or pasteurized). Using an electric mixer, beat the mixture on medium to medium-high speed for approximately two minutes, until it becomes light in color and slightly thickened.
-
Gradually whisk the warm chocolate mixture into the beaten egg mixture until fully combined and smooth.
-
Now, whisk in the salt, the cold heavy whipping cream, and the vanilla extract. Once thoroughly mixed, cover the bowl loosely with plastic wrap and chill in the refrigerator until the mixture is very cold, typically about 2 to 3 hours. For optimal results and texture, chilling overnight is highly recommended.
-
Just before you are ready to churn the ice cream, give the chilled base a final whisk and incorporate the optional ½ tablespoon of vodka. This small amount of alcohol helps prevent the ice cream from freezing too solid, keeping it more scoopable.
-
Pour the cold ice cream base into your ice cream maker. Freeze according to the manufacturer’s specific directions for your model. This usually takes between 20 to 30 minutes, resulting in a soft-serve consistency.
-
This recipe typically yields about 2 pints of delicious dark chocolate ice cream. The exact volume may vary slightly based on factors such as the amount of air incorporated during churning and if you choose to include additional mix-ins like chocolate or brownie chunks.
Notes
