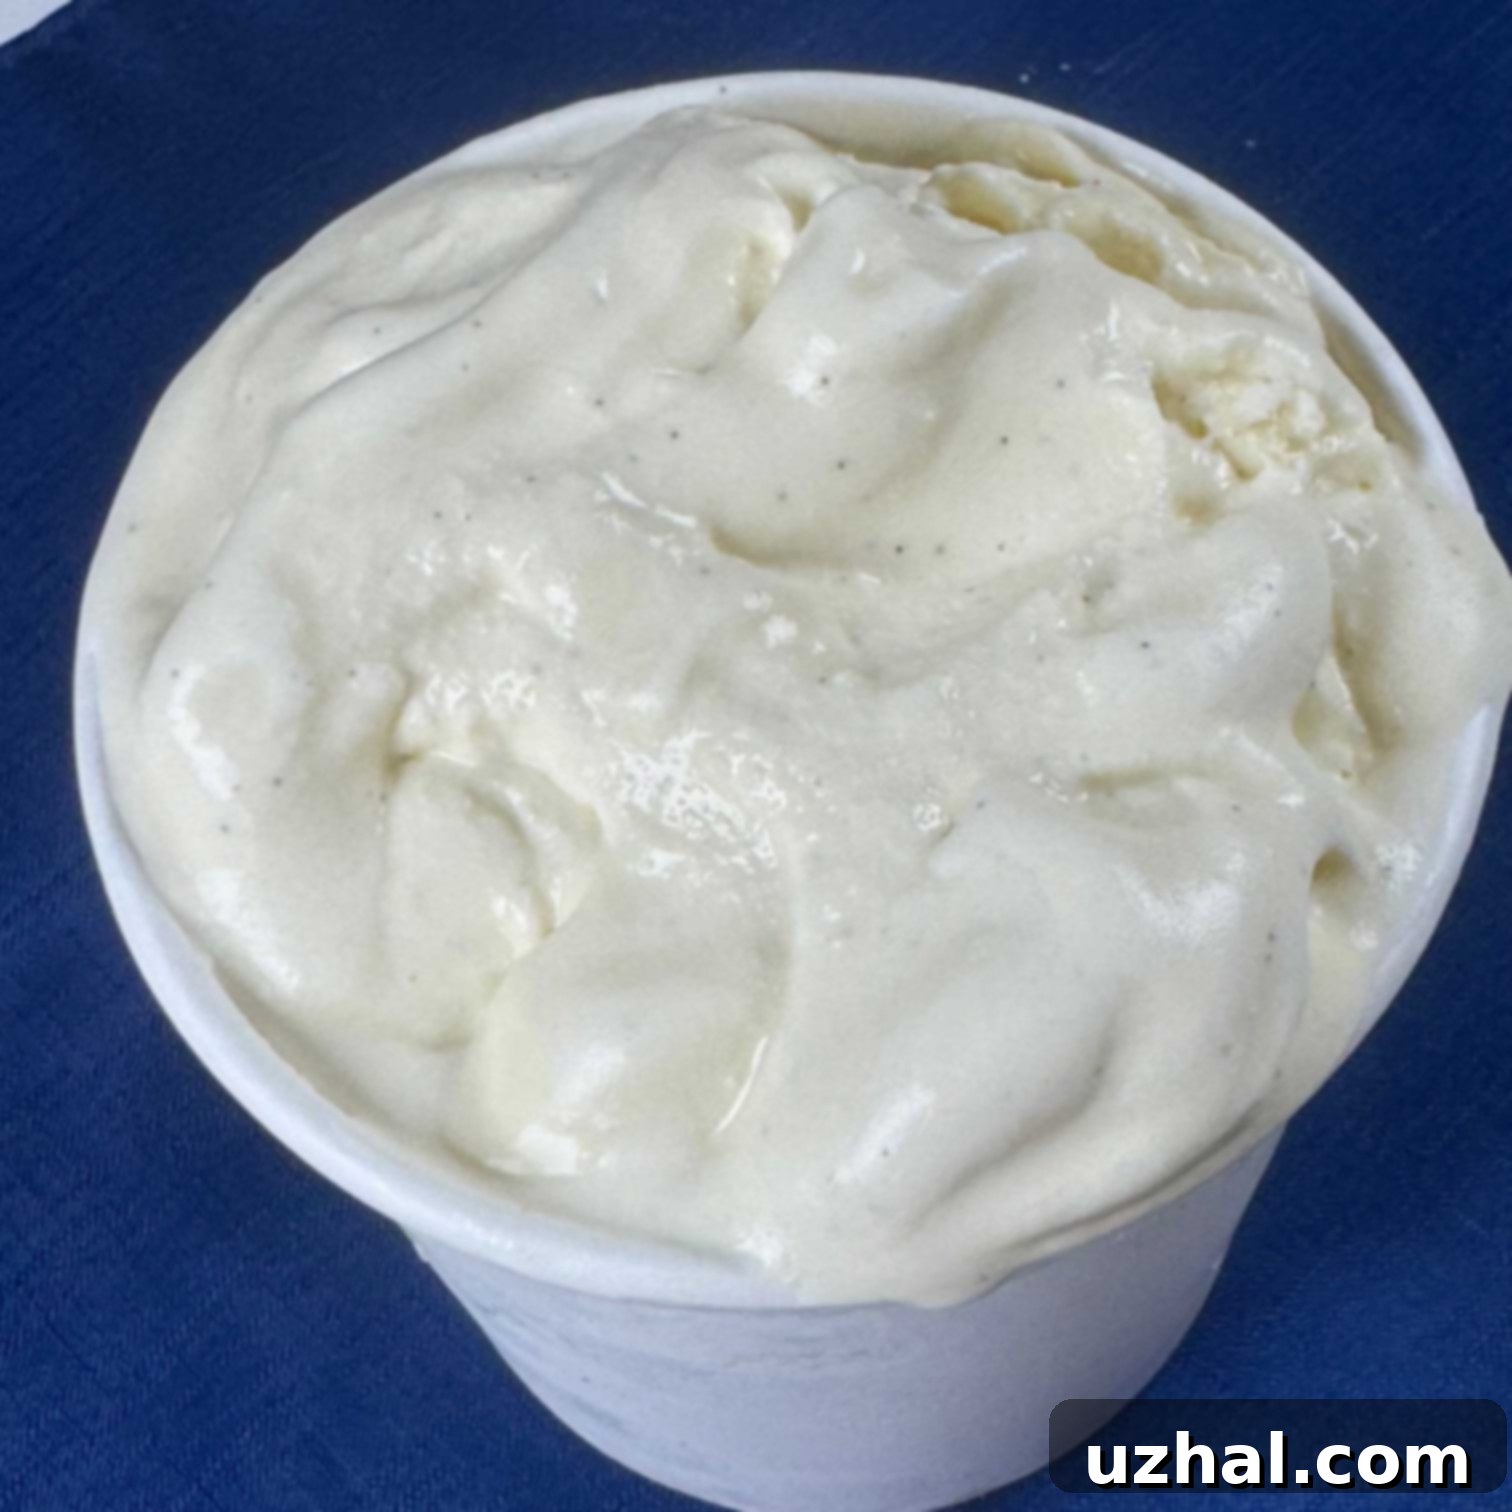
Rich & Creamy Mexican Vanilla Ice Cream: The Ultimate Homemade Dessert
There’s nothing quite like homemade ice cream, and this Mexican Vanilla Ice Cream recipe stands out as a true culinary delight. It began its journey in my kitchen as a resourceful way to utilize leftover egg yolks from a batch of delectable Biscotti Thins. Now, it has become such a beloved staple that I often find myself making Biscotti Thins specifically to use up the egg whites left over from preparing this exquisite ice cream. This isn’t just a basic vanilla ice cream; it’s a celebration of flavor and texture, enriched with numerous egg yolks for an unparalleled creamy consistency.
What truly elevates this dessert is the distinctive essence of Mexican vanilla. Known for its complex flavor profile, Mexican vanilla extract adds a unique depth, featuring hints of spice and woodsy notes that complement the classic sweetness perfectly. While Mexican vanilla is highly recommended for its authentic touch, please feel free to use your favorite high-quality vanilla extract if that’s what you have on hand. The goal is a wonderfully rich, smooth, and aromatic vanilla ice cream that will impress everyone who tastes it.

Why Mexican Vanilla? Unlocking Unique Flavors
Mexican vanilla isn’t just vanilla; it’s an experience. Originating from the vanilla planifolia orchid, native to Mexico, this extract boasts a richer, bolder, and often spicier aroma compared to its Madagascar counterpart. While Madagascar vanilla is typically sweet and creamy, Mexican vanilla introduces warm, smoky, and sometimes clove-like undertones. These distinct characteristics make it an exceptional choice for ice cream, as its robust flavor doesn’t get lost when combined with dairy and sugar. It adds an intriguing complexity that makes each spoonful more memorable. Using Mexican vanilla in your ice cream transforms a simple dessert into an exotic treat, reminiscent of artisanal gelato.
The Art of the Custard Base: French-Style Richness
This recipe embraces the “French-style” ice cream tradition, which is characterized by a rich, cooked custard base made with egg yolks. The generous inclusion of five large egg yolks is crucial here. These yolks serve multiple purposes: they lend a beautiful pale yellow hue, contribute to an incredibly smooth and luxurious mouthfeel, and act as natural emulsifiers and stabilizers. When properly cooked, the egg yolks prevent the formation of large ice crystals, resulting in a delightfully creamy and less icy texture. This rich base is what truly distinguishes homemade French-style ice cream from simpler “Philadelphia-style” versions that omit eggs. The careful tempering and cooking process ensures a custard that’s velvety and deeply flavored, setting the stage for an extraordinary ice cream experience.
Guar Gum: The Secret to an Even Smoother Texture (Optional)
While this recipe is incredibly satisfying on its own, for those looking to achieve an exceptionally smooth and almost “chewy” texture, a tiny addition of guar gum can make a significant difference. Guar gum is a natural thickening and stabilizing agent derived from guar beans. It’s often used in commercial ice creams for its ability to prevent ice crystal formation and improve texture, but it can also be a game-changer in home recipes. If you’re unfamiliar with the term “chewy” when describing ice cream, you’re not alone! Many, including myself, discover this unique characteristic through experiences with New England-style ice cream.
How does it work? Guar gum creates a fine, gel-like network within the ice cream base, interfering with the growth of larger ice crystals during freezing. This results in a noticeably smoother, denser, and slightly elastic texture that melts more slowly. You only need a very minute amount—often less than a quarter teaspoon for a batch of this size—mixed thoroughly into your dry ingredients before whisking into the wet. Remember, guar gum is NOT a requirement for this recipe. The high content of egg yolks already provides excellent natural stabilization, making for a wonderfully creamy ice cream even without it. However, if you’re keen on experimenting with texture, it’s a worthwhile ingredient to explore.
Beyond the Recipe: Tips for Ice Cream Perfection
The Importance of Chilling
One of the most critical steps in homemade ice cream is chilling the base. After cooking your custard, it must be thoroughly chilled—ideally overnight. This isn’t just about food safety; it’s essential for the final texture and flavor of your ice cream. A properly chilled base (below 40°F / 4°C) churns more efficiently, incorporates more air, and results in a smoother, creamier ice cream. Chilling also allows the flavors to meld and deepen, making for a more complex and satisfying taste.
Churning for Success
Follow your ice cream maker’s instructions carefully. Whether you have a compressor model, a freezer bowl unit, or a rock salt and ice machine, the principle remains the same: churn until the ice cream reaches the consistency of soft-serve. This usually takes 20-30 minutes, depending on your machine and the temperature of your base. Don’t over-churn, as it can negatively impact the texture. Once churned, transfer the soft ice cream to an airtight container and freeze for several hours (or overnight) to allow it to firm up to a scoopable consistency.
Corn Syrup: The Unsung Hero of Smoothness
The addition of corn syrup in this recipe is a small but mighty detail. While you can substitute it with an equal amount of granulated sugar, corn syrup plays a vital role in enhancing the ice cream’s texture. Corn syrup is an invert sugar, meaning it helps to inhibit sugar crystallization. In homemade ice cream, this translates to a softer, less “chalky,” and more pliable consistency directly out of the freezer. It helps to keep the ice cream from becoming rock-hard, though it will still benefit from sitting out for a few minutes before serving to achieve the perfect scoopability.
Customizing Your Creamy Delight
While this Mexican Vanilla Ice Cream is divine on its own, it also serves as an excellent base for various customizations. Consider adding a pinch of cinnamon or a dash of cayenne pepper for a “Mexican hot chocolate” inspired twist. Swirl in dulce de leche or a homemade caramel sauce after churning for extra indulgence. Chopped nuts, chocolate shavings, or even fresh fruit can be folded in during the last few minutes of churning or layered into the container before final freezing. Let your culinary imagination guide you!
Serving Suggestions
This luxurious ice cream pairs beautifully with a wide array of desserts. Serve it alongside warm apple pie, a rich chocolate cake, or fresh berries for a classic combination. It also makes a fantastic base for milkshakes or floats. For a simple yet elegant presentation, a scoop or two in a chilled bowl, perhaps with a sprinkle of ground cinnamon, is all you need to highlight its exquisite flavor.
- Key Lime Pie Coconut Milk Ice Cream
- Roasted Strawberry Coconut Milk Ice Cream
- Mexican Chocolate Banana Bread
- Mexican Chocolate Biscotti
- Oat Flour Oatmeal Chocolate Chip
Small Batch Mexican Vanilla Ice Cream Recipe

Small Batch Mexican Vanilla Ice Cream
Anna
Pin Recipe
Ingredients
- ¾ cup granulated sugar (150 grams)
- 5 large egg yolks
- 2 tablespoons corn syrup (36 grams)
- 2 cups whole milk (16 oz, for best richness)
- 2 cups heavy whipping cream (16 oz)
- ⅛ teaspoon salt
- 2-3 teaspoons Mexican vanilla extract (adjust to taste)
Instructions
-
In a medium bowl, whisk together half of the granulated sugar, the egg yolks, and the corn syrup until the mixture is smooth and pale. This prepares your egg mixture for tempering.
-
In a large, heavy-bottomed saucepan, combine the remaining granulated sugar, whole milk, and heavy whipping cream. Heat this mixture over medium-low heat, stirring occasionally, until it is very hot and steaming but not boiling. The sugar should be fully dissolved.
-
To temper the egg yolks, gradually whisk about one cup of the hot milk mixture into the egg yolk mixture. This slowly raises the temperature of the eggs without scrambling them. Then, pour the warmed egg mixture back into the saucepan with the remaining hot milk and cream. Continue to whisk constantly over low heat until the mixture thickens slightly and coats the back of a spoon. For optimal results and food safety, cook the custard until it reaches 170 degrees F (77 degrees C) on an instant-read thermometer. Do not boil.
-
Remove the saucepan from the heat and immediately pour the custard mixture into a clean bowl. Stir in the pinch of salt and the Mexican vanilla extract. Allow the mixture to cool at room temperature for about an hour, then cover the bowl tightly with plastic wrap and chill it in the refrigerator overnight, or until it is very cold (at least 4 hours). This chilling step is essential for both flavor development and proper churning.
-
Once thoroughly chilled, pour the ice cream base into your ice cream maker and freeze according to the manufacturer’s directions. The ice cream will be soft-serve consistency when it’s done churning. Transfer it to an airtight container and freeze for at least 4-6 hours (or overnight) to allow it to harden to a scoopable texture.
Notes
