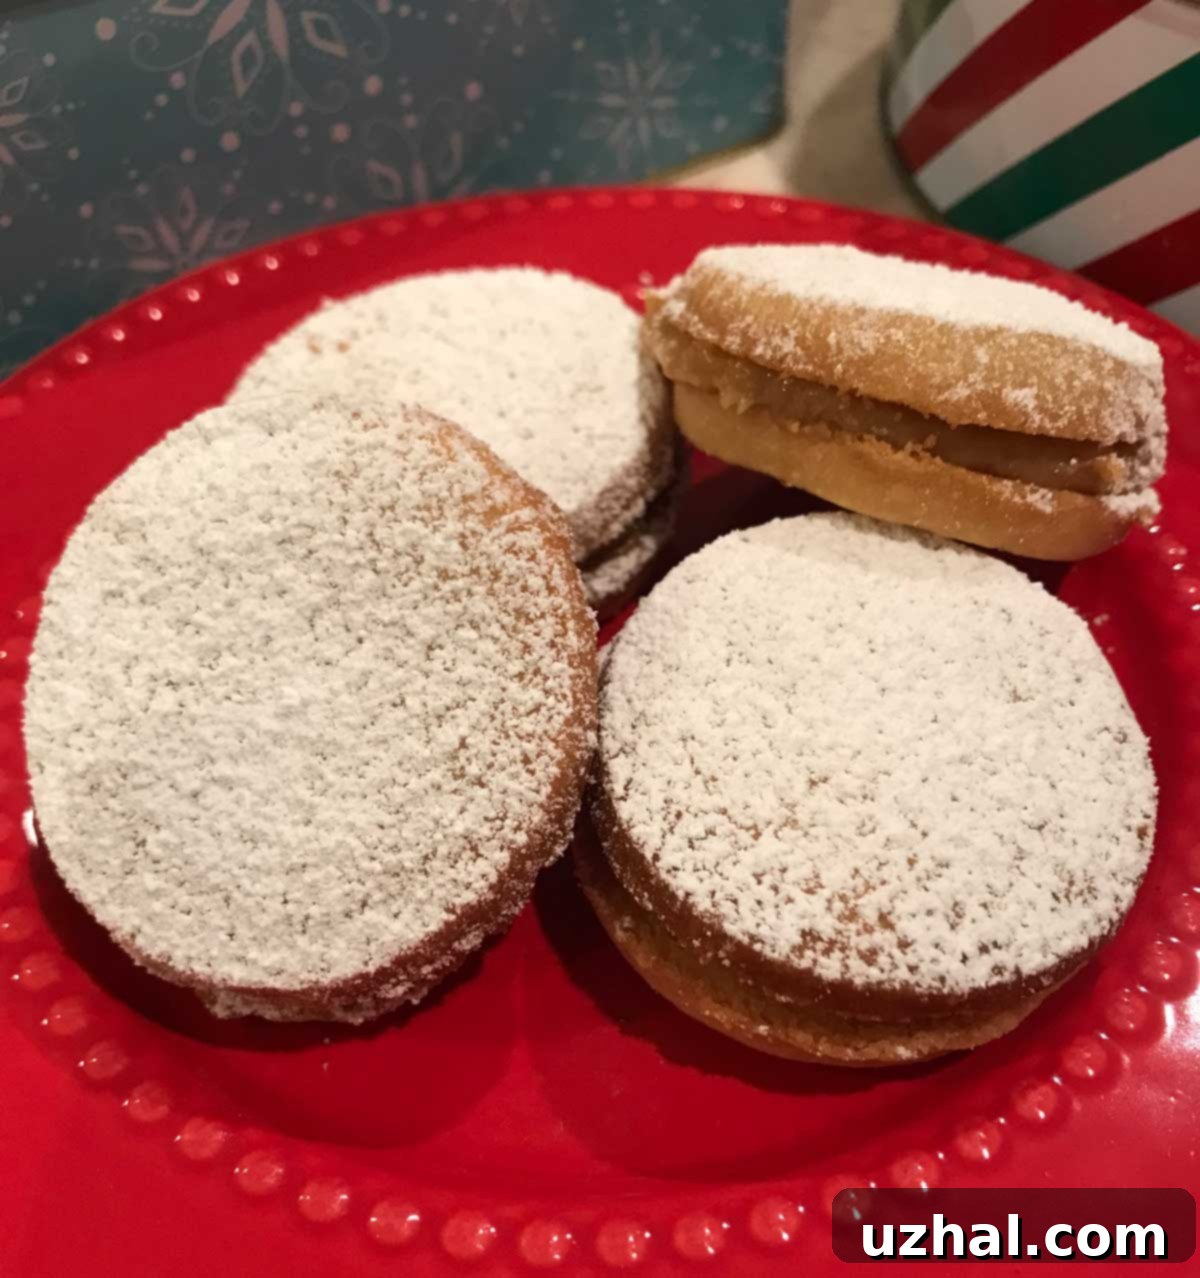
The Ultimate Guide to Authentic Alfajores: Recipes, History, and Homemade Dulce de Leche
When thinking about the vibrant and diverse culinary landscape of South America, cookies might not be the first delicacy that springs to mind. However, if you’re familiar with the region’s sweet treats, you’ve undoubtedly encountered the beloved Alfajores. These delightful shortbread sandwich cookies are a staple across many Latin American countries, celebrated for their delicate texture and incredibly rich fillings. Typically, they feature a generous layer of dulce de leche, a creamy caramel confection, though regional variations can also include manjar blanco, cinnamon-infused creams, or sweet honey fillings. Just as the fillings vary from country to country and even town to town, so do the cookies themselves, offering a fascinating spectrum of flavors and textures.
My culinary journey with Alfajores began not in South America, but right in my own kitchen. While I dream of the day I can travel through Argentina, Peru, Chile, and Uruguay, savoring authentic Alfajores from local bakeries, for now, my passion for these sweet treats is satisfied by perfecting them at home. The process of baking these cookies is a joyous exploration, a chance to bring a piece of South American tradition into my home, one delicious bite at a time.

In my earlier attempts, I often relied on a variation of this classic Argentine-style recipe, which consistently yielded good results. However, as any enthusiastic baker knows, the quest for perfection is ongoing. I felt a strong urge to broaden my horizons and experiment with other promising recipes. This led to a dedicated Sunday morning spent diving deep into the world of Alfajores, comparing different techniques and ingredient ratios. Through this delightful process, I was able to pinpoint several personal favorites, refining my understanding of what truly makes an Alfajor exceptional. Crucially, I also discovered a key preference: a strong aversion to the distinct flavor that egg yolks can impart to some cookie recipes, a factor I now actively avoid in my preferred Alfajor preparations.
Exploring the Best Alfajores Recipes: A Comparative Analysis
My Sunday baking marathon started with a recipe for “Dulce de Leche Sandwiches” from the renowned Good Housekeeping. These cookies presented a beautifully sturdy texture and excellent structure, even when I inadvertently made them a little thicker than intended. This robust quality suggested they would hold up well to the rich dulce de leche filling. However, despite their structural integrity, the flavor profile was dominated by a noticeably strong presence of egg yolks. For those who don’t mind or even enjoy the taste of egg yolks in their baked goods, this recipe certainly offers a satisfying cookie experience and is worth a try. It’s a classic approach, but for me, it veered slightly from the delicate, melt-in-your-mouth experience I seek in an Alfajor.
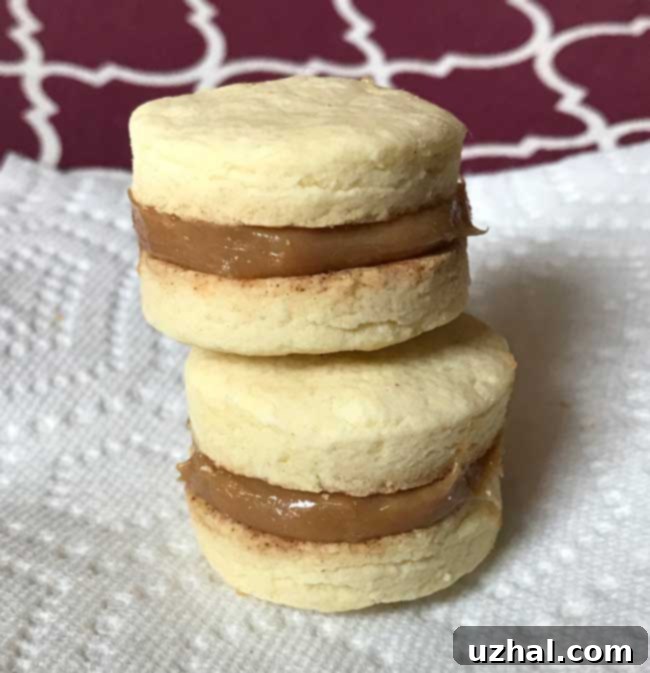
Next on my list was a recipe from Chow, which wisely called for a reduced amount of egg yolks compared to the first. This minor adjustment made a significant difference. The resulting cookies were delightfully solid, striking a perfect balance between firmness and a tender, not-too-crumbly consistency. The egg yolk flavor was much more subdued, allowing the subtle buttery notes of the shortbread to shine through. I found these to be a highly enjoyable batch, and they are definitely a contender for future baking sessions. A personal touch I’d consider adding next time would be a hint of ground cinnamon to the dough, which I believe would complement the dulce de leche beautifully and add another layer of traditional flavor.
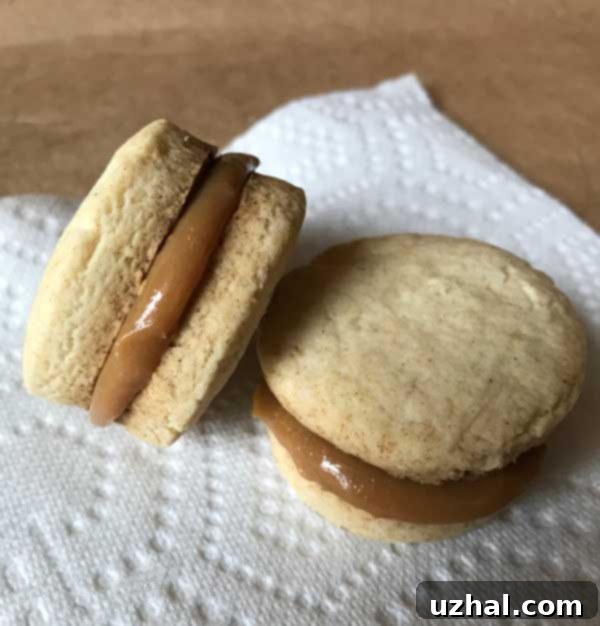
The third recipe I tested, an egg-free marvel from the celebrated chef Ingrid Hoffman, proved to be a revelation. These cookies were in a league of their own, crafted with a minimalist yet brilliant combination of just flour, butter, a pinch of salt, and confectioners’ sugar. From the very first bite, my daughter and I were in complete agreement: these were undeniably the best! The absence of eggs contributed to an incredibly delicate, melt-in-your-mouth texture that was simply exquisite. On their own, without any filling, the cookies possess a subtle sweetness, making them ideal canvases for the rich dulce de leche. Once filled and dusted generously with extra confectioners’ sugar, they achieved a perfect equilibrium of sweetness and decadence. Although the dough for this recipe was a bit rougher to work with, requiring a gentle hand, and the assembled cookies looked a little less pristine compared to some other recipes, their taste more than compensated. They were reminiscent of eating light, buttery snowball cookies, but with the added luxurious surprise of dulce de leche at their heart.
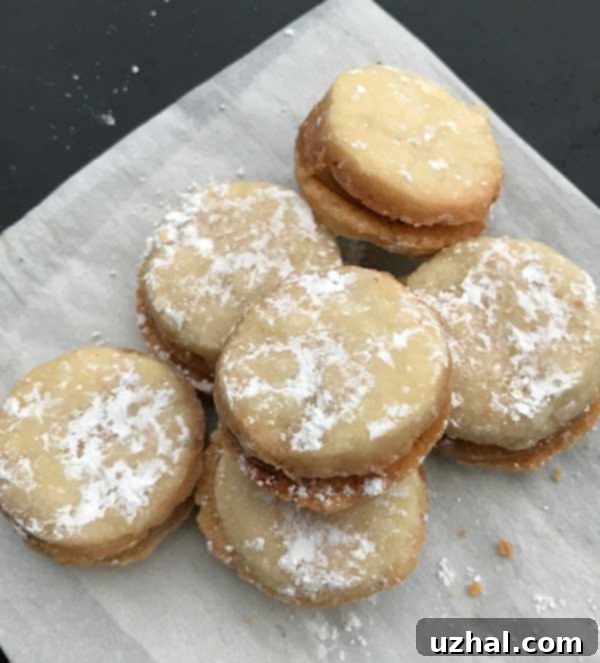
Of all the recipes I experimented with that day, Ingrid Hoffman’s egg-free version emerged as the undisputed favorite. Its simplicity in ingredients and unparalleled taste secured its spot as my go-to Alfajor recipe. At one point in my baking journey, I experimented with incorporating cornstarch into the dough, a common technique in many shortbread-style cookies to achieve an even more tender crumb. The results were indeed good, yielding a remarkably delicate cookie. However, in the spirit of keeping things as straightforward as possible and minimizing the number of ingredients, I ultimately reverted to the original recipe using just all-purpose flour. The inherent tenderness of Hoffman’s recipe, even without cornstarch, is truly remarkable and speaks to the perfection of its core components. The delicate, crumbly nature of these cookies makes them an ideal vehicle for dulce de leche, allowing the filling to be the star without overwhelming it with a dense cookie base.
Effortless Homemade Dulce de Leche with Your Instant Pot
While the notes section of my recipe traditionally outlines my conventional method for making dulce de leche—a process that involves carefully baking a can of condensed milk in a water bath—the arrival of an Instant Pot has completely revolutionized this step. My Instant Pot has transformed the task from a somewhat lengthy and attentive baking process into an incredibly simple, hands-off operation. It’s a game-changer for anyone who loves homemade dulce de leche but dreads the traditional preparation.
Here’s the straightforward method for achieving perfectly creamy dulce de leche using your Instant Pot:
- **Prepare the Can:** Start by carefully removing the paper label from a standard 14 oz can of sweetened condensed milk. Also, ensure you remove the pull-tab or open top if it’s not a completely sealed can (most condensed milk cans are fully sealed).
- **Wrap for Safety (Optional but Recommended):** While not strictly necessary for safety in the Instant Pot, wrapping the can loosely with aluminum foil can help prevent any label adhesive residue from coming into contact with the water or the pot itself, making cleanup easier. I typically just place a piece of foil over the top and press it down the sides to ensure no water seeps into the can’s contents if there were any microscopic breaches (though rare).
- **Position in Instant Pot:** Place the trivet (the metal rack that comes with your Instant Pot) at the bottom of the inner pot. This elevates the can from direct contact with the pot’s base, allowing for even heat distribution.
- **Add Water:** Carefully set the foil-covered (or unwrapped) can of condensed milk on the trivet. Then, add approximately 8 cups of water to the Instant Pot. The water level should ideally come up to about halfway or slightly more up the sides of the can, but make sure it does not exceed the maximum fill line of your Instant Pot.
- **Pressure Cook:** Close the Instant Pot lid, ensuring the sealing ring is properly in place. Rotate the steam release valve to the “Sealing” position. Set the Instant Pot to “Manual” or “Pressure Cook” on HIGH pressure for 35 minutes.
- **Release Pressure:** Once the cooking cycle is complete, you have two options for releasing pressure:
- **Quick Release:** Carefully turn the steam release valve to the “Venting” position. Be cautious of the hot steam escaping. This method is faster.
- **Natural Release:** Allow the pressure to release naturally for about 10-15 minutes, or until the float valve drops on its own. This method can sometimes result in an even creamier texture.
- **Remove and Stir:** Using oven mitts or sturdy tongs, carefully remove the very hot can from the Instant Pot. The can will be extremely hot, so handle with care. Open the can (using a can opener if necessary) and pour the contents into a heat-proof bowl.
- **Final Touches:** Stir the dulce de leche vigorously until it becomes smooth and uniform in consistency. It might appear slightly lumpy at first, but with a good stir, it will transform into a luscious, creamy caramel. For an added layer of flavor, you can stir in about a teaspoon of vanilla extract at this stage.
- **Cool and Store:** Allow the homemade dulce de leche to cool completely to room temperature. Once cooled, transfer it to an airtight container and store it in the refrigerator. It will thicken further as it chills and can be stored for up to two weeks. This Instant Pot method ensures a consistently perfect batch every time, making it incredibly convenient for all your Alfajor-making needs!
Our Favorite Alfajores Recipe

Classic Alfajores with Dulce de Leche
Recipe by Cookie Madness (inspired by Ingrid Hoffman)
Pin Recipe
Ingredients
- 1 cup softened unsalted butter, cut into chunks (2 sticks or 230 grams, at room temperature for easy blending)
- ½ teaspoon fine sea salt (omit if using salted butter, though unsalted is recommended for better control)
- ½ cup confectioners’ sugar (also known as powdered sugar, 70 grams, plus extra for dusting)
- 2 cups sifted all-purpose flour (260 grams, sifting ensures a lighter, more tender cookie)
- Dulce de leche (made with a 14 oz can of condensed milk; homemade recipe provided above or in notes)
- Optional: finely shredded coconut (for rolling the sides of the assembled cookies, a popular traditional touch)
Instructions
-
In a food processor, combine the softened butter (ensure it’s truly at room temperature for smooth processing), salt, and confectioners’ sugar. Process these ingredients together until the mixture is light, creamy, and thoroughly blended. This step incorporates air and ensures a tender cookie. Then, add the sifted all-purpose flour to the food processor. Pulse the mixture in short bursts until the flour is just incorporated and the dough begins to come together into a shaggy mass that holds its shape when pressed. Be careful not to overmix, as this can lead to tough cookies.
-
Turn the delicate dough out onto a large sheet of parchment paper or plastic wrap. Gently press the dough into a cohesive slab or disc, aiming for a uniform thickness of about ⅛ of an inch. A great alternative for mess-free rolling is to transfer the dough into a large (gallon-size) freezer bag, seal the bag, and then use a rolling pin to roll it directly within the bag to the desired thickness. This method helps prevent sticking and keeps your workspace clean.
-
Chill the dough for at least an hour, or until it is firm enough to handle without sticking or tearing. Properly chilling the dough is crucial for preventing the cookies from spreading too much in the oven and helps maintain their delicate structure. If you used the freezer bag method, simply cut away the bag once the dough is firm.
-
Preheat your oven to 350°F (175°C). Using a round cookie cutter (I find a 1 ½ inch size ideal for classic Alfajores, but a 2-inch cutter also works), cut out uniform circles from the chilled dough. Carefully transfer these delicate cookie rounds to baking sheets lined with parchment paper, leaving a little space between each. Bake for 12-13 minutes. These cookies typically do not brown much; they should remain pale golden around the edges, indicating their tenderness. If you opt for larger 2-inch rounds, you might need to extend the baking time by a few minutes, checking frequently to avoid over-baking.
-
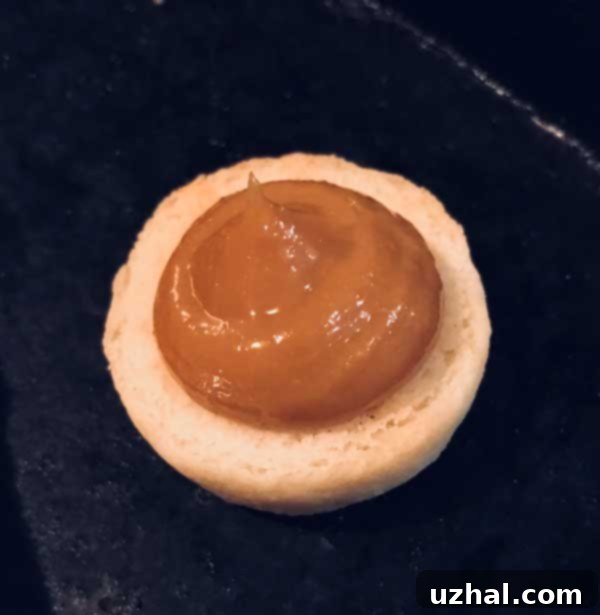
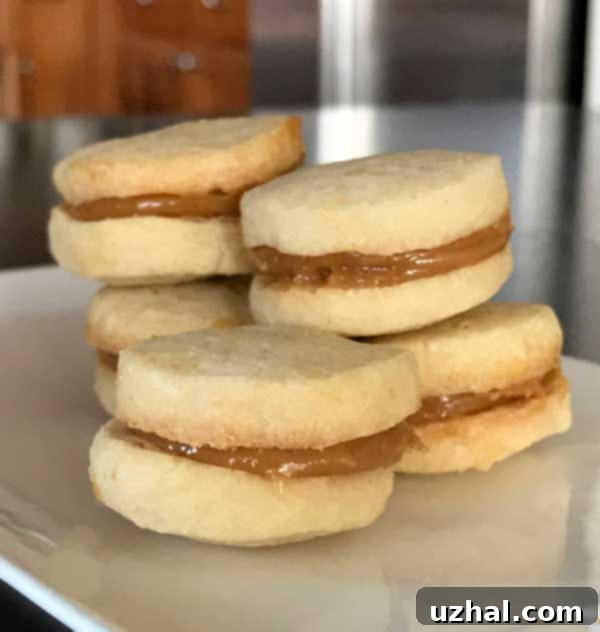
Once the cookies are baked and have cooled completely on a wire rack, it’s time to assemble these delightful treats. Transfer your homemade dulce de leche into a piping bag or a sturdy freezer bag with one corner snipped off (about a ½-inch opening). Pipe a generous dollop of dulce de leche onto the flat bottom of one cookie. Gently place another cookie on top, sandwiching the dulce de leche between them. For an authentic touch, you can then gently roll the edges of the assembled Alfajores in finely shredded coconut, allowing the dulce de leche to act as an adhesive. Finally, dust the finished Alfajores generously with additional confectioners’ sugar for a beautiful presentation and added sweetness.
Notes
If you don’t have an Instant Pot, or prefer the traditional method, here’s how:
- Pour one 14 oz can of sweetened condensed milk into a glass pie plate or a shallow oven-safe dish.
- Cover the pie plate tightly with aluminum foil to prevent scorching and keep moisture in.
- Place the covered pie plate into a larger roasting pan.
- Fill the roasting pan with hot water, ensuring the water comes at least halfway up the sides of the pie plate. This creates a bain-marie (water bath).
- Bake in a preheated oven at 425°F (220°C) for 1 hour.
- Carefully remove the roasting pan from the oven (the water will be very hot!). Lift the foil from the pie plate and stir the condensed milk well. It will start to thicken and caramelize.
- Cover the pie plate with foil again, return it to the roasting pan, and replenish any evaporated water in the roasting pan.
- Continue baking for another 1 ½ hours. Begin checking and stirring after the first hour of this second bake. The dulce de leche should be a rich, golden brown and thick. It may appear slightly lumpy when you first stir it, but continued stirring will smooth it out into a beautiful, creamy consistency.
- Once desired consistency is reached, remove from oven, let cool, then stir in 1 teaspoon of vanilla extract (optional). Store in an airtight container in the refrigerator. This method requires more attention and time than the Instant Pot but yields a similarly delicious result.
**Safety Warning:** When using the oven method, always ensure the water level in the roasting pan is maintained to prevent the glass dish from overheating and potentially breaking. Be extremely careful when handling hot water and cans. Never boil a sealed can of condensed milk directly on the stovetop, as it can explode due to pressure buildup. The Instant Pot method is generally considered safer and more hands-off.
