Flaky Puff Pastry Apple Hand Pies: Your Easy Fall Dessert Recipe (Egg-Free Option!)
The crisp air and vibrant hues of autumn hold a special magic, especially in places like New England. I was reminded of this beauty in the fall of 2020 when my daughter, quarantined near her campus in New Hampshire, sent me a stunning photo from the tranquil Upper Valley. The water was perfectly still, reflecting the trees just beginning to blush with autumn colors, creating a scene of profound quiet and calm. That serene image, brimming with the essence of fall, immediately transported me back to everything I love about New England and, inevitably, sparked a craving for apple pie. While a traditional apple pie is always a delight, I found myself inspired to create something a little more versatile and portable – hence, these delightful Puff Pastry Apple Hand Pies were born. They capture all the comforting flavors of a classic apple pie but in a convenient, individual serving size, perfect for sharing (or not!).

Why These Hand Pies Are Special: A Modern Twist on a Classic
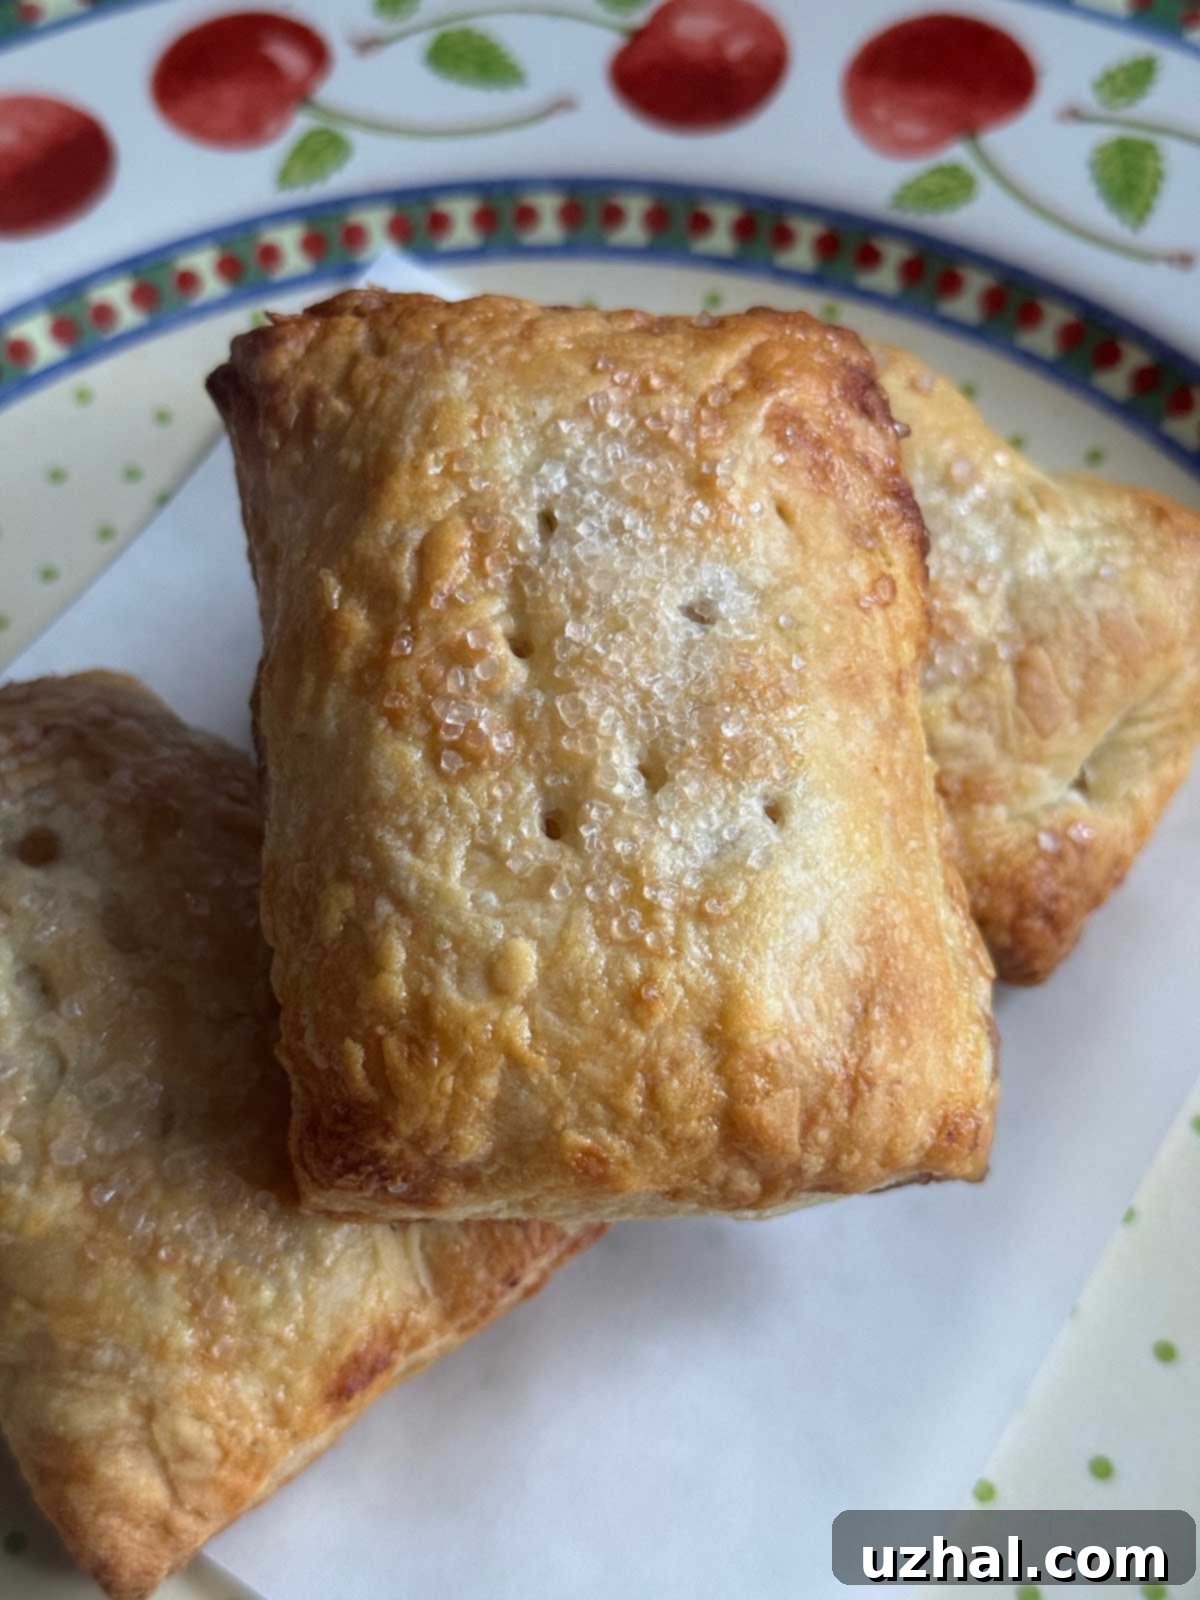
While I often enjoy making hand pies with a traditional homemade pie dough, this time I wanted to experiment with a different texture and approach. My goal was to create a recipe that felt a bit more luxurious and also accommodated friends with dietary restrictions. The solution? Puff pastry! This choice instantly elevates the pies with an unparalleled flakiness. Beyond the pastry, I also made two other significant adjustments: I opted for tapioca starch to thicken the apple mixture, and I used heavy cream for brushing the tops instead of an egg wash, making these delicious treats entirely egg-free without sacrificing that beautiful golden finish.
The Magic of Puff Pastry for Hand Pies
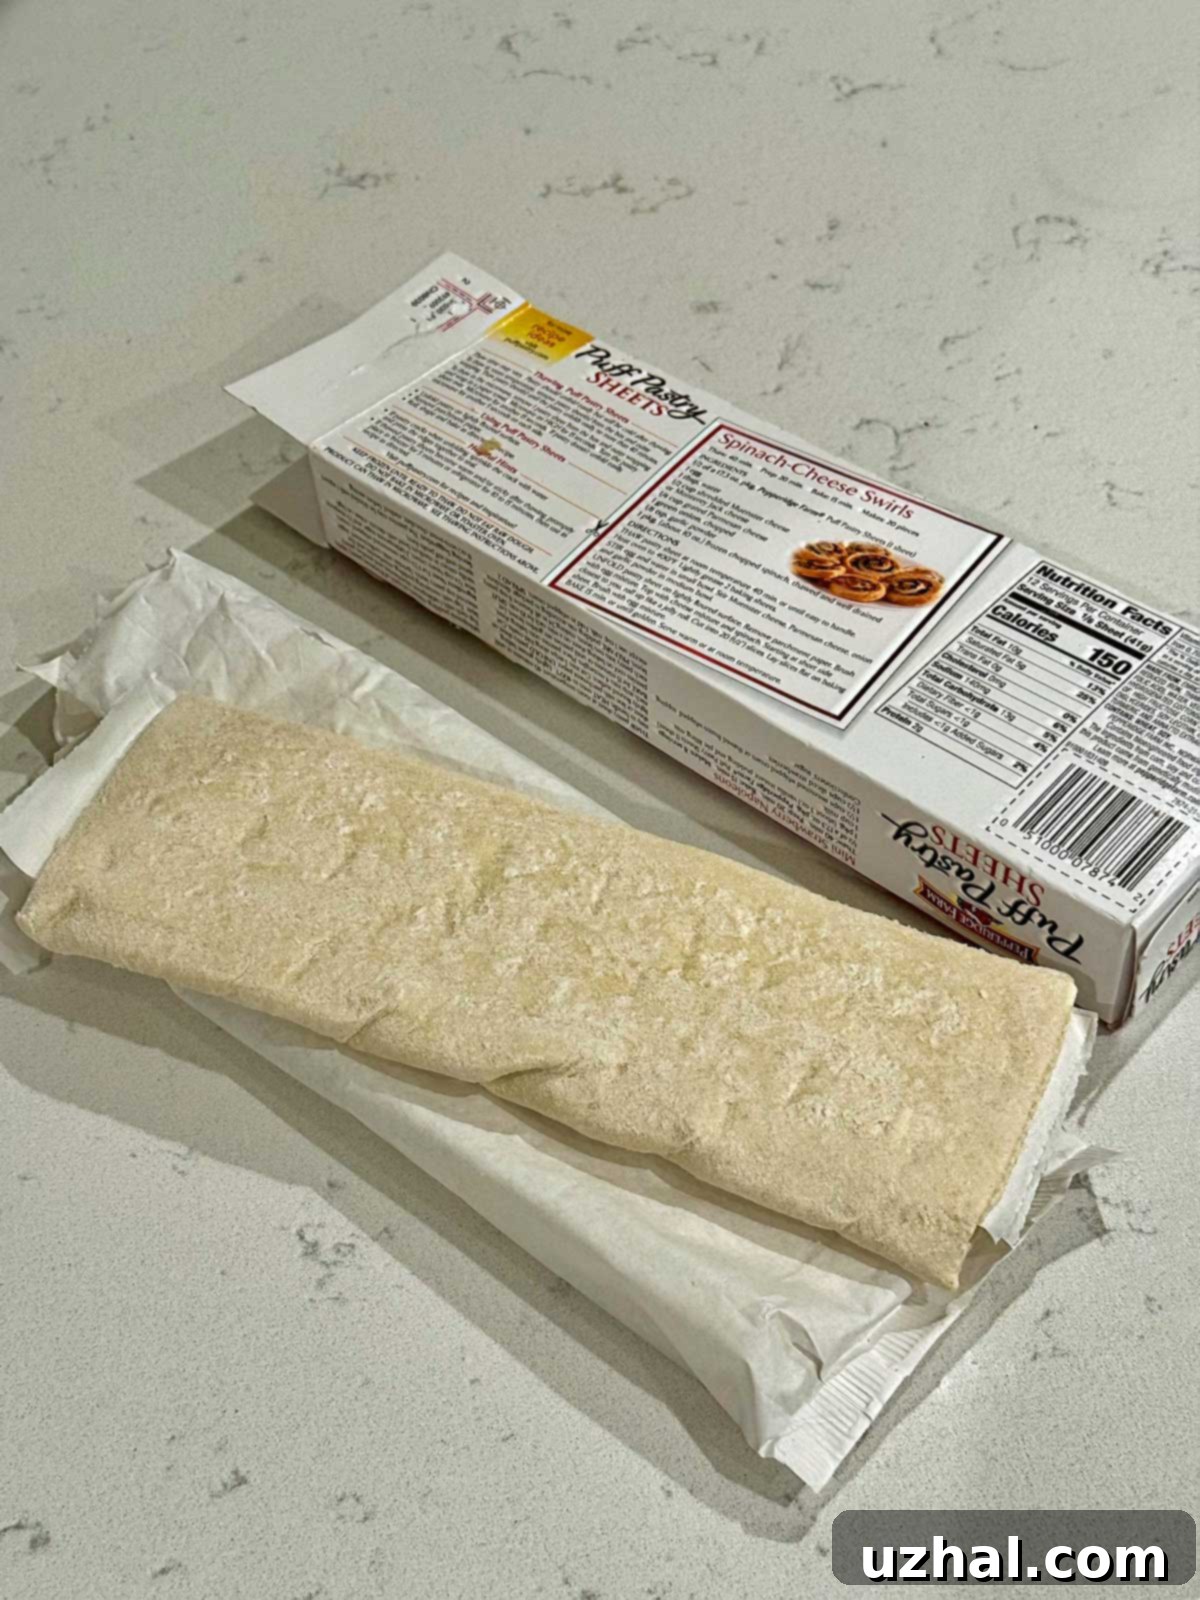
There’s something inherently elegant about puff pastry, making it a fantastic choice for hand pies. Unlike traditional pie dough, which requires precise rolling and chilling, puff pastry offers incredible ease and a truly spectacular result. I typically reach for Pepperidge Farm brand puff pastry, which comes conveniently pre-rolled in two sheets. Once thawed, these sheets simply unfold into three distinct panels, eliminating the need for any additional rolling. The process becomes wonderfully straightforward: cut the dough into rectangles, gently stretch each piece slightly to achieve your desired size, fill with the flavorful apple mixture, top with a second pastry rectangle, and then seal the edges. The beauty of puff pastry lies in its many delicate layers, which puff up beautifully in the oven, creating an airy, buttery, and utterly irresistible crust.

A crucial step for perfect puff pastry hand pies is ensuring a tight seal around the edges. Puff pastry is designed to rise dramatically, and if the seams aren’t firmly pressed together, the pies are prone to bursting open during baking, potentially allowing that delicious filling to escape. To counteract this, you really need to apply firm, consistent pressure when pinching the edges. Even with the best efforts, a few pies might still crack or split, but don’t fret! The good news is that as the apple filling cools, it sets beautifully, ensuring the fruit remains contained and the pies hold their shape, even if the crust opens slightly. The end result is a rustic charm that adds to their homemade appeal.
The Superiority of Tapioca Starch in Apple Hand Pie Filling
Cornstarch is a common thickener for fruit fillings, but this time, I decided to experiment with tapioca starch, curious about its potential advantages in hand pies. I’m pleased to report that it performed exceptionally well, and I now consider it a preferred choice for these portable treats. One of the immediate benefits of using tapioca starch is that there’s no need to create a slurry – you can simply toss it directly with the chopped apple mixture and spices. This simplifies the preparation process. When cooked briefly in a saucepan, the tapioca starch efficiently draws out the apple juices, thickening them into a translucent, glossy sauce. Unlike cornstarch, which can sometimes result in a slightly cloudy or opaque filling, tapioca starch creates a crystal-clear, almost jelly-like consistency that beautifully showcases the vibrant apple pieces. This thicker, more stable filling is a game-changer for hand pies; it significantly aids in assembly, making it much easier to spoon the fruit onto the dough without excess liquid, and it dramatically reduces the risk of the filling oozing out during baking, leading to cleaner, more perfectly formed pies.

The bittersweet truth: The “Sad Thing” About Hand Pies
There’s a universally acknowledged “sad thing” about making apple hand pies, and it’s something every baker must confront: the temptation to overfill them. No matter how generous your heart wants to be with that luscious, spiced apple filling, you simply cannot put too much sauce or too many apples into these small pastry pockets. Hand pies, by their very nature, require a delicate balance. Too much liquid, and you risk a leaky, soggy mess; too much solid filling, and the pastry struggles to seal, leading to explosive pies in the oven. The key is to spoon a controlled amount of the apple pieces onto the dough, consciously leaving most of that beautiful, flavorful sauce behind. It feels almost criminal to discard such a delicious byproduct! However, necessity is the mother of invention, and this “leftover” apple sauce is actually a hidden gem. It’s too good to waste and incredibly versatile. Drizzle it warm over a bowl of creamy oatmeal for a comforting breakfast, swirl it into plain yogurt for a quick snack, or serve it alongside vanilla ice cream for an impromptu dessert. It’s also fantastic over pancakes or waffles, stirred into a smoothie, or even paired with savory dishes like roasted pork. So, while it’s tempting to scoop every last drop into your pastry, resist! Your perfectly sealed, beautifully baked hand pies will thank you, and you’ll have a bonus treat to enjoy.
Essential Tips for Perfect Puff Pastry Apple Hand Pies
Achieving bakery-quality hand pies at home is entirely within reach with a few key considerations. Here are some invaluable tips to ensure your puff pastry apple hand pies turn out wonderfully flaky, flavorful, and perfectly sealed:
- Choose the Right Apples: Start with a little over a pound of a good apple combination. I highly recommend using a mix of Granny Smith and Honeycrisp apples. Granny Smiths provide a wonderful tartness that balances the sweetness of the sugar and spices, while Honeycrisp apples offer a delightful crisp texture and natural sweetness, ensuring the filling isn’t mushy. This usually translates to about 2 medium Granny Smiths and 1 large Honeycrisp, but apple sizes vary, so always go by weight (around 18 oz before peeling/coring, yielding 12 oz trimmed).
- Consistent Apple Slices are Key: For even cooking and better adhesion to the pastry, strive to keep your apple pieces roughly the same size. I find that thinly slicing the apples first, and then cutting those thin slices into thirds, works best. Thinner pieces tend to soften more uniformly and create a smoother filling that nests nicely within the pastry, minimizing air pockets and potential leaks.
- Chill Everything for Success: The secret to perfectly flaky pastry and preventing leaks is to start with cold ingredients. Make your apple filling ahead of time and allow it to chill completely in the refrigerator. Similarly, ensure your puff pastry is cold but pliable enough to work with (thaw according to package directions, but don’t let it get warm and sticky). The cold butter in the puff pastry creates steam during baking, leading to those signature flaky layers. If the dough is warm, the butter melts too soon, resulting in a less airy texture.
- The Art of the Seal & Pre-Bake Chill: To help prevent the hand pies from popping open in the oven, a strong seal is paramount. Pinch the edges firmly. If you are using an egg wash (for a traditional golden sheen), apply it generously to the edges before sealing; this acts like glue. Then, once assembled, transfer your hand pies to a small tray and chill them in the refrigerator for about 30 minutes before baking. This crucial step allows the pastry to firm up, making it more resistant to bursting open. If you’re going for the egg-free option, brush with heavy cream right before baking and sprinkle with coarse sugar for an extra sparkle and crunch.

Inspired by the tranquility of New England autumns, these Puff Pastry Apple Hand Pies offer a delightful blend of simplicity and sophistication. The use of puff pastry guarantees a tender, flaky crust, while tapioca starch ensures a glossy, perfectly set apple filling. Whether you’re making them for a fall gathering, a special breakfast, or simply to enjoy with a cup of coffee, these hand pies are sure to become a beloved recipe in your repertoire. They embody the warmth and comfort of homemade baking, delivering a taste of autumn in every portable, delicious bite. Don’t hesitate to give them a try – your taste buds will thank you!
- Blueberry Hand Pies
- Loaf Pan Marble Pound Cake
- Milk Chocolate Brownies
- Upper Crust Bakery Black Gold Cookies
- Blue Chip Cookies Recipe
Recipe

Puff Pastry Apple Hand Pies
Pin Recipe
Ingredients
Apple Filling
- 18 oz apples, Granny Smith and Honeycrisp (start with about 3 medium apples, aiming for 12 oz once peeled, cored, and chopped)
- 1 tablespoon fresh lemon juice
- ⅓ cup dark brown sugar (70 grams, for a rich, molasses-like sweetness)
- ½ teaspoon cinnamon
- ¼ teaspoon allspice
- ⅛ teaspoon nutmeg
- ⅛ teaspoon ginger
- ⅛ teaspoon cardamom (optional, but adds a lovely warmth)
- 2 teaspoons tapioca starch or 1 tablespoon cornstarch (tapioca starch yields a clearer, glossier filling)
- 1 tablespoon butter (I use salted)
- ¼ teaspoon lemon zest
- 1 package puff pastry (containing 2 rolls/sheets)
- ⅓ cup heavy cream for brushing (or you can use an egg wash for a traditional finish)
- coarse sugar, optional (for a beautiful sparkle and delightful crunch on top)
Instructions
-
Prepare the apple filling: Begin by peeling, coring, and cutting your chosen apples (Granny Smith and Honeycrisp work best for a balanced flavor and texture) into thin slices. Then, cut those slices into small, thin chunks, aiming for pieces approximately ¾ inch in size. After this process, you should have about 12 oz of trimmed apples. In a medium bowl, toss these apple chunks with the fresh lemon juice to prevent browning and brighten their flavor. Next, add the dark brown sugar, cinnamon, allspice, nutmeg, ginger, and cardamom (if using), tossing gently to coat the apples evenly. If you are using tapioca starch, add it now and toss to combine; if you plan to use cornstarch, hold off on adding it until the cooking step.
-
Cook the filling: Melt the butter in a large saucepan (a 3-quart size is ideal) over medium heat. Add the apple mixture to the saucepan and cook for about 4 minutes, stirring very gently and frequently. The goal here is just to soften the apples slightly and encourage them to release their delicious juices, not to make them mushy. If you are using cornstarch, this is the time to make a small slurry by whisking 1 tablespoon of cold water with 1 tablespoon of cornstarch, then stir it into the saucepan. The mixture should thicken relatively quickly if you used tapioca starch. Once the apples have softened a bit and the juices have slightly thickened, remove the saucepan from the heat. Stir in the fresh lemon zest, which adds a bright, aromatic finish. Transfer the warm filling to a bowl and allow it to cool slightly at room temperature, then place it in the refrigerator to chill completely. A cold filling is crucial for easier assembly and to prevent the pastry from becoming soggy. You should end up with approximately 14 oz (by weight) of filling.
-
Prepare the puff pastry: Take the puff pastry sheets out of their package and lay them out on a pastry mat or a lightly floured surface. Allow them to thaw for about 30 minutes at room temperature, or until they are pliable enough to unfold without cracking but still cold to the touch. This thawing period is important for ease of handling.
-
Preheat oven and prepare baking sheets: Preheat your oven to 400 degrees F (200 degrees C). Line a large, rimmed sheet pan with parchment paper; this will be for baking. Also, have a couple of smaller trays or plates ready that can fit into your refrigerator. These will be used to hold the assembled hand pies while they chill, a vital step for maintaining their shape and flakiness.
-
Cut the puff pastry: Unroll one sheet of the puff pastry onto your pastry mat. The pastry typically has three natural seams from where it was folded; use these as a guide to cut the sheet into thirds lengthwise. Then, cut each of these three strips crosswise into four smaller rectangles, resulting in 12 individual rectangles from a single sheet. Repeat this process with the second roll of puff pastry, preparing all your pastry pieces before assembly.
-
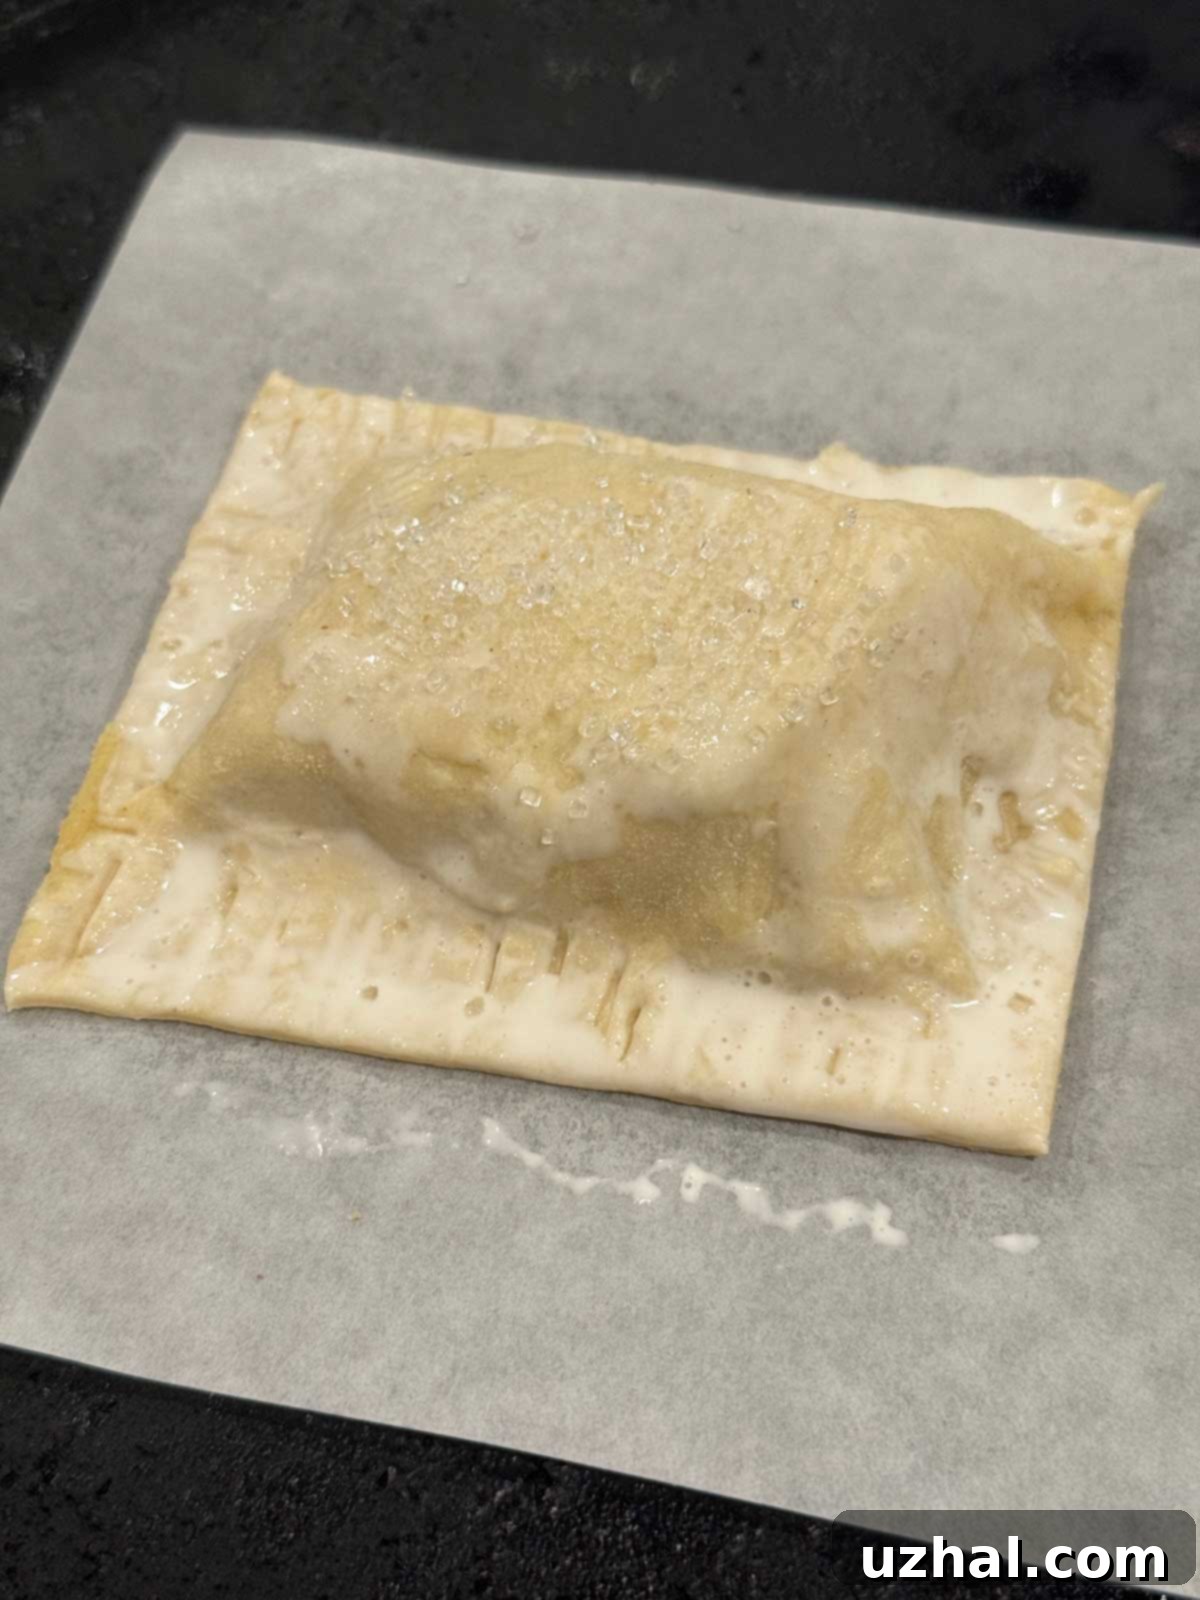
Assemble the hand pies: Take one of your puff pastry rectangles and, working directly on your pastry mat, use two fingertips to gently press around the edges, widening it slightly. This creates a slightly larger base and helps define the sealing area. Spoon a little over an ounce (approximately 2 tablespoons) of the chilled apple filling into the middle of the rectangle. Be sure to leave most of the excess sauce behind in the bowl to prevent the pies from becoming too wet and oozing during baking. Take a second puff pastry rectangle, gently widen it with your fingertips in the same manner, and carefully lay it over the apple filling. Press the seams together very firmly with your fingers, or use the tines of a fork, to ensure a tight seal. A strong seal is crucial to keep the filling from escaping as the puff pastry expands. If you are using an egg wash, brush the edges of the bottom pastry with it before placing the top pastry on; this acts as an adhesive. Transfer the assembled pie to one of your smaller trays or plates. Repeat this process to make 6 pies with the first sheet of pastry. Place these 6 pies in the refrigerator to chill while you assemble the remaining 6 pies using the second roll of puff pastry.
-
Final touches and chilling: Once all 12 pastries are assembled and have had a chance to chill for at least 30 minutes (the longer the better, up to an hour, to ensure they hold their shape), carefully arrange them on the larger parchment-lined baking tray. If you chose not to use an egg wash during assembly, pinch the seams again gently to reinforce the seal, then brush the tops with a little heavy cream. This will give them a beautiful golden-brown color. For an extra touch of sweetness and a delightful crunch, sprinkle the tops with coarse sugar, if desired.
-
Bake to golden perfection: Place the baking tray with the hand pies into the preheated 400°F (200°C) oven. Bake one sheet at a time for approximately 20 minutes, or until the pastry is puffed, golden brown, and cooked through. While one tray is baking, you can use this time to quickly trim any excess pastry from the edges of the second batch (if necessary) and brush them with cream or egg wash. This ensures that the second batch is perfectly ready to go into the oven immediately after the first.
-
Cool and serve: Once baked, remove the pies from the oven and let them cool on the baking sheet for about 5 minutes. This brief cooling period allows the filling to set further and makes the pies easier to handle without breaking. After 5 minutes, carefully transfer them to a wire rack to cool completely. These Puff Pastry Apple Hand Pies are utterly delicious served warm, allowing the spiced apple filling to shine, but they are also fantastic at room temperature, making them perfect for picnics, lunchboxes, or a grab-and-go treat. Enjoy the fruits of your labor!
